How To Use Vitamix Immersion Blender for Smooth Results
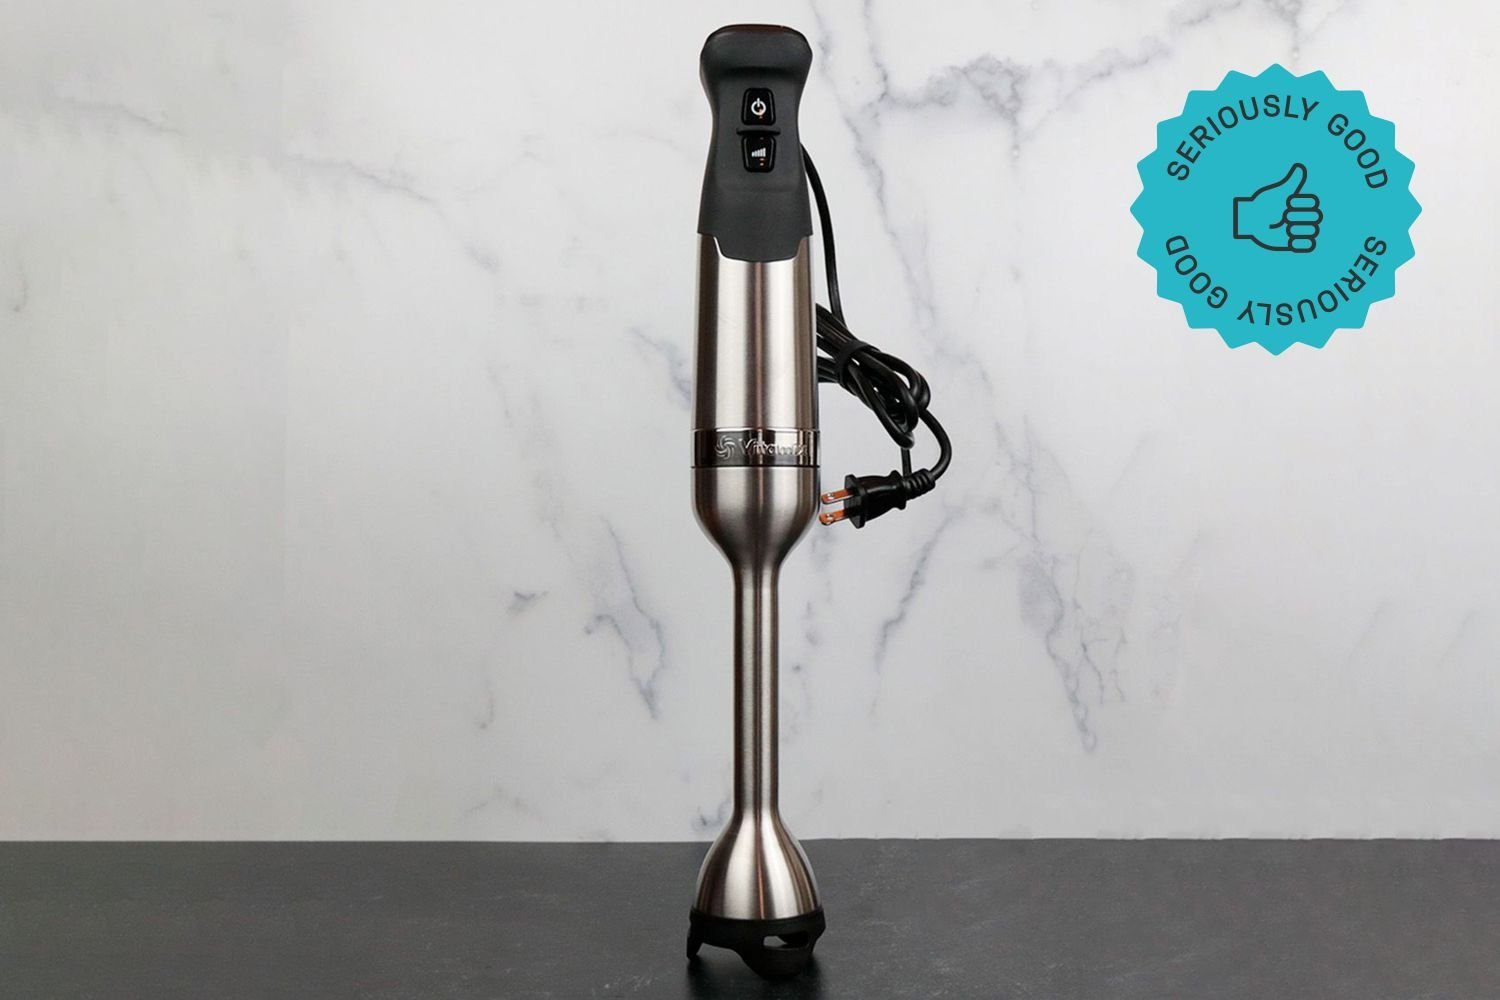
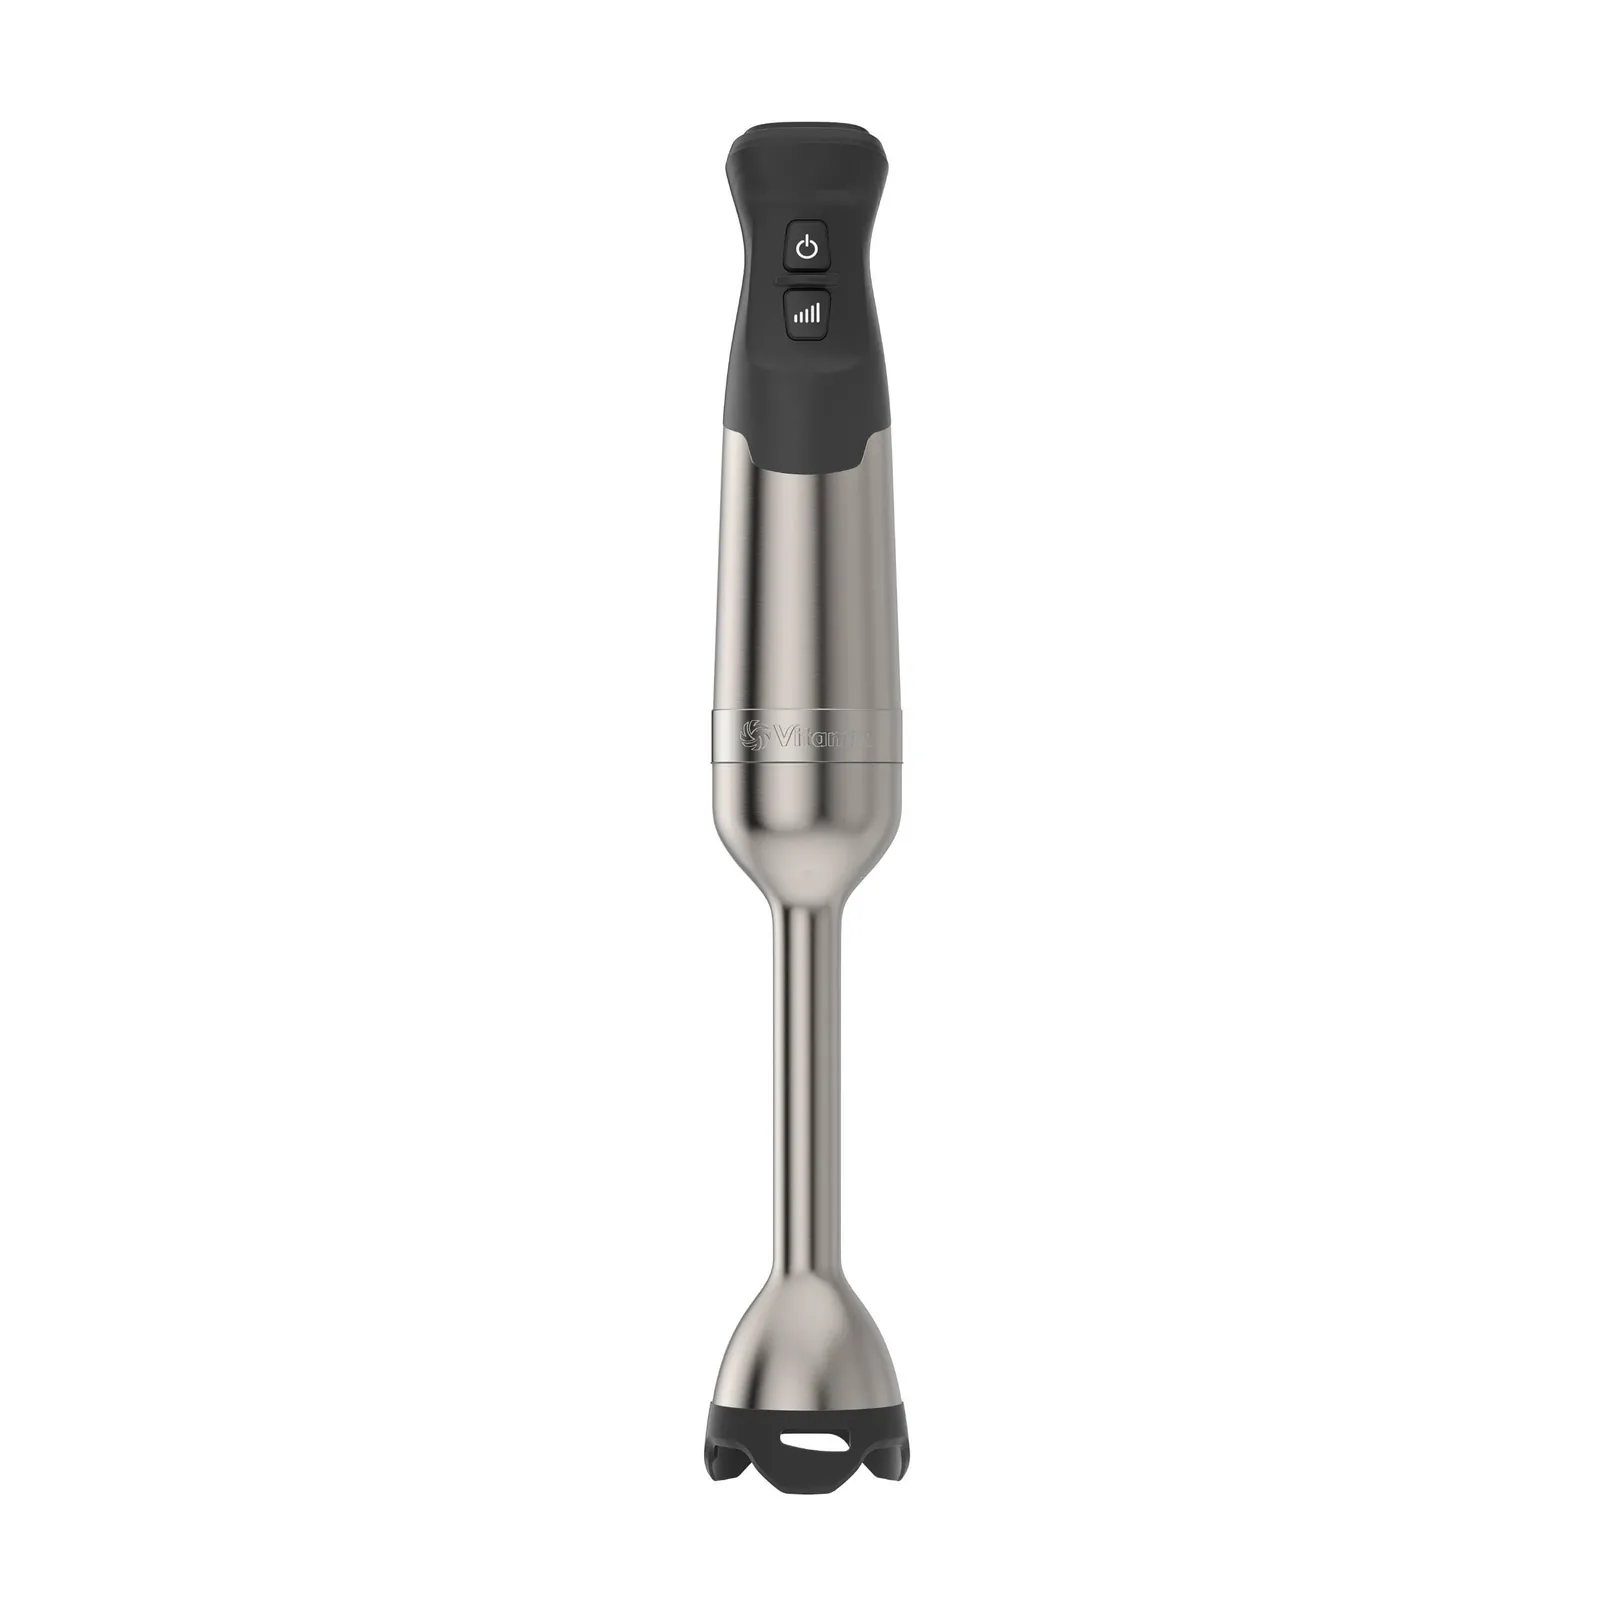
To operate a hand-held blender for smooth results, you simply submerge the metal blade guard completely in your ingredients and pulse the motor until you reach your desired texture. Mastering the operation of this immersion blender requires keeping the blade fully covered to avoid splashes and ensuring the power cord stays away from heat or sharp edges. Several factors change your experience, including the thickness of your mixture, the size of your container, and the specific speed setting you select for the task.
Who needs a Vitamix immersion blender
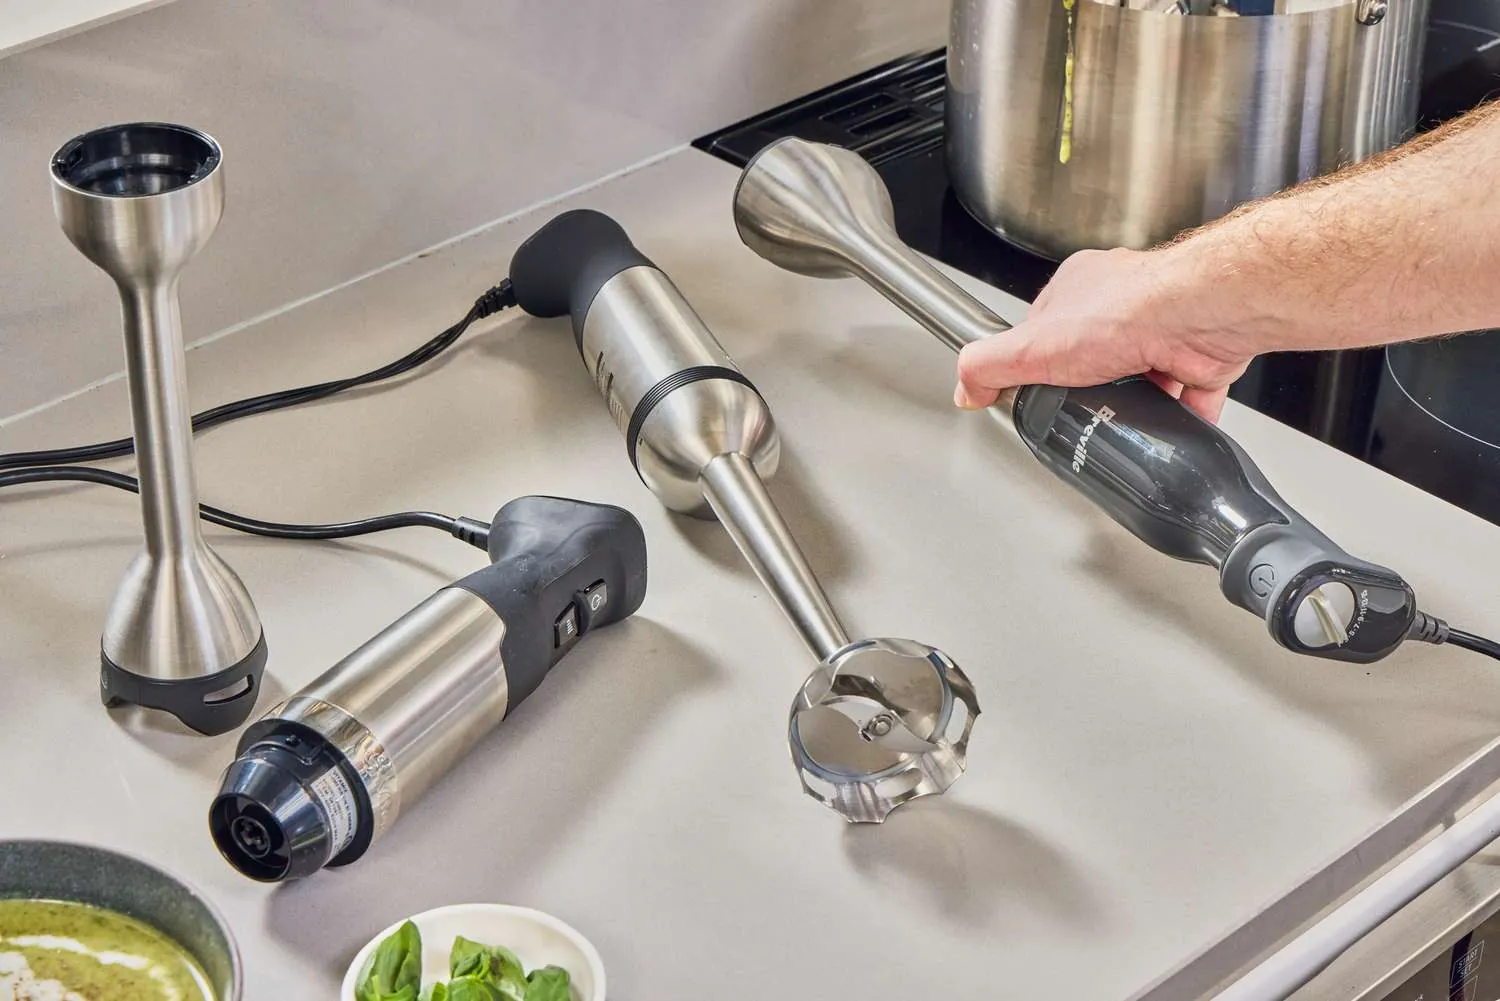
This tool serves home cooks who want to blend soups, sauces, or smoothies directly in a pot or a narrow jar without transferring hot liquids to a large blender. It’s designed for users who value speed and minimal cleanup over the high-power pulverizing capabilities of a full-sized countertop machine. If you’re preparing small batches or blending delicate ingredients like herbs and soft fruits, this device offers the precision and control you need to achieve a consistent texture.
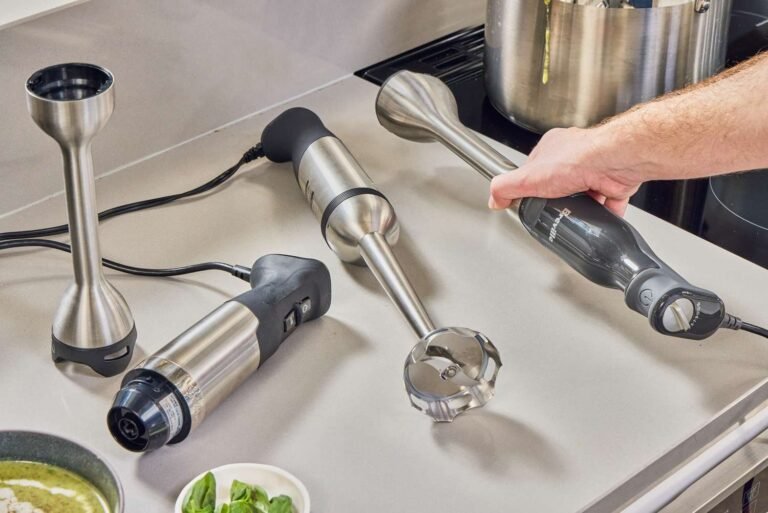
This page serves the user who owns or plans to buy a standard stick-style blending wand. It assumes you’re working with a model that features a variable speed dial and a stainless steel blending arm. If you’re looking for guidance on heavy-duty commercial blending or industrial-scale food processing, you should seek out professional kitchen equipment manuals.
The advice here focuses on standard residential use cases, such as emulsifying dressings or pureeing cooked vegetables. If your goal is to crush ice or grind dry grains like coffee beans, this device isn’t the right choice for that work, as it lacks the power and design for those specific tasks.
Factors that change the result
The depth of your liquid is the primary factor affecting performance. You must keep the blade guard fully submerged to prevent air from being pulled into the mixture, which causes splattering. If your container is too shallow, the blade will suck in air and create a vortex that splashes hot liquid; always use a container at least twice as deep as the blending head.
Consistency of the food matters significantly. Soft, cooked vegetables or liquids blend in seconds, while fibrous or raw ingredients require more time and higher speed settings. If you’re blending dense mixtures, start at a low speed to break down larger chunks before increasing to a higher setting to smooth the texture. People often make the mistake of using the highest speed immediately, which can cause the blender to “grab” the bottom of the container.
Container shape influences the flow of ingredients. A narrow, tall jar is best for small batches, while a wide pot works for large soups. If your container is too wide, the ingredients will just move around the blade rather than being pulled into it. Always ensure your container is heat-safe if you’re blending hot liquids, as the friction of the blade generates heat during prolonged operation.
The temperature of your ingredients creates a safety variable. Hot liquids expand and splash easily, so always fill containers no more than two-thirds full when blending hot soups or sauces. According to the United States Department of Agriculture, you should always handle hot liquids with caution to prevent severe burns during preparation.
Step-by-step blending guide
- Place your ingredients into a deep, stable container or a heavy-bottomed pot.
- Check that the blender is unplugged, then twist the immersion blade attachment onto the motor body until it clicks or locks into place.
- Plug the unit into a grounded outlet, ensuring the cord is clear of any burners or sharp edges.
- Insert the blending arm into the container, making sure the metal bell guard is fully covered by the liquid or ingredients.
- Set the variable speed dial to the lowest setting (usually 1) before you press the power button.
- Press the power button and move the blender in a slow, circular motion or an up-and-down motion to ensure all parts of the mixture reach the blades.
- Increase the speed dial gradually if you need a finer, smoother texture, but keep the blade submerged at all times.
- Release the power button to stop the blades completely before you lift the unit out of the mixture.
- Unplug the blender immediately after you finish your work to prevent accidental activation.
The key judgement call is knowing when to stop. You want to blend until the mixture reaches a uniform appearance without over-processing, which can change the texture of starchy foods like potatoes into a gummy consistency. Stop once the ingredients look smooth and consistent. If you need to perform maintenance or replace parts, always consult the manufacturer’s documentation, as internal motor work is for professionals only.
Performance variations
| Situation | Action | Effort/Time | Watch for |
|---|---|---|---|
| Hot soup | Use low speed | 60 seconds | Splatter risk |
| Salad dressing | Use high speed | 30 seconds | Emulsion break |
| Soft fruit | Use medium speed | 45 seconds | Air bubbles |
| Nut butter | Not recommended | N/A | Motor strain |
| Thick puree | Pulse frequently | 90 seconds | Blade clogging |
When blending hot soup, never fill the container past the halfway mark. Steam expansion creates pressure that can blow the lid off, causing severe burns. If the liquid reaches the halfway point, stop immediately and process in two smaller batches.
For emulsions like vinaigrettes, start at the lowest setting and increase speed only after the oil and vinegar begin to bind. If you see oil pooling on the surface, you have added the fat too quickly. Stop, add a teaspoon of warm water, and blend on high for ten seconds to force the emulsion back together.
Soft fruits like berries often trap air when blended at high speeds, resulting in a thin, frothy texture. Use the medium setting to maintain the integrity of the fruit pulp. If you need a smooth consistency, pulse three times before moving to a continuous medium speed.
Thick purees often cause cavitation, where the blades spin in a hollow pocket of air without touching the food. If you hear a high-pitched whine, stop and scrape the sides with a silicone spatula. Never use a metal spoon while the motor is running, as contact with the blades will permanently dull the edge and potentially chip the metal into your food.
Details that matter
Maintaining control during use
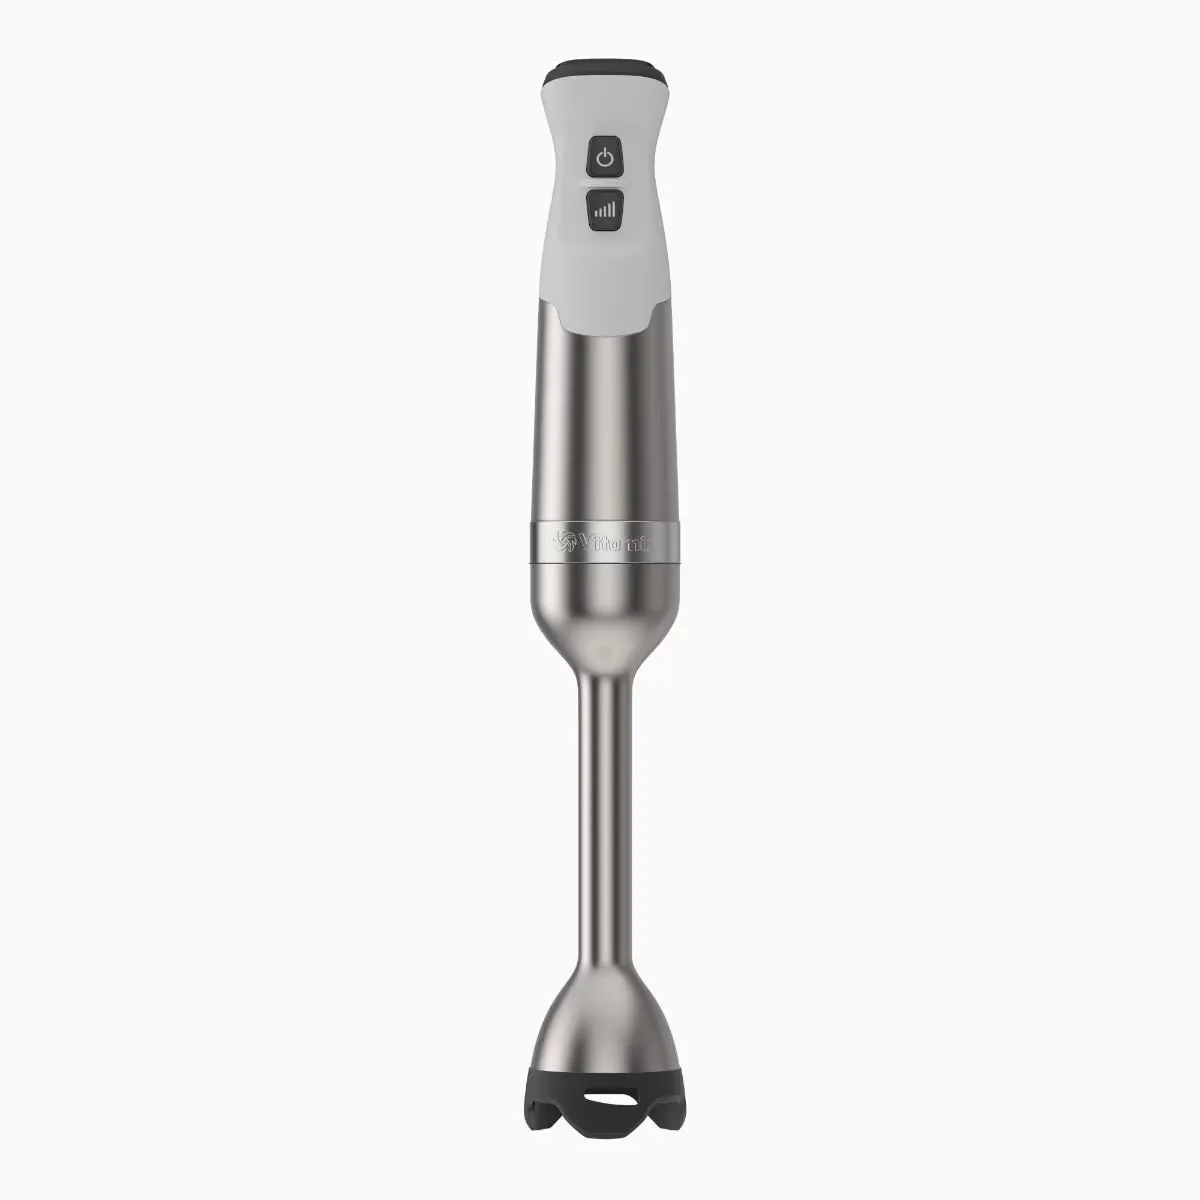
Experienced users keep their hand firmly on the motor handle while using their other hand to stabilize the pot or jar. They never force the blender against the bottom of the container, which can scratch non-stick surfaces or cause the blade to stall. If you feel the motor vibrate or struggle, stop immediately and check for large pieces that might be blocking the blade.
Preparing ingredients for success
Preparing your ingredients by cutting them into uniform, small pieces ensures the motor works efficiently and prevents overheating. Beginners often drop large, uneven chunks into the container, which forces the blender to work harder and increases the chance of clogging. If you’re processing raw vegetables, chopping them into 1-inch cubes first will significantly improve your final result and protect the motor.
Troubleshooting common issues
| What you notice | What it usually means | What to do first | How to stop it |
|---|---|---|---|
| Loud rattling | Loose attachment | Tighten the blade arm | Check lock before use |
| Food not moving | Too much liquid | Remove some liquid | Use smaller container |
| Motor hot | Overworked motor | Let it cool down | Blend in shorter bursts |
| Excessive splashing | Blade too shallow | Lower the arm deeper | Keep guard submerged |
| Blades stuck | Large chunks | Unplug and clear | Chop ingredients smaller |
If the motor emits a burning smell, stop immediately and unplug the device. The internal thermal fuse may have tripped, and the unit won’t restart until it has cooled sufficiently.
When food refuses to circulate, the issue is often density rather than volume. If you’re blending fibrous greens, add water in 50-milliliter increments. If the mixture remains stationary, you have reached the maximum viscosity the motor can handle.
Many users assume the guard must sit flush against the bottom of the bowl. This creates a vacuum seal that prevents suction. Instead, tilt the device at a 15-degree angle to allow air to escape.
If you struggle with blades jamming, test your ingredient size against the gap between the blade and the guard. If a piece of carrot or potato is larger than 1.5 centimeters, it will wedge. Cut all hard produce into uniform cubes smaller than 1 centimeter to ensure consistent flow.
Finally, check your power source if the device pulses during use. If you’re running the unit on an extension cord, the voltage drop will cause the motor to struggle under load. Plug directly into a wall outlet to maintain full torque.
Rules for safe operation
Safety standards for small kitchen appliances are set to protect users from electrical and mechanical hazards. Always ensure your outlet is properly grounded, as immersion blenders use high-speed motors that require stable power. Never submerge the motor housing—the part with the buttons and cord—in water, as this will damage the electrical components and pose a shock risk.
Manufacturer guidelines state that you should never run the motor for more than 60 seconds at a time when blending thick or heavy mixtures. If you need to blend for longer, stop for 30 seconds to allow the motor to cool.
If the device fails to turn on, check your home circuit breaker or try a different outlet before assuming the motor is broken. Never attempt to open the motor housing yourself, as this will void your warranty and expose you to internal electrical components.
Understanding the real cost
The cost of using this tool involves the price of the electricity and the wear on the motor over time. A typical household model draws between 500 and 800 watts, which is negligible for short bursts of use.
The real cost is the risk of damaging the motor through continuous high-speed use with heavy ingredients. Most users mistakenly assume that if the machine is running, it’s safe to keep going until the texture is perfect. This habit builds up internal heat that degrades the motor windings.
If you notice a faint burning smell or the casing feels hot to the touch, stop immediately. These are early warning signs that you’re nearing a mechanical failure that will cost more than the price of a new unit.
If you treat the motor well by blending in short intervals, you’ll avoid the need for costly repairs or early replacement. A simple rule applies: if you’re processing frozen fruit or thick nut butters, pulse the motor for ten seconds and let it rest for five. This allows the heat to dissipate before it compromises the internal components.
Compare your specific model’s wattage on the bottom label to understand your energy draw, though this will rarely exceed a few cents per month. If your model is rated above 1,000 watts, avoid using it on the highest setting for more than sixty seconds at a time. Exceeding this limit under load significantly shortens the lifespan of the drive socket.
Keeping your tool in shape
After you finish, detach the blending arm and wash it with warm, soapy water immediately to prevent food residue from hardening. Stubborn debris left for more than thirty minutes creates a film that requires abrasive scrubbing, which eventually pits the plastic finish and traps bacteria.
Never put the motor housing in water; just wipe it clean with a damp cloth if it gets dirty. If liquid enters the ventilation ports, unplug the device and let it air dry for at least twenty-four hours before attempting to use it again.
Store the device in a dry place where the cord isn’t tightly wrapped around the handle. Tight winding creates stress points that fray the internal wiring, leading to intermittent power or dangerous shorts. Instead, loop the cord loosely and secure it with a soft velcro tie.
If the blade feels dull or the arm doesn’t lock securely, contact the manufacturer to see if a replacement part is available for your specific model. If you notice a burning smell or the motor housing becomes hot to the touch after less than one minute of blending, stop use immediately.
These are signs that the motor is overheating. Attempting to force the unit to work in this state often leads to a total motor burnout, which is rarely covered under standard warranty terms.
When to choose another method
If you’re trying to process large volumes of ingredients for a catering event, an immersion blender is the wrong tool. It’s designed for small to medium batches, and using it for hours will overheat the motor. For large-scale work, use a commercial-grade countertop blender.
If you’re processing more than two quarts of liquid at once, switch to a countertop vessel. The immersion blender lacks the structural stability to maintain a consistent vortex in larger volumes, leading to uneven textures and potential splattering.
Additionally, if you need to grind dry ingredients like spices or grains, this device won’t work. Its blade geometry is optimized for liquid suspension, not the pulverization of hard, fibrous materials. Attempting to process dry goods will dull the blade edges within minutes and strain the motor housing. Use a dedicated spice grinder or a high-speed blender specifically rated for dry grain processing.
Distinguish your needs by the density of the load. If the mixture requires a constant liquid medium to circulate, the immersion blender is appropriate. If the ingredients are intended to remain dry or occupy more than half the volume of a standard mixing bowl, move to a high-capacity machine. Failing to make this distinction often results in a burnt-out motor or a permanent loss of blade sharpness, costing you the price of a full replacement unit.
Frequently asked questions
Can I use the blender in a hot pot?
Yes, you can use the blender in hot pots as long as the liquid isn’t boiling and you keep the blade guard fully submerged. Ensure the container is heat-safe and never lift the blade out of the liquid while the motor is running, as this will cause hot splatter.
How long should I blend for?
Most mixtures require 30 to 60 seconds of blending to reach a smooth consistency, depending on the hardness of the ingredients. If your mixture remains chunky after 60 seconds, stop the motor, stir the ingredients with a spoon to redistribute them, and then resume blending for another 30 seconds.
Is it safe to wash the blade in the dishwasher?
Check your specific owner’s manual to see if your model’s blade arm is dishwasher safe, as some finishes may discolor. Hand washing with warm, soapy water is the safest way to preserve the sharpness of the blades and the finish of the stainless steel, and it only takes a few seconds.
What happens if the motor starts to smell?
If you smell burning or notice the motor housing becoming hot, stop immediately, as this indicates the motor is straining under too much load. Unplug the device and let it cool for at least 15 minutes before checking if the blades are obstructed or if the mixture is too thick.
Does it matter if I use a plastic or metal container?
It matters because metal blades can easily scratch or gouge plastic containers, which can leave small pieces of plastic in your food. Always use a stainless steel pot or a heavy-duty, scratch-resistant glass jar to ensure your food remains clean and free of debris during the blending process.
Why is my mixture splashing everywhere?
Splashing happens when the blade is too close to the surface of the liquid or when the container isn’t deep enough for the volume of food. To stop this, ensure the bell guard is completely covered by at least 1 inch of liquid before you turn the power on.
Conclusion
Begin by testing the blender in a simple liquid like water or thin soup to get a feel for how the motor responds to the speed dial. If the motor makes a grinding sound or fails to spin, stop immediately and check for blockages.