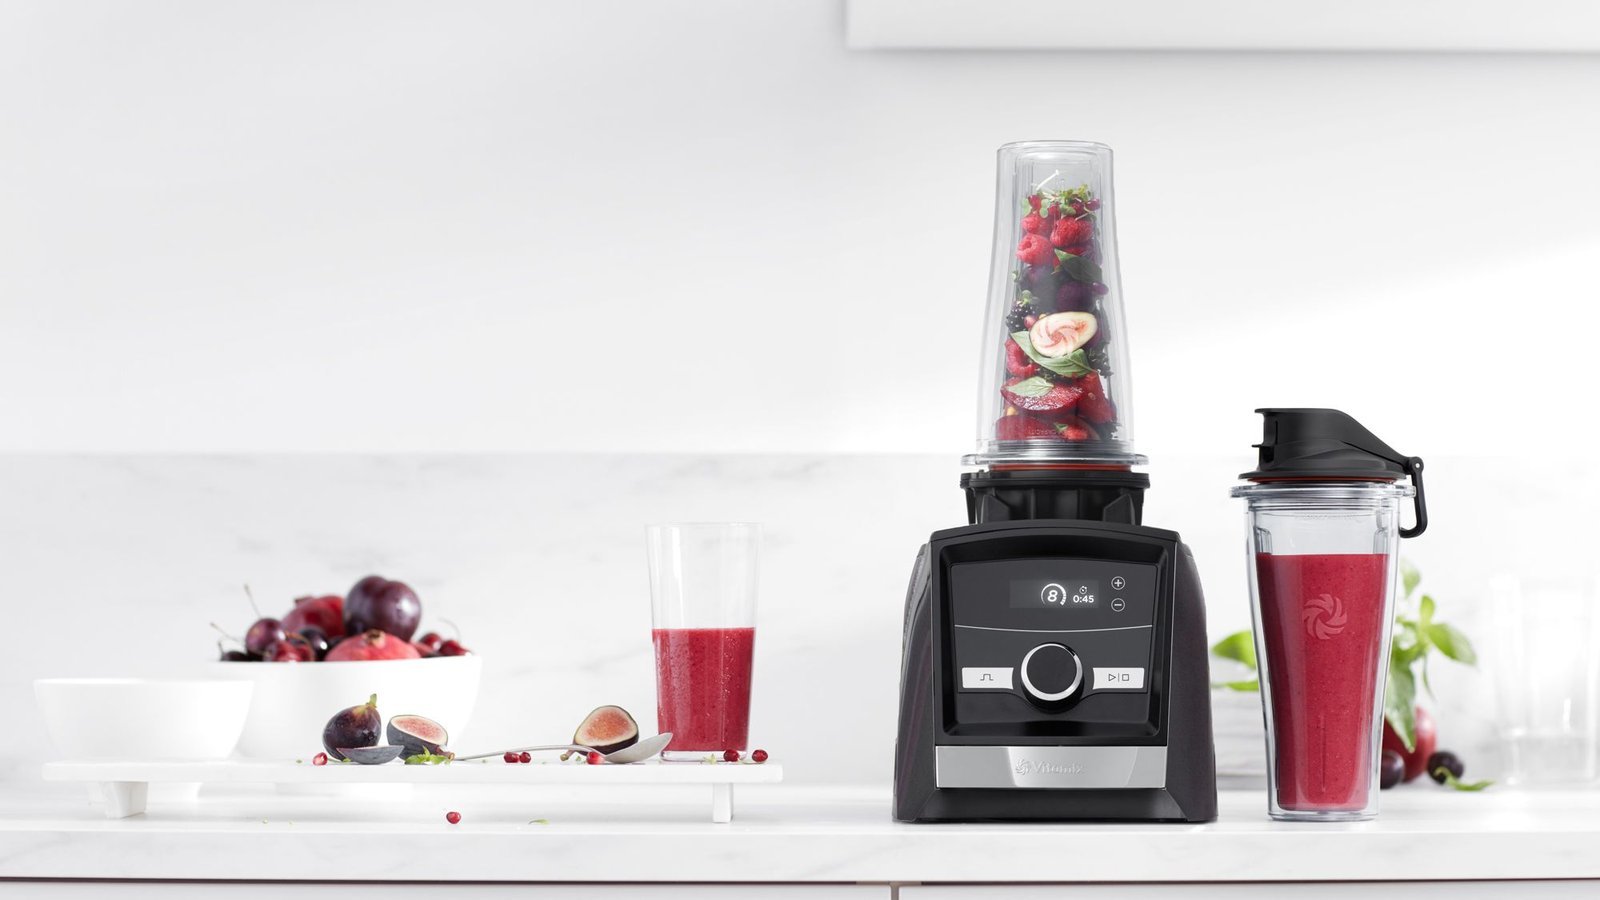
How To Use Vitamix Blender Cup Safely for Perfect Blends
To secure the base and blend safely, you need to ensure the how to use vitamix blender cup steps are followed by tightening the blade base until the arrows align before attaching it to the motor. You must always place liquids in first to create a vortex, followed by soft ingredients, and then frozen items or ice at the top. The final result depends on your ingredient density, the speed setting chosen, and whether you’re using a compatible blade base.
Getting started with your Vitamix blender cup
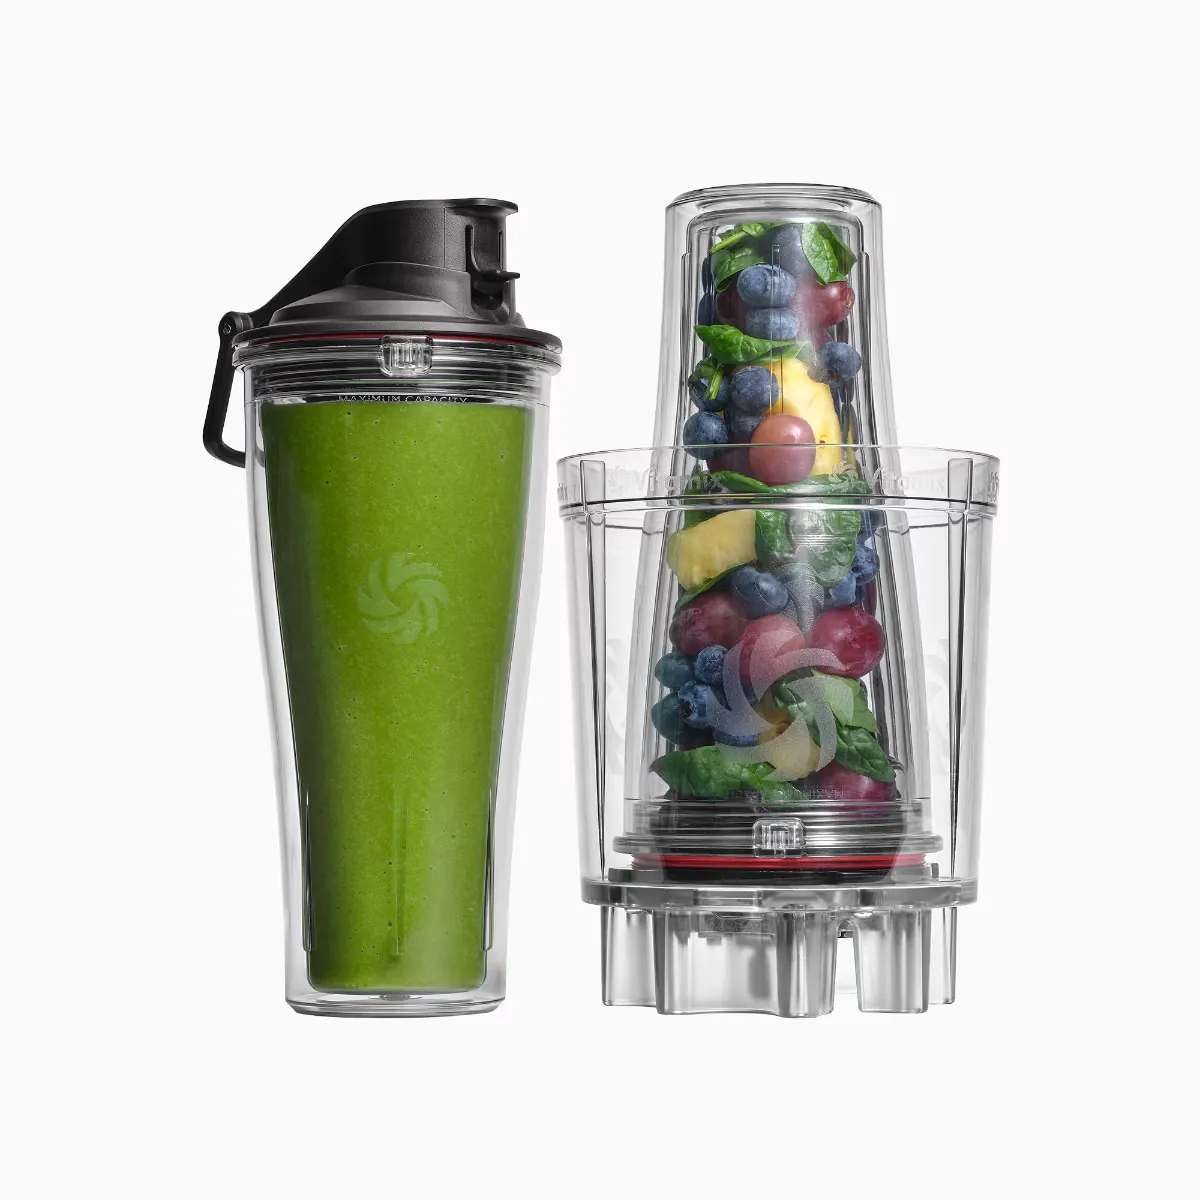
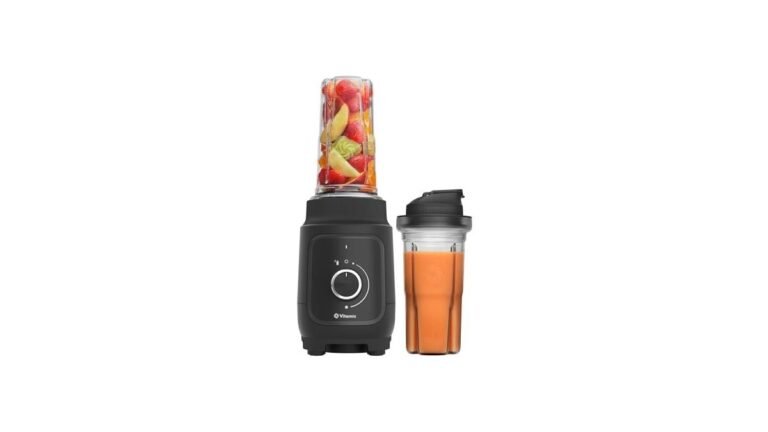
This guide serves individuals who own a Vitamix personal blender system and want to use the smaller blending containers for single-serve smoothies or dressings. It assumes you have the correct blade base designed for these specific cups, as these parts aren’t universal across all blender models. If you’re trying to use a large 64-ounce container, this information doesn’t apply to you.
Most readers here are home cooks looking to speed up their morning routine or prepare small portions without dirtying a large pitcher. You likely have the motor base, the cup, and the blade assembly. If you’re missing the blade base specifically made for the cup, you can’t complete the process. This page focuses on the standard operating procedure for the blending cups, ensuring you don’t damage the seals or the motor connection.
Factors Influencing Your Blend Quality
The most significant factor affecting your result is the ratio of liquid to solids. If you add too many frozen items without enough liquid, the blades will cavitate, meaning they spin in a pocket of air without pulling ingredients down. You can check your liquid level by ensuring the fluid line reaches at least the halfway point of your solid ingredients before starting.
Blade base tightness is a common point of error that people often get wrong. If the base isn’t screwed on until the alignment marks meet, the seal may leak, which can damage the motor base electronics. Always verify the alignment by looking at the thread marks on both the cup and the base before you flip the unit over to attach it to the blender.
Ingredient order matters because of how the blade pulls items downward. Harder items like frozen fruit or ice should be added last, as they act as a weight that pushes softer ingredients into the blades. This prevents the blender from overheating during the initial start-up phase. If you use too much fibrous material like kale or ginger, you’ll need to blend for a longer duration to reach a smooth consistency.
Steps to Blend Safely
- Add your liquids, such as water, milk, or juice, to the bottom of the cup first.
- Add soft ingredients like yogurt, nut butter, or fresh fruits into the cup.
- Place frozen fruits, ice, or leafy greens on top of the soft ingredients.
- Screw the blade base onto the cup by turning it clockwise until the arrows align.
- Invert the cup and place it onto the blender motor base so it sits flat.
- Start the blender on the lowest speed setting to avoid a sudden jump in pressure.
- Increase the speed to high slowly over the first 10 seconds of operation.
- Blend for 45 to 60 seconds until the mixture reaches your desired texture.
- Turn the motor off completely and wait for the blades to stop spinning.
- Remove the cup, invert it, and unscrew the blade base to pour your drink.
The key judgment call is knowing when to stop blending based on the sound of the motor. A steady, low hum indicates the blades are moving through the mixture efficiently. If the motor pitch becomes high-pitched or strained, stop immediately, as this means the ingredients are too thick and need more liquid.
Comparison of Blending Scenarios
| Situation | Liquid Amount | Speed Setting | Watch For |
|---|---|---|---|
| Fresh fruit | 1/2 cup | Low to Medium | Even consistency |
| Frozen berries | 1 cup | Medium to High | Cavitation pockets |
| Nut butter | 1/4 cup | Low | Motor strain |
| Leafy greens | 1 cup | High | Visible chunks |
| Thick shakes | 1 1/2 cups | Medium | Smooth texture |
When blending fresh fruit, start at the lowest setting and increase speed only after the blades have fully broken down the skin. If you rush to high speed, the fruit often slides up the walls of the jar, leaving you with uneven chunks.
For frozen berries, the biggest mistake is failing to account for the ice density. If the mixture stops moving, you have a cavitation pocket. Immediately stop the motor and use a tamper to push the ingredients back into the blades. Never add more liquid to fix this, as it will turn your smoothie into a watery soup.
Nut butter requires patience. If the motor sounds like it’s struggling or the pitch rises sharply, stop for thirty seconds. This protects the internal thermal fuse from tripping. If the mixture remains dry after two minutes, add a single teaspoon of neutral oil rather than more water to keep the emulsion stable.
Leafy greens demand high speed to shear through fibrous stems. If you see visible chunks after thirty seconds, the greens were likely packed too tightly. Always layer greens at the bottom of the jar so they hit the blades first.
Finally, thick shakes rely on the weight of the liquid to create a vortex. If the mixture is too thick, the blades will spin in a vacuum. If you see the mixture stop circulating, add liquid in quarter-cup increments until the vortex re-establishes itself.
Precision in Personal Blending
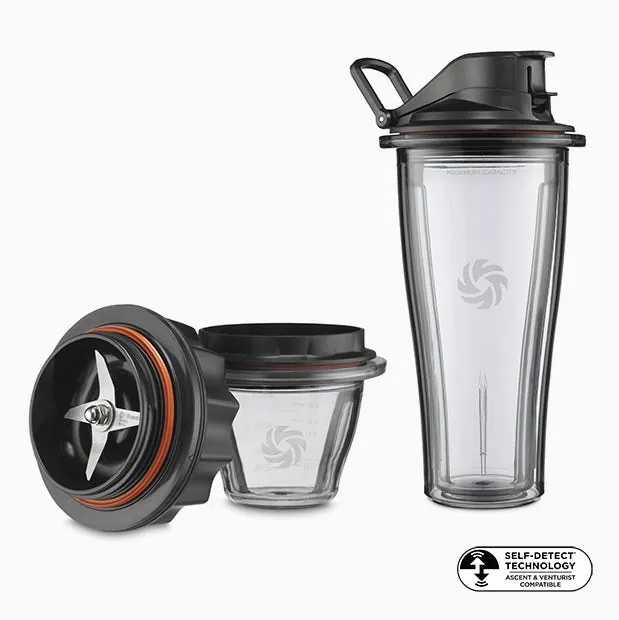
Preparing the Ingredients
Experienced users always chop large ingredients into 1-inch pieces before putting them in the cup. This size ensures the ingredients fall into the blades easily without getting stuck at the top. Beginners often skip this step, which causes the blender to stall or create inconsistent textures. If you see ingredients stuck to the sides, stop the motor, remove the cup, and shake it gently to redistribute the contents.
Monitoring the Motor
Keep your hand on the base of the blender while it runs to monitor for excessive vibration. If you feel the unit moving or shaking, turn it off and check that the cup is locked into the base correctly.
Troubleshooting Common Issues
| What you notice | What it usually means | What to do first | How to stop it |
|---|---|---|---|
| Leaking liquid | Loose blade base | Tighten the base | Align arrows |
| Motor stalling | Too thick | Add more liquid | Use more water |
| Loud rattling | Unbalanced load | Stop and shake | Chop ingredients |
| Burning smell | Overheating motor | Stop immediately | Reduce blend time |
| Cup won’t start | Not locked in | Check alignment | Press down firmly |
If liquid pools at the base, check the rubber gasket inside the blade assembly. If it’s pinched or missing, tightening the base will only crack the plastic housing. Replace the ring if it shows any signs of fraying or brittleness.
When the motor stalls, don’t pulse the power repeatedly to force a rotation. This creates a heat spike that can fuse the internal gears. If the mixture is thicker than Greek yogurt, add at least two ounces of liquid before attempting another cycle.
A loud rattling sound often indicates a piece of frozen fruit or ice is wedged under the blade. Stop the machine and manually stir the contents with a silicone spatula. If you hear this noise consistently, you’re overloading the vessel. Never fill the cup past the maximum line, as the ingredients need room to circulate.
A thermal overload is the primary indicator of a potential motor issue. If the unit stops running, unplug it and let it sit for thirty minutes. If the unit fails to restart after it cools, the internal motor brushes have likely worn down.
If the cup fails to engage, ensure the plastic tabs on the rim aren’t chipped. If they’re intact but the motor remains silent, check the base for debris. A single stray seed or grain of salt can prevent the safety switch from making contact.
Operational Standards and Safety
You must adhere to the manufacturer’s capacity limits to prevent internal pressure buildup. The U.S. Consumer Product Safety Commission notes that improper use of pressurized blending containers can lead to seal failure or component ejection. Never fill the cup past the “Max” line etched on the side, as this leaves no room for the necessary movement of ingredients.
If your ingredients reach the lid, the vacuum seal fails to form correctly. This forces the motor to work against trapped air, leading to overheating or a blown gasket. If you’re blending hot liquids, reduce the volume to half the container’s capacity. Heat expands air rapidly, and a full cup will inevitably force the lid open under pressure.
Check your local voltage before plugging in your motor base. Using a 120-volt unit on a 220-volt outlet will cause immediate and permanent damage to the motor. If you travel internationally, don’t rely on simple plug adapters. These change the shape of the prongs but don’t regulate the current. You must use a heavy-duty voltage converter rated for the wattage of your specific blender to avoid frying the internal circuit board.
Always consult the specific manual for your model, which you can find on the official website by entering your serial number. If the motor emits a burning smell or the base vibrates excessively, stop immediately. These are early warning signs of bearing failure. Continuing to run the unit in this state often leads to a seized motor, which is rarely covered under standard manufacturer warranties.
The Cost of Maintenance
The real cost of using these cups is the wear on the rubber gaskets inside the blade base. If you wash these in a high-heat dishwasher, the rubber will degrade or warp, leading to leaks over time. Hand-washing the base in warm, soapy water is the best way to extend its lifespan.
Time is your other primary investment. While the blend itself takes less than a minute, cleaning the blade base immediately prevents residue from hardening in the crevices. If you leave the base dirty, you’ll spend more effort scrubbing later, which increases the risk of damaging the seal with a cleaning brush.
Long-Term Care and Storage
Store your blender cups in a cool, dry place away from direct sunlight. UV exposure causes polycarbonate plastics to lose their structural integrity, eventually turning them brittle and prone to micro-fractures.
Always store the blade base separately from the cup to allow the rubber gasket to dry completely. Trapping moisture inside the assembly encourages mold growth and accelerates the degradation of the seal material. If you notice the gasket is loose, discolored, or has visible cracks, stop using that base immediately. A compromised seal fails to create the vacuum necessary for safe operation.
When you notice a high-pitched “whistling” sound while blending, air is bypassing the seal. This friction creates excess heat that can melt the plastic threads of your cup. You don’t need to replace the entire blender, just the blade base unit. Always verify the part number on the manufacturer’s website, as base threading varies by production year.
If you store your blender for more than thirty days, remove the gasket entirely and coat it in a light layer of food-grade silicone lubricant. This prevents the rubber from drying out and cracking while idle. If the gasket feels stiff or “tacky” to the touch after storage, it has lost its elasticity and must be replaced before use.
When to Seek Professional Support
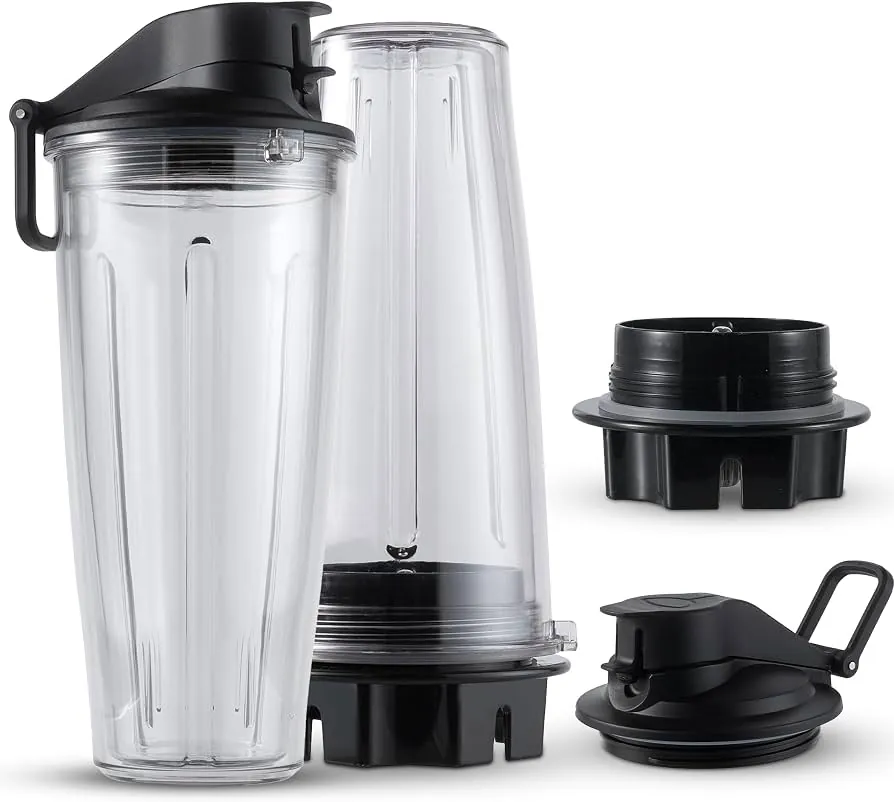
If you have a large amount of leafy greens or tough root vegetables to process, a personal blending cup is the wrong choice. Use a full-size pitcher for large volumes, as the small cups are designed for single servings and can easily overheat under heavy loads.
If you smell a faint, ozone-like scent or notice the motor speed fluctuating during a standard blend, stop immediately. These are early warning signs of internal friction or electrical strain. Waiting until the motor stops turning on entirely often means the thermal fuse has already tripped or the windings have fused.
Don’t attempt to open the housing yourself if the unit fails. A capacitor inside can hold a lethal charge even when unplugged. Take the unit to an authorized service center instead.
Distinguish between a simple jam and a mechanical failure by checking the blade assembly. If the blades spin freely by hand when the unit is unplugged, the issue is likely electrical. If they’re seized or gritty, you’re dealing with a bearing failure.
Many users mistake a dulled blade for a weak motor. If your ingredients remain chunky after sixty seconds of blending, replace the blade assembly before seeking professional repair. A new blade costs a fraction of a service fee and often restores full performance.
If the base leaks liquid into the motor housing, unplug it and leave it to dry for forty-eight hours. If it still fails to start after this period, the internal circuitry has likely corroded. At that stage, professional intervention is rarely cost-effective compared to a replacement.
Frequently asked questions
Can I blend hot liquids in the cup?
You shouldn’t blend hot liquids in the personal blending cups because the heat creates pressure that can force the lid open. Always wait for ingredients to cool to room temperature before blending, or use a vented container specifically designed for hot liquids if your system includes one.
How do I know if my blade is dull?
Your blades are dull if they take longer than 60 seconds to process soft ingredients like bananas or spinach. If you find yourself blending for longer periods to get the same results you once achieved in 30 seconds, it’s time to replace the blade base assembly.
Is it safe to put the cup in the dishwasher?
You can safely place the cup in the top rack of the dishwasher, but the blade base must be hand-washed. High heat from the dishwasher will damage the rubber gasket and the plastic housing of the blade base, which will eventually cause the unit to leak.
Why does my blender smell like burning?
Your motor smells like burning because it’s working too hard to process ingredients that are too thick or too frozen. Stop the blender immediately, add more liquid to the mixture, and let the motor cool down for at least 15 minutes before you attempt to blend again.
Can I use the cup for dry grinding?
You should only use the cup for liquids or soft solids, as dry grinding requires a different blade geometry. Using the standard personal blending blade for dry grains or hard spices will quickly dull the blades and put unnecessary strain on the motor’s internal gears.
How often should I replace the gasket?
You should replace the blade base assembly whenever you see visible cracks or a loss of suction during the blending process. There’s no set time frame because it depends on how often you use the unit and how you clean the blade base after each session.
Conclusion
Start by ensuring your blade base is screwed tightly onto the cup before you invert it onto the motor base. You should expect a smooth, consistent vortex once the blending begins, which is the primary sign that your ingredient ratio is correct. If the motor sounds strained or the cup leaks, stop immediately and check the seal or add more liquid to the mixture.