Is The Vitamix Alta Pro A Good Blender? Our Expert Verdict
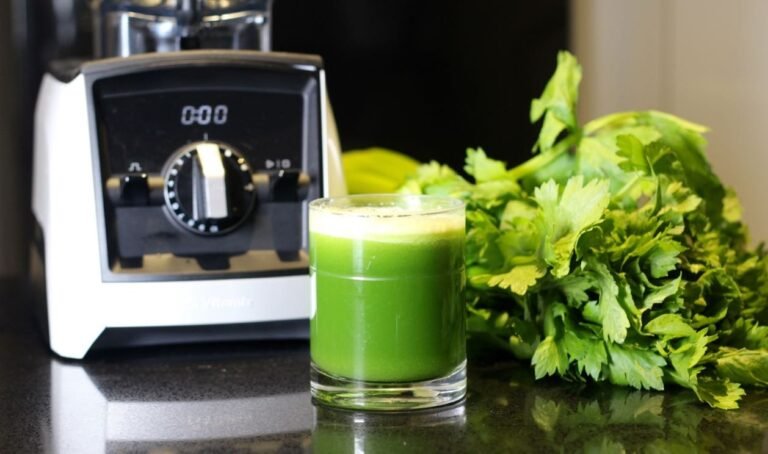
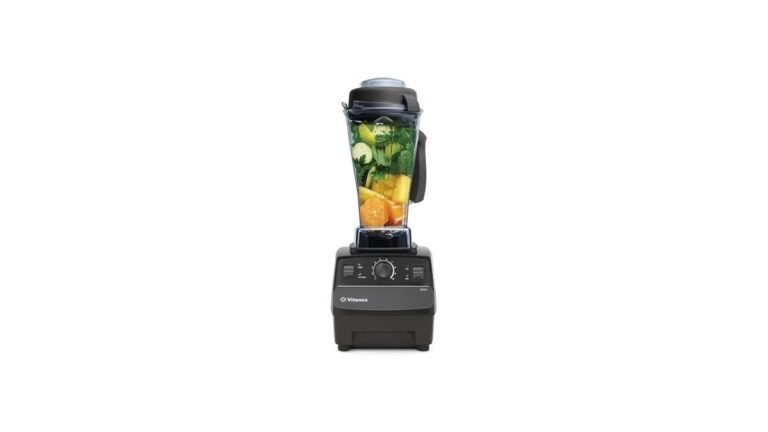
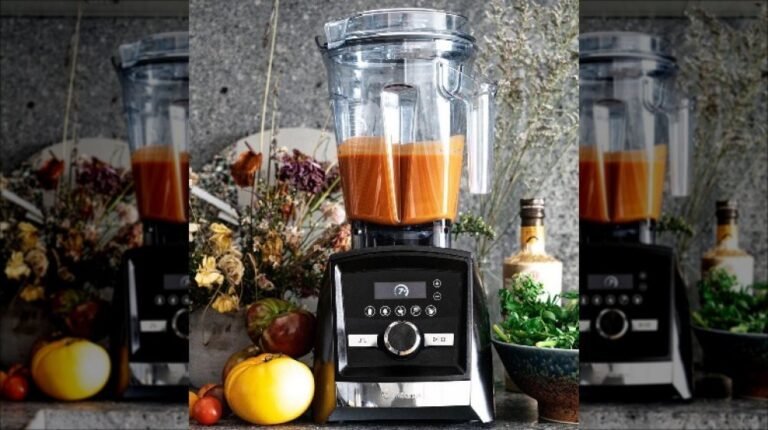
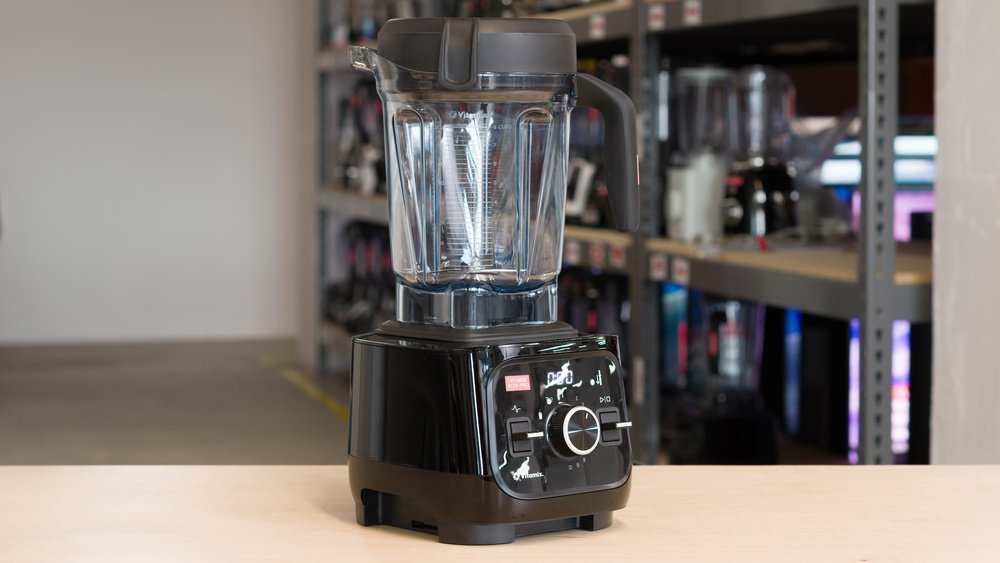
The Vitamix A3500, often called the Alta Pro by users, is a highly capable blender that excels at processing tough ingredients into smooth textures. It offers professional-grade power and long-term durability, making it a reliable tool for those who blend daily.
Whether this machine fits your home depends on your specific needs and counter space. The following sections explain how it performs and who should consider adding it to their kitchen.
Picking the right Vitamix Alta blender
People who search for a high-performance blender usually fall into one of two categories. The first group includes home cooks who want to make daily smoothies, hot soups, and nut butters from scratch. They need a machine that handles fibrous kale or hard almonds without stalling. The second group consists of occasional users who only need a blender for the occasional protein shake or frozen margarita.
This article serves the first group. We assume you’re looking for a machine that replaces multiple smaller appliances and lasts for years. If you only need to blend soft fruit once a week, a less expensive, entry-level model will likely serve your needs just as well. We focus on the features that provide value to frequent users who demand consistent results regardless of the ingredient.
Factors that influence blending performance
Several technical aspects determine how well a blender performs under heavy use. The motor base is the most important factor, as it dictates the torque available when blending thick mixtures like hummus or frozen fruit. A high-wattage motor, such as the 2.2-peak horsepower motor in the A3500, handles dense loads without overheating. If you frequently blend thick recipes, you need this extra power.
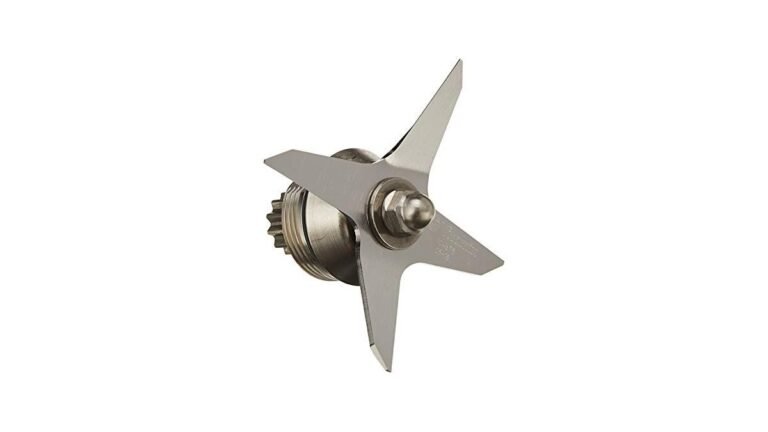
Blade design also changes the outcome. Vitamix uses laser-cut, hardened stainless steel blades that are designed to pulverize ingredients rather than slice them. This creates a finer texture compared to blenders that rely on sharp, thin blades. People often assume that sharper blades are better, but blunt, high-speed edges are more effective for consistent blending.
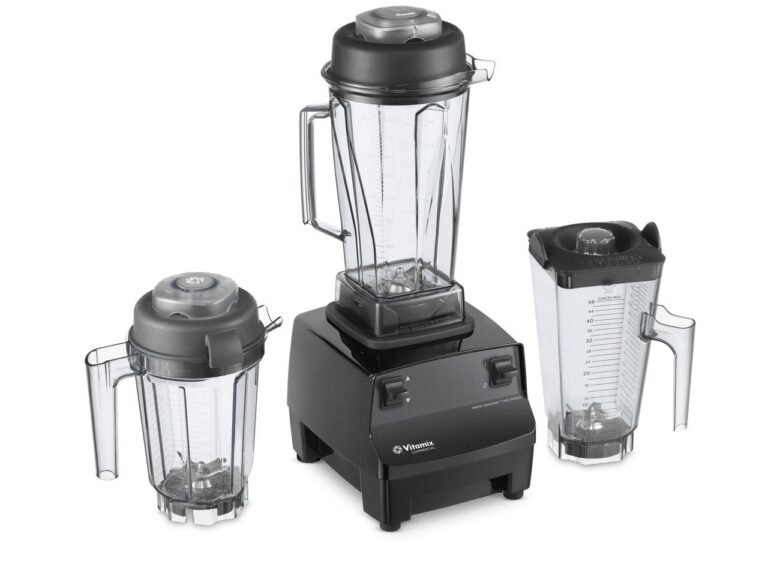
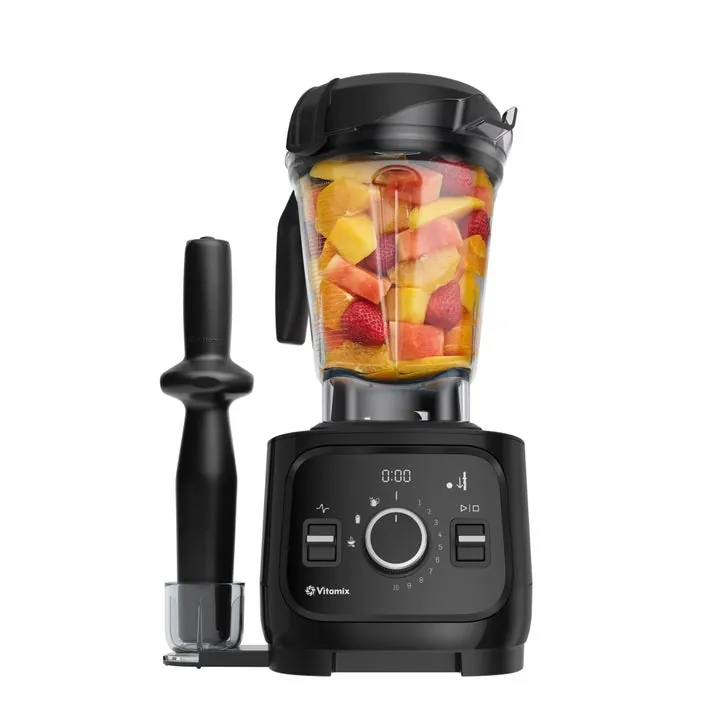
The container shape is another detail that matters. These containers are tapered to force ingredients back toward the blades, which prevents cavitation—that frustrating moment when an air pocket forms around the blades and stops the blending. If you use a wide, flat jar, you’ll have to stop and stir the ingredients more often.
Finally, user controls affect your experience. Programmable settings allow you to walk away while the blender runs a specific cycle. This is a benefit for those who multitask in the kitchen. If you prefer total control, manual speed dials offer the precision needed to adjust the texture of delicate sauces or chunky salsas on the fly.
Using your blender for daily tasks
- Place the blender base on a flat, dry surface. Ensure it’s at least 6 inches away from the wall to allow for motor cooling.
- Add liquids to the container first. This helps pull dry ingredients down toward the blades once you start the machine.
- Layer soft ingredients next, such as yogurt or leafy greens, followed by hard items like frozen fruit or ice.
- Secure the lid firmly. Always start the blender on the lowest speed setting before increasing it.
- Increase the speed dial slowly to the highest setting within 10 seconds. Use the tamper to push ingredients into the blades if a thick mixture stalls.
- Blend for 45 to 60 seconds for most smoothies. If you’re making hot soup, blend on the highest speed for 5 to 6 minutes until steam escapes the lid.
- Turn the dial back to the lowest setting before you switch the power off.
- Wait for the blades to stop completely before removing the container.
The key judgment call is knowing when to use the tamper. If the mixture stops moving, don’t keep the motor running, as this can cause the machine to overheat. Use the tamper to push the contents down. If you don’t have a tamper, turn the machine off and add a small amount of liquid to help the flow.
Comparison of blender features
| Feature | Low-Speed Blenders | High-Performance Blenders |
|---|---|---|
| Motor power | 500–900 watts | 1,200–1,500+ watts |
| Blade type | Thin, sharp edges | Hardened, blunt edges |
| Material | Plastic or glass | BPA-free Eastman Tritan |
| Preset cycles | Rarely included | Standard in pro models |
| Typical lifespan | 2–3 years | 10+ years |
If you plan to process fibrous greens like kale or frozen fruit daily, choose a high-performance model. The blunt blades rely on sheer torque to pulverize fiber rather than slicing it, which prevents the motor from stalling under heavy loads.
Budget blenders often fail because users overload the jar, causing the plastic gears to strip. If your mixture stops circulating, add two ounces of liquid before forcing more ingredients down.
Check the base for a metal drive socket. Metal-on-metal couplings handle the high-speed friction required for hot soups and nut butters without melting.
If you only make soft fruit smoothies, the lower wattage is sufficient.
Getting the best results
Preparing ingredients correctly
Experienced users always chop large vegetables into 2-inch chunks before blending. This ensures the blades grab the food immediately, resulting in a faster, smoother process. Beginners often toss whole fruits into the jar, which can cause the blades to bounce and create an uneven texture. Consistent sizing leads to a better result every time.
Managing the blending process
Watch the vortex inside the container while you blend. A perfect vortex looks like a funnel that pulls ingredients down the center. If you see ingredients stuck to the sides, stop the motor and scrape the sides with a spatula. Never attempt to scrape the sides while the blades are moving, as this is a safety risk.
Troubleshooting common issues
| What you notice | What it usually means | What to do first | How to stop it |
|---|---|---|---|
| Burning smell | Motor is straining | Stop immediately | Add more liquid |
| Air pocket forms | Too many solids | Use the tamper | Layer liquids first |
| Leaking lid | Improper seal | Clean lid gasket | Press lid down firmly |
| Loud rattling | Loose base | Tighten container | Place on flat surface |
| Uneven chunks | Blades are dull | Contact support | Avoid hard pits |
If you detect a burning smell, check the motor base for debris. A buildup of dried food or dust near the intake vents often mimics internal motor failure. If the vents are clear and the smell persists, your load is too dense for the current speed setting.
Air pockets often occur when ingredients are too frozen. If the tamper fails to move the mass, add two tablespoons of water or juice to create a vortex. Always pour liquids into the jar before adding solids to prevent this cycle.
A leaking lid usually stems from a warped gasket. Soak the seal in warm, soapy water for ten minutes to restore its original shape.
Finally, never force blades through frozen pits or whole nuts. These items cause microscopic chips in the steel, rendering the blade dull within months.
Safety and operational standards
The United States Consumer Product Safety Commission provides general guidelines for operating kitchen appliances safely. Always keep your hands and utensils out of the container while the motor is engaged. If you need to perform deep cleaning or maintenance, ensure the unit is unplugged from the outlet.
If the blender stops working due to an overload, the thermal protection system will trigger. Unplug the machine, remove the container, and allow the motor to cool for 30 to 45 minutes before trying again. If the machine doesn’t start after cooling, refer to the manufacturer’s warranty documentation to find authorized service centers. Never use the device if the power cord shows any signs of fraying or damage.
Evaluating the true cost
The cost of a high-end blender involves both the initial price and the value of its longevity. While these machines are relatively inexpensive compared to the alternative, they’re built to last over a decade with proper care. A cheaper blender may cost less upfront, but it often needs replacement every few years. If you blend daily, the cost per use of a high-performance model is actually quite low.
Factors that move the cost up include extra accessories like smaller blending cups or specialized dry grain containers. If you only plan to make large batches of soup or smoothies, you don’t need these add-ons. Check the official product page for current pricing and bundle options to avoid paying for accessories you won’t use. Always compare prices directly through the manufacturer to ensure you’re getting the latest model year.
Maintaining your machine
Clean your blender container immediately after every use to prevent food from drying on the blades. Fill the container halfway with warm water and one drop of dish soap. Run the machine on the highest speed for 60 seconds, then rinse it thoroughly. This simple process keeps the seals and blades in top condition for years.
If you notice a cloudy film building up on the inside of the container, this is usually mineral buildup from hard water. Soak the container in a mixture of white vinegar and water for 2 hours to remove it. If the film persists after soaking, scrub the interior gently with a soft sponge rather than an abrasive pad, which can scratch the plastic and harbor bacteria.
Never put the container in a dishwasher unless the manufacturer specifically labels it as dishwasher-safe. High heat and harsh detergents degrade the rubber gaskets, leading to leaks. If you see liquid leaking from the base during operation, replace the gasket immediately to prevent motor damage. Ignoring a small leak often costs the price of a new base.
When this is the wrong choice
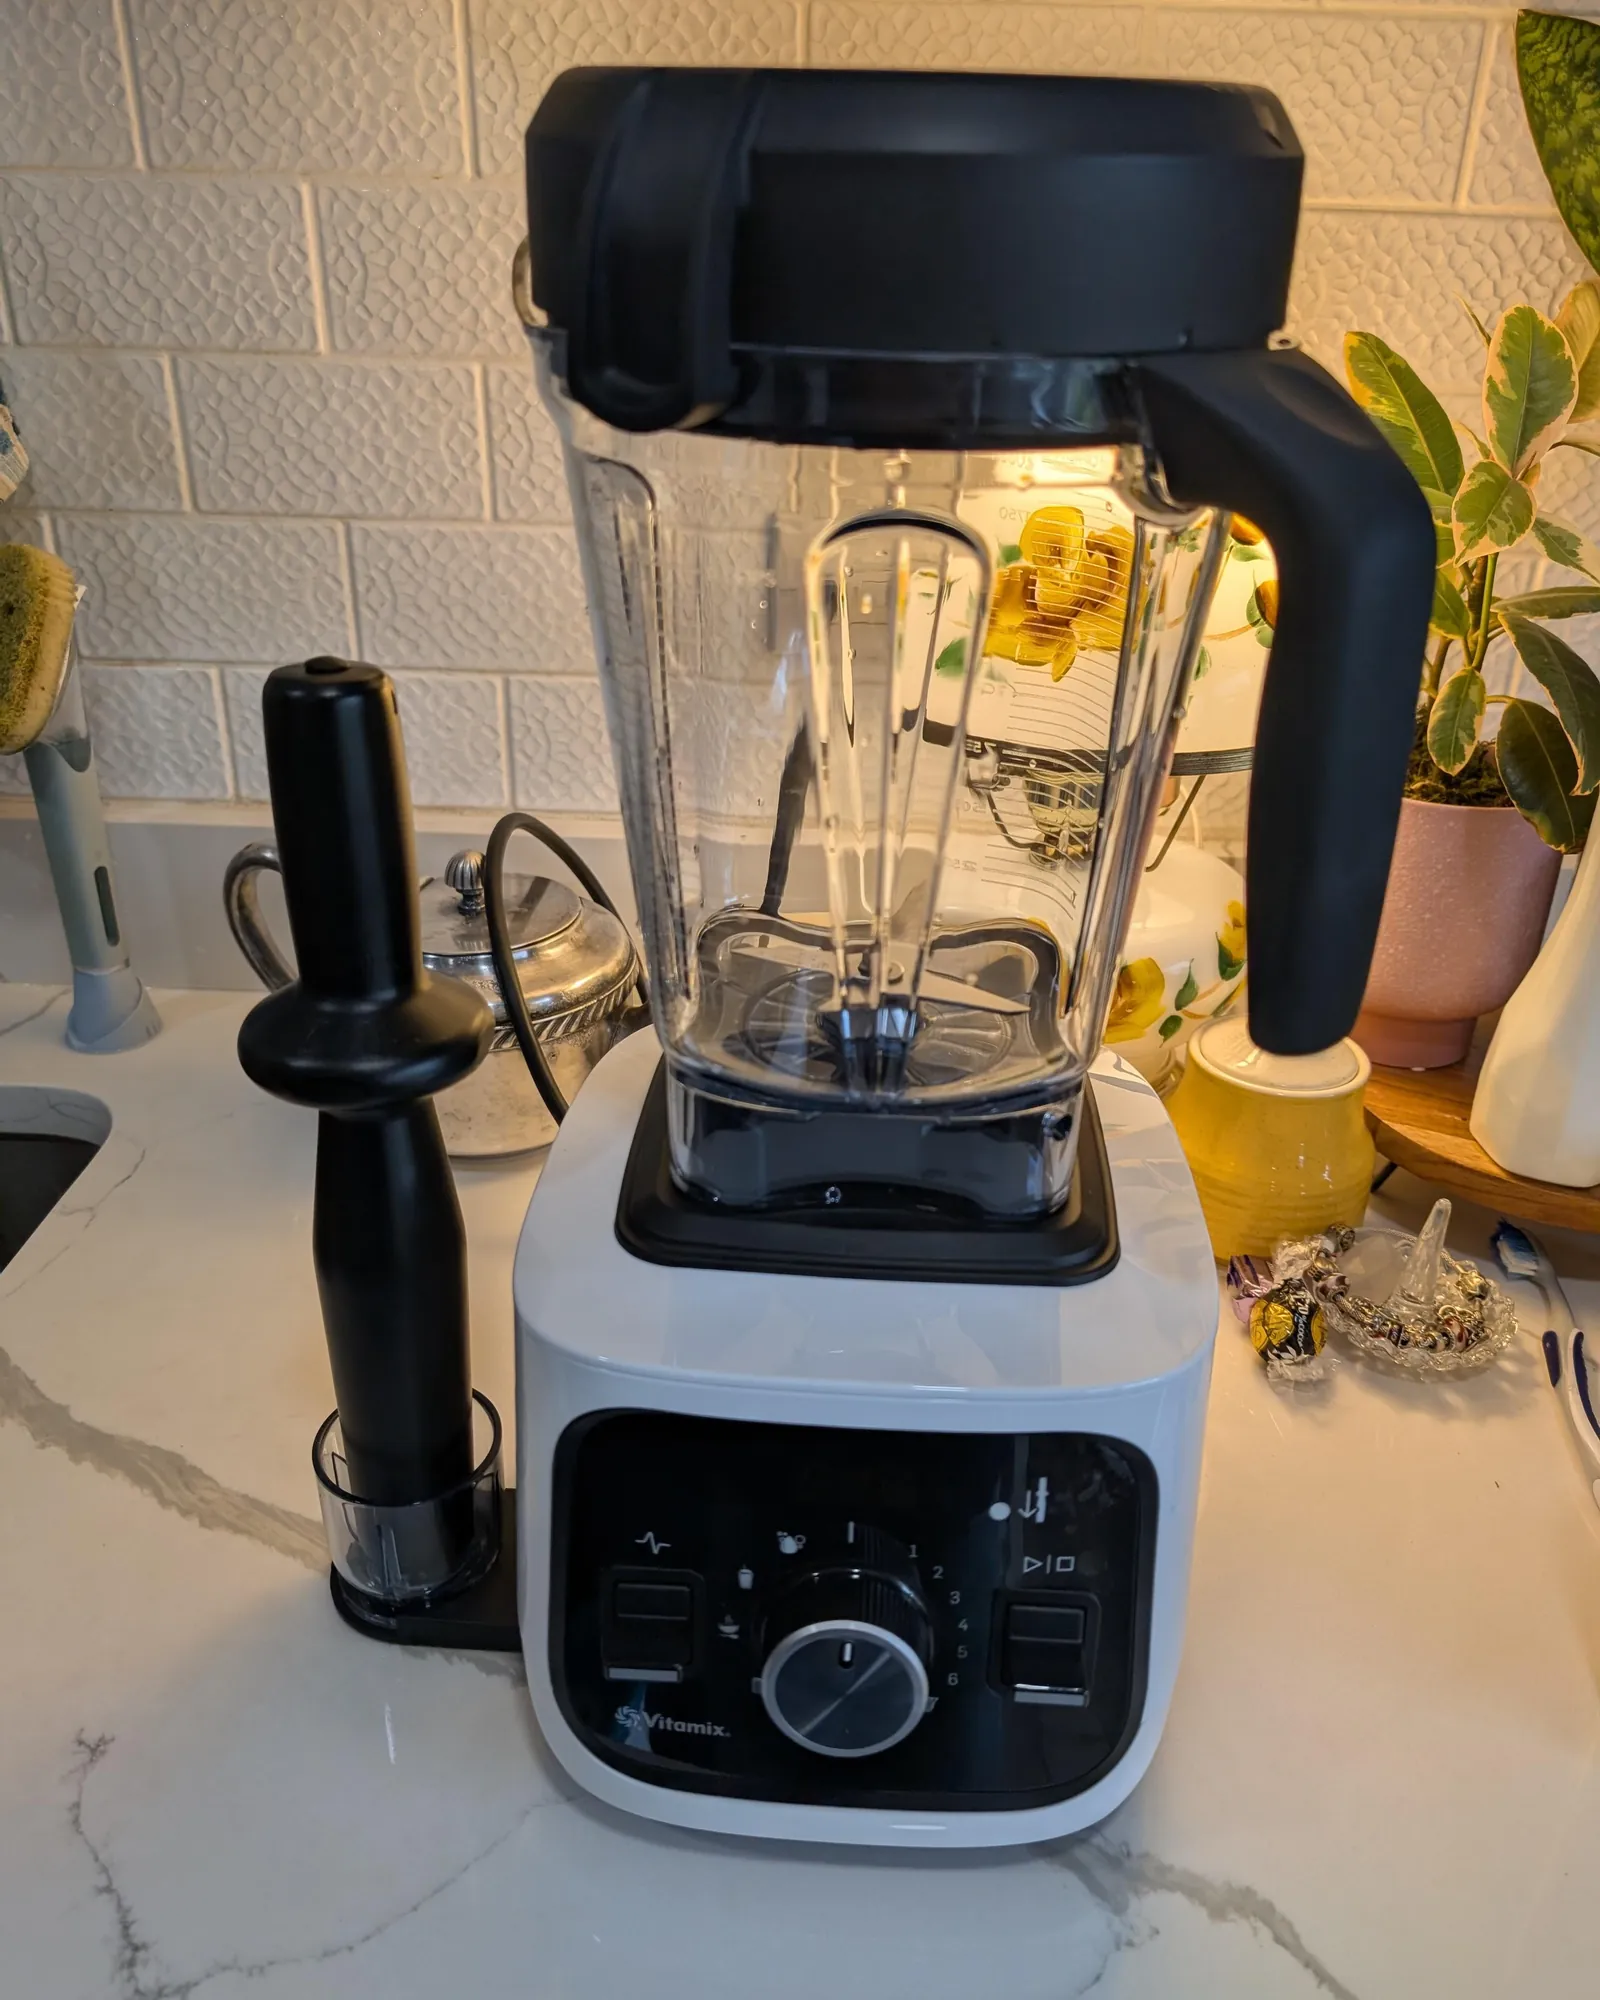
This blender is the wrong choice if you have less than 18 inches of vertical clearance beneath your upper cabinets. These machines are tall and heavy, often requiring a dedicated, permanent spot on your kitchen island. If your kitchen layout is cramped, look for a compact, personal-sized blender that fits easily inside a standard drawer.
It’s also the wrong choice if you rarely blend anything harder than soft fruit or yogurt. The extra motor power and heavy-duty blades will go unused, and you’ll have spent money on capacity you don’t need. In this case, an immersion blender or a basic countertop model is a more practical alternative.
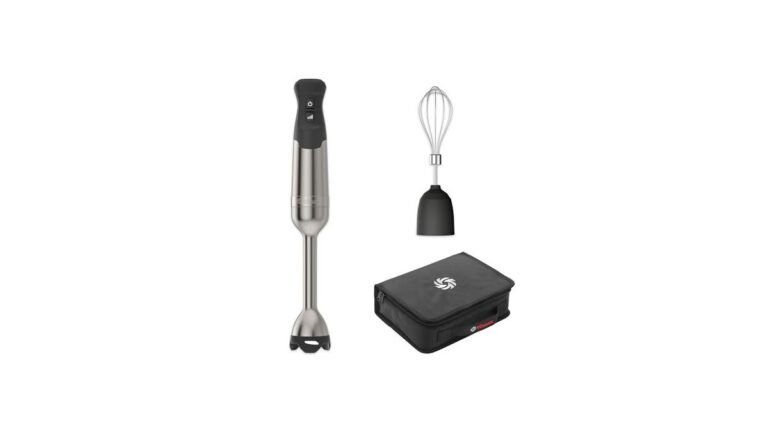
If you find yourself cleaning a massive pitcher just to mix a single morning protein shake, you have chosen the wrong tool. These smaller, handheld devices are easier to store and handle for simple tasks like mixing dressings. If you prepare more than three servings at once, stick with the large model; if you only serve yourself, downsize immediately.
Frequently asked questions
Can I blend hot liquids safely?
Yes, you can blend hot liquids as long as you don’t fill the container past the maximum fill line. Always start the blender on the lowest speed to prevent hot splashes, then slowly increase to the highest speed. The friction of the blades will keep the soup hot while you blend.
How long does the motor last?
The motor is designed to last for over 10 years with regular, moderate household use. You can find the specific warranty duration in the documentation provided with your machine. If the motor fails, contact the manufacturer to see if the repair is covered under their standard service agreement.
Is it safe to crush ice daily?
Yes, this blender is designed to crush ice into snow without damaging the blades or the motor. Use the highest speed setting for the best results when processing ice. Ensure you have enough liquid in the mix to help the ice move, which prevents the motor from straining unnecessarily.
What happens if the blender stops mid-cycle?
The blender has a built-in thermal protection system that shuts the motor off if it overheats. Allow the unit to cool for at least 30 minutes before attempting to use it again. If it doesn’t restart after this time, check your kitchen breaker to ensure it hasn’t tripped.
Does it matter if I use the tamper?
Yes, the tamper is a vital tool for moving ingredients into the blades when they get stuck. Using the tamper prevents air pockets from forming, which ensures a smooth consistency. Never use a standard kitchen spoon or spatula while the motor is running, as it could hit the blades.
How often should I sharpen the blades?
You don’t need to sharpen the blades because they’re designed to be blunt and durable. They don’t cut through food; they pulverize it at high speeds. If the blades become chipped or seem to lose performance, contact the manufacturer to replace the container assembly rather than trying to sharpen them.
Conclusion
Start by placing the blender base in a clear area of your kitchen and running a water-and-soap test cycle to familiarize yourself with the controls. You should expect a smooth, consistent texture in your recipes. If the machine makes a grinding noise or fails to spin, stop immediately and contact the manufacturer’s support team.