How To Froth Milk With An Immersion Blender: Easy Barista Tricks
Frothing milk is often seen as a skill reserved for baristas and coffee shops. But what if you could create creamy, foamy milk right at home—without buying expensive machines? An immersion blender makes this possible. With the right technique, you can turn ordinary milk into a rich froth for lattes, cappuccinos, hot chocolate, or even iced drinks. This guide will show you how to froth milk using an immersion blender, explain why it works, compare it to other methods, and answer common questions. If you want café-quality drinks at home, keep reading.
Why Froth Milk?
Frothed milk transforms drinks by adding texture and taste. The tiny bubbles created during frothing give milk a light, creamy feel. This changes the way your mouth experiences each sip. In drinks like cappuccinos or lattes, frothed milk balances the bitterness of coffee, making it smoother and more enjoyable.
Beyond taste, frothing also improves presentation. The foam can be used for latte art, and a thick layer gives your cup a professional look. Even for simple hot chocolate, frothed milk makes it feel special. Many people don’t realize that frothing can also make low-fat milk taste richer, which is a big bonus for those watching calories.
What Is An Immersion Blender?
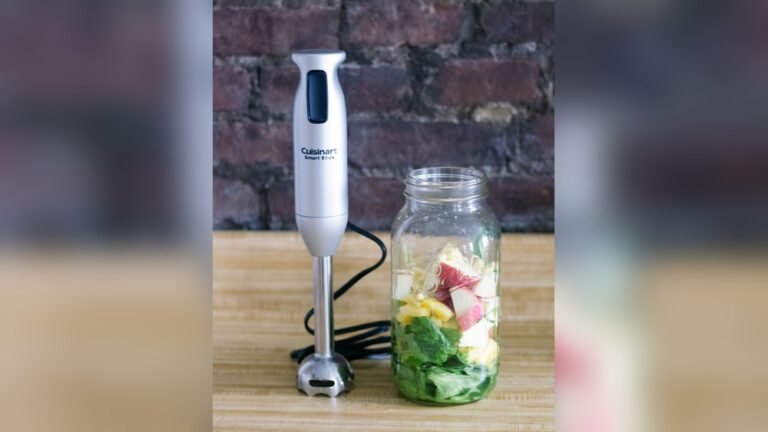
An immersion blender (sometimes called a stick blender or hand blender) is a small kitchen tool used to mix, blend, and puree directly in a pot, bowl, or cup. It usually has a long handle with a blade at the end. Unlike traditional blenders, immersion blenders are easy to use, clean, and store.
This tool is powerful enough to blend soups, sauces, and shakes. But its spinning blade also makes it perfect for frothing milk. The fast movement adds air to the milk, creating bubbles and foam.
How Does It Work For Frothing?
When you use an immersion blender, the blade spins quickly and creates a vortex. This pulls air into the milk and breaks it into small bubbles. The result is a foam that sits on top of your drink. The process is fast and works with most types of milk.
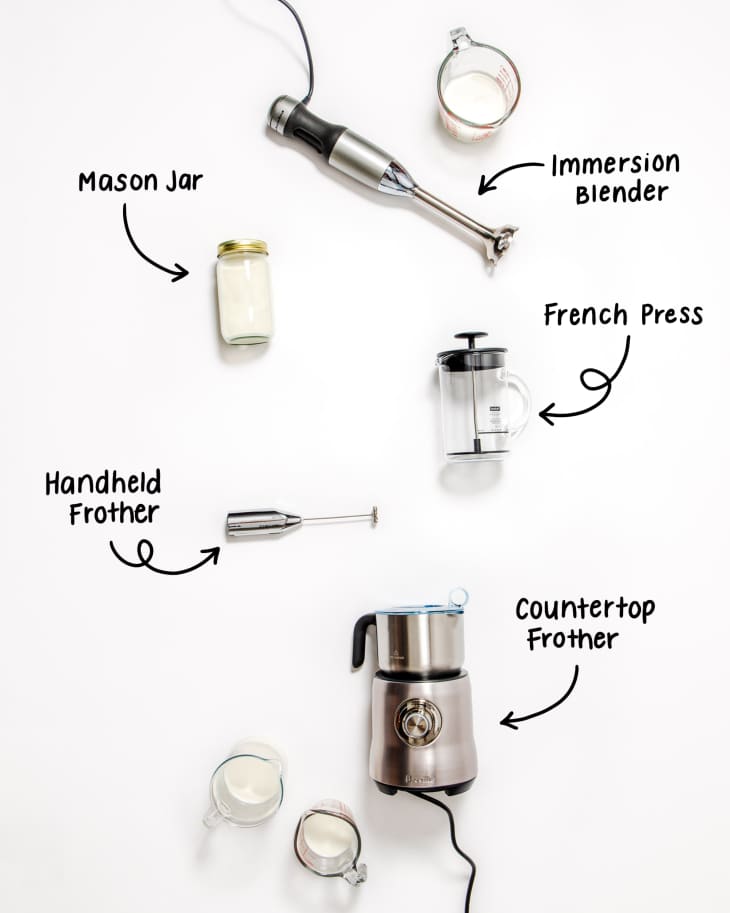
Credit: www.thekitchn.com
Choosing The Right Milk For Frothing
Not all milk froths the same way. The type of milk you use affects the foam’s thickness, taste, and durability.
Comparing Common Milk Types
Here is a comparison of popular milk choices for frothing:
| Milk Type | Foam Quality | Flavor | Best For |
|---|---|---|---|
| Whole Milk | Rich, thick foam | Creamy | Cappuccino, latte |
| 2% Milk | Medium foam | Light, less creamy | Latte, hot chocolate |
| Skim Milk | Light, airy foam | Less rich | Cappuccino, low-calorie drinks |
| Oat Milk | Good foam, stable | Slightly sweet | Vegan drinks, latte |
| Soy Milk | Medium foam | Nutty | Vegan cappuccino |
| Almond Milk | Light foam | Nutty, thin | Iced drinks, vegan options |
Whole milk is the best for thick, creamy foam. It has more fat and protein, which help bubbles stay together. Skim milk produces bigger bubbles and lighter foam, but it loses its texture faster. Plant-based milks like oat milk and soy milk can froth well, but results vary by brand. Always check the label—some plant milks are made for frothing.
Non-obvious Insight: Temperature Matters
Milk froths best when it’s warm, but not boiling. The ideal range is 140°F to 155°F (60°C to 68°C). If milk is too cold, the foam won’t form. If it’s too hot, the proteins break down and bubbles disappear. A thermometer helps, but you can also check by touch—the milk should feel hot, but not scalding.
Tools You Need To Froth Milk
To froth milk with an immersion blender, you need a few basic tools:
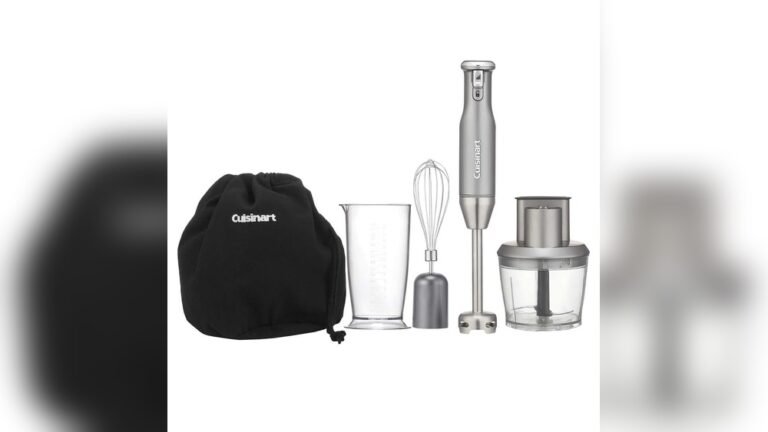
- Immersion blender: Any standard model works, but attachments with a whisk or frothing disk can improve results.
- Tall, narrow container: A deep cup or pitcher prevents splashing and helps the milk rise.
- Milk: Choose your favorite type. Whole milk is easiest for beginners.
- Thermometer (optional): For precise temperature control.
- Spoon: To scoop the foam.
Some immersion blenders come with special attachments. If yours has a frothing disk or whisk, try it for better foam. But the standard blade also works well for most people.
Step-by-step Guide: Frothing Milk With An Immersion Blender
Frothing milk is simple, but small details make a big difference. Follow these steps for best results:
1. Pour And Heat The Milk
Pour your milk into a tall, narrow container. Fill it about one-third full. This gives space for the foam to expand. Heat the milk to 140°F to 155°F. You can use a microwave or stovetop. If you don’t have a thermometer, heat until the milk is hot but not boiling.
Tip: For microwaving, start with 30–45 seconds for one cup. Stir and check the temperature. On the stove, use low heat and stir often.
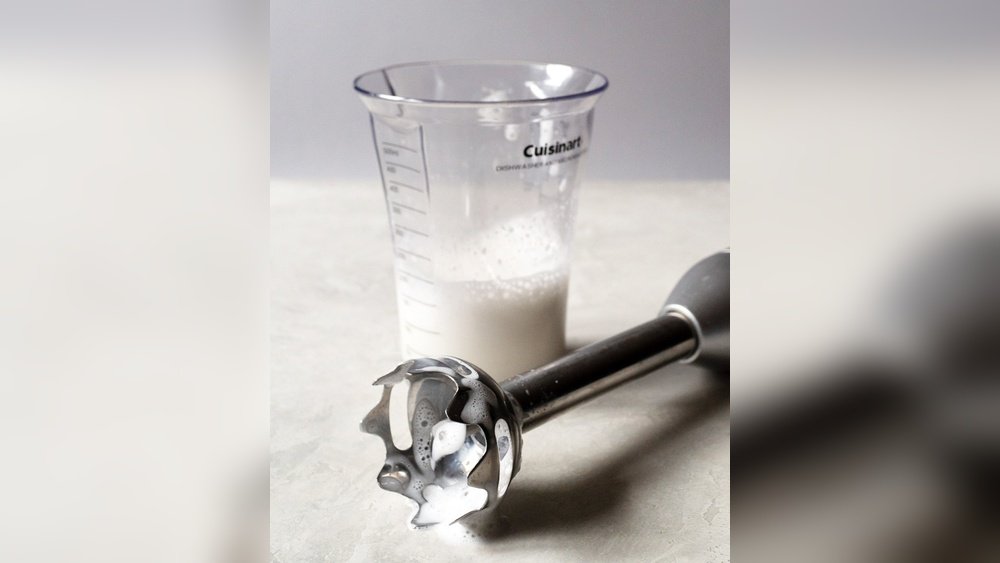
2. Place The Immersion Blender In The Milk
Put the immersion blender into the milk so the blade is just below the surface. Hold the container firmly to prevent spills.
3. Blend To Froth
Turn on the immersion blender. Start at low speed, then increase if needed. Move the blender up and down slowly for 15–30 seconds. This pulls air into the milk and creates foam.
Tip: Stop blending as soon as you see thick bubbles and foam. Over-blending can break the foam and make it watery.
4. Let The Foam Settle
Turn off the blender and let the foam rest for a few seconds. The bubbles will rise to the top.
5. Serve And Enjoy
Use a spoon to hold back the foam while pouring the milk into your drink. Then scoop the foam on top. For latte art, swirl the foam gently.
Non-Obvious Insight: If your foam is too thin or disappears quickly, try frothing for less time or using a different container. The shape of the container changes how air is added.
Practical Tips For Better Froth
Small changes can improve your results. Here are some tips:
- Use fresh milk: Milk close to expiry won’t froth as well.
- Warm, not hot: Milk above 155°F loses foam quickly.
- Clean tools: Residue on the blender or container stops foam from forming.
- Try different speeds: Low speed works better for skim milk; high speed for whole milk.
- Choose the right container: Glass or stainless steel holds heat better than plastic.
Common Mistakes And How To Fix Them
- Splashing: Use a tall container and start slowly. Don’t fill too much milk.
- Flat foam: Check milk temperature and use fresh milk.
- Foam disappears: Don’t over-blend. Stop as soon as foam forms.
- Burnt milk: Heat gently and avoid boiling.
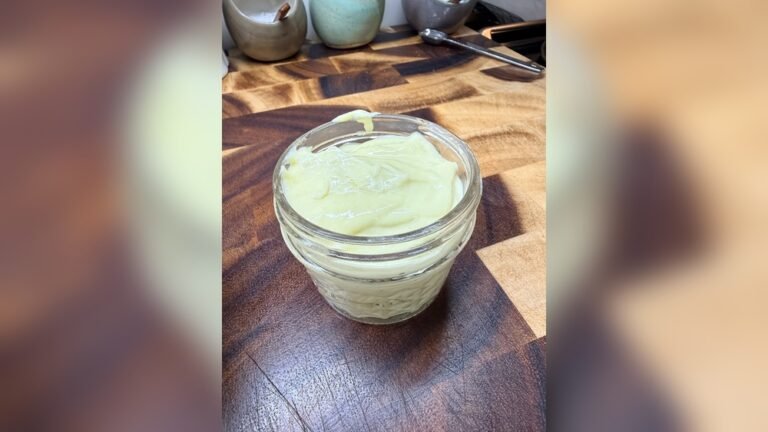
Credit: www.smithbrothersfarms.com
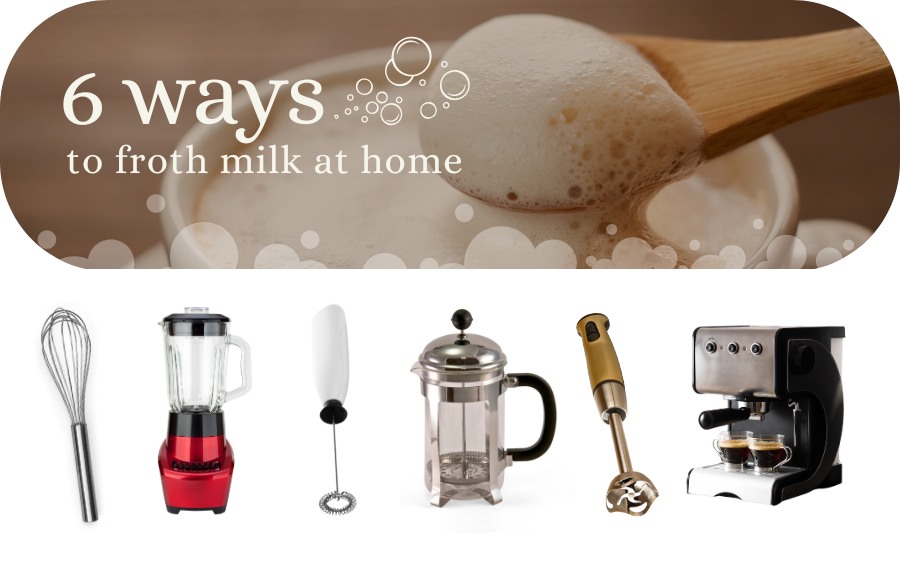
Comparing Frothing Methods
Many people wonder how an immersion blender stacks up against other frothing tools. Here’s a comparison:
| Method | Ease of Use | Foam Quality | Cost | Cleaning |
|---|---|---|---|---|
| Immersion Blender | Easy | Good, thick foam | Low | Simple |
| Steam Wand | Moderate | Excellent, microfoam | High | Requires maintenance |
| Manual Frother | Easy | Medium foam | Low | Simple |
| French Press | Easy | Medium foam | Low | Simple |
| Electric Frother | Very easy | Good foam | Medium | Easy |
Immersion blenders are affordable and versatile. They make good foam for most drinks, but won’t create “microfoam” like a steam wand. Still, for home use, an immersion blender is a smart choice.
Cleaning And Maintenance
Keeping your immersion blender clean is important for both taste and safety. Milk residue can build up and spoil, ruining foam and flavor.
Cleaning Steps
- Unplug the blender.
- Remove the blade or attachment.
- Rinse immediately after use: Milk dries fast and is hard to clean later.
- Wash with warm, soapy water: Use a brush for tough spots.
- Dry thoroughly: Moisture can damage the motor.
Pro Tip: If your blender is dishwasher-safe, place attachments in the top rack. Always check the manual.

Credit: www.thepioneerwoman.com
Creative Ways To Use Frothed Milk
Frothed milk isn’t just for coffee. Here are some drinks and recipes you can try:
- Hot chocolate: Froth milk, then mix with chocolate powder. Top with foam.
- Matcha latte: Mix matcha powder with water, then add frothed milk.
- Iced drinks: Froth cold milk and pour over ice for a refreshing treat.
- Milkshakes: Froth milk before blending for extra texture.
- Desserts: Add frothed milk to puddings or custards for a creamy topping.
Troubleshooting: Advanced Tips
If you’ve tried frothing milk and still struggle, here are some advanced tricks:
- Protein boost: Add a small pinch of instant milk powder to plant-based milk. This helps bubbles stay together.
- Upgrade attachments: Some immersion blenders have special frothing disks. Check if your model offers upgrades.
- Experiment with timing: Froth milk just before serving. Foam disappears if left too long.
Health And Nutrition Benefits
Frothed milk isn’t just tasty—it can be healthier. Frothing makes low-fat milk feel richer, so you can cut calories without losing flavor. Plant-based milks are lower in saturated fat and work well for frothing if you choose the right brand.
Stat: According to the USDA, whole milk contains about 150 calories per cup. Skim milk has 80 calories. Frothing doesn’t add calories but improves texture.
Safety Tips
Using an immersion blender is safe if you follow basic guidelines:
- Never touch the blade while running.
- Keep the blender submerged to avoid splashing.
- Unplug after use.
- Supervise children.
Buying Guide: Choosing An Immersion Blender
If you want to buy an immersion blender mainly for frothing milk, consider these features:
- Power: Look for at least 200 watts. This ensures the blender can handle milk and other foods.
- Attachments: Models with a frothing disk or whisk attachment give better results.
- Speed settings: Multiple speeds help with different milk types.
- Build quality: Stainless steel is more durable than plastic.
- Warranty: Most reputable brands offer at least 1-year warranty.
Comparison Of Popular Models
Here’s a quick look at three popular immersion blenders:
| Brand/Model | Power | Attachments | Price | Warranty |
|---|---|---|---|---|
| Breville Control Grip | 280 watts | Whisk, frothing disk | $120 | 2 years |
| KitchenAid KHB1231 | 200 watts | Standard blade, whisk | $60 | 1 year |
| Hamilton Beach 59765 | 225 watts | Standard blade, whisk | $35 | 1 year |
Non-Obvious Insight: Cheaper models can froth milk well if you use the right technique. Attachments are helpful, but not essential.
Real-world Examples
Many coffee lovers and home cooks use immersion blenders for frothing. For example, a home barista in New York shared that using a stick blender saved time and created thicker foam than a manual frother. Another user in London found that oat milk frothed better with a whisk attachment.
A small café in California uses immersion blenders for specialty drinks, saving money compared to professional steam wands. These examples show that immersion blenders are practical, not just theoretical.
Environmental Impact
Using an immersion blender for frothing milk is energy-efficient compared to larger machines. Most models use less than 0.5 kWh per session. This is much lower than espresso machines, which can use 1–2 kWh daily.
Plant-based milks are also more sustainable. According to the BBC, oat milk uses less water and land than dairy milk. Choosing eco-friendly milk and tools helps reduce your footprint.
Frequently Asked Questions
Can I Froth Cold Milk With An Immersion Blender?
Yes, you can froth cold milk, but the foam won’t be as thick or stable. Warm milk produces better results because the proteins react to heat. If you want to froth cold milk for iced drinks, use whole milk or oat milk, and blend longer.
How Long Does Frothed Milk Last?
Frothed milk is best served immediately. Foam disappears after 5–10 minutes as bubbles pop. If you need to store it, keep it in the fridge and re-froth before use. Never freeze frothed milk; it loses texture.
Can I Use An Immersion Blender For Plant-based Milks?
Absolutely. Oat milk and soy milk froth well, especially brands labeled “barista. ” Almond milk and rice milk produce lighter foam. For best results, warm the milk and use a whisk attachment if available.
Is It Safe To Use An Immersion Blender In A Glass Container?
Yes, but use thick glass to prevent cracking. Never use thin or delicate glass with hot milk. Stainless steel and sturdy plastic are safer options. Always start blending at low speed.
How Do I Prevent Milk From Burning?
Heat milk slowly and stir often. Use a thermometer to keep it below 155°F. If using a microwave, stir halfway through. Burnt milk has a sour taste and won’t froth well.
Frothing milk with an immersion blender is fast, easy, and affordable. With the right technique, you can create creamy, delicious foam for all your favorite drinks. Remember to choose the right milk, use a tall container, and don’t over-blend. Experiment with attachments and milk types for the best results.
Whether you’re making cappuccino, hot chocolate, or vegan drinks, an immersion blender gives you barista-quality foam at home. Enjoy your new skills—and impress your friends and family with every cup.