Can a Nutribullet Blender Go in the Dishwasher?
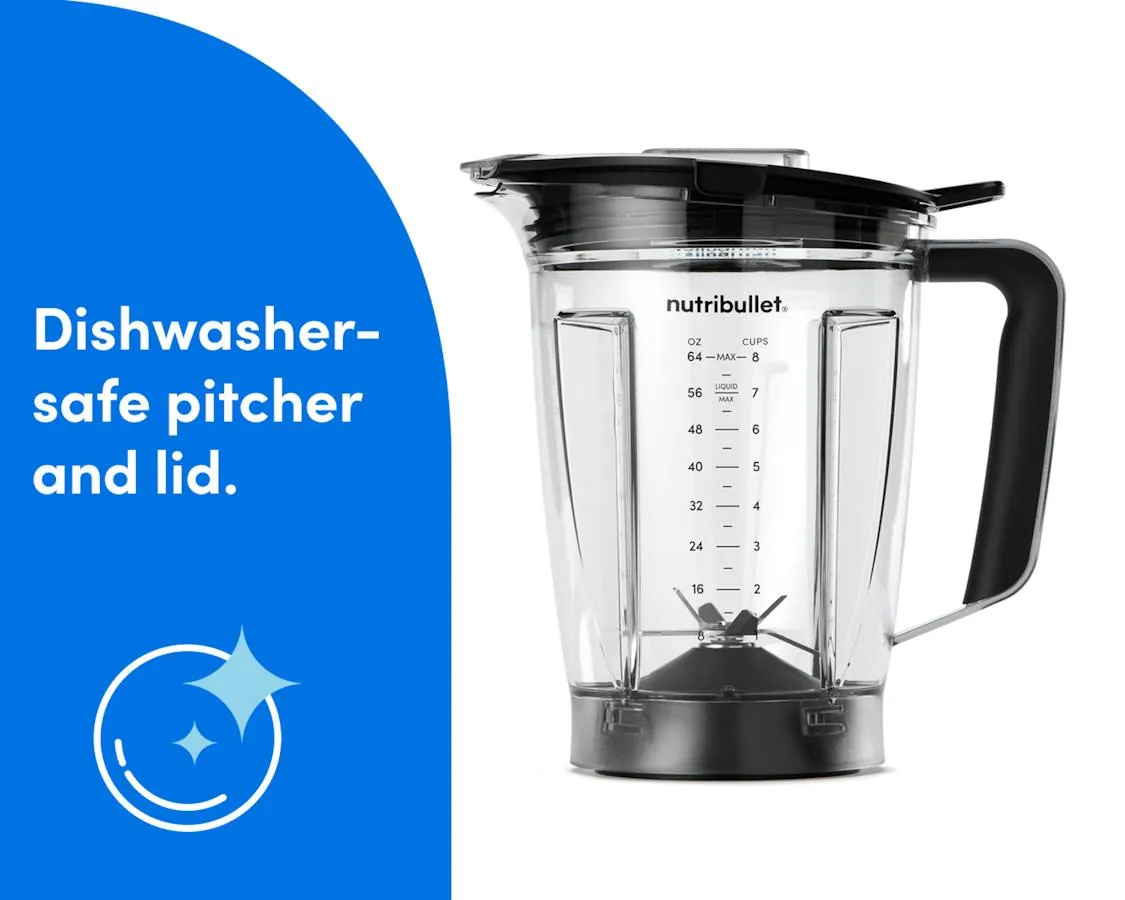
Yes — most Nutribullet blender parts can go in the dishwasher, but only the cup, the lid and the blade base. The motor base never goes in, not even on a quick rinse cycle. That one rule decides everything: if the part has a cord or a plug, keep it out of the water. If it’s just plastic or stainless steel with no electrics inside, the dishwasher is fine. So before you load anything, pick up each piece and check for a cord. Anything with a cord gets wiped by hand.
Which Nutribullet parts survive the dishwasher
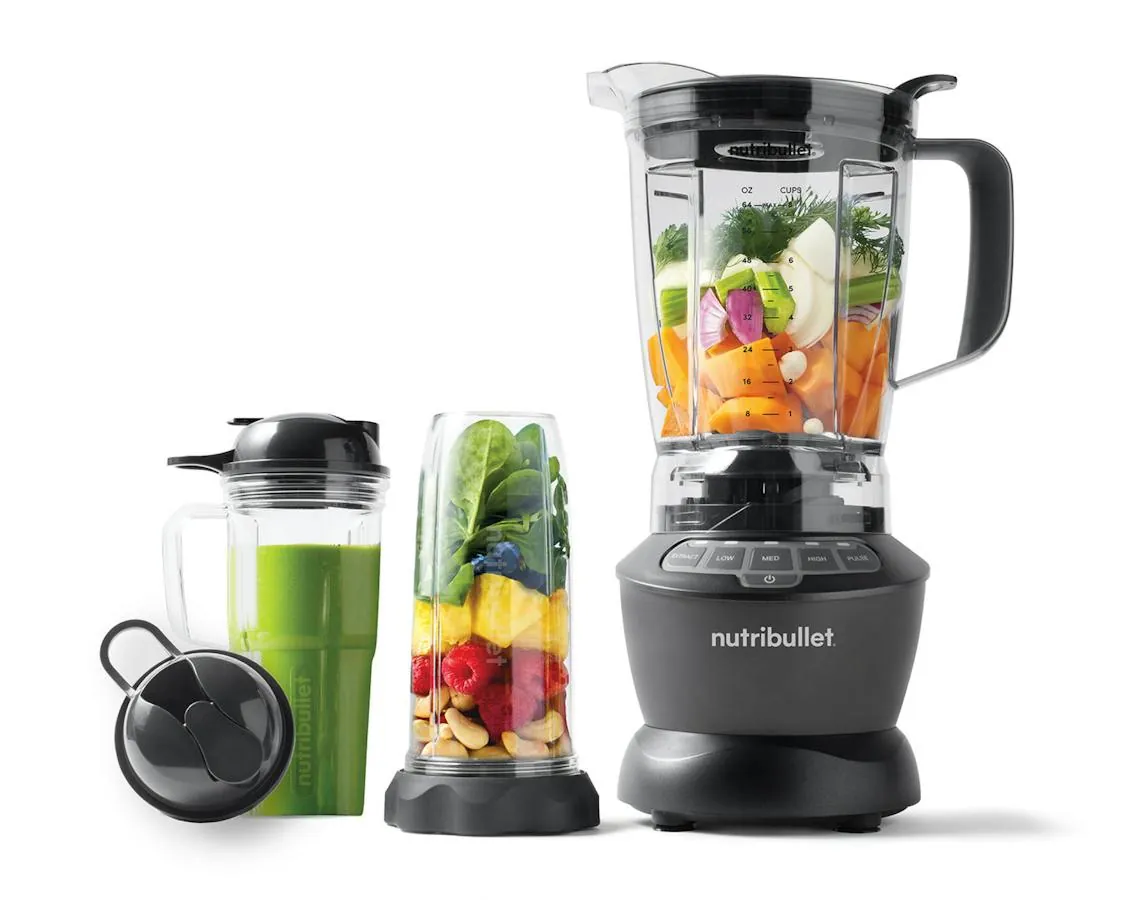
Nutribullet sells several models, and the answer changes with the part, not the machine. The cups, lids and extractor blades are the same idea across the range — plastic and metal, no wiring. The motor base is the exception on every model.
| Your situation | Answer | Why |
|---|---|---|
| Tall cup or short cup | Yes, top rack | No electrics, heat-safe plastic |
| Blade base (extractor blade) | Yes, top rack | Stainless steel, sealed bearing |
| Lip ring and lid | Yes, top rack | Silicone and plastic, no motor |
| Motor base | No, never | Water reaches the windings and kills it |
| To-go lid with a straw | Hand wash only | Thin plastic warps on a hot cycle |
| Milling blade (if you have one) | Yes, top rack | Same build as the extractor blade |
| Any part with a cord attached | No, never | The cord is the giveaway |
One row above gives the opposite answer from the verdict, and it matters. A to-go lid with a straw looks like every other lid, but the thin plastic bends out of shape in hot water. Check the lid against the cup after washing — if it no longer clicks tight, it warped.
The blade base is where most people get it wrong in the other direction. They hand wash it because it’s sharp, then leave water sitting in the bearing housing. That can degrade the seal and the blade may start to wobble.
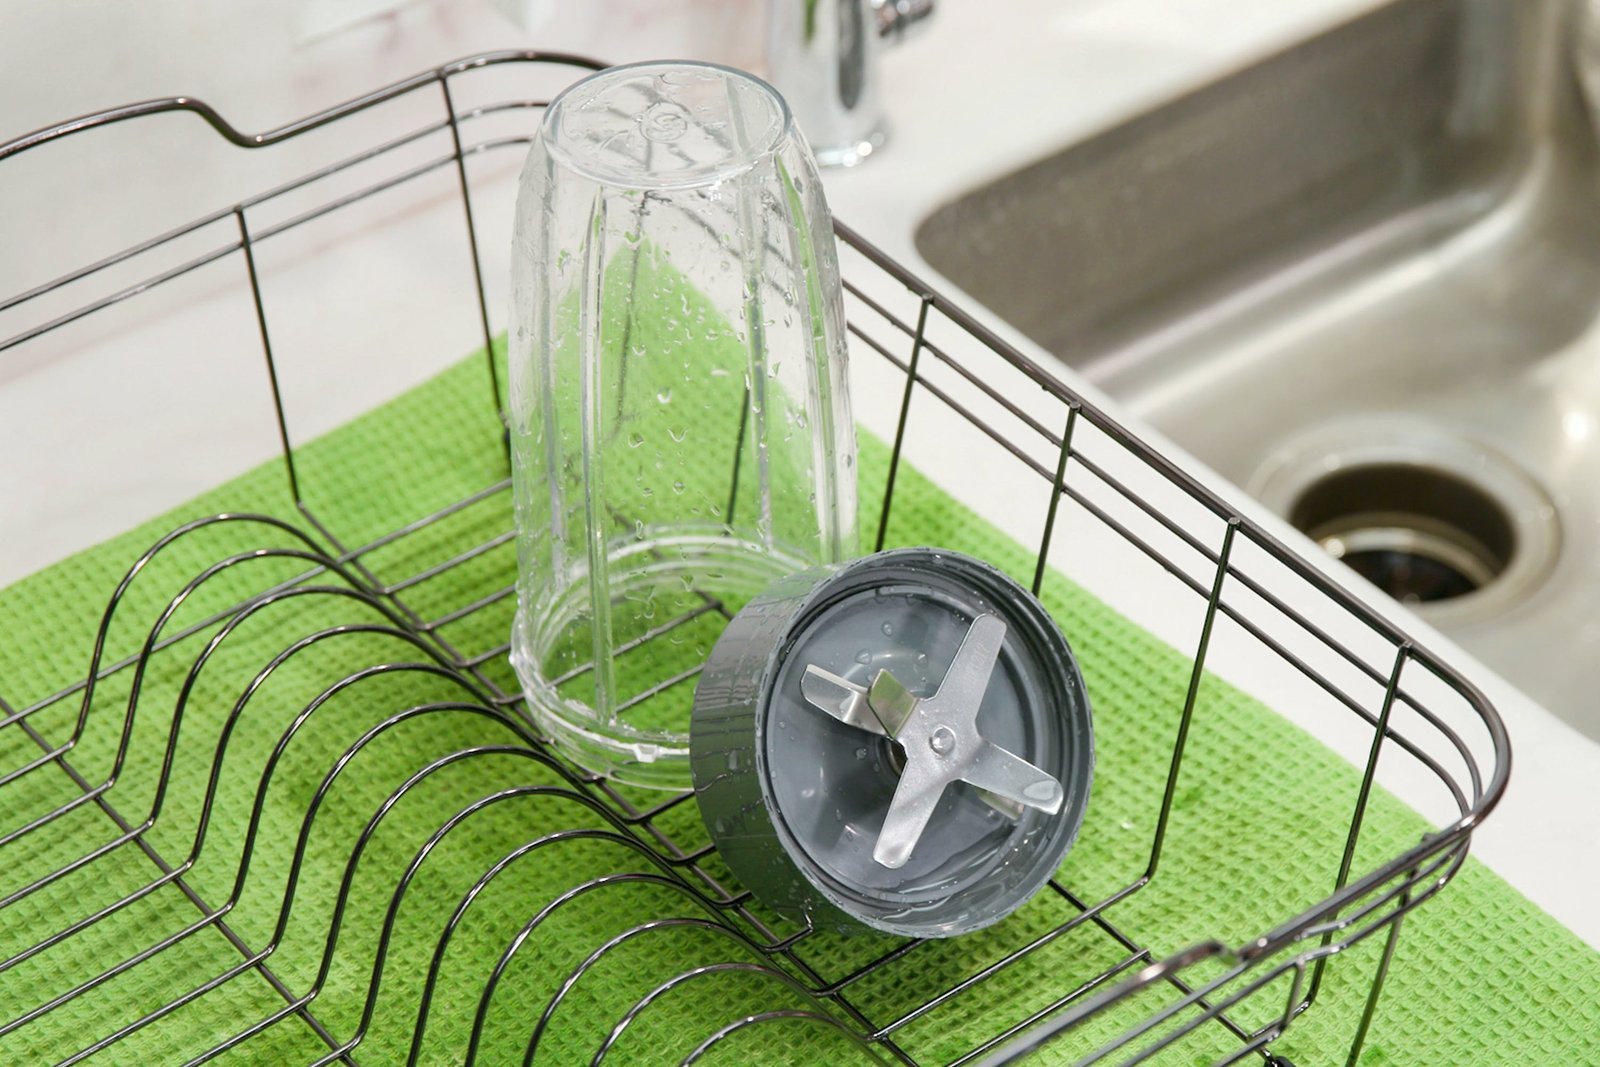
Run it on the top rack instead, and dry it blade-side down on a dish rack so the water drains out of the bearing housing. Don’t towel-dry the blades.
Heat is the real variable, not water. On a normal cycle the top rack stays well below the point where the cups soften. A sanitize cycle or a heated dry setting pushes past it, and that’s what warps lids and clouds clear cups.
So: normal cycle with heated dry off, top rack, yes. Sanitize or heated dry on, hand wash the lids and straws and let the cups and blades ride it out.
Skip the dishwasher entirely for anything you’re unsure about. Hand washing a cup costs a minute. Replacing a warped lid or a rusted blade base costs more than the minute is worth.
Heat and the motor base decide this
Heat is what decides it, and the motor base is where heat does the most damage. Your dishwasher runs its main wash around 130-150°F and its drying cycle higher, often near 160°F. Nutribullet’s own care guidance says the cups, lids and blades are top-rack dishwasher safe, and it says the motor base must be wiped with a damp cloth only. Those two instructions sit next to each other for a reason.
The cups and blades are molded from plastics chosen to take that heat without cracking. The motor base is not. It holds copper windings, a circuit board and grease in the bearings, and none of those parts are sealed against a wash cycle. Steam is the quiet problem. Even on the top rack, steam finds the seams around the buttons and the vent slots, and it condenses inside.
A wet motor base often works once more, then stops. That gap is what fools people. The water sits on the board, corrodes a contact over a few days, and the unit dies a week after a wash that seemed harmless. There’s no repair worth paying for at that point.
If your cups are greasy from a nut butter or a protein shake, then the top rack handles it; if the part has a cord or a battery, then it’s a cloth and warm soapy water, every time.
How to wash the parts safely
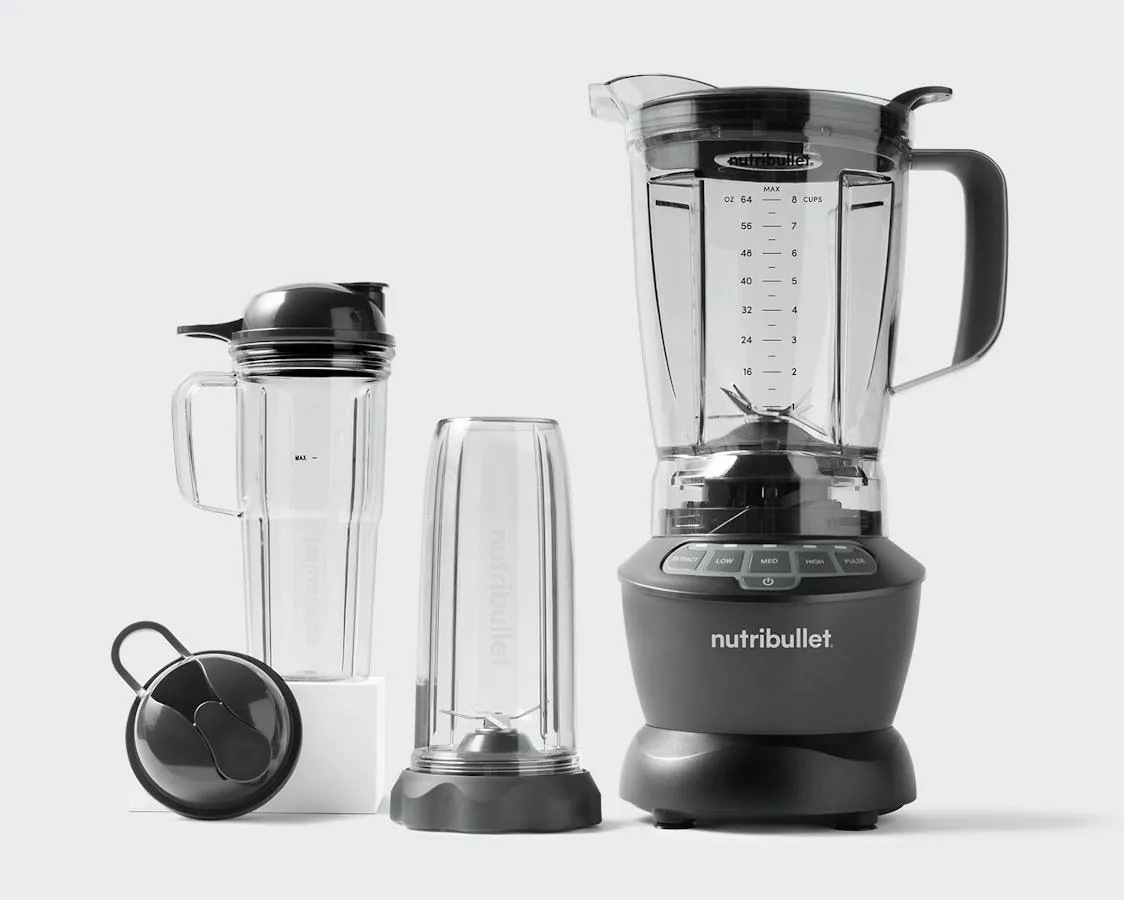
- Twist the blade base off the cup first. Never load a cup with the blade still attached — it traps water and food in the threads. You’ll feel the base release with a quarter turn.
- Rinse the cup and blade under warm water before loading. Leftover pulp hardens in the wash and comes out as a film. The cup should look mostly clear before it goes in.
- Put cups, lids and blades on the top rack only. Keep them away from the heating element at the bottom. The top rack runs cooler, and that’s the difference between a cup that lasts and one that clouds.
- Skip the heated dry if your machine has that option. Air dry or a 10-minute low-heat cycle is enough. Plastic that stays wet and hot for an hour is plastic that warps.
- Wipe the motor base with a damp cloth and dry it right away. A drop of dish soap on the cloth is fine. Never run it under the tap, and never dunk the bottom where the vents sit.
- Check the blade seal after every wash. Run a finger around the rubber gasket at the base of the blade. If it’s loose or cracked, stop using that blade — liquid will leak into the cup’s threads and out the bottom.
- Stand the cups upside down to dry. Water pools in the bottom of an upright cup and leaves a chalky ring. You’ll see the cup come out spotless and dry.
The sign each step worked is simple: a clean cup, a tight lid, and a blade that still spins freely by hand.
The mistake that kills the motor
The costliest mistake is rinsing the motor base under the tap to get the crumbs off, then setting it on the rack to “air out” while the cups wash. People do this because the base looks sealed. It isn’t. The seam around the buttons and the vent slots at the bottom let water straight into the housing.
The cost shows up later. The unit won’t start, or it starts and cuts out mid-blend. By then the board is corroded, and water damage is typically not covered by the warranty. You’re buying a new base, not fixing the old one.
The check that avoids all of it takes five seconds. Look for the cord. If the part has a cord or a plug, it never touches water. Wipe it, dry it, done.
The same rule sorts every other part of the machine. A blade assembly with no cord goes in the sink with the cups. A lid with a gasket goes in the sink. The base, cord and all, gets a damp cloth and a dry one.
Watch for the model where the blade assembly doesn’t come off. On those, you can’t lift the blades out to rinse them, and tilting the base to pour out the cup sends liquid down toward the motor. Fill the cup no higher than the line marked on it, and if the base has no line, stop an inch short of the top. Overfilling is the second way water reaches a motor that was never meant to get wet.
If it does get soaked, don’t run it to “dry it out.” Unplug it, shake it, and leave it a full day before you try. Running a wet board is what turns a drying-out into a replacement.
When to stop and get help
The motor base got soaked or went through a full cycle. Don’t plug it in to “test” it — a wet board can short and trip your breaker, or worse. Let it dry upright for a good while, then try it once. If it fails, contact Nutribullet support or a small-appliance repair shop.
The unit hums but the blade won’t spin. That points to the motor or the coupling, not the cup. This is technician work, and on a Nutribullet it’s usually cheaper to replace the base than repair it. Before you assume the worst, though, check that the cup is seated all the way down and locked. A cup that’s a quarter-turn short will hum and do nothing, and that costs you nothing to fix.
You smell burning or see sparks. Unplug it and stop. Never open the housing yourself — there’s nothing inside a normal person can safely fix.
The blade seal is cracked and liquid leaks out the bottom. Replace the blade. Don’t glue it or tape it — a blade that comes loose at high speed is a real injury risk.
The cup is cracked or the lid won’t lock. Stop using it. A cracked cup can split under the blade’s speed, and hot liquid will go everywhere.
For anything past the cord, the outlet and a wipe-down, Nutribullet support is the right call. Their website lists replacement parts by model. Have your model number and proof of purchase ready before you call — without them, support can’t tell you whether you’re still covered, and the call turns into two calls.
Frequently asked questions
Can Nutribullet cups go in the dishwasher?
Yes, on the top rack. Nutribullet’s care instructions list the tall cup, short cup and lids as top-rack dishwasher safe. Keep them off the bottom rack, where the heating element sits, because the higher heat there can cloud or warp the plastic over time. The motor base is the only part that never goes in.
Why did my Nutribullet stop working after I washed it?
The motor base got wet, almost every time. Water or steam reached the circuit board through the button seams or the bottom vents, and the corrosion takes a few days to show. If you washed only the cup, lid and blade on the top rack, the base shouldn’t be affected — check the cord and the outlet before blaming the wash.
How long does a Nutribullet last if I wash it in the dishwasher?
The cups and blades hold up well on the top rack; the motor base lasts as long as you keep it dry. There’s no published lifespan from Nutribullet, and it varies with how often you blend and how hot your machine’s dry cycle runs. If you want a number for your own unit, check the warranty terms on Nutribullet’s official page for your model.
Is it safe to put the blade in the dishwasher?
Yes, on the top rack, and always with the blade detached from the cup. The stainless steel is fine in a normal cycle. What you should check afterward is the rubber gasket at the base of the blade — heat and detergent wear it down, and a loose seal means leaks. Replace the blade if the gasket feels loose or looks cracked.
What happens if the motor base goes through the dishwasher?
It usually dies, though not always right away. Water enters the housing, sits on the circuit board, and corrodes the contacts over several days. The unit may run once more and then fail, or it may not start at all. Most warranties exclude liquid damage, so a replacement base is usually the outcome.
Does it matter which dishwasher cycle I use?
Yes. A normal or eco cycle with air dry is the safest for the cups and blades. A heavy or pots-and-pans cycle runs hotter and longer, and the heated dry pushes temperatures higher still. If your machine has a heated dry setting, turn it off for Nutribullet parts — that one change is what keeps the plastic clear instead of cloudy.
Can I wash the Nutribullet lid in the dishwasher?
The standard flat lid and the lip ring are fine on the top rack. The to-go lid with a straw is the exception — the thin plastic warps in hot water and the lid stops sealing. Hand wash that one in warm soapy water and let it air dry.
How often should I wash the blade base?
After every use with wet ingredients, and regularly if you blend daily. Dried pulp and nut butter harden in the threads and harbor bacteria. A quick rinse right after blending, then a top-rack wash that evening, keeps the seal and the threads in good shape.
What to do next
Pull the blade off the cup, load the cup, lid and blade on the top rack, and wipe the motor base with a damp cloth. That’s the whole routine.
Expect clean parts and a base that still runs. The sign it worked is a blade that spins freely and a lid that still clicks tight.
If the base got soaked anyway, or the blade seal is cracked and leaking, stop there. Call Nutribullet support or a repair shop rather than plugging it back in.
One more thing worth knowing: the blade assembly is the part that fails first, not the motor. If your smoothies come out gritty or the blade wobbles when you spin it by hand, replace the blade before you blame the base.
And if the cup threads feel rough or the lid no longer seals, that’s a cup problem, not a cleaning problem — no amount of top-rack time will fix worn threads.
So the split is simple. Cleaning keeps a working machine working. Cracked seals, wobbly blades and stripped threads are replacement parts, and running them anyway is how a cheap fix turns into a burnt-out motor.