How To Work An Oster Blender: Speeds, Pulse, and Presets
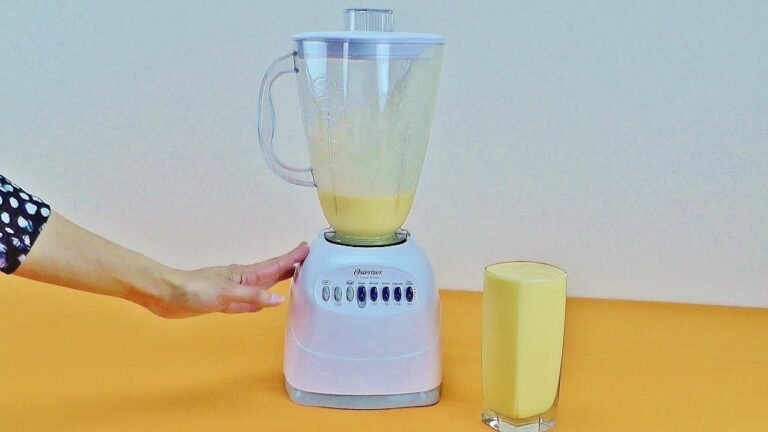
You work an Oster blender by locking the jar onto the base, adding liquid before solid ingredients, sealing the lid with the filler cap in place, then choosing a speed or preset and pressing the button — and on most models you press the Pulse button for short bursts rather than holding it down. That’s the whole sequence in one sentence, and the rest of this article fills in the details that actually trip people up: which button does what on which model, why your smoothie stalls, how to crush ice without wrecking the blades, and what to do when nothing happens at all.
Key Takeaways
- Liquid first, ice last. Oster’s own manuals instruct you to add liquids before solids; putting ice or frozen fruit at the bottom starves the blades and stalls the motor.
- Lock the jar by twisting it clockwise until it seats firmly on the base — if it isn’t fully seated, the blender won’t start on most modern models.
- Use Pulse for ice and thick mixtures. Short one-second bursts give you control and prevent the blade from cavitating in a pocket of air.
- Never run it continuously past about 60 seconds for thick blends, and give the motor a rest between batches; the thermal reset needs time to cool.
- Most Oster jars, blades, and lids are dishwasher-safe on the top rack, but the base must never be submerged in water.
- If nothing happens, check four things in order: jar seating, lid seating, wall outlet, and the thermal reset button on the base.
How To Work An Oster Blender Step By Step
This is the basic operating sequence for a standard Oster countertop blender — the kind with a glass or plastic jar, a blade assembly in the jar base, and a row of buttons or a dial on the front. Specific models add presets, but the physical steps are the same.
Step 1: Assemble the Jar Correctly
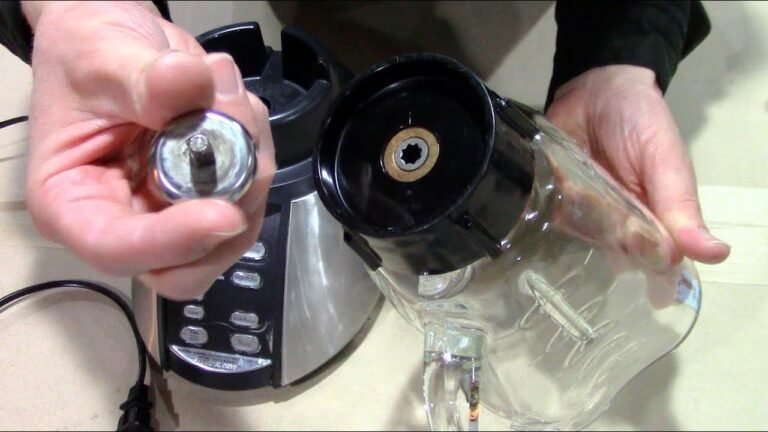
Set the blade assembly into the collar, then screw the collar onto the bottom of the jar. Turn it until it’s snug — hand-tight is enough. Oster’s blade and collar design varies by model: on many classic models the blade is permanently attached to the jar base, while on others you unscrew a separate collar. Either way, the rubber gasket must sit flat and undamaged, or you’ll get leaks down the side of the base.
Step 2: Load Ingredients In The Right Order
Add ingredients in this order, every time:
- Liquids — water, milk, juice, yogurt, broth.
- Soft solids — fresh fruit, cooked vegetables, nut butter, protein powder.
- Leafy greens and fibrous items — spinach, kale, celery.
- Hard and frozen items last — ice cubes, frozen fruit, nuts, coffee beans.
This order isn’t arbitrary. The blades at the bottom of an Oster jar create a vortex, and that vortex needs liquid to form. If ice sits at the bottom, the blades spin in a dry pocket and the motor strains.
Step 3: Lock The Lid And Filler Cap
Press the lid down firmly all the way around the rim, then insert the filler cap (sometimes called the lid cap or center cap) into the hole in the middle. The filler cap isn’t optional during blending — it’s what keeps the vortex contained and prevents the lid from popping off under pressure. Leave it out only when you’re actively adding ingredients through the hole while the blender runs.
Step 4: Seat The Jar On The Base
Lower the jar onto the base and twist it clockwise until it drops into the locked position. On most current Oster models there’s a physical detent you can feel, and an interlock switch that prevents the motor from running unless the jar is fully seated. If the jar is only resting on top, the blender will do nothing when you press a button.
Step 5: Choose Your Speed Or Preset
Turn the dial or press the speed button. Start low for chunky results and work up. If your model has preset program buttons, those run an automated sequence of speeds and pauses.
Step 6: Blend, Then Pulse To Finish
Run the blender for 30 to 60 seconds, then stop and check. Use Pulse in one-second bursts to finish the job, scrape down the sides with a spatula (blender off and unplugged), and pulse again. This is how you get a smooth result without overheating the motor.
Step 7: Stop, Unplug, And Disassemble
Press Stop or the Off button, then unplug the base. Unscrew the collar and blade from the jar before washing. Never put the base in water.
Oster Button And Dial Functions Explained
Different Oster lines label their controls differently, and this is where most confusion lives. Here’s what the common controls actually do.
| Control | What It Does | Best Used For |
|---|---|---|
| Low / 1 | Slowest continuous speed | Chopping nuts, mixing batters, starting thick blends |
| High / 2 or 3 | Fastest continuous speed | Smoothies, purees, emulsified dressings |
| Pulse (P) | Runs only while held, or one burst per press depending on model | Ice, frozen fruit, coarse chops, clearing a stall |
| Ice Crush preset | Automated pulse pattern | Cocktails, crushed ice beds |
| Smoothie preset | Timed ramp of speeds | Frozen fruit smoothies |
| Milkshake / Blend preset | Medium steady speed with pauses | Shakes, protein drinks, thin batters |
| Puree / Soup preset | Longer high-speed run | Soups, sauces, baby food |
| Clean preset | Short bursts with warm water and soap | Rinsing the jar between uses |
Two important notes. First, on many Oster models Pulse is a press-and-hold button, meaning the motor runs only while your finger is down; on others it’s a single-burst button that runs a short cycle per press. Test yours with a small amount of water before you commit a full smoothie to it. Second, if your model has a dial, the numbers usually correspond to speed, not time — turning it to 3 doesn’t run for three minutes.
Pro Tip: If your model has both a dial and preset buttons, the presets typically override the dial entirely. You don’t need to set the dial first — just press the preset and let it run.
Speed Settings Cheat Sheet
Use this as a starting point rather than a rule. Every Oster model has slightly different power, and jar shape affects how quickly things move.
| Ingredient Or Task | Starting Speed | Technique |
|---|---|---|
| Ice cubes | Pulse only | 3–4 one-second bursts, then check |
| Frozen fruit smoothie | Low, then High | Liquid in first, frozen fruit on top |
| Fresh fruit smoothie | High | 30–45 seconds |
| Nut butter | Low, then Pulse | Scrape down often; expect 5+ minutes |
| Soup (hot) | Low, then Medium | See the hot-liquid warning below |
| Baby food | High | Blend, then thin with liquid |
| Salad dressing | Low | 10–15 seconds is plenty |
| Breadcrumbs, cracker crumbs | Pulse | Short bursts, don’t overprocess |
| Coffee beans | Pulse | Coarse only; a blender isn’t a grinder |
| Grated cheese | Pulse | Chill the cheese first, pulse briefly |
How To Crush Ice Without Damaging It
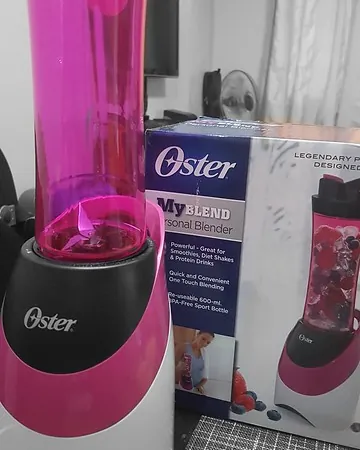
Ice is the single most common cause of a struggling Oster blender, and also the easiest problem to avoid.
- Use the Pulse button, not a continuous speed. Continuous high speed on dry ice makes the blades spin without grabbing anything.
- Add a little liquid — even two tablespoons of water changes the physics completely and gives the ice something to move through.
- Don’t fill the jar more than about one-third with ice. Overfilling packs the cubes against the walls and creates a dead zone.
- Let the ice sit out for two or three minutes if it came straight from a deep freezer. Slightly softened ice crushes faster and stresses the motor less.
- Crush in batches. Two small loads take less total time than one overloaded one.
Warning: Never try to crush ice with the jar removed or the blade assembly exposed. The interlock exists for a reason, and the blades are sharp enough to cause serious injury.
How To Blend Hot Liquids Safely
Hot soup in a blender is genuinely dangerous if you do it wrong. Steam expands rapidly in a sealed jar, and the pressure has to go somewhere — usually the lid.
- Let the soup cool to lukewarm before blending. If you need it hot, blend in batches and reheat afterward.
- Fill the jar no more than halfway. Hot liquid needs headroom.
- Remove the filler cap and drape a folded kitchen towel over the hole instead. This vents steam while catching splatter.
- Start on the lowest speed and increase gradually.
- Hold the lid down with your hand for the first few seconds, even on a locked model.
Pro Tip: If your Oster has a glass jar, it handles heat far better than plastic. If you have a plastic jar, be extra careful with anything warmer than lukewarm — plastic jars can warp and retain odors from hot foods.
Cleaning And Everyday Maintenance
A clean blender works better and lasts longer. Oster’s own care guidance is simple, and it’s worth following closely.
The 30-Second Rinse
Fill the jar about one-third with warm water, add a drop of dish soap, lock the lid, and run the Clean preset or pulse 5–6 times. Empty, rinse, and turn upside down to dry. Do this immediately after every use and you’ll rarely need to do more.
The Weekly Deep Clean
- Unplug the base.
- Disassemble the jar, collar, blade, lid, and filler cap.
- Wash the jar, lid, and cap in warm soapy water or on the top rack of the dishwasher.
- Wash the blade assembly by hand with a bottle brush. Handle it by the plastic hub, never by the blades.
- Wipe the base with a damp cloth only. Never submerge it.
- Check the gasket for cracks or stretching, and replace it if it’s deformed.
- Dry everything completely before reassembling.
What Not To Do
- Don’t put the base in the dishwasher or sink.
- Don’t use abrasive scouring pads on a plastic jar — they scratch and cloud it.
- Don’t store food in the jar with the lid sealed for long periods; odors set in.
- Don’t wrap the cord tightly around the base while it’s still warm.
Troubleshooting: When Your Oster Won’t Start
Run through this in order. Most “broken blender” problems are one of these five.
| Symptom | Most Likely Cause | Fix |
|---|---|---|
| Nothing happens at all | Jar not fully seated, or unplugged | Twist jar clockwise until it locks; check outlet with another appliance |
| Nothing happens, jar is seated | Thermal reset tripped | Unplug, wait 30–45 minutes, press the reset button on the base if your model has one |
| Motor hums but blades don’t turn | Overloaded jar or jammed blade | Unplug, remove half the contents, restart on Low |
| Blades spin but food doesn’t move | Air pocket around the blades | Stop, scrape down, add liquid, pulse |
| Leaking from the bottom | Worn or misaligned gasket | Reseat or replace the gasket |
| Burning smell | Motor overheating | Stop immediately, unplug, let cool fully |
| Loud rattling | Jar not locked, or blade loose | Reseat both |
The Thermal Reset Button
Many Oster bases have a small reset button on the bottom or back. If your blender shut off mid-blend and won’t restart, unplug it, let it cool for at least 30 minutes, then press that button and try again. This is a safety feature, not a defect — it means the motor got hotter than it should.
When To Stop Trying
If the motor hums but the blades never move even with an empty jar, or if you see smoke, stop. That’s a motor or coupling failure, and continuing to run it will make it worse.
Common Mistakes That Ruin Blends
These are the errors that account for most disappointing results, and every one of them is fixable.
- Overfilling the jar. Never go past the top marked line, and for thick mixtures stay well below it.
- Adding ice first. Covered above, but it’s the number-one mistake.
- Running continuously for minutes at a time. Thick blends need pauses.
- Using the wrong jar for the job. A small personal jar can’t handle a family-sized smoothie.
- Skipping the filler cap. The lid alone doesn’t contain the vortex.
- Blending without enough liquid. If it isn’t moving, it needs liquid, not more speed.
- Not scraping down the sides. Ingredients stuck to the wall never reach the blades.
- Putting the base in water. This is how blenders actually die.
Oster Models And What’s Different
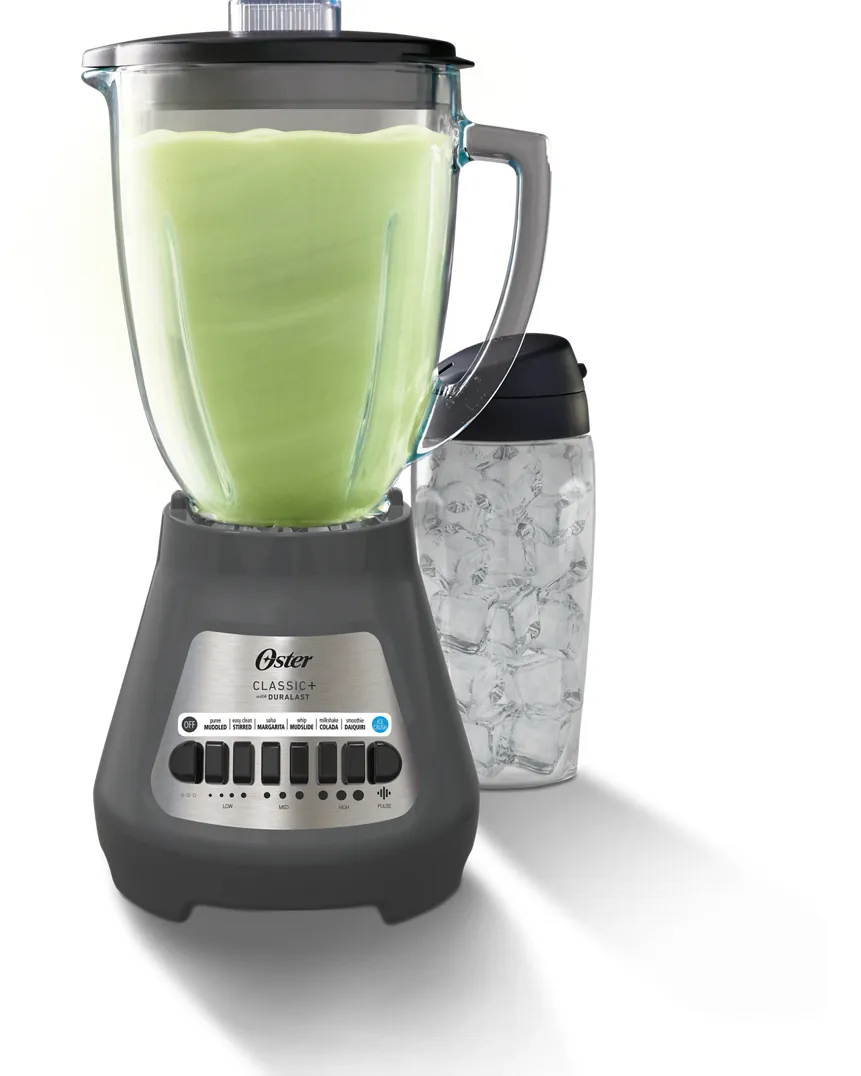
Oster makes several distinct lines, and the operating differences matter.
| Line | Typical Controls | Notable Difference |
|---|---|---|
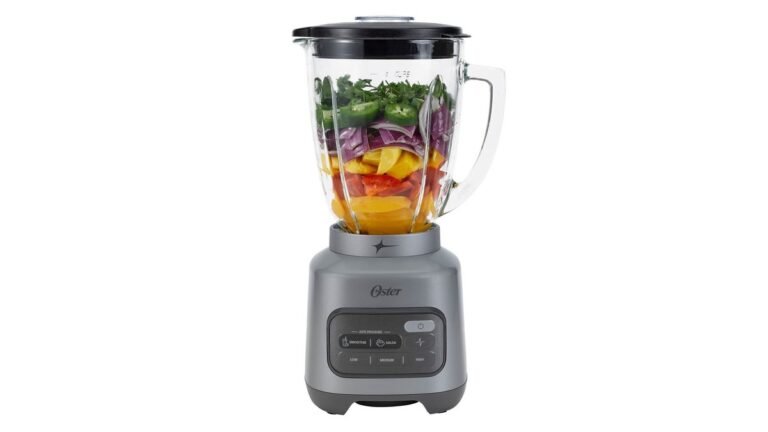
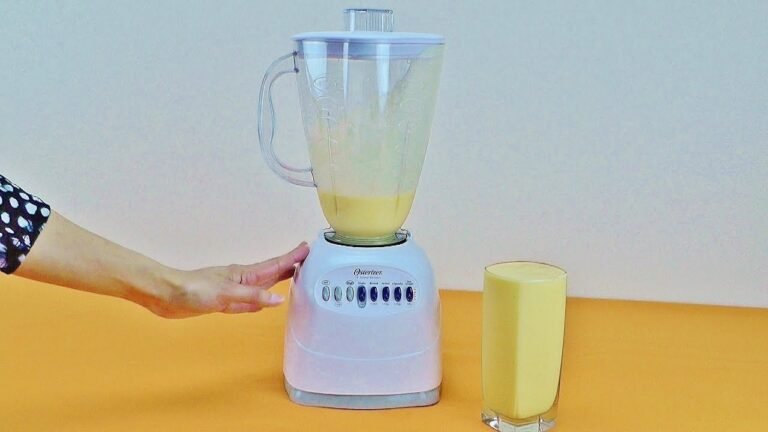
| Oster Classic Series | 2 speeds plus Pulse, or a dial | Simple, glass jar, no presets |
| Oster Pro | Multiple speeds plus presets | More powerful motor, preset programs |
| Oster Blender with Personal Jar | Same base, two jars | Small jar uses the same blade and collar |
| Oster Versa | Touch presets, high-performance motor | Designed for heavier duty, includes soup and frozen dessert programs |
| Oster MyBlend | Single button, personal jar only | Blend-and-go; no speed control |
| Oster Reverse Crush | Presets with a reverse-pulse cycle | Automatically reverses to clear jams |
If you’re not sure which you have, look at the underside of the base or the back panel for the model number, then match it against Oster’s own product pages. The manual for your exact model will confirm whether Pulse is press-and-hold or single-burst, and whether you have a reset button.
Frequently Asked Questions
Why does my Oster blender stop in the middle of blending?
Almost always the thermal reset. The motor has an internal protector that cuts power when it gets too hot. Unplug the base, let it cool for 30 to 45 minutes, press the reset button if your model has one, and restart with a smaller load. Running thick mixtures in shorter bursts prevents it from happening again.
Do I have to lock the jar for the blender to turn on?
On most current Oster models, yes. There’s an interlock switch that only closes when the jar is twisted fully clockwise into the seated position. Older models without an interlock will run with the jar merely resting on the base, but you should always lock it anyway — an unseated jar can lift off during blending.
Can I put the Oster jar in the dishwasher?
The jar, lid, filler cap, and collar are generally dishwasher-safe on the top rack — check your specific model’s manual to confirm. The blade assembly is usually hand-wash only, and the base must never go in the dishwasher or be submerged in water. Heat from the bottom rack can warp plastic jars and damage gaskets.
How long can I run an Oster blender continuously?
For thin liquids, 60 seconds is a reasonable ceiling. For thick mixtures like nut butter or frozen fruit, work in 20-to-30-second bursts with pauses in between. Continuous running on a heavy load is what trips the thermal reset and, over time, shortens motor life. When in doubt, pulse.
What’s the difference between Pulse and a speed button?
A speed button runs the motor continuously until you press Stop. Pulse runs only while you hold the button, or for a single short burst per press depending on your model. Pulse gives you control — it’s the right choice for ice, coarse chopping, and clearing a jam without overheating anything.
Why is my smoothie chunky no matter how long I blend?
Two causes: not enough liquid, and not scraping down the sides. If the mixture isn’t circulating, the blades only touch what’s directly around them. Stop the blender, unplug it, scrape the sides with a spatula, add a splash of liquid, and pulse. Also check that you loaded liquids first and frozen items last.
Conclusion
Working an Oster blender comes down to a short list of habits: seat the jar until it locks, load liquids before solids, keep the filler cap in, pulse for anything hard or frozen, and stop before the motor gets hot. Start with one smoothie using the layering order above and you’ll feel the difference immediately — then keep the rinse-and-pulse cleaning habit going so the next blend is just as easy.