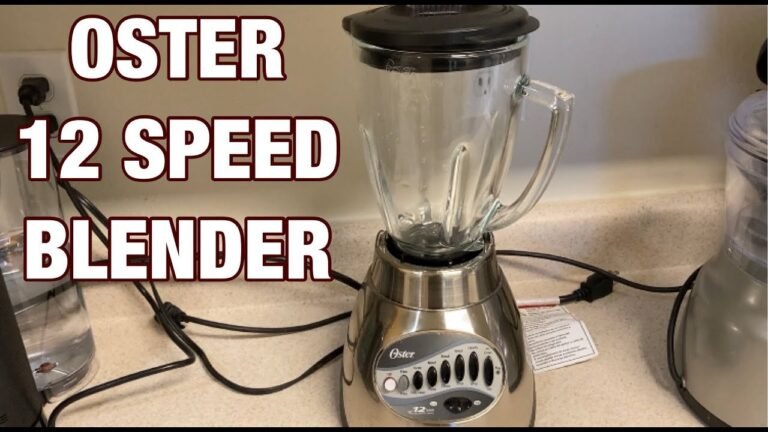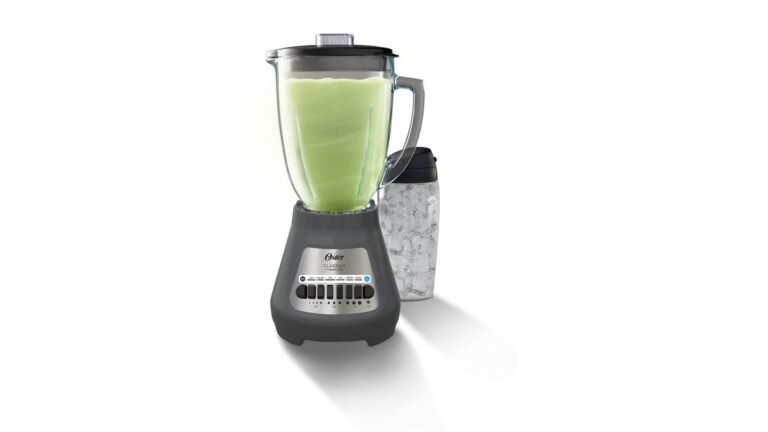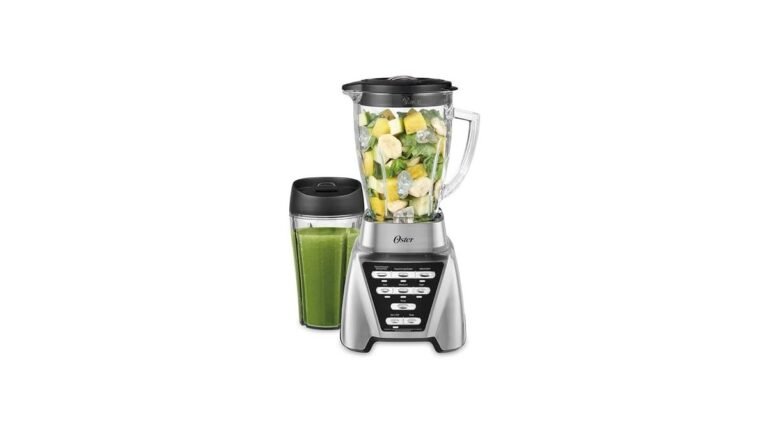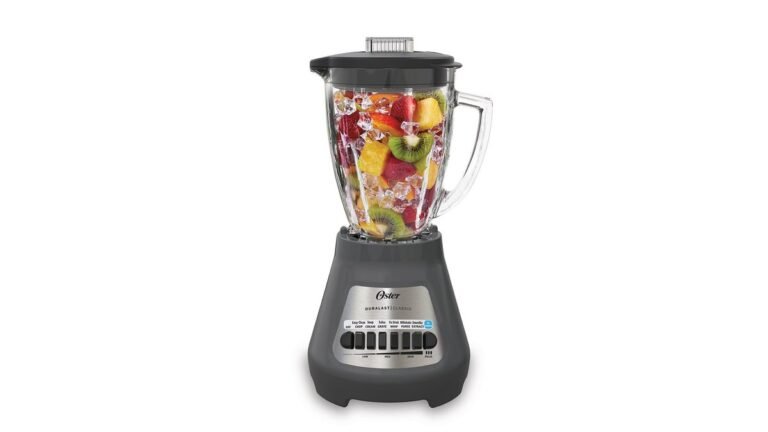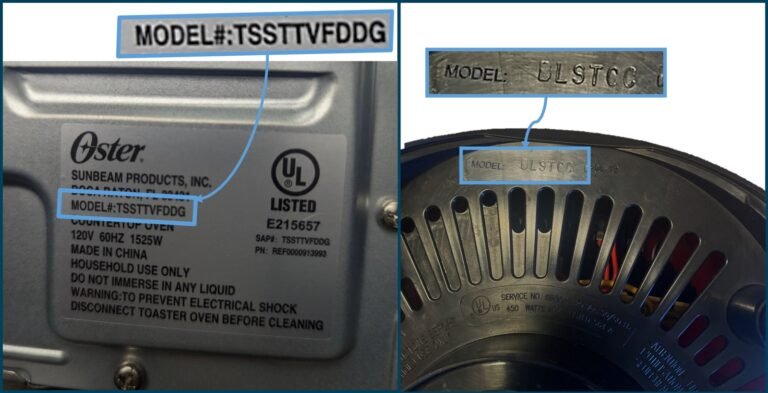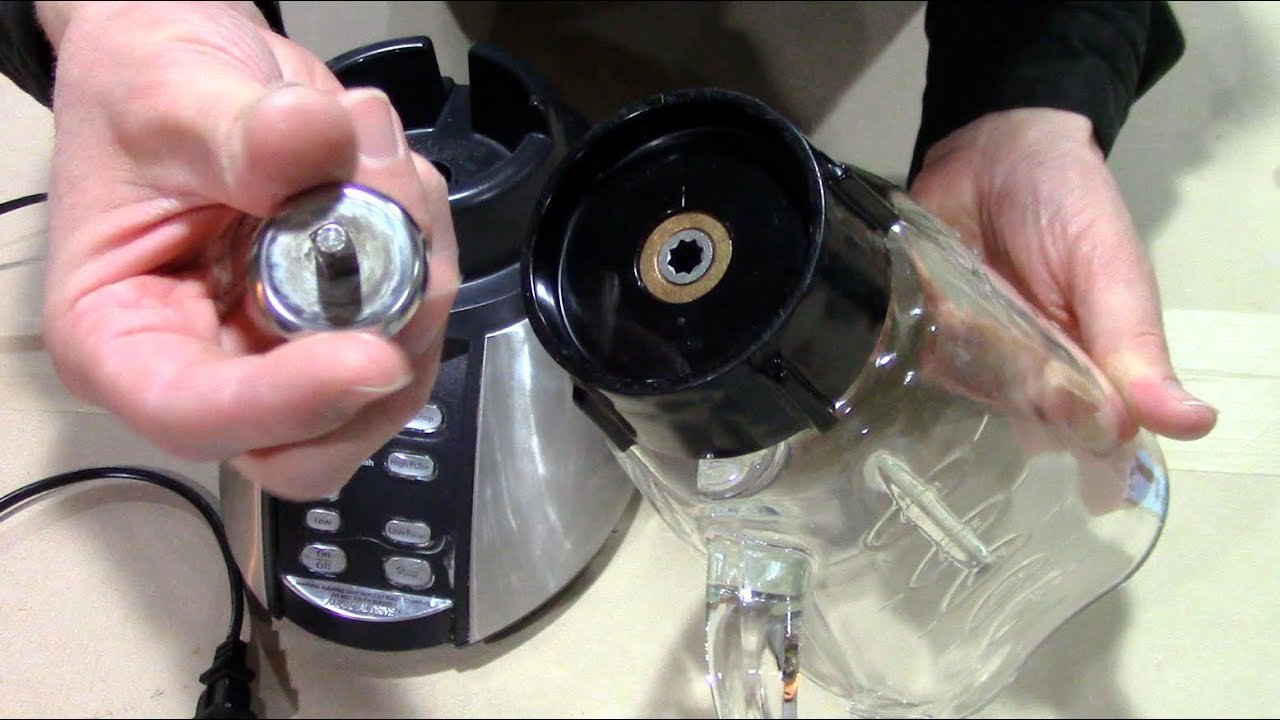
How To Take Apart an Oster Blender in 4 Simple Steps
You can take apart an Oster blender at home in about 10 to 15 minutes, using only a Phillips screwdriver and a flathead for the base screws. Most Oster models split into four parts: jar, lid, blade assembly, and base. You don’t need to open the base unless a switch or cord is broken.
Start at the jar. Twist the collar off counterclockwise and lift the blade assembly straight up. Never touch the blade tips; the blade is sharp on both sides.
Three things change the job. The model decides whether the blade unscrews by hand or needs a wrench. Whether your jar is glass or plastic changes how you clean it. And the age of the blender decides how stuck the base screws are.
On older Oster models, the base screws seize. Press the screwdriver down hard before turning, or you’ll strip the head and drill it out.
If you only need to clean under the blade, stop at the collar. Open the base only for a switch or cord, and photograph the wiring before you pull it.
Which Oster blender owner this page is for
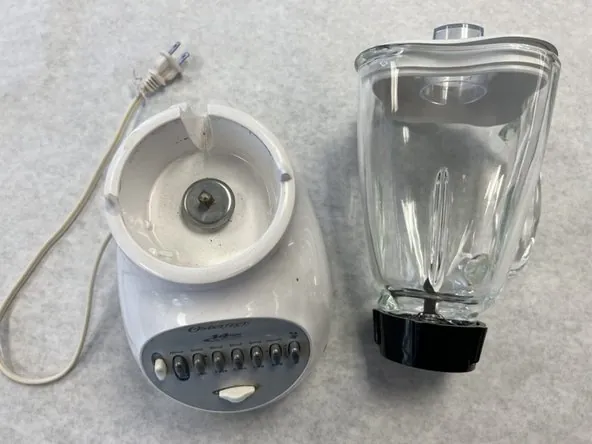
Three kinds of people search this. The first owns a standard Oster with a glass jar and a metal base collar. They want to deep-clean the blade area because something smells or looks dark under the gasket. They already have a screwdriver and just need the order of steps.
The second has a plastic jar model, often the Oster Classic or a Beehive-style jar. Their blade won’t budge by hand, and they’re not sure if it unscrews or pops out. They need to know which type they have before they twist anything hard.
The third is fixing a real fault: a switch that won’t click, a cord that’s frayed, or a motor that hums but won’t spin. That person needs a technician, not a tutorial.
This page serves the first two readers best. It assumes your blender is unplugged, your jar is empty, and you’re cleaning or replacing a part you can reach without opening the motor housing. If your motor is dead or your cord is damaged, stop here and contact Oster support or a repair shop.
What decides how hard the job is
The jar material matters most. Glass jars are heavier and the blade assembly usually unscrews from the bottom by hand. Plastic jars on older models often have a blade that’s pressed in, and forcing it will crack the collar. Look at the underside of your jar: if you see flat spots for a wrench, it unscrews. If it’s smooth, don’t force it.
The base collar type comes second. Metal collars on classic Oster blenders unscrew counterclockwise. Plastic collars on newer budget models sometimes need a firm grip and a rubber pad for traction. A wet dish towel works as a grip aid.
Age decides the screws. Blenders older than a few years often have base screws that are stiff or slightly rusted. A screwdriver that’s too small will strip the head. Use a Phillips that fills the slot fully.
The gasket is the fourth factor. A worn or hardened gasket is the usual reason for leaks and smells. You can check it by pressing it with a fingernail — if it doesn’t spring back, replace it.
The one people get wrong most is the jar material. They twist a pressed-in plastic blade like it’s threaded, and the collar cracks.
Step-by-step: taking your Oster blender apart
Unplug the base and empty the jar. Pour out any liquid and rinse the jar. Confirm the plug is out of the wall, not just switched off at the outlet. You’ll know it’s safe when the cord is fully clear of the socket.
Remove the lid and any filler cap. Twist the lid counterclockwise and lift. Set both aside on a dry towel. The jar should now be open at the top.
Turn the jar upside down on a towel. Rest it on the flat lid surface so it doesn’t roll. You should see the blade assembly and the base collar facing up.
Grip the collar and twist counterclockwise. Hold the jar body with one hand and the collar with the other. Turn the collar left. If it won’t move, wrap a rubber band or damp towel around it for grip. It should release within a quarter turn.
Lift the blade assembly straight out. Once the collar is off, the blade and its gasket lift free. Don’t pry with a knife — the blade is sharp on both sides. You’ll feel it come loose cleanly.
Separate the gasket from the blade. Peel the rubber ring off the blade hub with your fingers. If it’s stuck, work it loose with your fingers under warm running water. The gasket should come away in one piece.
Wash the jar, lid, collar, blade, and gasket. Use warm water with dish soap. A bottle brush reaches the jar corners. Rinse everything and set it on a rack to air-dry.
Flip the base over and remove the screws, only if needed. If you’re replacing a cord or switch, set the base on its side and take out the four Phillips screws at the bottom. Keep them in a small cup so they don’t roll away. You’ll see the motor and wiring once the plate lifts.
Reassemble in reverse order. Seat the gasket on the blade hub, drop the blade into the jar opening, and screw the collar on clockwise until snug. Don’t overtighten — hand-tight is enough.
The judgement call is step 8. Most cleaning jobs never need the base opened. If you open it and see wiring you don’t recognize, the base can still hold a dangerous charge even unplugged. Don’t touch it. Close the base and take it to a technician.
Variations by jar and model
The steps above fit most Oster blenders, but the jar type changes the details. Use this table to find your situation.
| Your setup | What to do | Time and effort | What to watch for |
|---|---|---|---|
| Glass jar, metal collar | Unscrew collar by hand | 10 minutes, easy | Slippery when wet |
| Plastic jar, threaded blade | Use rubber grip pad | 12 minutes, easy | Don’t force past snug |
| Plastic jar, pressed-in blade | Clean in place, no removal | 5 minutes, easy | Cracking the collar |
| Base screws stiff or rusty | Add a drop of penetrating oil | 20 minutes, moderate | Stripped screw heads |
| Gasket hard or cracked | Replace before reassembly | 15 minutes, easy | Leaks return if reused |
| Cord or switch broken | Stop, see a technician | Not a DIY job | Capacitor holds charge |
| Vintage Oster with square jar | Check Oster’s site for parts | Varies by model | Discontinued parts |
What careful owners do differently
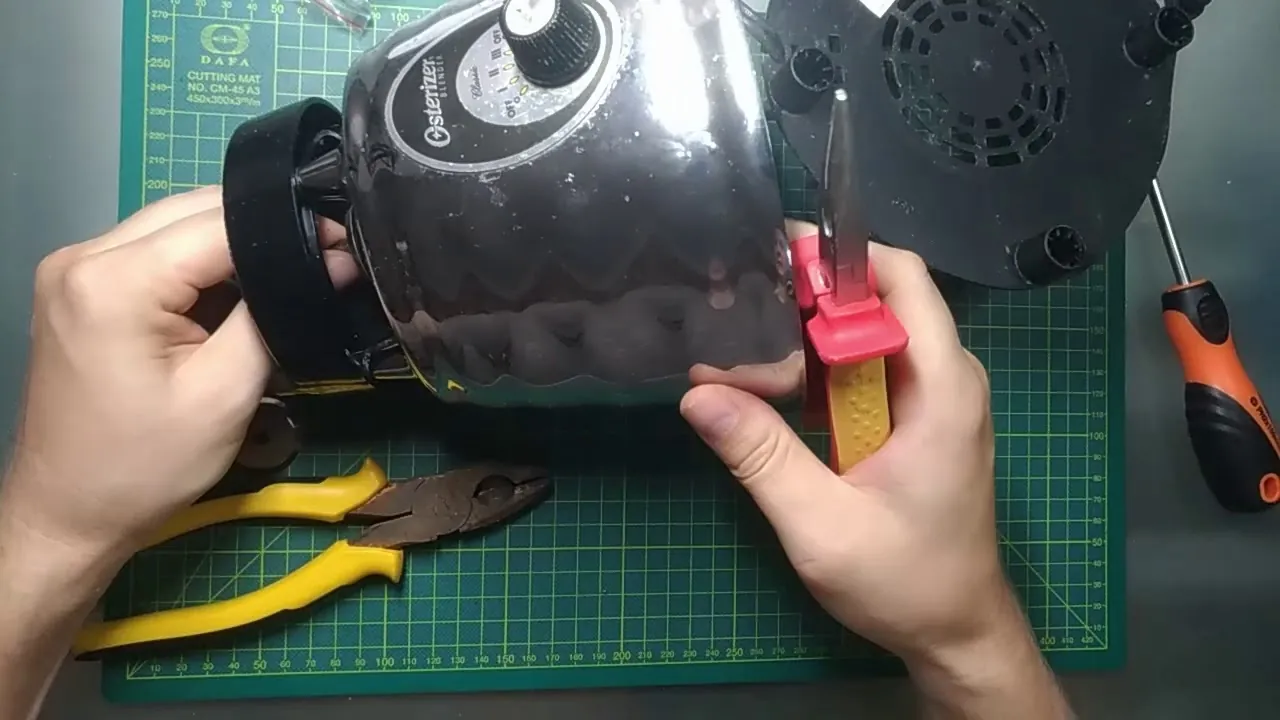
They check the blade type before twisting
Experienced owners look at the underside of the jar before they apply any force. Flat wrench spots mean threaded. A smooth collar means pressed-in, and those get cleaned in place with a brush and warm water. Beginners twist first and ask later, and a cracked collar costs more than the cleaning was worth.
They handle the gasket like a part, not a rag
The rubber gasket is what stops leaks, and it wears out. Careful owners lift it off the blade every time they deep-clean, rinse both sides, and press it with a fingernail to test for spring-back. If it stays dented, it’s done. They also keep a spare on hand, because a fresh gasket is inexpensive compared with replacing the whole jar.
They stop at the base plate
The line between cleaning and repair sits at the four base screws. Cleaning the jar, blade, and collar is safe for anyone. Opening the base is where the capacitor lives, and it can hold a dangerous charge even with the cord out. Careful owners close it back up and call a technician the moment they see wiring they don’t recognize.
When something seems wrong
Most problems have a simple cause. Match what you notice to the row below.
| What you notice | What it usually means | What to do first | How to stop it happening again |
|---|---|---|---|
| Blade won’t unscrew | Collar is stuck or pressed-in | Try rubber grip, then stop | Check type before forcing |
| Dark specks in smoothie | Gasket is worn or dirty | Remove and wash gasket | Clean gasket after each use |
| Leak at jar base | Gasket is cracked or missing | Replace the gasket | Don’t overtighten the collar |
| Burning smell while running | Motor is overheating | Stop, unplug, let cool | Run in shorter bursts |
| Blade spins but nothing blends | Blade is dull or loose | Tighten collar, check blade | Replace dull blades |
| Base screws won’t turn | Rust or stripped head | Add penetrating oil | Use the right screwdriver size |
| Motor hums, no spin | Internal fault | Stop, see a technician | Not a DIY repair |
The rules that apply here
Oster publishes a use and care guide with each blender, and it lists what owners may clean and what voids the warranty. Cleaning the jar, lid, blade, and collar is allowed. Opening the motor housing isn’t covered, and doing it yourself can void your warranty on models still under coverage.
The safety rule that matters most comes from electrical practice, not from Oster alone. A capacitor inside a blender base can store a lethal charge after unplugging. That’s why appliance repair guidance tells owners to leave the inside of motor housings to qualified technicians.
If you’re in the US and your blender is under warranty, check Oster’s own support page for your model before you unscrew anything. The rules differ by country, and the warranty terms on Oster’s regional sites are the ones that apply to you.
What this costs you in time and money
The cleaning job itself costs nothing but 10 to 15 minutes and a little dish soap. That’s the honest price for the steps above.
Parts are where money enters. A replacement gasket is the cheapest fix, and a new blade assembly costs more. Prices change by model and by where you buy, so check Oster’s parts page or a retailer listing for your exact model number — don’t trust a figure from a blog, including this one.
Time moves up if screws are stuck. Penetrating oil needs a few minutes to work, and a stripped screw can turn a 15-minute job into an hour. If you don’t have the right screwdriver size, buy one before you start.
The biggest cost is a mistake: forcing a pressed-in blade cracks the collar, and a cracked collar often means a whole new jar. That single wrong twist can cost more than every part you’d replace in a year.
Keeping it clean after reassembly
Once it’s back together, the maintenance is small. Rinse the jar, blade, and gasket right after each use, before residue dries. Dried smoothie and nut butter are what harden gaskets and cause smells.
How often you do the full teardown above depends on how much you use the blender, so check the owner’s manual for guidance: collar off, blade out, gasket lifted, everything washed and air-dried. That’s the deep clean that keeps the blade area from going dark.
The sign it needs attention again is simple. If you see dark specks in your blend, or smell something sour when you open the lid, the gasket and blade area need cleaning. If a leak appears at the jar base, check the gasket before anything else.
You can fix all of this without starting over. Replace the gasket, reseat the blade, screw the collar on snug, and you’re back in business.
When not to take it apart yourself
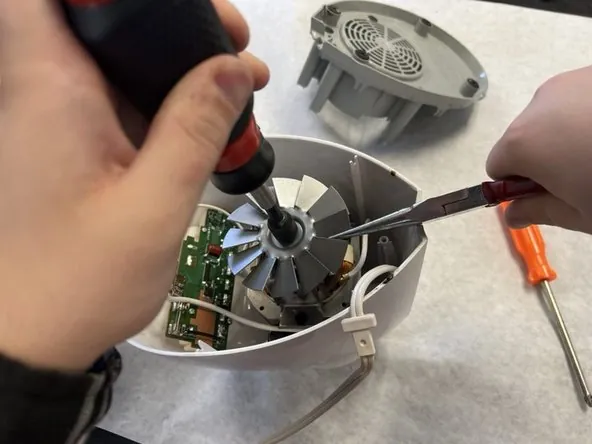
Stop and get help if your blender’s cord is frayed, the plug is cracked, or the base smells like burning plastic while running. Those are electrical faults, and a technician or Oster support should handle them. A damaged cord is a shock risk, not a cleaning job.
Stop if you open the base and see wiring you don’t recognize. The base can hold a dangerous charge even unplugged. Close the base and take it to a repair shop.
Stop if your blender is still under warranty and the fault is internal. Opening the housing yourself can void that coverage. Contact Oster support first, and let them decide the next step.
One more case worth knowing: if the blades spin but the jar leaks, or the motor runs only when you hold the button at an angle, the fault is usually in the coupling or the switch, not the motor. Those parts are cheap and replaceable, but the repair still means opening the base.
If you can’t name the failed part before you pick up a screwdriver, you’re guessing. Guessing inside a blender costs you a shock or a voided warranty, and neither is worth the twenty minutes you saved.
Frequently asked questions
Can I take apart an Oster blender without tools?
Yes, for most cleaning jobs. The lid, jar, blade assembly, and collar all come apart by hand on standard models. You only need a Phillips screwdriver if you’re opening the base plate to reach the motor or cord.
Why won’t my Oster blender blade come off?
It’s usually one of two things. Either the collar is stuck from dried residue, in which case a rubber grip and a firm counterclockwise turn frees it, or your model has a pressed-in blade that isn’t meant to unscrew. Check the underside for wrench flats before forcing it.
How long does it take to take apart an Oster blender?
About 10 to 15 minutes for a full teardown and wash. That assumes a standard model with a hand-threaded collar. Add 5 to 10 minutes if the base screws are stiff, and stop entirely if you find damaged wiring.
Is it safe to put Oster blender parts in the dishwasher?
Check your model’s use and care guide first. Many Oster jars, lids, and collars are dishwasher-safe on the top rack, but some plastic parts and gaskets aren’t. When in doubt, hand-wash in warm soapy water and air-dry.
What happens if I open the blender base?
You’ll see the motor and wiring, and the base can hold a dangerous charge even after unplugging. Don’t touch any of it. Opening the base also can void your warranty, so leave internal repairs to a qualified technician.
Does it matter which way I turn the collar?
Yes. The collar unscrews counterclockwise, the same as a standard jar lid. Turning it the wrong way tightens it further and can strip the threads on plastic models. If it won’t move left, stop and check the blade type.
How often should I deep-clean the blade area?
Every few weeks is enough for most kitchens, and sooner if you blend nut butters, dairy, or strong-smelling foods. The sign to clean now is dark specks in your blend or a sour smell when you open the lid.
Can I replace just the gasket instead of the whole blade?
Yes, on most Oster models the gasket is a separate rubber ring you can buy and swap on its own. Press it onto the blade hub, reseat the blade, and screw the collar back on. A new gasket is the cheapest fix for leaks.
Start with the jar, not the base
Unplug the blender, empty the jar, and work from the top down: lid, collar, blade, gasket. That order gets 90% of jobs done in under 15 minutes. Expect a clean, smell-free jar when you’re finished, with the collar snug and no leaks at the base.
The order matters because the blade and gasket are what fail first. Food and grit collect under the gasket, and a worn gasket is the usual cause of a leak at the base. Pull the gasket out and look at it before you reassemble anything.
If the gasket is stiff, cracked, or stretched, replace it. If it’s still soft and sits flat, wash it, dry it, and reuse it.
If you see damaged wiring, a burning smell, or unfamiliar components inside the base, stop and call a technician or Oster support. That’s the sign this job has gone past what you should do at home.