How to Open an Oster Blender: Lid, Jar, and Blade Base
To open an Oster blender, press the lid release tab or twist the locking collar counterclockwise, depending on your model — most Oster blenders sold in the US use a twist-off jar base, not a hinged lid, so “opening” usually means separating the blade assembly from the jar. The exact method depends on which of the four common Oster designs you own, and using the wrong one is how people crack jars and slice fingers.
Key Takeaways
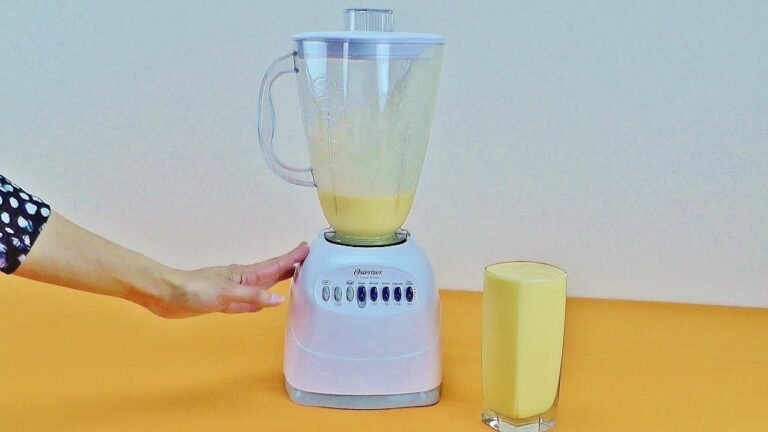
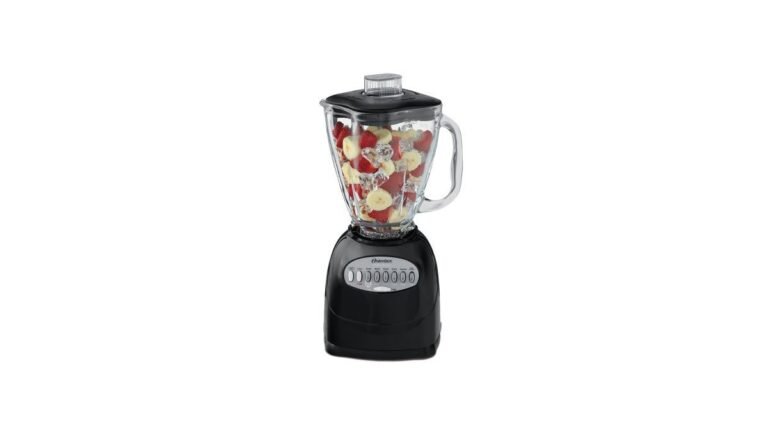
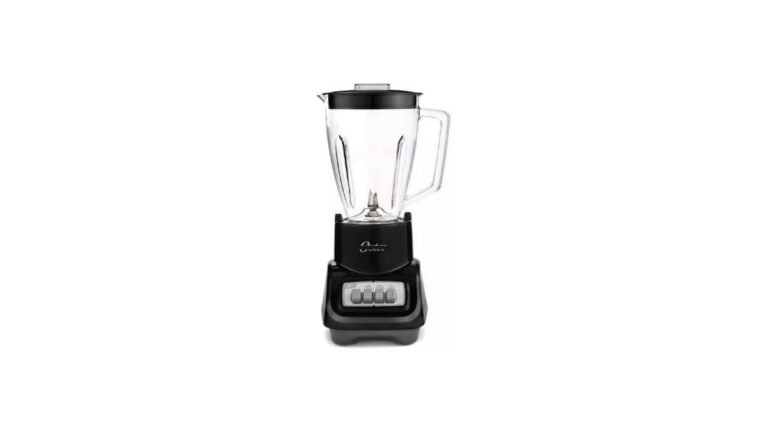
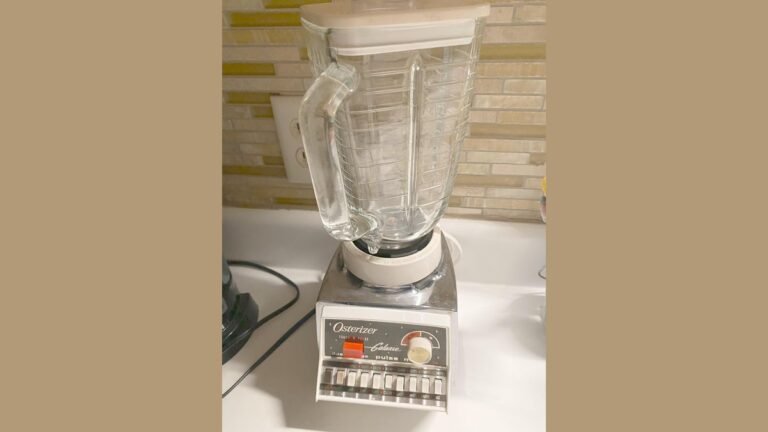
- Identify your model first. Oster sells four main jar styles: the classic 5-cup square glass jar with a screw-on collar, the Oster Pro/BlenderOne with a locking lid tab, the MyBlend personal blender with a twist-off drinking lid, and the older Osterizer with a press-fit rubber lid.
- Most “won’t open” problems are vacuum seals, not broken parts — warm water around the collar or a 10-second tap usually frees them.
- Never twist the glass jar itself to loosen a stuck collar. Grip the collar and the blade base, not the jar walls.
- Unplug the blender before any disassembly. The blade assembly is razor-sharp and doesn’t care that the motor is off.
- Replacement parts are cheap and standardized — Oster blade assemblies and collars fit across dozens of models, so you rarely need a new blender.
- If the jar is cracked at the threads, stop. A cracked thread means the collar will never seal again, and it’s a cut and burn risk.
Which Oster Blender Do You Have?
Before you twist anything, match your blender to one of the four designs below. Oster has made blenders since the 1940s, and the jar systems have changed repeatedly, so the same brand name can mean four different opening motions.
| Model Family | Jar Type | How It Opens | Common Models |
|---|---|---|---|
| Osterizer Classic | 5-cup square glass jar, screw-on collar | Unscrew the black or white collar counterclockwise from the blade base | 4093, 4094, 4126, 6684 |
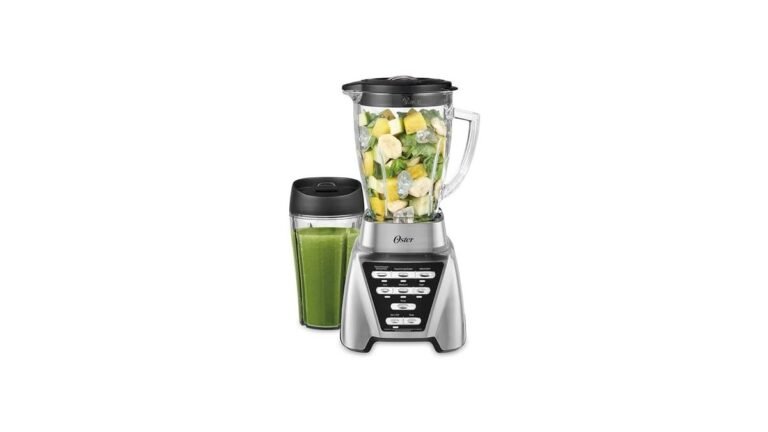
| Oster Pro / BlenderOne | 6-cup or 8-cup plastic or glass jar with locking lid | Press the lid tab and lift; blade base unscrews separately | BLSTPB, BLSTMB, BLSTEG |
| Oster MyBlend / Personal | 20-oz sport bottle | Twist the drinking lid off the bottle; blade base unscrews from the bottom | BLSTPB-W, BLSTPM |
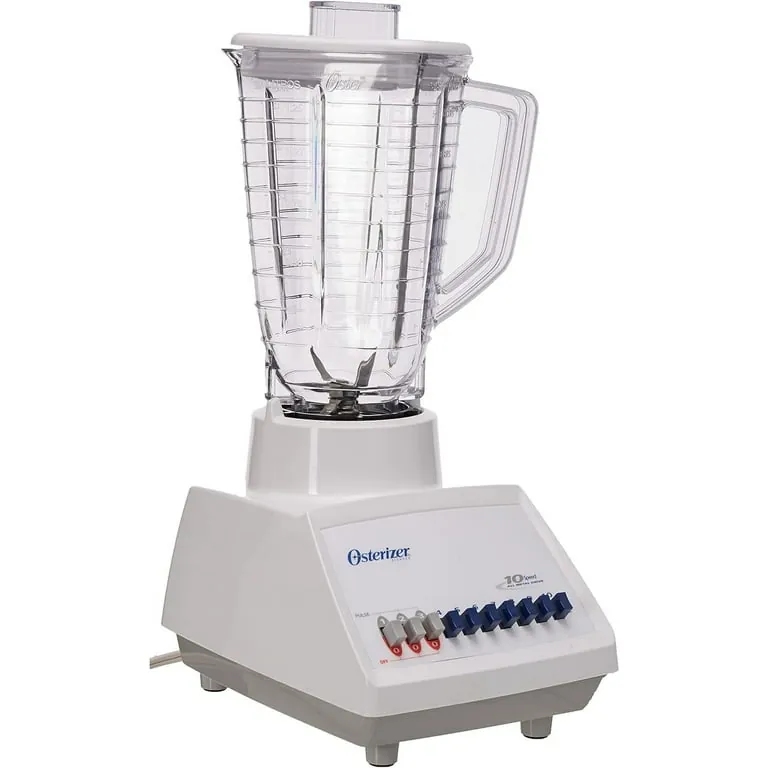
| Vintage Osterizer (pre-1990) | Heavy glass jar with press-fit rubber lid | Pry the rubber lid edge up with your thumbs, or twist if threaded | 403, 404, 848 |
Pro Tip: Flip the blender over and look for a model number plate on the base. It’s usually a small silver or white sticker. Enter that number into Oster’s own parts lookup (Oster.com) rather than guessing from photos — the same body style shipped with different jars across years.
The Classic Osterizer Screw-On Collar
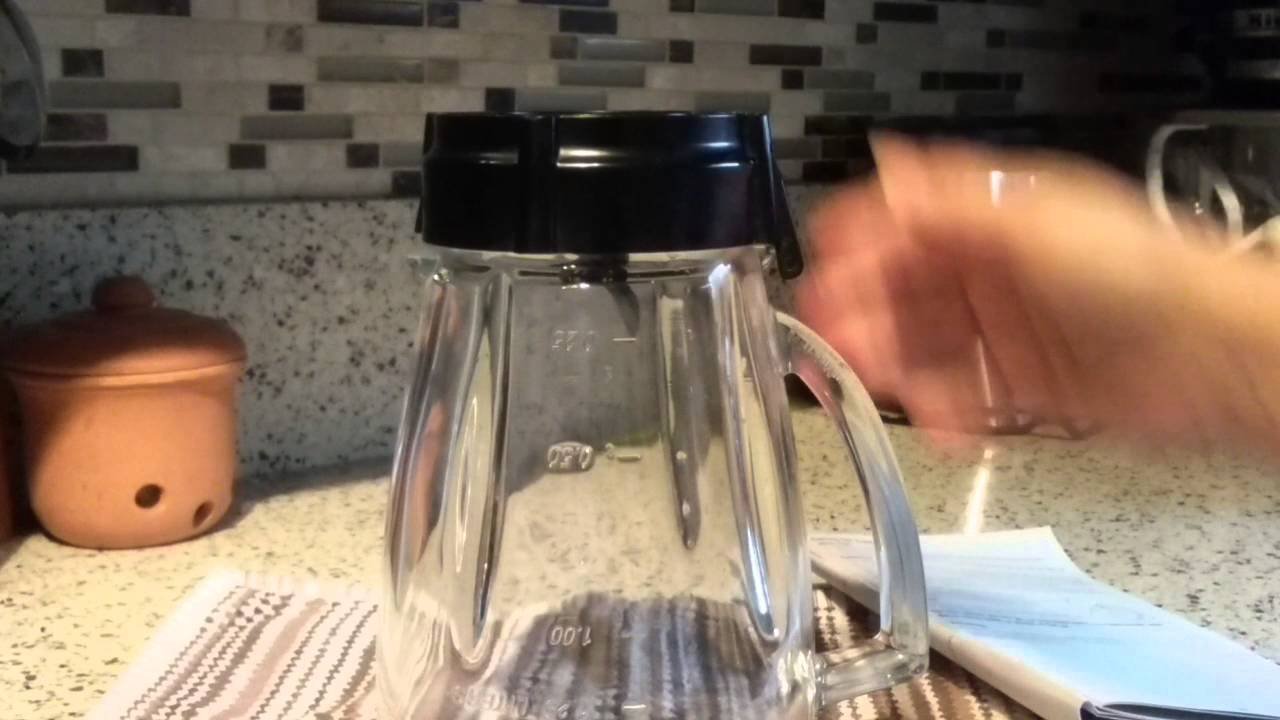
This is the blender most Americans picture when they hear “Oster.” The jar is square, heavy, and made of thick glass, and the bottom is a black plastic collar threaded onto a metal or plastic blade base.
To open it:
- Unplug the blender and remove the jar from the motor base.
- Set the jar upright on a counter with the blade end down.
- Grip the collar with one hand and the blade base with the other.
- Twist the collar counterclockwise while holding the blade base still.
The collar separates from the blade base, and the jar lifts free. Don’t grip the glass jar walls to force the collar — the glass is strong but the threads are not, and a slip sends the jar into your shin.
The Oster Pro Locking Lid
The Oster Pro and BlenderOne lines use a hinged or tabbed lid that snaps onto the jar rim. There’s no twist. Press the release tab on the lid’s front edge with your thumb and lift the lid straight up. If the lid has two tabs, press both at once.
The blade base on these models still unscrews from the jar bottom, but the collar is usually a quarter-turn bayonet rather than a full thread — a short counterclockwise twist, not a long unscrewing motion.
The MyBlend Personal Jar
The MyBlend is a blend-and-go bottle. There’s no separate jar and lid in the classic sense: the blade base screws onto the open end of the bottle, and a drinking lid screws onto the other end.
To open it after blending:
- Unscrew the blade base from the bottle (counterclockwise).
- Screw the drinking lid onto the now-open threads.
- Drink directly, or unscrew the drinking lid to pour.
If you’re trying to open a MyBlend and the blade base won’t budge, you’re almost certainly fighting a vacuum seal created by hot contents. See the troubleshooting section below.
Vintage Press-Fit Lids
Pre-1990 Osterizers often shipped with a rubber or soft plastic lid that presses into the jar rim with friction alone. There are no threads and no tabs. Work your thumbs under the lid’s edge at two opposite points and peel it up evenly. If the lid has hardened with age, run warm water over it for 30 seconds to soften the rubber.
How To Open A Stuck Oster Blender Jar
A stuck jar is the single most common reason people search for this topic. Almost always, the cause is one of five things, and each has a specific fix.
| Cause | Symptom | Fix |
|---|---|---|
| Vacuum seal from hot or thick contents | Collar spins freely but won’t release; lid sucks down | Run warm water over the collar for 60 seconds, then twist |
| Dried residue in the threads | Collar is stiff and gritty, moves a little | Soak the whole base in warm soapy water for 15 minutes |
| Cross-threading | Collar is crooked and jams at one point | Back it off clockwise slightly, then re-twist counterclockwise |
| Over-tightening by hand or by a previous user | Collar won’t budge at all | Tap the collar edge with a rubber mallet or wooden spoon handle |
| Cracked threads on the jar | Visible hairline crack near the rim | Stop — replace the jar or blade assembly |
Warning: Never use a knife, screwdriver, or butter knife to pry a stuck collar or lid. The blade assembly sits directly under the collar, and prying tools slip. Every year, US emergency rooms treat thousands of blender-blade lacerations, and the vast majority happen during cleaning and disassembly, not during blending.
The Warm Water Method
This is the fix that works roughly eight times out of ten. Hot contents cool and contract inside a sealed jar, creating negative pressure that locks the collar in place. Heat expands the plastic collar slightly and breaks the seal.
- Fill a bowl with warm — not boiling — tap water.
- Submerge just the collar and blade base, not the whole jar if it still contains food.
- Wait 60 seconds.
- Twist counterclockwise with a firm, steady motion.
Boiling water can warp the collar and crack a cold glass jar. Warm is enough.
The Tap Method
If water doesn’t work, set the jar on a stable surface with the collar down. Using a rubber mallet or the handle of a wooden spoon, tap the outer edge of the collar firmly in three or four spots around the circle. The vibration breaks the friction bond between the threads. Then twist.
Don’t tap the glass. Tap the plastic collar only.
When To Stop And Replace
Stop trying to open the jar if:
- You see a crack running through the threads or the jar wall.
- The collar spins freely without ever tightening or loosening (stripped threads).
- The blade assembly wobbles in the base.
- You have applied serious force twice and nothing moved.
In all four cases, the part is done. Oster blade assemblies and replacement jars are widely available and inexpensive, and continuing to force a damaged jar is how people end up with glass in their hands.
Opening The Blade Assembly Safely
The blade assembly is the dangerous part, and it’s the part most people handle carelessly because it looks like a lid.
- Unplug the motor base before you touch anything.
- Remove the jar from the base and set it on a non-slip mat or folded towel.
- Open the collar as described above.
- Lift the blade assembly straight up out of the jar — don’t tilt it, or residual liquid runs down your wrist.
- Set the blade assembly face down on a flat surface where nobody will reach for it.
- Wash it by holding the plastic hub, never the blades, and use a bottle brush rather than a sponge.
Pro Tip: Fill the jar halfway with warm water and a drop of dish soap, screw the collar back on, and run the blender for 10 seconds. This “self-clean” cycle removes most residue before you ever touch the blade. Then disassemble and rinse.
Reassembling So It Opens Next Time
Most stuck jars are created at reassembly, not at opening. Three habits prevent it.
- Hand-tighten only. The collar needs to be snug, not torqued. A quarter-turn past contact is plenty.
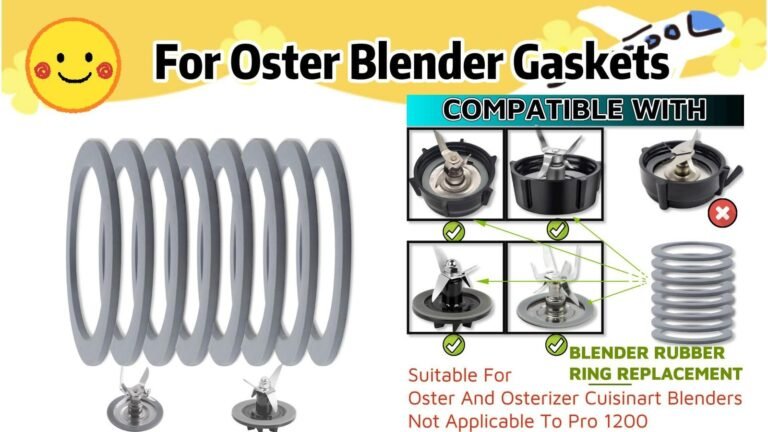
- Check the gasket. The rubber gasket sits between the blade assembly and the jar rim. If it’s missing, pinched, or hardened, the collar will over-tighten to compensate and jam.
- Don’t blend hot liquids in a sealed jar. Leave the fill cap off the lid so steam escapes. Sealed hot liquid creates the vacuum that locks the collar.
| Part | What It Does | Replacement Cost Range (typical US retail) |
|---|---|---|
| Blade assembly | Cuts and seals the jar bottom | $8–$20 |
| Collar / jar base | Threads onto the blade assembly | $6–$15 |
| Rubber gasket | Seals blade assembly to jar | $3–$8 |
| Glass jar (5-cup square) | Holds ingredients | $15–$30 |
| Lid with fill cap | Covers the jar during blending | $8–$18 |
Prices vary by model and retailer, but the point stands: no single part costs enough to justify replacing the whole blender.
Common Oster Blender Models And Their Lids
Oster’s model numbers are confusing because the same number can refer to different configurations sold in different years. This table covers the models US shoppers most often own.
| Model Number | Lid Style | Jar Material | Opening Method |
|---|---|---|---|
| 4093 | Press-fit rubber | 5-cup glass | Peel lid up; unscrew collar |
| 4094 | Press-fit rubber | 5-cup glass | Peel lid up; unscrew collar |
| 4126 | Threaded plastic | 5-cup glass | Unscrew lid; unscrew collar |
| 6684 | Threaded plastic | 6-cup glass | Unscrew lid; unscrew collar |
| BLSTPB | Locking tab | 20-oz plastic bottle | Twist blade base off |
| BLSTMB | Locking tab | 6-cup plastic | Press tab; unscrew blade base |
| BLSTEG | Locking tab | 8-cup glass | Press tab; unscrew blade base |
If your model isn’t listed, the physical lid tells you what to do: threads mean twist, tabs mean press, smooth rubber edge means peel.
Troubleshooting: When Nothing Works
Work through these in order. Each step is more aggressive than the last, and you should stop as soon as the jar opens.
- Warm water soak — 60 seconds around the collar.
- Rubber band grip — wrap a wide rubber band around the collar for traction, then twist.
- Rubber mallet tap — three or four firm taps around the collar edge.
- Two-person twist — one person holds the blade base, the other twists the collar. This works because it eliminates the counter-rotation that defeats a single pair of hands.
- Overnight soak — submerge the base in warm soapy water overnight to dissolve dried residue.
- Replace the part — if none of the above works, the threads are damaged. Buy a new collar and blade assembly.
Warning: Don’t put a glass Oster jar in the freezer to “shrink” it loose, and don’t pour boiling water on it. Thermal shock cracks blender glass, and the crack usually appears while you’re holding it.
Why The Lid Won’t Stay On
A lid that pops off mid-blend is a different problem from a lid that won’t open, but the causes overlap. Check these:
- Overfilled jar. Never exceed the max fill line. Blending expands volume.
- Missing fill cap. The small center cap must be seated, or pressure escapes unevenly and lifts the lid.
- Worn gasket or lid rim. Replacement lids cost a few dollars.
- Wrong lid for the jar. Oster jars come in 5-cup and 6-cup rims that look nearly identical but don’t interchange.
Why The Collar Leaks
A leaking collar is almost always a gasket problem. Remove the gasket, inspect it for flattening, cracks, or food debris, and either clean it thoroughly or replace it. If the leak continues with a new gasket, the jar threads are worn and the jar needs replacing.
Cleaning Without Damaging The Seal
How you clean determines how easily the blender opens next time.
- Rinse immediately after blending. Dried smoothie residue in the threads is the number one cause of stuck collars.
- Disassemble every time. Don’t store the blender assembled with food residue inside.
- Hand-wash the blade assembly with a bottle brush. Most Oster blade assemblies are top-rack dishwasher safe, but the heat cycle degrades the gasket faster.
- Leave the collar loose when the blender sits unused. Snug it just to contact, not tight.
- Dry the threads before reassembly. Moisture plus residue equals cement.
Frequently Asked Questions
How do I open an Oster blender jar that’s stuck?
Run warm tap water over the plastic collar for about 60 seconds, then grip the collar with one hand and the blade base with the other and twist counterclockwise. If it still won’t move, tap the collar edge with a rubber mallet in three or four spots and try again. Most stuck jars are vacuum seals, not stripped threads.
Does an Oster blender lid twist or snap on?
It depends on the model. The classic Osterizer and most 5-cup and 6-cup glass jars use a press-fit rubber lid you peel up with your thumbs. The Oster Pro and BlenderOne lines use a locking tab lid you press and lift. The MyBlend personal blender uses a twist-off drinking lid. Check for threads, tabs, or a smooth rubber edge.
Can I put Oster blender parts in the dishwasher?
Most Oster glass jars, plastic collars, and lids are top-rack dishwasher safe. The blade assembly usually is too, but repeated dishwasher cycles degrade the rubber gasket and cause leaks. Hand-washing the blade assembly with a bottle brush extends its life and keeps the collar from jamming.
Why won’t my Oster blender lid come off?
The most common cause is a vacuum seal from blending hot or thick contents in a sealed jar. Warm water around the lid edge breaks the seal. The second most common cause is dried residue in the lid groove, which a 15-minute warm soapy water soak will dissolve. Never pry a lid with a knife.
How do I know if my Oster jar needs replacing?
Replace the jar if you see a crack through the threads or wall, if the collar spins without engaging, if the blade assembly wobbles, or if the jar leaks with a new gasket installed. Replacement jars and blade assemblies are inexpensive and widely available, so there’s no reason to keep using a damaged one.
Are Oster blade assemblies interchangeable between models?
Many are, especially within the classic 5-cup square jar family, where one blade assembly and collar fit dozens of model numbers. The Oster Pro and MyBlend lines use different assemblies. The safest approach is to look up your specific model number on Oster’s parts page rather than assuming compatibility from a photo.
What To Do If You Still Can’t Open It
If you have worked through the warm water soak, the rubber band grip, the mallet tap, and a two-person twist, and the jar still won’t open, the threads are damaged. Order a replacement collar and blade assembly for your model number, and if the jar itself is cracked, a replacement jar as well.
Both are inexpensive, both are widely stocked, and both arrive faster than a repair appointment. In the meantime, don’t force the old parts — a blender that won’t open is an annoyance, but a shattered glass jar in your hands is an injury.