What Container To Use With Immersion Blender: Best Options Revealed
Using an immersion blender can be a game changer in the kitchen—whether you’re making soups, smoothies, or homemade mayonnaise. But if you’ve ever splattered hot tomato soup across your kitchen, you already know: the container you use makes a huge difference. Choosing the right container isn’t just about convenience—it affects safety, blending efficiency, and your final results. Many home cooks overlook this step, but understanding which container to use with your immersion blender can save you time, hassle, and even protect your blender from damage. Let’s dive into how the right choice can transform your blending experience.
Why The Right Container Matters
The type of container you use with your immersion blender can impact nearly every part of your cooking. If the container is too wide, you’ll splash ingredients everywhere. Too narrow, and the blades won’t work effectively. Using a container that’s too shallow can even damage your blender or create uneven textures.
Most people focus on the blender’s power or attachments, but the container actually controls how food moves toward the blades. For example, a tall, narrow vessel forces ingredients into the blending zone, creating a vortex that blends faster and more evenly.
A wide, flat bowl can cause the blender to “miss” chunks, leaving an uneven puree.
Another hidden factor is material—certain plastics can scratch, stain, or even leach chemicals when blending hot foods. Glass is heavy and prone to chipping. Stainless steel is durable but can be noisy and sometimes scratch the blender’s bell. These details often get missed but can make a big difference in your kitchen routine.
Key Features Of The Best Containers For Immersion Blenders
Not all containers work equally well with immersion blenders. Here are the main features to look for:
1. Height And Shape
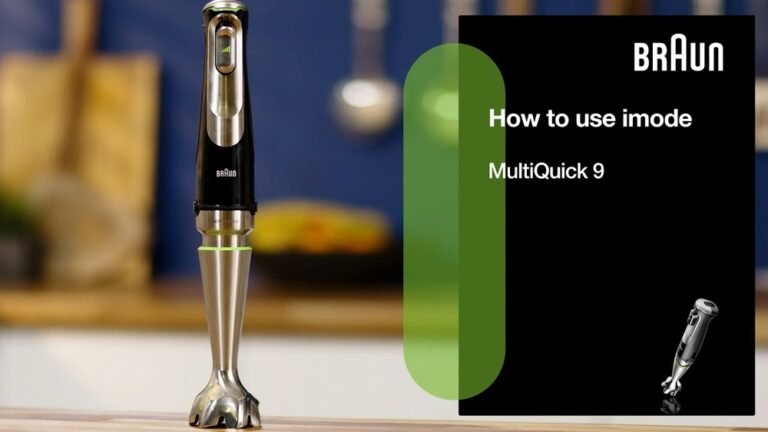
A tall, narrow container is ideal. It keeps ingredients close to the blades and reduces splashing. Most manufacturers provide a blending cup with their immersion blenders for this reason.
- Tall containers keep food circulating toward the blades.
- Narrow shapes prevent splattering, especially with liquids.
2. Material
The best material depends on what you’re blending:
- Plastic (BPA-free): Lightweight, won’t break if dropped, and usually comes with the blender. However, it can stain or retain odors.
- Glass: Good for hot foods, easy to clean, and doesn’t hold odors. But it’s heavy and can chip or break.
- Stainless steel: Durable, easy to clean, and doesn’t stain. However, it can be noisy, and it’s harder to see what you’re blending.
3. Capacity
Choose a container that matches your recipe:
- For small batches (sauces, dressings): 2 to 3 cups
- For soups and smoothies: 4 to 8 cups
Using a container that’s too large means the blender won’t reach all ingredients. Too small, and you’ll have overflow and mess.
4. Base Stability
A non-slip base helps keep the container steady while blending. This is especially important for thick mixtures that need more force.
5. Heat Resistance
If you’re blending hot soups, the container must handle heat. Glass and stainless steel are best for hot foods, while some plastics may warp or release chemicals.

Credit: cooking.stackexchange.com
Types Of Containers: Pros And Cons
To make things clearer, here’s a direct comparison between the main types of containers used with immersion blenders:
| Container Type | Pros | Cons |
|---|---|---|
| BPA-Free Plastic | Lightweight, affordable, won’t break easily | Can stain, may retain odors, some aren’t heat-resistant |
| Glass | Does not absorb odors, easy to clean, handles hot foods | Heavy, can chip or break |
| Stainless Steel | Durable, easy to clean, great for hot foods | No visibility, can be noisy, may scratch blender bell |
| Ceramic | Heat-resistant, doesn’t stain | Heavy, can break, not always tall enough |
Most home cooks find BPA-free plastic or glass the easiest for everyday use. Stainless steel is popular in professional kitchens but less common at home.
Popular Container Choices For Common Blending Tasks
Different recipes call for different containers. Here are the best container types for popular tasks:
Soups
For blending hot soups, use a tall glass or stainless steel pot. Never blend hot soup in a shallow bowl—splattering is almost guaranteed. Avoid non-heat-resistant plastics, which can warp or leach chemicals.
Smoothies
A tall, narrow plastic blending cup (included with most immersion blenders) works best. They help create a strong vortex, pulling fruit and ice toward the blades. If you double your recipe, make sure the cup is big enough to prevent overflow.
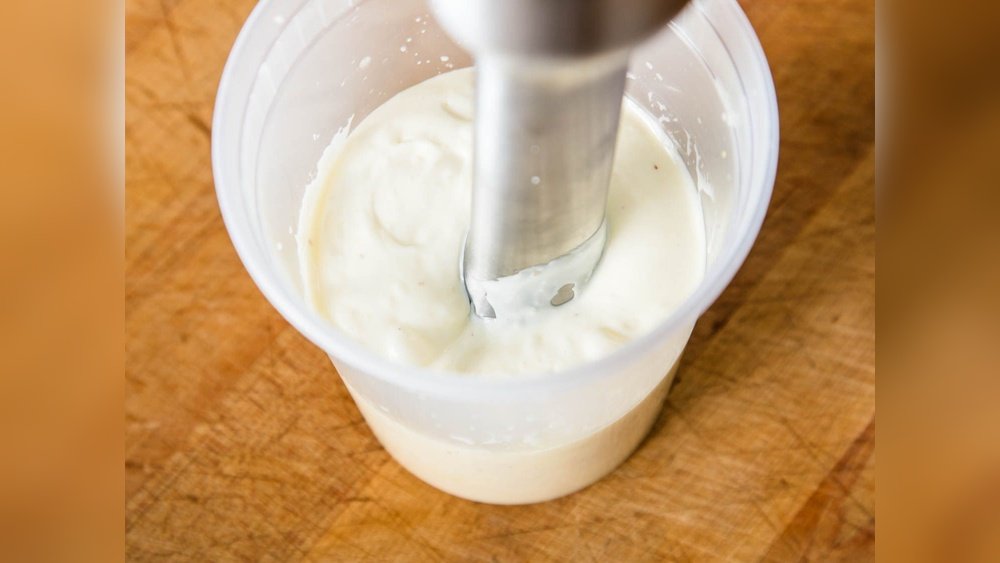
Sauces And Mayonnaise
A small, narrow cup—often called an emulsifying cup—is perfect. These allow the blades to thoroughly mix oil and other ingredients for creamy mayonnaise or smooth sauces.
Baby Food
A medium, tall glass or BPA-free plastic container is safest. You want something easy to clean, heat-resistant, and free from chemicals.
Whipped Cream Or Batters
For whipping, use a tall, wide-mouthed container. This gives the whisk attachment room to move while keeping splashes inside.
:max_bytes(150000):strip_icc()/sea-primary-immersion-blenders-sep-24-rkilgore-0658-89167e1e4bd44afb93d9c847674b09e4.jpeg)
Credit: www.seriouseats.com
How Container Size Affects Blending Results
Many beginners choose a bowl or pot based on what’s clean or handy. But size has a direct effect on results:
- Too wide: Food escapes the blade area; you get uneven chunks.
- Too small: Limited movement, risk of overflow, inefficient blending.
- Just right: The container matches the blender head size with about 1–2 inches of clearance all around.
Here’s a quick reference guide for matching container size to blender head:
| Immersion Blender Head Diameter | Ideal Container Diameter | Ideal Container Height |
|---|---|---|
| 1.5 inches | 2.5–3 inches | 6–8 inches |
| 2 inches | 3.5–4 inches | 7–9 inches |
| 2.5 inches | 4.5–5 inches | 8–10 inches |
If your container is much wider than the blender head, you’ll spend extra time chasing unblended bits around the sides.
The Role Of Container Shape
Shape matters just as much as size. A cylindrical (straight-sided) container is ideal because it helps ingredients circulate in a vortex. A bowl with sloped sides, on the other hand, lets food escape from the blades, reducing blending efficiency.
For example, when making mayonnaise, a straight-sided container keeps the oil and egg together, allowing for proper emulsification. In a wide bowl, ingredients separate, and the emulsion can fail.
:max_bytes(150000):strip_icc()/faw-immersion-blenders-sep-24-test-all-clad-rkilgore-062-953903eb9a96415a9c038a67dfda10f7.jpeg)
Credit: www.foodandwine.com
What To Avoid: Common Container Mistakes
Some choices make blending much harder:
- Flat, wide bowls: Ingredients escape the blade; splattering is common.
- Shallow dishes: Hot liquids can splash out, risking burns.
- Non-heat-resistant plastic: Can warp or release chemicals with hot foods.
- Delicate glassware: May chip or crack when the blender hits the side.
One non-obvious mistake: using containers with tight corners. Food can get stuck in these corners, making blending uneven and cleanup difficult.
Using Pots And Pans Directly
Many people use their immersion blender straight in the cooking pot. This works—but with some warnings:
- Only blend in deep pots (at least 6 inches tall) to avoid splashing.
- Remove the pot from heat before blending hot soup; steam can damage the blender’s motor.
- Avoid nonstick pans, as the blender can scratch the coating.
If your pot is too wide, move ingredients into a narrower container before blending for best results.
Cleaning And Maintenance Considerations
Container choice also affects cleanup:
- Plastic can stain (from tomato or turmeric), so rinse immediately after use.
- Glass and stainless steel are dishwasher-safe and won’t hold odors.
- Avoid containers with crevices or textured surfaces—they trap food, making cleaning harder.
Another insight: Using the container that came with your blender often means it’s designed for easy cleaning, with smooth sides and no hidden corners.
Special Use Cases: Large Batches And Hot Liquids
Blending large batches can be tricky. Most immersion blenders are designed for 4–8 cup containers. If you need to blend more, work in batches to avoid overflow and uneven results. For hot liquids, let them cool slightly before blending to avoid pressure buildup and splattering.
If you often blend large amounts, consider investing in a commercial-grade, heat-resistant container. These are taller and stronger than typical household options.
When To Use The Included Blending Cup
Nearly all modern immersion blenders come with a blending cup—usually tall, narrow, and made of BPA-free plastic. These are almost always the best choice for:
- Smoothies
- Sauces
- Mayonnaise
- Small batches of soup
The included cup is sized perfectly for the blender head, and its shape helps create a strong vortex for even blending. If you lost yours, look for a replacement with similar dimensions.
Diy Solutions: What If You Don’t Have The Perfect Container?
Sometimes, you don’t have the exact right container. Here are some workarounds:
- Use a mason jar (wide-mouth) for smoothies or sauces.
- A tall plastic pitcher works for soups or batters.
- For mayonnaise, a clean, straight-sided drinking glass can substitute.
Just make sure the container is sturdy, tall enough to prevent splashes, and wide enough for the blender head to move freely.
Safety Tips For Blending In Containers
Immersion blenders are powerful, but they can also be dangerous if used incorrectly. Here’s how to stay safe:
- Always turn off the blender before inserting or removing it from the container.
- Keep the blade fully submerged to avoid splashing.
- Avoid blending in thin glassware that could chip or crack.
- Don’t fill containers to the very top—leave at least an inch of space to prevent overflow.
- Hold the container steady with one hand while blending.
A little planning goes a long way to prevent burns, cuts, or kitchen messes.
Case Study: How Container Choice Changes Results
Consider making a classic potato leek soup. If you blend in a wide, shallow bowl, you’ll find chunks of potato left at the edges, and the soup texture may be uneven. But if you use a tall, narrow pot or blending cup, the soup becomes silky smooth in seconds.
A test by America’s Test Kitchen found that using a tall container reduced blending time by 30% and improved texture consistency compared to a shallow bowl. The difference is visible—and you taste it in every spoonful.
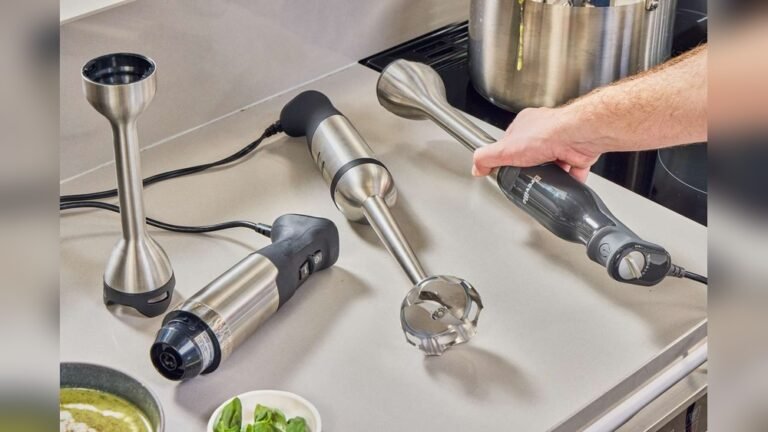
Recommended Container Brands And Models
Some brands are known for making excellent containers that work well with most immersion blenders:
- Rubbermaid Brilliance Tall Food Containers: BPA-free, clear, and very durable.
- Pyrex Glass Measuring Cups (4-cup or 8-cup): Great for hot and cold foods.
- OXO Good Grips Stainless Steel Mixing Bowls: Ideal for large batches.
If you’re buying a replacement, measure your immersion blender’s head first to ensure a good fit.
Comparing Immersion Blender Container Sets
Some immersion blenders come as part of a set, including blending cups, chopper bowls, and whisk attachments. Here’s how they stack up:
| Set Included | Best For | Drawbacks |
|---|---|---|
| Blending Cup | Smoothies, sauces, mayo | Small capacity |
| Chopper Bowl | Nuts, herbs, chopping | Not for liquids |
| Whisk Attachment + Bowl | Whipped cream, batters | Not for purees |
For most people, the basic blending cup covers 90% of daily needs. But the extra bowls can save time if you regularly make salsas, pesto, or whipped desserts.
Environmental And Health Considerations
There’s growing concern about plastic use in the kitchen. If you prefer to avoid plastic, glass and stainless steel are your best options. Look for BPA-free markings on any plastic containers, especially if you’ll use them for hot foods.
Another tip: Older containers may develop scratches that can harbor bacteria. Replace any container that’s deeply scratched or cloudy.
For more on safe plastics, check out this guide from the U.S. Food and Drug Administration.
Non-obvious Insights Most Beginners Miss
- Blade Clearance: Always check that your blender’s blade guard fits fully inside the container. If the guard presses against the bottom or sides, it can damage both the container and your blender.
- Sound Dampening: Glass containers are quieter than stainless steel, which can amplify the sound of the blades. If noise is a concern, opt for glass or thick plastic.
- Measuring Marks: Some containers have built-in measuring lines. This saves time when adding ingredients—no extra measuring cup needed.
Summary: Making The Right Container Choice
Choosing the right container for your immersion blender isn’t complicated, but it does require attention to detail. A tall, narrow, sturdy vessel—preferably the blending cup included with your blender—is best for most tasks. For hot foods, stick to glass or stainless steel.
Always check for heat resistance, blade clearance, and stability before blending.
Avoid shallow bowls, thin glass, or containers with tight corners. If you don’t have the perfect container, improvise with mason jars or pitchers, but always prioritize safety and blending efficiency.
With the right container, your immersion blender becomes a true kitchen hero—delivering smooth soups, creamy sauces, and silky smoothies with less mess and better results.
Frequently Asked Questions
What Size Container Works Best With An Immersion Blender?
A tall, narrow container that matches the size of your blender’s head is best. For most immersion blenders, a 3–4 inch diameter and 6–8 inch height offer the best control and blending results.
Can I Use Any Plastic Container With Hot Soups?
No. Only use BPA-free, heat-resistant plastic for hot foods. Some plastics can warp or leach chemicals when exposed to high temperatures. Glass or stainless steel is safest for hot soups.
Is It Safe To Blend Directly In The Cooking Pot?
Yes, but only if the pot is deep enough to prevent splashing and not coated with a nonstick surface, which can scratch. Always remove the pot from heat before blending to avoid damaging the immersion blender.
Why Does My Blender Splash So Much?
Splashing usually happens when the container is too wide or shallow, or when the blade isn’t fully submerged. Use a tall, narrow container and keep the blade under the surface to minimize splattering.
Can I Buy A Replacement Blending Cup?
Yes. Many brands sell replacement blending cups online or at kitchen stores. Measure your blender’s head to ensure the new cup is tall and narrow enough for efficient blending.