How To Make A Blizzard With A Ninja Blender: Easy Dessert Guide
Making a Blizzard at home is more than just mixing ice cream and treats. It’s about getting that thick, creamy texture you find at Dairy Queen, where the spoon stands up straight and every bite is packed with flavor. Many people think you need special machines to create this treat, but the Ninja Blender is a tool you probably already have that can make Blizzards just as good — sometimes better. This guide walks you through everything you need to know, from choosing the right ingredients to solving common problems, so you’ll enjoy perfect homemade Blizzards every time.
What Makes A Blizzard Unique?
The Blizzard is famous for its thick, almost “stand-up” consistency. Unlike a simple milkshake, it doesn’t pour easily and is meant to be eaten with a spoon. The secret is in how the ice cream is blended and what’s mixed in.
Getting this texture with a Ninja Blender is possible, but it requires the right steps and understanding.
Blizzards also stand out because of their mix-ins. You can add candies, cookies, fruit, or even nuts. Each mix-in changes the flavor and texture, so you can experiment and make your own signature Blizzard.
Why Use A Ninja Blender?
The Ninja Blender has powerful blades and variable speeds, which means it can handle tough ice cream and chunky mix-ins. Unlike some regular blenders that struggle or overheat, Ninja models are strong enough to blend thick mixtures without turning everything into liquid.
Here are three key advantages:
- Powerful motor – Handles frozen ingredients and thick ice cream easily.
- Pulse function – Helps mix ingredients without over-blending.
- Wide pitcher design – Makes it easier to scrape out thick mixtures.
If you’re using a Ninja, you can make Blizzards in small or large batches. It’s also easy to clean, and you can switch between different blades depending on the model.
Essential Ingredients For A Blizzard
The quality and amount of ingredients decide how your Blizzard turns out. Here’s what you’ll need for a classic Blizzard:
- Ice cream – Use high-fat, premium vanilla ice cream. Lower-fat ice cream melts faster and doesn’t give the right thickness.
- Mix-ins – Common choices include Oreo cookies, M&M’s, peanut butter cups, brownie pieces, or fruit. If you want a Dairy Queen-style Blizzard, stick with candies and cookies.
- Optional additions – Milk (to help blend), chocolate or caramel sauce, whipped cream for topping.
Basic Ingredient Quantities (for 2 Servings)
- 2 cups vanilla ice cream (about 4 scoops)
- ½ cup mix-ins (chopped or crushed)
- 2–3 tablespoons milk (optional, use only if needed for blending)
You can double or halve these amounts depending on how many Blizzards you want.
How To Make A Blizzard With A Ninja Blender: Step-by-step
Follow these steps to make a thick, delicious Blizzard at home. These instructions work for most Ninja models, including the Ninja Professional and Ninja Foodi.
1. Prepare Your Ingredients
Let your ice cream sit at room temperature for 3–5 minutes. It should be soft enough to scoop but still frozen. Too hard, and the blender will struggle. Too soft, and you’ll get a milkshake instead of a Blizzard.
Chop or crush your mix-ins. For cookies and candies, break them into small chunks (about ½-inch pieces). For softer mix-ins like brownies, smaller pieces blend better.
2. Load The Blender
Add ice cream first. This makes it easier for the blades to grab and blend. Next, add your mix-ins. If using milk, add just 2 tablespoons to start. You can add more later if needed.
3. Blend Using The Right Setting
Use the pulse function for 10–15 seconds at a time. Check the mixture after each pulse. This keeps the mix-ins chunky and prevents over-blending. If your Ninja doesn’t have a pulse function, use the lowest speed and stop often to check.
If the ice cream is too stiff, scrape down the sides and add 1 more tablespoon of milk. Repeat pulsing. Don’t add too much liquid or you’ll lose the Blizzard thickness.
4. Check Consistency
The mixture should be thick enough that a spoon stands upright in it. If it’s too soft, add more ice cream and pulse again. If it’s too hard, let it sit for 1–2 minutes and pulse again.
5. Serve Immediately
Spoon the mixture into cups or bowls. Top with extra mix-ins, chocolate sauce, or whipped cream if you like. Serve right away; Blizzards melt quickly if left out.
Common Mistakes And How To Fix Them
Even experienced home cooks make mistakes when blending Blizzards. Here are some problems and solutions:
- Too runny – This usually happens if you add too much milk or use low-fat ice cream. Fix by adding more ice cream and pulsing briefly.
- Not blended enough – If mix-ins are still whole, pulse again. Don’t run the blender for too long or everything turns mushy.
- Blender jams – If the Ninja stops or struggles, ice cream may be too hard. Let it soften for 2 more minutes or add a small splash of milk.
- Over-blended – If the mix-ins disappear, pulse for less time or use larger chunks next time.
Choosing The Best Ice Cream For Blizzards
Ice cream is the base of your Blizzard. Not all brands work equally well. High-fat, premium ice creams hold up better. Store brands often have more air, making them melt faster and lose thickness.
Here’s a comparison of popular ice cream brands for Blizzards:
| Brand | Fat Content | Texture in Blizzard | Flavor Quality |
|---|---|---|---|
| Haagen-Dazs | High | Very thick | Rich |
| Ben & Jerry’s | High | Thick | Very flavorful |
| Breyers | Medium | Soft | Good |
| Store Brand | Low | Runny | Basic |
Choose ice cream with high fat content and minimal air for the best Blizzard texture.
Best Mix-ins For Homemade Blizzards
Mix-ins are what make Blizzards fun and customizable. Here are some of the most popular and tasty options:
- Cookies: Oreos, chocolate chip cookies, graham crackers
- Candy: M&M’s, Reese’s Pieces, Snickers, Butterfinger
- Brownies or cake pieces
- Fruit: Strawberries, bananas, blueberries
- Nuts: Pecans, walnuts (chop small)
- Chocolate chips or chunks
When using fruit, freeze it first for better texture. For candies and cookies, crush or chop them so they blend but stay chunky.
Comparing Blizzards, Milkshakes, And Sundaes
Many people confuse Blizzards with milkshakes or sundaes. Here’s a quick look at what makes each treat different:
| Feature | Blizzard | Milkshake | Sundae |
|---|---|---|---|
| Texture | Thick, spoonable | Liquid, drinkable | Soft, scoopable |
| Mix-ins | Blended in | Blended or topped | Toppings only |
| Serving | Cup, spoon | Glass, straw | Bowl, spoon |
| Blender Needed | Yes | Yes | No |
If you want a treat to eat with a spoon and loaded with chunks, Blizzard is the way to go.
Advanced Tips For Better Blizzards
Once you’ve mastered the basic Blizzard recipe, you can try these advanced tips for even better results:
1. Freeze Mix-ins
Some candies and cookies get mushy when blended with ice cream. Try freezing them for 10–15 minutes before blending. This keeps them crunchy and makes the Blizzard more enjoyable.
2. Layer Your Ingredients
For larger batches, layer the ice cream and mix-ins in the blender. This helps distribute mix-ins evenly and prevents clumping.
3. Use The Right Blade
If your Ninja comes with multiple blades, use the one for frozen desserts. It’s designed to chop through tough ice cream and mix-ins without turning everything to mush.
4. Experiment With Flavors
Try different ice cream bases: chocolate, strawberry, or mint. Mix up your mix-ins for endless combinations.
5. Portion Control
Blizzards are rich and heavy. Use smaller cups for serving, especially for kids. This helps prevent waste and keeps portions reasonable.
Cleaning Your Ninja Blender After Making Blizzards
Ice cream sticks to blender parts, so cleaning is important. Here’s how to clean your Ninja after making Blizzards:
- Rinse immediately with warm water to prevent sticky buildup.
- Add soap and water to the pitcher, then pulse for 10 seconds.
- Scrub blades and pitcher with a soft brush.
- Rinse and dry thoroughly before storing.
Avoid letting ice cream dry in the blender, as it can be hard to remove.
Credit: thebakermama.com
Making Dairy-free And Vegan Blizzards
If you want a Blizzard but can’t eat dairy, there are options. Use dairy-free ice cream brands like So Delicious or Oatly. These have a different texture, but with the right mix-ins, you can still achieve a thick, tasty Blizzard.
For vegan Blizzards:
- Use plant-based ice cream (almond, coconut, oat milk)
- Check mix-ins for dairy (many candies have milk chocolate)
- Substitute with vegan cookies or fruit
Dairy-free Blizzards may melt a bit faster, so serve immediately.
Nutritional Information And Health Tips
Blizzards are a treat, not a health food, but you can make healthier choices. Here’s a sample nutritional breakdown for a classic homemade Blizzard:
| Ingredient | Amount | Calories | Sugar (g) | Fat (g) |
|---|---|---|---|---|
| Vanilla Ice Cream | 2 cups | 500 | 40 | 28 |
| Oreo Cookies | ½ cup | 220 | 18 | 11 |
| Milk | 2 tbsp | 25 | 2 | 1 |
| Total | – | 745 | 60 | 40 |
To cut calories:
- Use low-fat or sugar-free ice cream
- Choose fruit as mix-ins instead of candy
- Serve smaller portions
Best Ninja Blender Models For Making Blizzards
Not all Ninja blenders are equal for Blizzard-making. Here are three top models:
- Ninja Professional 1000 – Strong motor, wide pitcher, affordable.
- Ninja Foodi Power Pitcher – Has dough and frozen dessert settings, versatile.
- Ninja Nutri Pro – Compact, good for single servings, but pitcher is small.
If you make Blizzards often, choose a model with a wide pitcher and strong motor. If you want single servings, the Nutri Pro is a good pick.
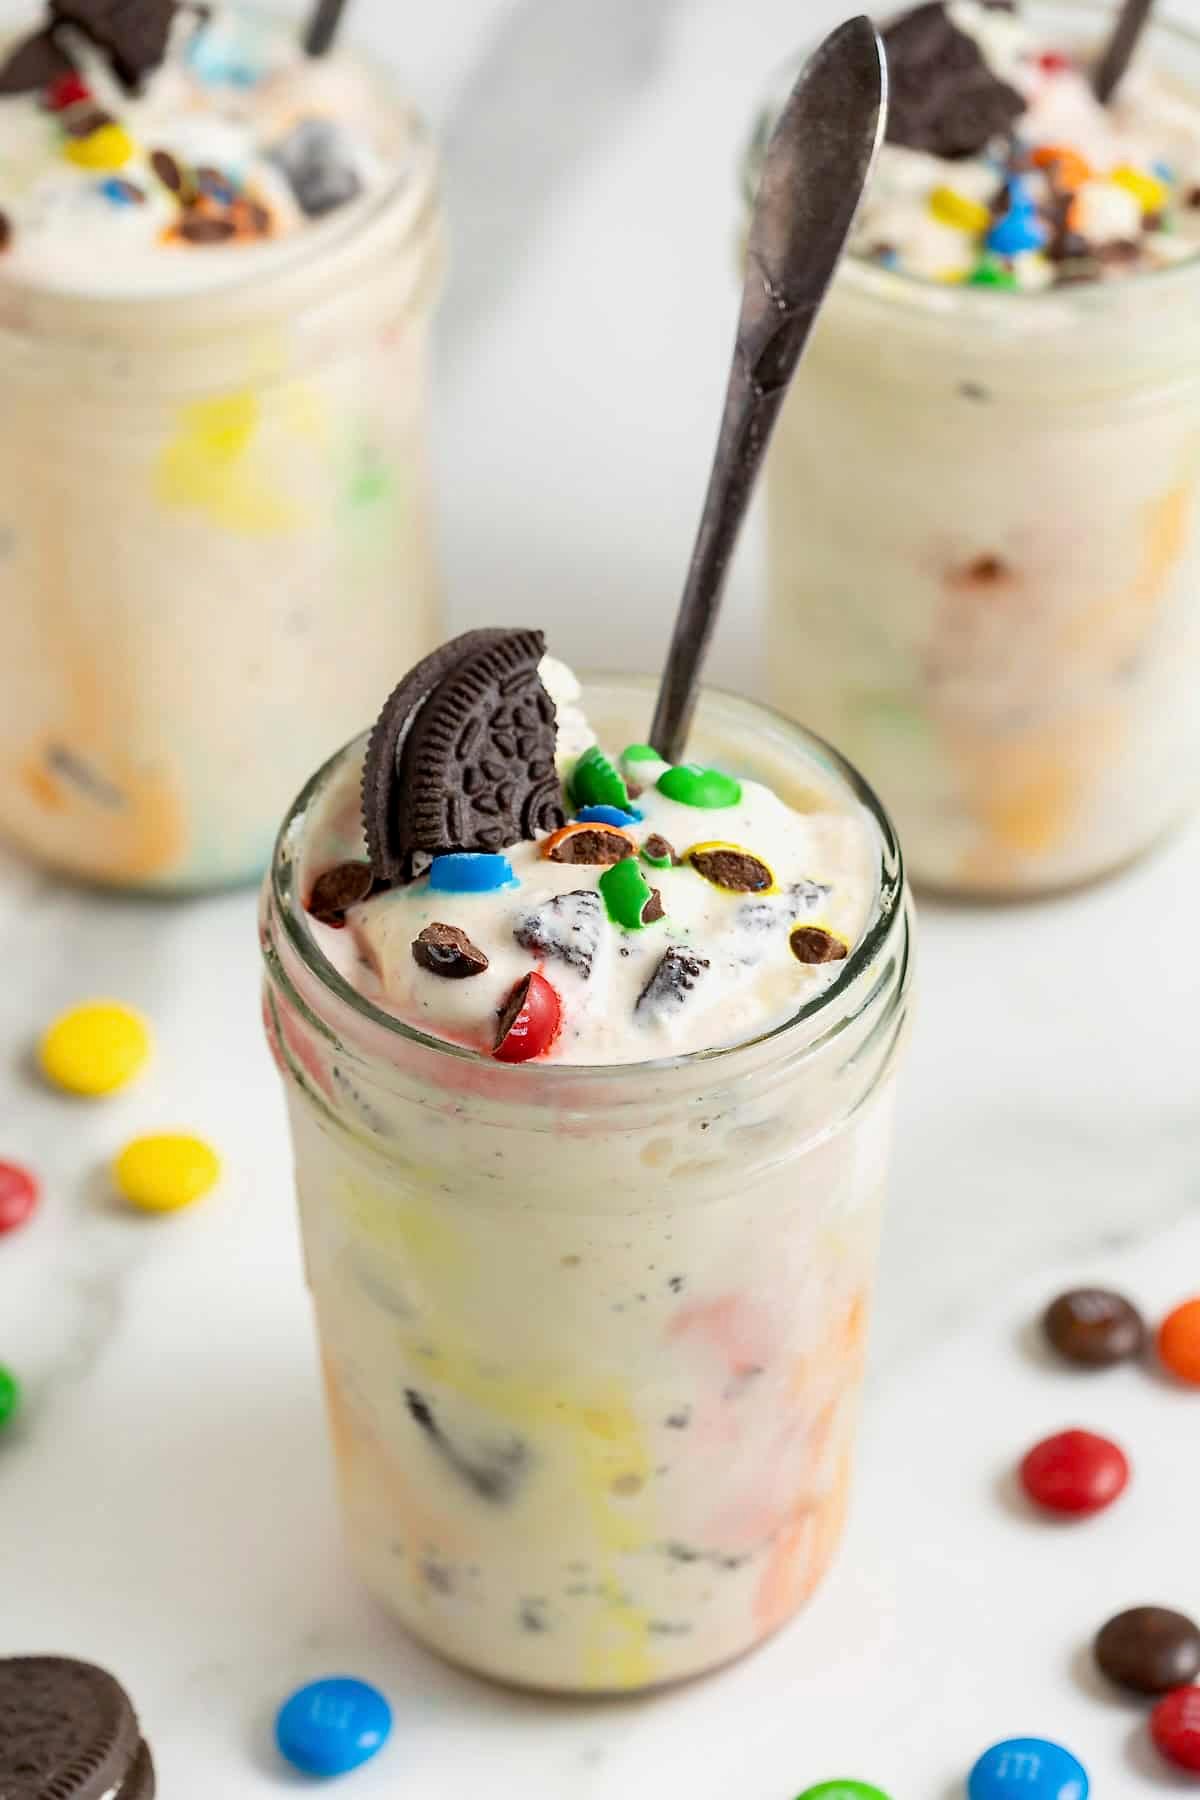
Serving And Presentation Ideas
Blizzards are fun to eat, but they’re even better when served creatively. Here are some ideas:
- Layered cups: Add mix-ins at the bottom and top for extra flavor.
- Mini cups: Serve in small espresso cups for parties.
- Toppings: Sprinkle extra crushed cookies, candies, or drizzle syrup for a fancy look.
- DIY Blizzard bar: Let guests choose their mix-ins and build their own.

Credit: fromscratchfast.com
Safety Tips When Using A Ninja Blender
Blenders are safe but can be dangerous if misused. Here are some important safety tips:
- Never blend with the lid off. Ice cream and mix-ins can splash.
- Do not use metal utensils to scrape inside the pitcher while blending.
- Keep hands clear of blades when loading or cleaning.
- Allow ice cream to soften before blending. Blending rock-hard ice cream can damage the motor.
- Unplug the blender before cleaning or changing blades.
Making Blizzards For Kids
Kids love Blizzards, but you may want to adjust the recipe:
- Use smaller cups and portions.
- Avoid mix-ins that are choking hazards (whole nuts, hard candies).
- Let kids choose their mix-ins for fun.
- Serve immediately to avoid messy melting.
Making Blizzards For Parties And Events
For larger groups, you can make Blizzards in batches. Here’s how:
- Use the largest Ninja pitcher you have.
- Pre-chop mix-ins and keep them in bowls.
- Blend in batches, then serve quickly.
- Set up a Blizzard bar so guests can mix their own.
Blizzards work well for birthdays, sleepovers, and summer gatherings.
Troubleshooting: Problems With Your Ninja Blender
Sometimes your Ninja blender doesn’t work as expected. Here’s how to solve common issues:
- Motor stops: Check if pitcher is overloaded. Remove some ice cream and try again.
- Blades don’t spin: Ice cream may be too hard. Let it soften or add a splash of milk.
- Mixture sticks to sides: Scrape down with a rubber spatula, pulse again.
- Leaks: Check if lid and pitcher are properly sealed.
Always consult your Ninja manual for specific troubleshooting. For more tips, you can check the official Ninja Kitchen site.
How Blizzards Compare With Store-bought Versions
Homemade Blizzards can be just as good as Dairy Queen’s. Here are a few differences:
- Customization: You can use any mix-ins or ice cream flavor.
- Freshness: Homemade Blizzards are fresher and you control the ingredients.
- Cost: Making Blizzards at home saves money, especially for families.
- Texture: With the right ice cream, you can match or beat the thickness of store-bought Blizzards.
Some people find homemade Blizzards less sweet because you can use less sugar or healthier mix-ins.
Non-obvious Insights For Perfect Blizzards
Many beginners miss these points:
- Air is the enemy: Blending for too long adds air, making the Blizzard melt faster. Use short pulses.
- Mix-ins matter: Bigger pieces stay chunky, but too big can jam the blender. Find the right balance.
- Temperature is key: Ice cream must be soft enough to blend but still frozen. If your Blizzard is too soft, freeze for 10 minutes before serving.
These tips make the difference between a good Blizzard and a great one.
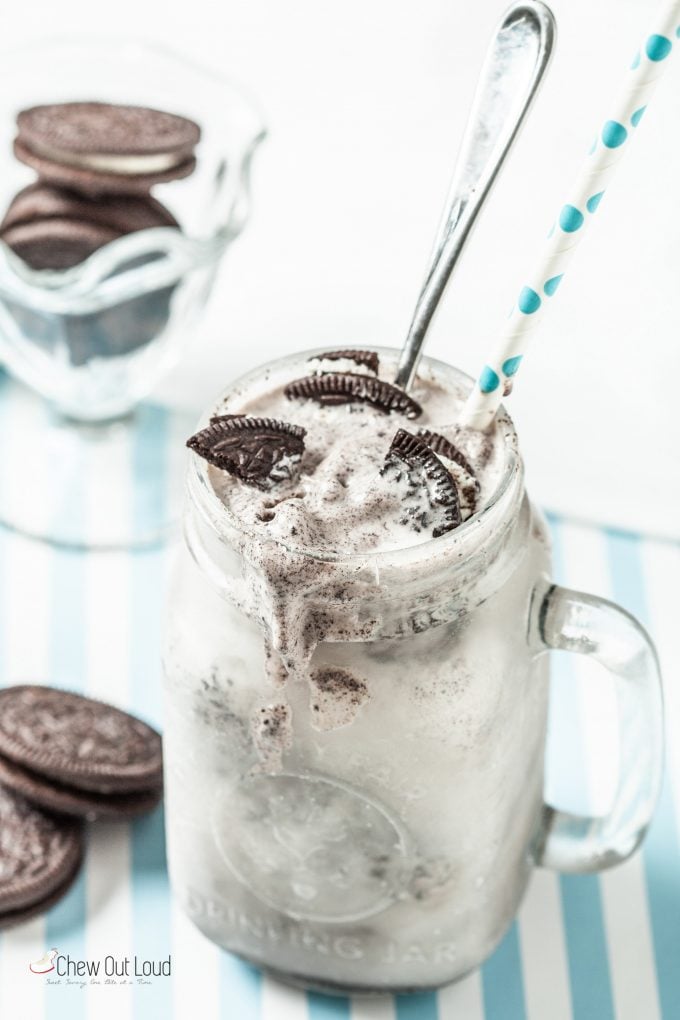
Credit: www.chewoutloud.com
Frequently Asked Questions
How Do I Get The Blizzard Texture Instead Of A Milkshake?
For Blizzard texture, start with frozen, high-fat ice cream and use only a small amount of milk (or none). Blend with short pulses and stop when the mixture is thick enough to stand up with a spoon. If it’s too runny, add more ice cream and pulse again.
Can I Use Frozen Yogurt Or Gelato Instead Of Ice Cream?
Yes, but results vary. Frozen yogurt is softer and melts faster, so your Blizzard may not be as thick. Gelato is richer but has more air, which can affect texture. If using these, freeze the mix-ins and pulse gently.
How Can I Make A Blizzard Without Dairy?
Use plant-based ice cream like coconut or almond milk-based brands. Check mix-ins for dairy ingredients. For thickness, freeze the non-dairy ice cream longer before blending, and serve immediately after blending.
What Mix-ins Work Best For Blizzards?
Cookies, candies, brownies, and fruit are popular. Freeze mix-ins before blending for better texture. Avoid hard candies or large nuts, as they can damage the blender or pose choking risks.
Can I Prepare Blizzards Ahead Of Time?
Blizzards are best served immediately. If you need to prepare ahead, blend and freeze for up to 20 minutes. Longer freezing makes them too hard. For parties, prep ingredients and blend batches as needed.
Making Blizzards with a Ninja Blender is simple once you know the right steps. With fresh ice cream, creative mix-ins, and a powerful Ninja, you can create a treat that rivals anything from Dairy Queen — and you can customize every cup. Whether you’re making Blizzards for yourself, your family, or a party, you now have all the tools and knowledge to make them thick, flavorful, and fun. Enjoy experimenting with new combinations and remember: the perfect Blizzard is the one you love most.