How To Clean Ninja Blender Motor Base: Easy Steps for a Spotless Kitchen
Keeping your Ninja blender motor base clean does more than make your kitchen look good—it helps your blender last longer and work better. Many people clean the pitcher and blades but ignore the base, thinking it doesn’t need much attention. But spills, dust, and stuck-on food can build up, leading to bad smells, sticky buttons, or even electrical problems. If you want your Ninja blender to keep running smoothly, learning how to clean the motor base the right way is essential.
In this guide, you’ll discover simple steps, smart tips, and common mistakes to avoid when cleaning your Ninja blender motor base. Whether you use your blender daily for smoothies or only on special occasions, you’ll get clear instructions to keep your appliance in top shape.
Let’s dive into how to clean your Ninja blender motor base safely and effectively, so you can enjoy your favorite drinks and dishes without worry.
Why Cleaning The Ninja Blender Motor Base Matters
The motor base is the heart of your Ninja blender. It houses the motor, electrical connections, and controls. When the base gets dirty, it can:
- Make buttons hard to press
- Cause odors or mold
- Lead to sticky residue that attracts pests
- Shorten the motor’s life due to moisture or food particles inside
- Even create a fire hazard if liquid gets into the wiring
Most people focus on cleaning the jar or blades, but the base needs regular care too. If you spill liquids while pouring, or if smoothies overflow, those messes can drip into the crevices and vents. Over time, these spills can cause damage that may not be visible at first.
A well-maintained motor base keeps your blender safe, efficient, and looking new.
Non-obvious insight: Even if you don’t see dirt, fine dust and food particles can sneak into small gaps. These can later become sticky or cause problems with the buttons. Another point beginners miss is that cleaning the base can improve blending performance, because buttons and dials respond better when clean.
What You’ll Need Before You Start
Before you clean your Ninja blender motor base, gather these supplies:
- Soft microfiber cloth (prevents scratches)
- Sponge or dishcloth (for stubborn spots)
- Old toothbrush or small brush (gets into crevices)
- Cotton swabs (cleans tight spaces)
- Mild dish soap (breaks down grease safely)
- White vinegar (cuts through residue, deodorizes)
- Warm water
- Compressed air can (optional, for dust in vents)
- Paper towels or dry cloth (for drying)
Avoid: Strong chemicals, abrasive pads, or soaking the base in water. These can damage the surface or electrical parts.

Credit: practicalmechanic.com
Safety First: Preparing To Clean
Before you start, safety is key. Cleaning a blender base isn’t like washing a cup. There’s electricity involved. Follow these steps:
- Unplug the blender. Never clean while it’s plugged in. Even if it’s turned off, unplug it to avoid shocks.
- Move to a safe space. Don’t clean near sinks or running water. Choose a dry, flat surface.
- Check for spills. If you see any liquid near the cord or plug, dry it first.
Pro tip: If your blender base is very dirty or sticky, wear gloves. This keeps your hands clean and gives you a better grip.
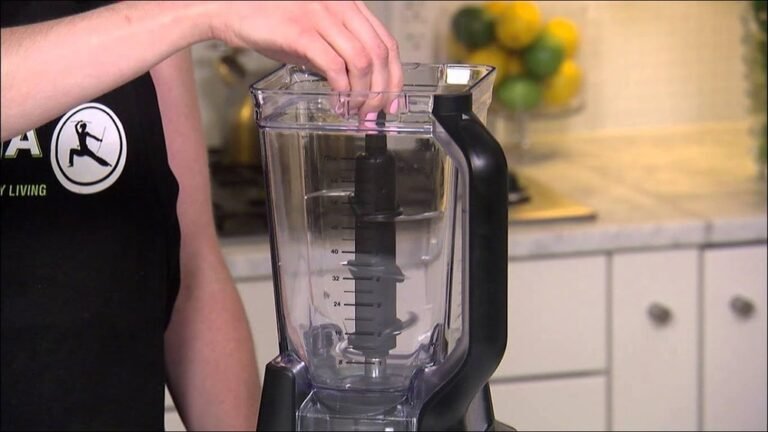
Quick Overview: What Parts To Clean
The Ninja blender motor base has several parts that can collect dirt:
- Control panel (buttons, dials, or touchscreen)
- Outer shell (sides and back)
- Vents (usually on the bottom or sides)
- Cord and plug
- Underside (where food or spills can gather)
Some models have more complex controls or extra features, but these are the main spots for most Ninja blenders.
Step-by-step Guide: Cleaning The Ninja Blender Motor Base
Follow these steps for a thorough, safe cleaning.
1. Wipe Down The Surface
Start with the simplest part:
- Dampen a microfiber cloth with warm water and a drop of dish soap.
- Wring out excess water so the cloth is just damp, not wet.
- Wipe the top, sides, and back of the base.
- Pay attention to any sticky spots, using a little more pressure.
- For stubborn stains, let a warm, soapy cloth sit on the spot for a minute, then wipe again.
Caution: Never let water drip into the vents or buttons.
2. Clean The Control Panel
The control panel is where most spills land:
- Use a slightly damp cloth for touchscreens or flat panels.
- For buttons, dip a cotton swab in diluted vinegar (equal parts vinegar and water).
- Gently rub around each button to remove buildup.
- If residue is stuck, use a soft toothbrush to loosen it.
If your blender has a dial, turn it gently as you clean to get all sides.
Non-obvious insight: Press each button a few times with the cloth or swab. This helps dislodge sticky residue under the buttons, which is a common cause of buttons not working properly.
3. Clean The Vents And Underside
Vents help cool the motor. If they’re blocked with dust, your blender can overheat.
- Flip the motor base upside down (make sure it’s unplugged).
- Use a can of compressed air to blow dust out of the vents.
- If you don’t have compressed air, use a dry toothbrush to brush away dust.
- For food stuck in the vents, use a cotton swab or toothpick gently.
- Wipe the underside with a damp cloth, then dry with paper towel.
Pro tip: Hold the base at an angle so loosened dust falls out, not back into the machine.
4. Tackle Stubborn Residue
If you find sticky or dried-on spots:
- Mix 1 part white vinegar with 1 part warm water.
- Dampen a cloth or sponge in the mixture.
- Press it onto the sticky area for a few minutes.
- Gently rub until the residue lifts off.
- Wipe with a clean, damp cloth to remove any vinegar smell.
If the base has a lingering odor, wipe it with a cloth dampened in plain vinegar, then air dry.
5. Clean The Power Cord And Plug
Dust and grease can collect here, too:
- Wipe the cord with a damp cloth (no soap needed).
- For sticky plugs, use a cloth with a little dish soap, then wipe clean.
- Make sure the plug is fully dry before plugging back in.
Non-obvious insight: Cleaning the cord regularly prevents it from becoming stiff or cracked over time, which can lead to electrical hazards.
6. Dry And Reassemble
- After cleaning, dry all surfaces with a soft towel or air dry for 10 minutes.
- Make sure no moisture remains near the vents or control panel.
- Plug the blender back in only when you’re sure it’s dry.
- Wipe the countertop before putting the blender back to prevent new dust from sticking.
How Often Should You Clean The Motor Base?
How often you clean depends on how you use your blender:
- Daily users: Wipe the surface every 2–3 days, deep clean weekly.
- Occasional users: Wipe after each use, deep clean once a month.
- Heavy spills: Clean immediately, even if you just did it yesterday.
Neglecting the base for months can lead to tough stains that are hard to remove. If you use your blender for messy foods like sauces or nut butters, increase cleaning frequency.
Common Mistakes To Avoid
Cleaning the Ninja blender motor base isn’t hard, but there are pitfalls:
- Using too much water: This can seep into the motor or controls and cause short circuits.
- Scrubbing with rough pads: Can scratch the finish or wear off labels.
- Ignoring the vents: Overlooked vents can lead to overheating and motor failure.
- Plugging in while wet: Even small drops of water can cause a shock or damage.
- Skipping the control panel: Sticky buttons often happen from neglecting this area.
- Using harsh cleaners: Bleach or strong chemicals can damage plastic and electronics.
Tip: Always check your Ninja blender manual for any model-specific cleaning warnings.
Comparing Cleaning Methods
Here’s a quick look at the best and worst ways to clean a Ninja blender motor base:
| Cleaning Method | Effectiveness | Risk Level | Recommended? |
|---|---|---|---|
| Microfiber cloth with mild soap | High | Low | Yes |
| Wet sponge (very wet) | Medium | High (risk of water damage) | No |
| Compressed air for vents | High | Low | Yes |
| Abrasive pads or steel wool | Medium | High (scratches) | No |
| Vinegar solution for sticky stains | High | Low | Yes |
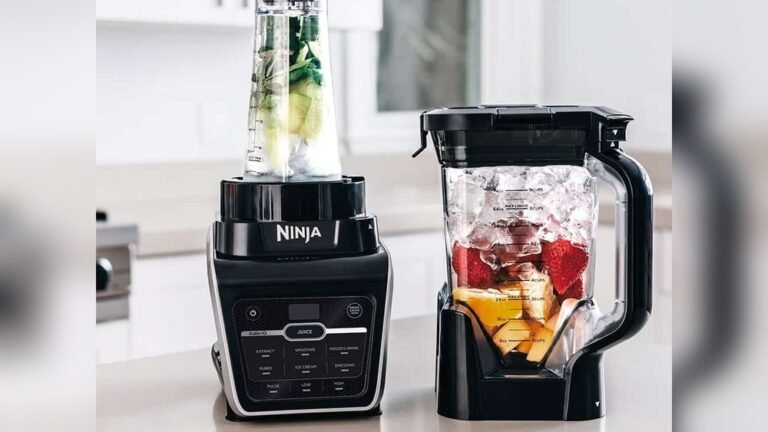
How Different Ninja Blender Models Affect Cleaning
Not all Ninja blenders have the same design. Here’s a look at how model differences affect cleaning needs:
| Model Type | Control Panel | Cleaning Challenge | Extra Tips |
|---|---|---|---|
| Ninja Professional | Physical buttons | Food can get around buttons | Use cotton swabs often |
| Ninja Auto-iQ | Touchscreen | Fingerprint smudges | Use soft cloth, avoid harsh cleaners |
| Ninja Foodi Power Nutri | Dial and buttons | Residue can build under dial | Turn dial while cleaning |
| Ninja Personal Blender | Simple on/off switch | Minimal, but dust can collect in seams | Brush seams regularly |
Tip: Always check your owner’s manual for your exact model’s cleaning advice.
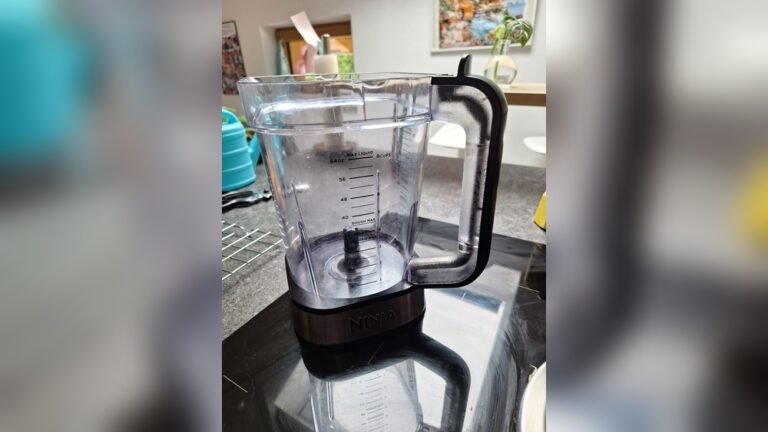
Signs Your Ninja Blender Motor Base Needs Cleaning
Sometimes it’s clear your blender needs cleaning. Other times, the signs are subtle. Watch for:
- Sticky buttons or dials
- Strange smells (mildew, burnt food)
- Visible dust or crumbs in vents
- Unusual noises during use (can mean blocked vents)
- Food stains on the outside
If you notice any of these, don’t wait for a deep clean—handle it right away.

Credit: www.amazon.com
What To Do If Liquid Gets Inside The Motor Base
Accidents happen. If you spill water or liquid into the motor base:
- Unplug immediately.
- Tip the base upside down to help liquid drain out.
- Pat dry with paper towels as much as possible.
- Leave the base upside down in a dry place for 24–48 hours.
- Do NOT plug in until you’re sure it’s completely dry.
If you see a lot of liquid or the blender doesn’t work after drying, contact Ninja customer service for advice. Trying to use a wet base can cause permanent damage or fire.
Tips To Prevent Messes And Make Cleaning Easier
- Always use the blender on a clean, flat surface.
- Pour liquids carefully to avoid spills.
- Wipe the base after each use, even if it looks clean.
- Keep the lid on tight to prevent overflow.
- Store the blender covered or in a cabinet to avoid dust buildup.
- Regularly check under the base for hidden messes.
Non-obvious insight: Placing a silicone mat or tray under your blender catches spills and makes cleaning faster. Many people overlook this simple trick.
When To Call For Professional Help
Most cleaning can be done at home, but seek help if:
- The motor makes strange sounds or smells after cleaning
- Buttons stop working or feel stuck, even after cleaning
- You see water inside the control panel or under the clear plastic
- The blender won’t turn on after drying
Contact Ninja’s official support or a small appliance repair shop. Don’t try to open the base yourself—it can void your warranty or cause injury.
Real-life Example: Cleaning Success
Let’s say you spilled a green smoothie and it dripped down the side of your Ninja blender. At first, you wiped the outside, but days later, the buttons feel sticky and a strange smell appears.
Here’s what worked:
- Unplugged the blender and wiped the surface with a soapy microfiber cloth
- Used a vinegar-dampened cotton swab around each button
- Used compressed air in the vents to clear out dried smoothie
- Dried everything thoroughly before plugging back in
Within minutes, the buttons worked smoothly, and the smell disappeared. This shows that a quick, thorough cleaning can bring your blender back to its best.
How Proper Cleaning Extends Blender Life
A clean motor base isn’t just for looks. It:
- Prevents overheating and motor burnout
- Reduces risk of electrical shorts
- Keeps buttons and dials working longer
- Avoids foul odors or mold
- Helps maintain the blender’s appearance for years
According to the Association of Home Appliance Manufacturers, small appliances like blenders last up to 10 years with regular cleaning and care (AHAM).
Comparing Ninja Blender Cleaning To Other Brands
If you’re curious how the cleaning process compares, here’s a quick summary:
| Brand | Ease of Base Cleaning | Button Design | Special Cleaning Needs |
|---|---|---|---|
| Ninja | Easy to moderate | Physical buttons or touchscreen | Vents need attention |
| Vitamix | Moderate | Dial and switches | Deeper seams, more brushing |
| NutriBullet | Easy | Simple twist mechanism | Few buttons, easy to wipe |
| Oster | Moderate | Physical buttons | Buttons can be deeper set |
Ninja blenders are generally easy to clean, but vents and buttons need regular attention.

Credit: www.sharkninja.com
Upgrading Your Cleaning Routine: Advanced Tips
If you want to go beyond the basics:
- Use a handheld vacuum with a brush attachment for dust in vents.
- Try a toothpick or plastic skewer for tight crevices.
- For odor control, place a small dish of baking soda near the base (not inside) overnight.
- If the base is very greasy, wipe first with vinegar, then with soapy water for best results.
- Rotate cleaning tools so you always use a clean cloth—reusing dirty cloths can spread grease.
Pro tip: Don’t use scented cleaners—these can leave a smell that transfers to your blender pitcher or food.
Frequently Asked Questions
How Do I Clean Stuck-on Food From The Motor Base?
Start by unplugging the blender. Soften stuck food with a damp, soapy cloth pressed onto the spot for a few minutes. Gently scrub with a soft brush or sponge. For very stubborn residue, use a 1:1 vinegar and water mix. Avoid using anything sharp that could scratch the surface.
Can I Put The Motor Base In The Dishwasher?
No. Never put the Ninja blender motor base in the dishwasher or soak it in water. The electrical parts inside can be damaged by water, leading to safety risks or a broken blender.
What Should I Do If The Buttons Are Still Sticky After Cleaning?
If buttons stay sticky, repeat cleaning with a vinegar-dampened cotton swab around each button. Press the buttons several times while cleaning to dislodge hidden residue. If stickiness remains, food may be inside the panel—call Ninja support for advice.
Is It Safe To Use Disinfecting Wipes On The Blender Motor Base?
Yes, you can use disinfecting wipes on the outside of the motor base and the control panel, as long as the wipe is not too wet. Avoid wipes with bleach or strong chemicals. Always dry the area after wiping to prevent moisture from getting inside.
How Do I Prevent Odors In The Motor Base?
Clean up spills right away, and let the base air dry after cleaning. For lingering odors, wipe with a vinegar-dampened cloth and air dry. Store the blender in a dry spot. If odors persist, check for hidden spills inside the vents and clean them out.
Keeping your Ninja blender motor base clean isn’t hard, but it does require regular care and the right tools. With these tips, you’ll enjoy better blends, safer operation, and a longer-lasting appliance. Whether you’re a smoothie lover or a meal prepper, a clean blender base helps every kitchen shine.