How To Make Apple Juice In Ninja Blender: Easy Steps & Tips
How To Make Apple Juice In Ninja Blender
There’s something special about making your own apple juice at home. The taste is fresher, you control the ingredients, and it’s easier than most people think—especially with a Ninja Blender. If you’ve ever wondered how to turn whole apples into a glass of sweet, refreshing juice without a fancy juicer, you’re in the right place. This guide walks you through every step to make apple juice in your Ninja Blender, from choosing apples to pouring the final glass.
Many people believe only expensive juicers can make real juice. In fact, the Ninja Blender is powerful enough to break down apples and extract their juice efficiently. With the right process, you can make apple juice that rivals store-bought varieties—but with better nutrition and taste.
You’ll also learn how to adjust flavor, get the texture you want, and even save time with some clever tricks. Let’s dive into the world of homemade apple juice.
Why Make Apple Juice In A Ninja Blender?
Blenders are common in most kitchens, but not everyone knows they can be used for juicing. The Ninja Blender stands out because of its strong motor, sharp blades, and large capacity. These features make it possible to process tough fruits like apples quickly and smoothly.
Juicing with a Ninja Blender offers several benefits:
- Cost savings: Fresh juice at home is often cheaper than store-bought.
- Nutrient control: You keep more vitamins by avoiding high-heat processing.
- Custom flavors: Choose apple varieties and add other ingredients as you like.
- No waste: Use leftover pulp in baking or smoothies.
Many families appreciate how easy cleanup is compared to traditional juicers. The Ninja’s parts are dishwasher-safe, and there are fewer pieces to handle.
Choosing The Right Apples
Not all apples make the same juice. Some are sweet, others tart. Some are juicy, others dry. Picking the right apple can change the flavor, sweetness, and color of your juice.
Apple Varieties And Their Juice Qualities
Here’s a quick look at popular apples for juicing:
| Apple Variety | Flavor | Juice Color | Best For |
|---|---|---|---|
| Fuji | Very sweet | Light golden | Kids’ juice, sweet lovers |
| Granny Smith | Tart, crisp | Pale green | Refreshing blends |
| Honeycrisp | Balanced, juicy | Golden-pink | All-purpose juice |
| Gala | Mild, sweet | Light amber | Delicate juice |
| Red Delicious | Mild, sweet | Reddish | Mixing with tart apples |
| Pink Lady | Tart-sweet | Rosy | Bright, fresh juice |
Pro tip: Mix two or three varieties for a more complex flavor.
What To Look For In Apples
- Firmness: Choose apples that feel heavy and firm.
- No bruises: Avoid apples with soft spots or signs of rot.
- Freshness: Fresher apples have more juice.
- Organic options: If possible, use organic apples to reduce pesticide risk.
Ingredients And Tools Needed
Before you start, gather everything you’ll need. Good preparation makes the process smoother.
Ingredients
- 4–6 medium apples (about 2 pounds)
- 1/2 cup cold water (for blending)
- 1 tablespoon lemon juice (optional, keeps juice from browning)
- Sweetener to taste (honey, sugar, or stevia, optional)
- Ice cubes (optional, for serving)
Tools
- Ninja Blender (any model with at least 1000 watts works well)
- Fine mesh strainer or cheesecloth
- Large bowl or pitcher
- Sharp knife
- Cutting board
- Spoon or spatula for stirring
- Measuring cups
If you want pulp-free juice, a nut milk bag gives the smoothest results, but a clean kitchen towel or cheesecloth works too.
Preparing Apples For Blending
Washing, cutting, and prepping apples is quick but important. Good preparation avoids bitter flavors and ensures a clear juice.
Steps To Prepare Apples
- Wash apples under running water. Scrub gently to remove dirt and wax.
- Core apples. Use a corer or cut around the core with a knife. Remove all seeds—they contain small amounts of cyanide and can add bitterness.
- Peel if desired. The peel adds fiber and nutrients but can give a cloudy texture. Most people leave it on for more nutrition.
- Chop into chunks. Cut apples into pieces about 1–2 inches wide. Uniform pieces blend better.
Non-obvious insight: If you want sweeter juice, leave apples at room temperature for a few days before juicing. Natural sugars increase as apples ripen.
Blending Process: Step-by-step
With apples ready, it’s time to blend. The Ninja Blender’s power makes this step simple.
Step 1: Load The Blender
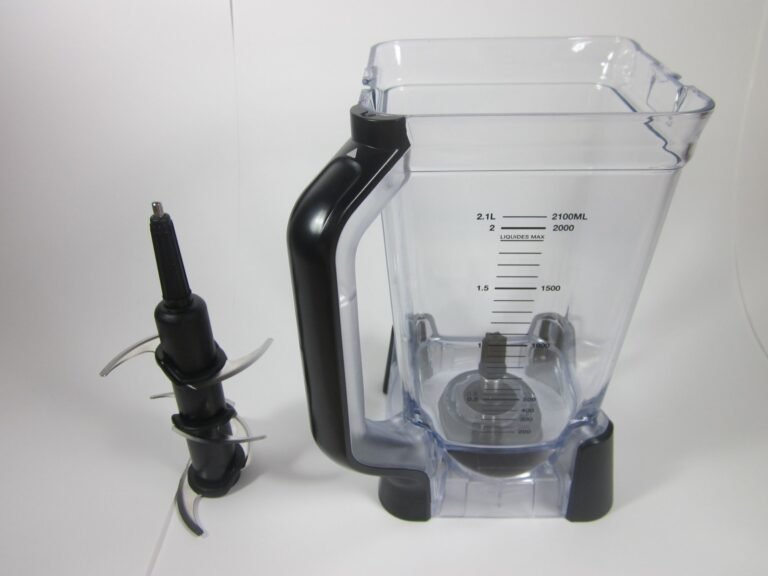
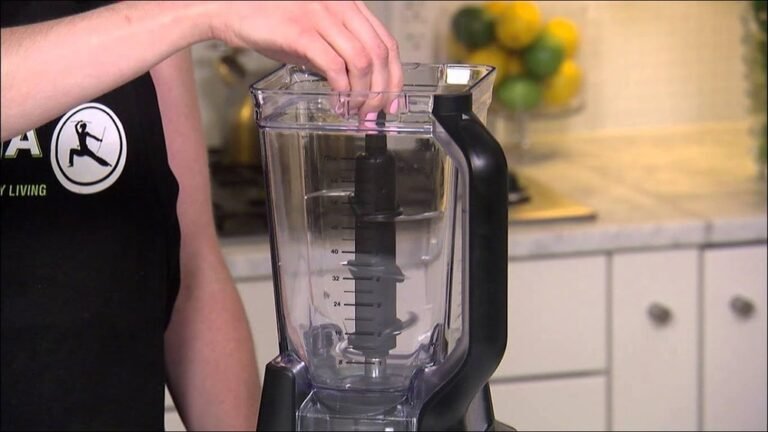
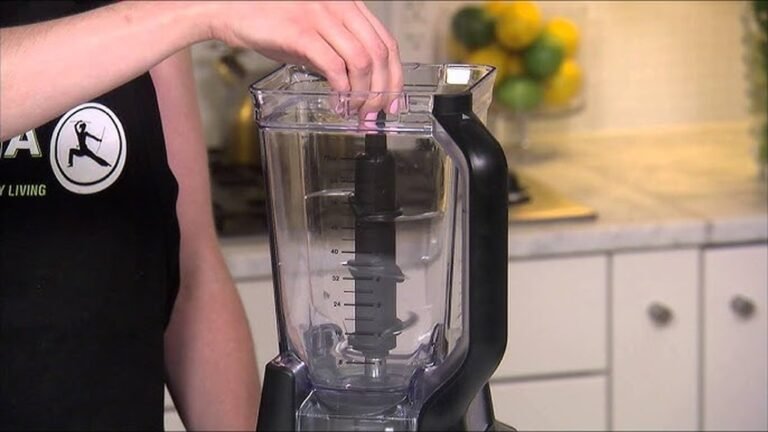
Place apple pieces into the blender jar. Fill only to the “Max” line; overcrowding leads to uneven blending.
Step 2: Add Water And Lemon Juice
Pour in 1/2 cup cold water. This helps blades move easily and produces more liquid. Add lemon juice if you want to prevent browning and add a fresh taste.
Step 3: Blend Until Smooth
Secure the lid tightly. Start on low speed, then gradually increase to high. Blend for 45–60 seconds or until the mixture is completely smooth and thick, like a puree.
Tip: If the blender struggles, pause and stir the mixture. Add a little more water if needed, but not too much—you want juice, not a watery drink.
Step 4: Strain The Juice
This step separates juice from pulp.
- Place a fine mesh strainer or cheesecloth over a large bowl.
- Pour the blended apple mixture into the strainer.
- Let it drain for a few minutes. For more juice, use the back of a spoon to press or squeeze the pulp.
For the clearest juice, let it sit for 10–15 minutes, or squeeze gently with clean hands if using cheesecloth.
Non-obvious insight: Save the leftover pulp. It’s full of fiber and works well in muffins, pancakes, or oatmeal.
Step 5: Taste And Adjust
Pour the strained juice into a glass. Taste it. If it’s too tart, add a little sweetener and stir well. If you want it colder, blend with ice or chill before serving.
Step 6: Serve
Pour juice into glasses over ice, if you like. Fresh apple juice tastes best within a few hours, but you can refrigerate it for up to 2 days.
Comparing Ninja Blender With Other Juicing Methods
Is using a Ninja Blender as effective as a juicer? Here’s a quick comparison:
| Juicing Method | Juice Yield | Nutrient Retention | Cleanup | Texture |
|---|---|---|---|---|
| Ninja Blender | Moderate-High | Very High (cold process) | Easy | Smooth to pulpy, based on straining |
| Traditional Juicer | High | High | Medium-Hard | Clear |
| Food Processor | Low-Moderate | Moderate | Medium | Chunky |
While a dedicated juicer might extract slightly more juice, the Ninja Blender is more versatile, easier to clean, and does not waste as much pulp.
Customizing Your Apple Juice
Homemade juice means you can adjust everything—sweetness, flavor, color, and even nutrition.
Adjusting Sweetness
- For sweeter juice, add a teaspoon of honey or maple syrup and blend again.
- For tart juice, use more Granny Smith apples or add a few drops of lemon juice.
Adding Other Fruits
Try blending apples with:
- Pears for extra juice and sweetness
- Carrots for a vitamin boost and orange color
- Ginger for a spicy kick
- Berries for antioxidants and a pink hue
- Celery or cucumber for a light, refreshing taste
Start with small amounts—too many extras can overpower apple flavor.
Boosting Nutrition
- Add a handful of spinach or kale for green juice with extra vitamins.
- Toss in a tablespoon of chia seeds or flaxseed before blending.
- Mix in a little turmeric for an anti-inflammatory boost.
Storing And Preserving Homemade Apple Juice
Fresh apple juice tastes best right after making. However, you can store it safely with a few tips.
How To Store
- Pour juice into a clean glass jar or bottle with a tight lid.
- Keep in the refrigerator for up to 48 hours.
- Shake before drinking; natural separation is normal.
Preventing Browning
Apples turn brown when exposed to air. To reduce this:
- Add lemon juice (1 tablespoon per quart of juice).
- Store in airtight containers and fill to the top to minimize air.
Freezing Apple Juice
If you make extra juice, freeze it:
- Use freezer-safe jars or ice cube trays.
- Leave an inch of space at the top for expansion.
- Thaw in the fridge and shake well before drinking.
Practical tip: Frozen apple juice cubes are great in smoothies or as ice cubes in water.

Credit: www.teamciapaulista.com
Cleaning Your Ninja Blender After Juicing
Apple pulp is sticky. Cleaning your blender right away keeps it fresh and odor-free.
Quick Cleaning Steps
- Fill the blender halfway with warm water and a drop of dish soap.
- Run the blender on high for 30 seconds.
- Rinse thoroughly with clean water.
- For stubborn pulp, use a soft brush around the blades.
All removable parts are usually dishwasher-safe. Dry completely before storing to prevent mold.
Extra insight: If your blender lid holds odors, soak it in baking soda and water overnight.
Common Mistakes When Making Apple Juice In A Blender
Beginners sometimes run into a few problems. Here’s how to avoid them:
- Using too little water. The blender can jam if the mixture is too thick.
- Overfilling the blender. This leads to uneven blending and can damage the motor.
- Skipping the straining step. Unless you want a smoothie, always strain for clear juice.
- Not tasting before serving. Apples vary in sweetness—always adjust flavor before pouring.
- Waiting too long to drink. Fresh juice loses vitamins quickly; enjoy it within a few hours.
Extra tip: Don’t throw away apple seeds or core into the blender. Besides a bitter taste, seeds contain small amounts of toxins.
Nutritional Benefits Of Homemade Apple Juice
Many people don’t realize just how healthy fresh apple juice can be, especially when made without added sugar or preservatives.
Key Nutrients In Apple Juice
- Vitamin C: Supports immunity and skin health
- Potassium: Good for heart and muscles
- Polyphenols: Powerful plant antioxidants
- Fiber: If you include some pulp, you get more fiber than store-bought juice
Calories And Sugar Content
Homemade apple juice (from 2 medium apples, about 12 oz) contains:
- Calories: 110–130
- Natural sugars: 24–28 grams
- Fiber: 1–2 grams (with some pulp)
This is lower in sugar than many commercial juices, especially if you don’t add sweetener.
Health Benefits
Fresh apple juice may:
- Improve hydration
- Support digestion
- Offer antioxidants that fight inflammation
- Be gentler on the stomach than whole apples for some people
Caution: People with diabetes or those watching sugar intake should limit juice or dilute it with water.
Fun Apple Juice Variations To Try
Apple juice doesn’t have to be plain. Here are a few tasty twists you can make with your Ninja Blender:
- Apple-Carrot-Ginger Juice: Blend 2 apples, 1 large carrot (peeled, chopped), and a 1-inch piece of fresh ginger.
- Apple-Pear Juice: Use 2 apples and 1 ripe pear. Very sweet and smooth.
- Apple-Cucumber-Mint Juice: Add half a cucumber (peeled), a few mint leaves, and 2 apples.
- Spiced Apple Juice: Blend apples with a pinch of cinnamon or nutmeg.
- Green Apple Juice: Blend tart apples with spinach, lemon, and celery.
All these start with the basic method: blend, strain, and adjust to taste.

Credit: magazine.joovy.com
When To Drink Apple Juice
Timing can affect how apple juice feels in your body.
- Morning: Great with breakfast for a vitamin C boost.
- Post-workout: Quick natural sugars help replenish energy.
- Afternoon: A healthier alternative to soda or energy drinks.
- Kids’ snack: Serve over ice with a splash of water to lower sugar content.
Environmental Impact: Homemade Vs Store-bought
Making apple juice at home is not just healthier—it’s also better for the planet.
- Less packaging waste: No bottles or cartons to throw away.
- Local apples: Using local fruit reduces transportation emissions.
- Compostable pulp: Leftover pulp can be composted, reducing food waste.
If you want to learn more about the environmental benefits of homemade juice, see the overview at Wikipedia: Fruit Juice.

Credit: www.youtube.com
Kids And Apple Juice: What Parents Should Know
Kids love apple juice, but too much can be a problem. Here are some guidelines:
- Age 1–3: No more than 4 oz (half a cup) per day
- Age 4–6: Up to 6 oz (3/4 cup) per day
- Age 7+: Limit to 8–12 oz (1–1.5 cups) per day
Always dilute juice with water for young children. Whole apples or smoothies with pulp are better for fiber and fullness.
Practical tip: Freeze juice in popsicle molds for a healthy summer treat.
Comparing Ninja Blender Models For Juicing
If you haven’t bought a Ninja Blender yet, or want to upgrade, here’s a brief look at popular models:
| Model | Power (watts) | Jar Size | Best For |
|---|---|---|---|
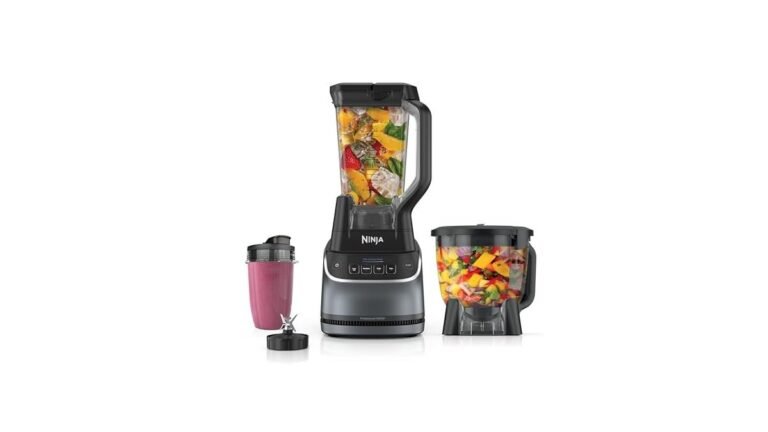
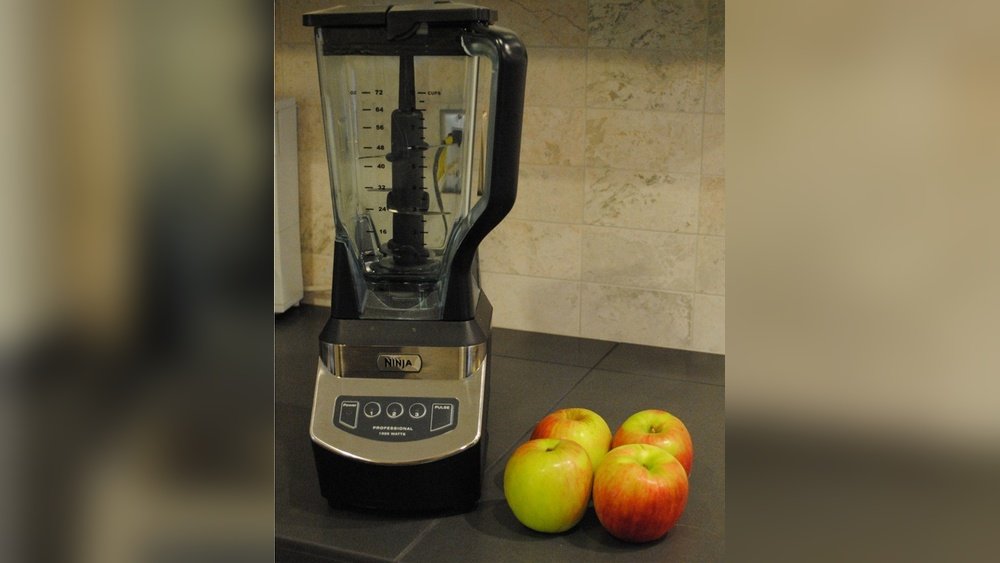
| Ninja Professional BL610 | 1000 | 72 oz | Large batches, family use |
| Ninja Foodi Power Blender | 1200 | 72 oz + accessories | Juice, smoothies, nut butters |
| Ninja Nutri Pro | 900 | 24 oz (personal) | Single servings, travel |
| Ninja Mega Kitchen System | 1500 | 72 oz + 16 oz cups | Versatile, large families |
A model with at least 1000 watts is best for tough fruits like apples.
Real-life Example: Making Apple Juice For A Family
Let’s say you want juice for a family of four. Here’s how to do it efficiently:
- Use 8 apples (mix of Fuji and Granny Smith)
- Add 1 cup cold water and 2 tablespoons lemon juice
- Blend in batches if needed
- Strain into a 1-liter pitcher
- Sweeten with honey if kids prefer
Total prep and cleanup time: about 20 minutes. This makes about 4 glasses of fresh, clear juice—no preservatives, just natural flavor.
Frequently Asked Questions
Can I Use Any Type Of Apple In The Ninja Blender?
Yes, you can use any apple, but the taste and color will change. Sweet apples like Fuji or Gala give a mild juice, while tart apples like Granny Smith make it more refreshing. Mixing types gives the best flavor.
Do I Have To Peel The Apples Before Blending?
No, peeling is not required. The peel adds fiber and nutrients. However, if you want very clear juice, or if the apples are not organic, peeling is a good idea. Always wash apples well before blending.
How Do I Make The Juice Less Pulpy?
To make juice with less pulp, strain it through a nut milk bag or several layers of cheesecloth instead of a regular strainer. Let it drain fully without forcing pulp through, or squeeze gently for best clarity.
Can I Make Apple Juice Ahead Of Time?
Yes, you can make apple juice ahead, but it tastes best within 24 hours. Store it in a sealed glass jar in the refrigerator and add a little lemon juice to keep it fresh and bright. Shake before serving.
Is Ninja Blender Juice As Healthy As Juicer Juice?
Yes, juice from a Ninja Blender keeps most of the vitamins and antioxidants. If you leave in some pulp, it has more fiber than juicer juice. Both types are healthy, but homemade blender juice avoids added sugars and preservatives found in many store-bought brands.
Making apple juice in a Ninja Blender is simple, fast, and rewarding. You get a fresh, delicious drink with more nutrients and less waste. With the steps and tips in this guide, you can create the perfect juice for your taste, try new flavor combinations, and enjoy a healthy treat any day.
Give it a try—you’ll taste the difference.