Best Things To Make With An Immersion Blender: Top Picks
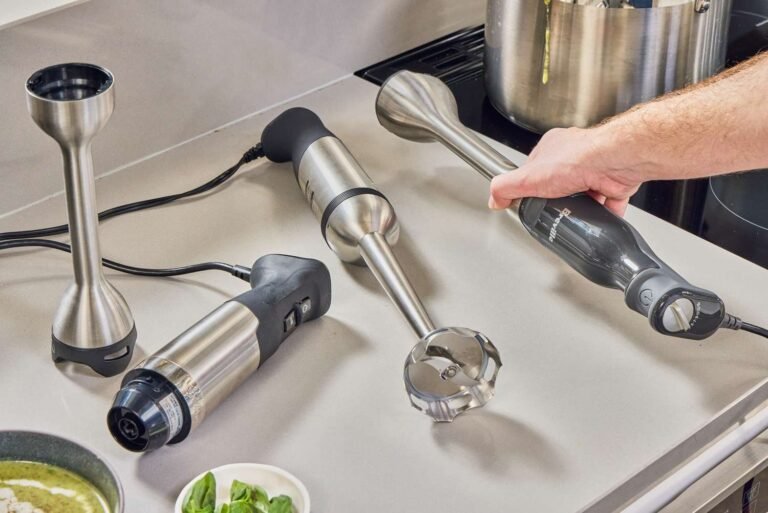
Soups, sauces, and smoothies are ideal for immersion blenders because they allow blending directly in the pot or cup. This avoids transferring hot liquids and creates a creamy texture with minimal mess.
Quick overview of top uses
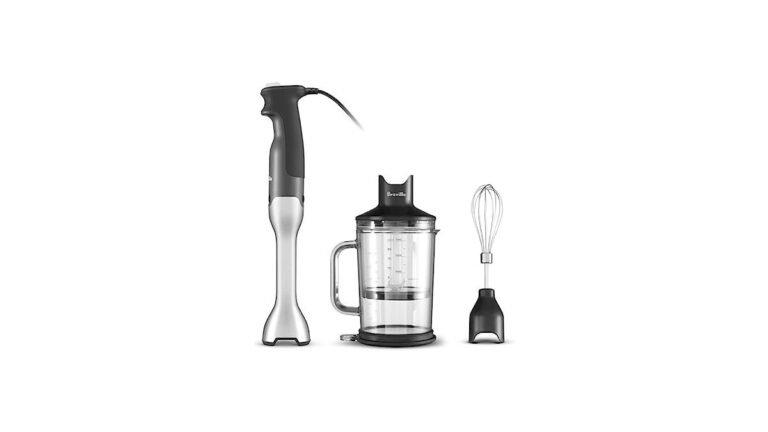
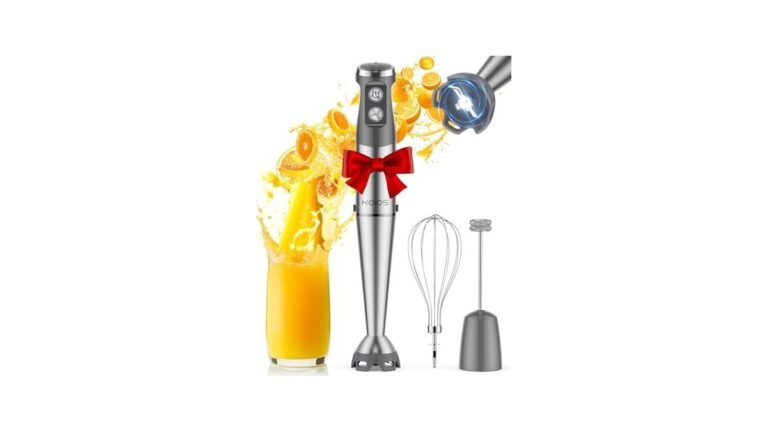
An immersion blender handles many kitchen tasks that usually require multiple tools. It works best when you need to mix ingredients in the container you used for cooking. This reduces cleanup time and keeps your counter clear. The table below shows the most common items you can prepare.
| Item | Best For | Example |
|---|---|---|
| Pureed Soups | Hot liquids in pots | Creamy tomato basil soup |
| Mayonnaise | Emulsifying oils and acids | Homemade mayonnaise |
| Smoothies | Soft fruits and yogurt | Banana berry breakfast drink |
| Baby Food | Small batches of cooked veg | Steamed carrot puree |
| Pesto | Grinding nuts and herbs | Fresh basil and pine nut sauce |
| Pancake Batter | Mixing lumps from flour | Fluffy weekend breakfast batter |
Pureed soups
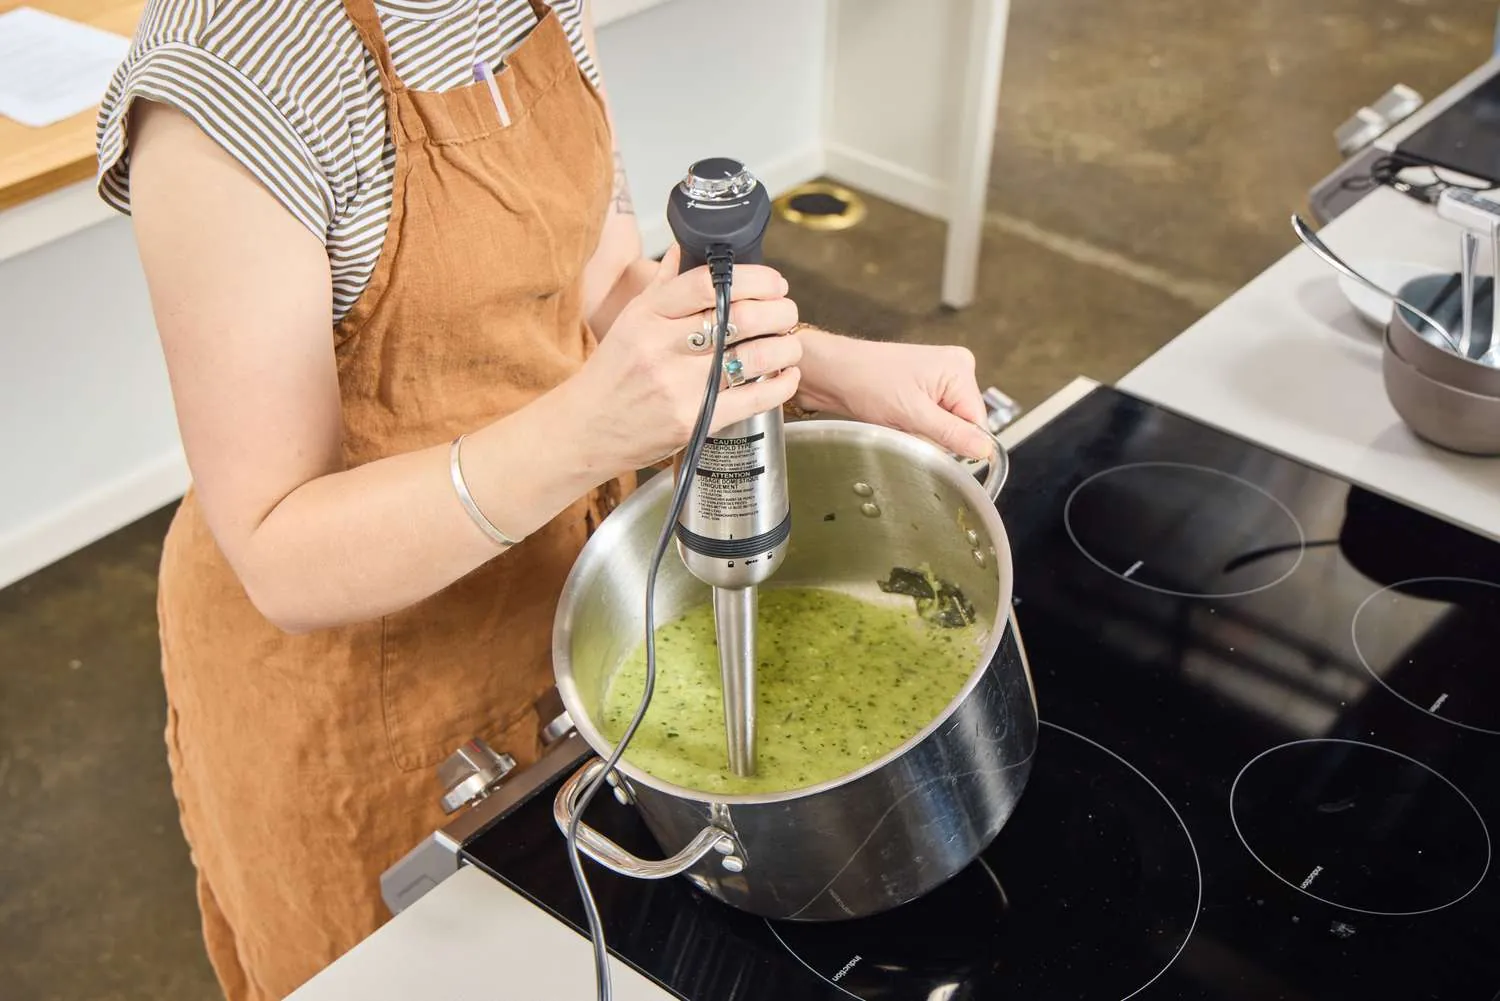
Pureed soups are the most common use for this tool. They suit anyone who wants a smooth texture without using a large appliance. You cook the vegetables in the pot, then blend them right there. This method keeps the heat in the pot and avoids spills.
- Creates a uniform consistency without chunks
- Retains heat better than transferring to a blender
- Allows you to adjust thickness by adding broth
- Saves time on cleaning extra equipment
You start by sautéing onions and garlic in olive oil. Add chopped carrots, celery, and potatoes. Pour in enough chicken or vegetable stock to cover the veggies by one inch. Simmer until the vegetables are tender, which takes about 20 minutes. Let the mixture cool for five minutes so it doesn’t splash. Insert the immersion blender into the pot.
Keep the head fully submerged to avoid air bubbles. Move it up and down slowly. Blend for 30 to 60 seconds until smooth. If it’s too thick, add more stock. If it’s too thin, simmer it longer. Serve with a drizzle of cream. This process works for butternut squash, pumpkin, or lentil soups too. The key is to keep the blade deep in the liquid.
If you lift it too high, you’ll spray hot soup on your walls. Always tilt the pot slightly if it’s wide. This helps the blade reach all the contents. You can leave some chunks for a rustic feel. Just blend for less time. This gives you control over the final texture. It’s much safer than pouring boiling liquid into a glass jar.
The risk of burns is lower when you stay at the stove. You can taste and adjust salt as you go. This immediate feedback improves the flavor. Most recipes call for one pound of vegetables per quart of liquid. Adjust this ratio based on how thick you like it.
Salad dressings and mayonnaise
Salad dressings and mayonnaise rely on emulsion, which this tool creates easily. It suits people who want fresh condiments without preservatives. A standard blender often fails with small amounts. The narrow head of an immersion blender pulls the oil and acid together.
- Forms a stable emulsion in seconds
- Works with small quantities effectively
- Requires no special jars or attachments
- Produces a thicker texture than whisking
To make mayonnaise, crack one whole egg into a tall, narrow cup. Add one tablespoon of lemon juice and half a teaspoon of mustard. Pour in one cup of neutral oil, like canola or light olive oil. Place the blender head at the very bottom. Don’t move it yet. Turn it on high. Hold it steady for ten seconds. You’ll see white ribbons form at the base.
Slowly tilt and lift the head. This pulls the rest of the oil into the mix. Continue until all the oil is incorporated. The result is thick and creamy. If it stays runny, you moved the head too soon. Start over with a new egg. For vinaigrette, combine three parts oil with one part vinegar. Add salt, pepper, and herbs.
Blend for five seconds to mix. It won’t thicken like mayo, but it won’t separate immediately. This method works for aioli too. Just add minced garlic to the egg base. The narrow cup is essential. A wide bowl lets the oil float on top. The blender can’t reach it. Use a cup that fits the head snugly. This forces the ingredients into the blades. You can make a single serving this way.
There’s no waste. Store leftover mayo in the fridge for up to four days. Always use fresh eggs for safety. The USDA recommends pasteurized eggs for raw preparations if you’re concerned about salmonella. Check the carton for the pasteurized stamp. This small step reduces health risks. The texture is far superior to store-bought versions. You control the salt and acid levels. It tastes brighter and cleaner.
Smoothies and drinks
Smoothies and drinks benefit from the quick cleanup this tool offers. It suits students or busy parents who need a fast breakfast. You can blend directly in the drinking glass. This means no extra pitcher to wash.
- Blends soft fruits and yogurt smoothly
- Minimizes cleanup by using the serving glass
- Handles ice poorly unless crushed first
- Ideal for single-serving portions
Place one ripe banana, half a cup of berries, and one cup of milk in a tall glass. Add a scoop of protein powder if you like. Insert the blender. Start at the bottom. Move it up and down gently. Blend for 20 seconds. Check for lumps. If the banana is cold, it blends easier. Warm fruit can make the drink mushy.
Add ice cubes only if they’re small. Large cubes can damage the blade guard. Crush them in a bag first. Or use frozen fruit instead of ice. This chills the drink without straining the motor. The result is a frothy, even drink. You can add spinach for greens. The blades chop the leaves fine. You won’t taste them. This is good for hiding veggies from kids.
Clean the glass immediately after drinking. Rinse the blade under water. It takes less than a minute. This speed encourages daily use. Many people skip smoothies because of the cleanup. This removes that barrier. You can layer flavors too. Put honey at the bottom, then fruit, then milk. The blending mixes it all. Don’t overfill the glass. Leave two inches of space at the top. This prevents splashing.
The motor is less powerful than a big blender. It struggles with tough kale stems. Remove those before blending. Stick to soft leaves. The texture is slightly less smooth than a high-end machine. But it’s close enough for most people. It’s perfect for protein shakes too. The powder mixes without clumps. Just ensure the liquid is cold. Warm milk can make the protein grainy.
Baby food
Baby food is a practical use for small batches of cooked vegetables. It suits parents who want to control ingredients. Store-bought jars often have added salt or sugar. You can make plain purees at home.
- Processes small amounts without waste
- Ensures no hidden additives
- Requires cooked vegetables for safety
- Easy to sanitize between uses
Steam carrots until they’re very soft. Test with a fork. It should slide in easily. Place the carrots in a small bowl. Add a little breast milk, formula, or water. Insert the blender. Blend until completely smooth. There should be no lumps. Babies choke on solid pieces. Strain the puree through a sieve if you’re unsure. This catches any hard bits.
Let it cool before serving. Test the temperature on your wrist. It should feel warm, not hot. You can make apple sauce too. Peel and core apples. Simmer them in water until soft. Blend with a pinch of cinnamon. Store leftovers in ice cube trays. Freeze them. Pop out one cube at a time for meals. This keeps portions small.
Reheat in the microwave. Stir well to avoid hot spots. Always check the heat again. The blender head must be clean. Wash it in hot soapy water. Sanitize it by boiling for five minutes if the manufacturer allows. Check the manual. Some heads aren’t boil-safe. Use steam sterilizer bags instead. This prevents bacteria growth. Babies have weak immune systems.
Fresh food spoils fast. Use within two days if refrigerated. Don’t save leftovers from the baby’s mouth. Saliva introduces bacteria. Make fresh batches often. This method is cheaper than buying jars. One pound of carrots makes many servings. You save money and reduce plastic waste. It’s also fresher. The vitamins degrade slower in frozen cubes than in open jars.
Other useful blends
Some tasks are less common but very helpful. These items solve specific kitchen problems. They show the versatility of the tool.
- Pesto: Combine basil, pine nuts, garlic, and parmesan. Add olive oil. Blend in short pulses. Don’t overmix. You want a coarse paste, not a soup. This keeps the texture rustic. It suits pasta or bread dips.
- Pancake Batter: Mix flour, milk, egg, and baking powder. Blend for ten seconds. This removes lumps automatically. You don’t need a whisk. The batter becomes smooth and airy. Cook immediately for best rise.
- Hummus: Use canned chickpeas. Drain and rinse them. Add tahini, lemon juice, and garlic. Blend until creamy. Add ice water if it’s too thick. This makes a smooth dip without a food processor. It’s quick for snacks.
Choosing the best things for your immersion blender
Choosing the right task depends on your volume and texture goals. If you’re making more than four cups of soup, an immersion blender works well. If you’re making less than one cup of mayo, it’s the best choice. If you need to crush ice or grind coffee beans, don’t use it. The motor isn’t strong enough. It will burn out. Look at what you already have.
If you own a large countertop blender, use that for big smoothies. Use the stick blender for quick sauces. Consider your cleanup tolerance. If you hate washing parts, the immersion blender wins. It has fewer pieces. Think about your storage space. It fits in a drawer. A big blender sits on the counter. You can combine methods. Make the soup base in the pot.
Use the stick blender for the puree. Then transfer to a bowl. Don’t try to whip egg whites with it. It doesn’t incorporate air well. A hand mixer is better for that. This tool is for liquids and soft solids. It isn’t for dry ingredients. Never blend flour alone. It will create a dust cloud. Always mix with liquid first.
If you’re unsure, start with small amounts. Test the texture. You can always blend more. You can’t un-blend. This caution saves ingredients. It also protects the motor. Overloading causes overheating. Let it rest if it gets hot. Check the manual for duty cycles. Some models need a break after one minute. Others run longer. Know your model’s limits. This ensures it lasts for years.
Frequently asked questions
Can you crush ice with an immersion blender?
No, you can’t safely crush hard ice cubes with an immersion blender. The blades aren’t designed for solid frozen blocks and may chip or break under the resistance.
How long does an immersion blender last?
A good immersion blender typically lasts three to five years with regular use. Daily use shortens this lifespan, while weekly use may extend it closer to five years.
Is it safe to blend hot soup?
Yes, it’s safe to blend hot soup if you keep the blender head fully submerged before turning it on. Always turn it off before lifting it out to prevent dangerous splashing.
What happens if you blend air?
Blending air causes hot soup to splash violently due to rapidly expanding air bubbles. Always keep the blender head fully submerged in liquid to prevent burns and kitchen messes.
Does it work for nut butter?
No, an immersion blender doesn’t work well for making nut butter. Nuts are too hard and dry, causing the motor to strain, overheat, and potentially damage the gear mechanism.
Can you wash the whole unit in the dishwasher?
No, you can’t wash the whole unit in the dishwasher because the motor body contains electrical components that water will ruin. Only the detachable blade guard is typically dishwasher safe.
First steps for better blending
Start by making a simple recipe like tomato soup in a tall, narrow container. Insert the head fully, blend until smooth, and unplug immediately if the motor overheats to build confidence safely.