How To Sharpen Immersion Blender Blades for Effortless Blending
Sharpening Immersion Blender Blades: The Complete Guide
Immersion blenders are popular kitchen tools for soups, smoothies, sauces, and many other dishes. Their sharp blades make blending easy, but over time, these blades can become dull. A dull blade means less efficiency, more time spent blending, and sometimes uneven results.
Many people don’t realize that you can sharpen immersion blender blades at home, saving money and restoring performance. In this guide, you’ll learn how to sharpen immersion blender blades safely, what tools you need, how to check blade sharpness, and mistakes to avoid.
If you’re tired of your blender struggling, or want to keep your tool in top shape, this article will help you get there.
Understanding Immersion Blender Blades
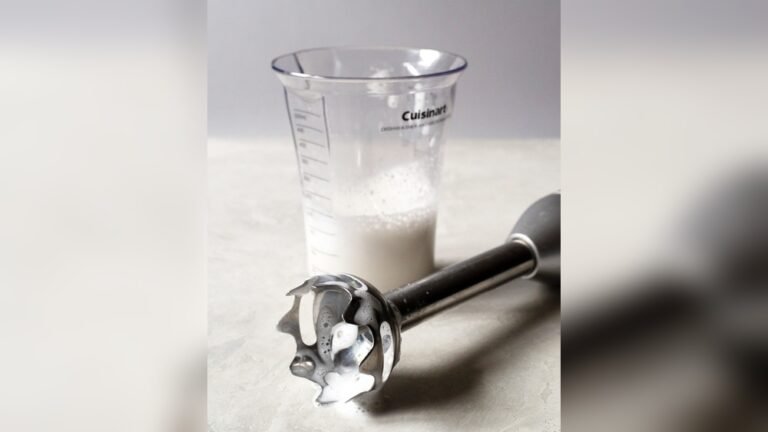
Before sharpening, it’s important to know how immersion blender blades work. Most immersion blenders have stainless steel blades designed for cutting and mixing food quickly. Unlike traditional blenders, the blades are smaller and sometimes curved, allowing them to reach into pots and bowls.
The blades usually have two or four arms, each with a sharp edge. Some brands use unique shapes for better blending. The metal is hard, but regular use, contact with tough food, or hitting the sides of pots can cause them to dull. When blades are dull, you may notice:
- Longer blending times
- Uneven texture in soups or smoothies
- Struggling to blend hard ingredients
- Increased noise or vibration
Recognizing these signs early helps you decide when sharpening is needed.
Why Sharpen Immersion Blender Blades?
Many people replace their immersion blenders when blades get dull, but sharpening is often easier and more cost-effective. Sharp blades make blending faster and smoother. They also reduce the strain on your blender’s motor, helping it last longer.
Sharpening has several benefits:
- Better performance: Smooth texture, quick blending
- Longer lifespan: Less wear on the motor
- Cost savings: No need to buy a new blender
- Safety: Dull blades can cause the blender to slip or jump, which is dangerous
Sharpening is not complicated, but it must be done carefully. Regular blade maintenance can extend your immersion blender’s life by years.
How To Check Blade Sharpness
Before sharpening, you need to check if your blades are truly dull. Here’s how to do it:
- Visual inspection: Look at the blade edges under good light. Sharp blades have a clean, shiny edge. Dull blades look rounded or have tiny nicks.
- Touch test: Gently (and carefully) touch the edge with a finger. Sharp blades feel crisp; dull ones feel smooth.
- Paper test: Try cutting a piece of paper with the blade. If it cuts cleanly, it’s still sharp. If it tears or struggles, it’s dull.
- Blending performance: If your blender takes longer or leaves chunks, the blades may be dull.
Don’t rely on just one method. Use two or three checks to be sure.
Tools And Materials Needed
Sharpening immersion blender blades doesn’t require fancy tools, but you’ll need the right materials:
- Safety gloves: Protects your hands from cuts
- Safety glasses: Shields your eyes from metal fragments
- Small file: A fine metal file (diamond or carbide) for sharpening
- Sharpening stone: Optional, for finishing the edge
- Cleaning brush: Removes food particles and metal dust
- Soft cloth: For cleaning and drying
- Lubricant: Mineral oil or WD-40 for the sharpening stone
- Screwdriver: To remove the blade (if possible)
Here’s a quick comparison of sharpening tools:
| Tool | Purpose | Price Range | Ease of Use |
|---|---|---|---|
| Small File | Edge sharpening | $5–$15 | Easy |
| Sharpening Stone | Smoother finish | $10–$30 | Moderate |
| Electric Sharpener | Fast sharpening | $25–$50 | Easy |
| Sandpaper | Light touch-up | $2–$5 | Easy |
Most people use a small file or sharpening stone. Electric sharpeners are not common for immersion blender blades.
Preparing Your Immersion Blender
Safety is the top priority. Before sharpening, you must prepare your blender correctly.
- Unplug the blender: Never work on a plugged-in appliance.
- Remove the blade: If possible, detach the blade section. Some blenders have screws; others twist off.
- Clean the blade: Wash with warm water and soap. Remove all food residue.
- Dry the blade: Use a soft cloth to dry fully. Wet blades can slip and cause injury.
- Inspect for damage: Look for cracks, chips, or bends. If the blade is damaged, do not sharpen—replace it.
Not all immersion blender blades can be removed. If yours is fixed, you must sharpen carefully without detaching.
Step-by-step Guide To Sharpening Immersion Blender Blades
Sharpening blender blades is not the same as sharpening knives. The blades are small, often curved, and sometimes hard to reach. Follow these steps for safe, effective sharpening.
Step 1: Secure The Blade
If you can remove the blade, hold it firmly on a flat surface. If it’s fixed, secure the blender handle to keep it steady. Use safety gloves and glasses at all times.
Step 2: Use The File
Take your small metal file and gently run it along the edge of each blade. Move in one direction, following the blade’s curve. Don’t press too hard; let the file do the work. Usually, 5–10 strokes per edge are enough.
Tips:
- File from the inside edge outward
- Keep the angle around 20–30 degrees
- Check progress after every few strokes
Step 3: Sharpening Stone (optional)
If you want a finer edge, use a sharpening stone after the file. Apply a few drops of lubricant, then gently rub the blade edge against the stone. This removes any rough spots and gives a smoother finish.
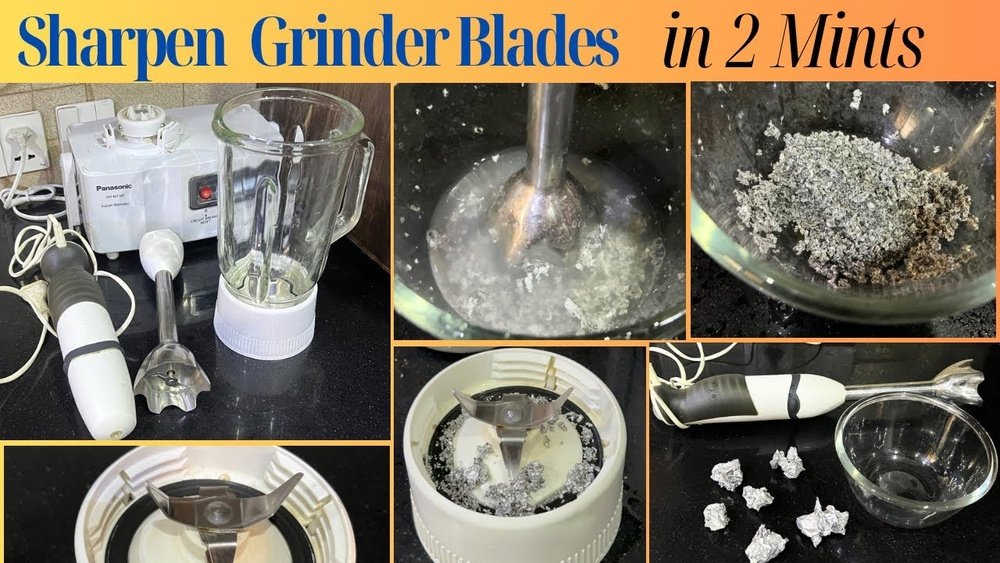
Step 4: Sandpaper Touch-up
For a quick touch-up, you can use fine-grit sandpaper (400–800 grit). Wrap the sandpaper around the blade and move it gently along the edge. This is good for minor dullness.
Step 5: Clean The Blade
After sharpening, brush off metal dust and wipe with a damp cloth. Dry the blade fully before reattaching.
Step 6: Reassemble And Test
Reattach the blade to your blender. Plug in and test with a soft food, like a banana or cooked vegetables. If blending is smoother and faster, your sharpening worked.
Common Mistakes To Avoid
Sharpening immersion blender blades is simple, but there are pitfalls to watch for:
- Not unplugging the blender: This can cause electric shock or injury.
- Using too much force: Pressing hard can damage the blade or remove too much metal.
- Wrong angle: Sharpening at the wrong angle makes the blade blunt or uneven.
- Skipping cleaning: Metal fragments can contaminate food or scratch the blade.
- Ignoring blade damage: Sharpening a cracked or bent blade is dangerous.
Stay patient and use gentle, steady strokes for best results.
How Often Should You Sharpen Blender Blades?
Frequency depends on use. For most home cooks, sharpening every 6–12 months is enough. If you use your blender daily, consider sharpening every 3–6 months. Signs you need sharpening:
- Blending takes longer
- Food is not smooth
- Blade looks dull or worn
Don’t over-sharpen. Too much sharpening removes metal and shortens blade life.

Credit: www.reddit.com
Safety Tips For Sharpening
Safety matters. Here are key tips:
- Always unplug the blender
- Wear safety gloves and glasses
- Work on a stable surface
- Keep children and pets away
- Check the blade for cracks before sharpening
- Clean the blade before and after sharpening
If you’re unsure, ask for help from someone experienced.
Comparison: Sharpening Vs. Replacing Blades
Sometimes sharpening isn’t enough. If your blade is badly damaged, you may need to replace it. Here’s a quick comparison:
| Aspect | Sharpening | Replacing |
|---|---|---|
| Cost | $5–$20 | $20–$50 |
| Time | 15–30 minutes | 1–2 days (shipping) |
| Skill Needed | Basic | None |
| Lifespan | Extends existing blade | New blade lasts longer |
| Environmental Impact | Low | Higher (more waste) |
Sharpening is better for minor dullness; replacement is best for severe damage.
Maintenance Tips For Long-lasting Sharpness
Keeping your blades sharp isn’t just about sharpening. Good habits make a big difference.
- Clean after each use: Food residue causes rust and dullness.
- Avoid hard ingredients: Don’t blend bones, frozen solid foods, or hard nuts.
- Store properly: Keep the blender dry and avoid dropping it.
- Use correct technique: Don’t force the blender; let it do the work.
With these tips, your blades stay sharp longer, and your blender performs better.
Non-obvious Insights For Beginners
Many beginners miss these important points:
- Blade shape matters: Not all immersion blender blades are the same. Some are curved, others flat. Sharpen each according to its shape.
- Edge direction: Most blades have a cutting edge and a blunt side. Only sharpen the cutting edge.
- Don’t use knife sharpeners: Knife sharpeners are made for flat blades, not curved immersion blender blades. They can damage the blade.
- Check for hidden screws: Some blades are held by hidden screws. Removing these allows safer sharpening.
- Test with soft foods first: After sharpening, test with soft foods to check sharpness without risk.
These insights help you avoid mistakes and get better results.
Real-life Examples
Let’s look at a few examples:
- Case 1: Home Cook with Dull Blade
Sarah blends soup every week. Her immersion blender started leaving chunky pieces. She used a small file, followed the steps above, and her blender worked like new. She saved $40 by not buying a replacement.
- Case 2: Restaurant Chef
Chef Mike uses his immersion blender daily. He noticed the blade was dull and hard to remove. He carefully sharpened in place with sandpaper. The improvement was immediate—his sauces became smoother, and blending time dropped by half.
- Case 3: DIY Sharpening
Tom tried using a knife sharpener. The blade became uneven, and blending was worse. He learned to use a metal file and improved the blade. Now he checks blade shape before sharpening.
These examples show that sharpening is practical for both home and professional use, and that using the right tools makes a difference.
When To Seek Professional Help
If your blade is severely bent, cracked, or you’re unsure about sharpening, seek help from a professional. Appliance repair shops can sharpen or replace blades safely. You can also contact the manufacturer for advice.
Don’t risk injury or damage by forcing sharpening. Professional help is best for complex cases.
Environmental Benefits Of Sharpening
By sharpening instead of replacing, you help the environment. Fewer blades end up in landfills, and you reduce the demand for new metal production. It’s a small step, but over time, it makes a big impact. If you care about sustainability, sharpening is the way to go.
Choosing The Right Sharpening Method For Your Blender
Different immersion blenders have different blade shapes and mounting systems. Here’s how to choose the right method:
| Blade Type | Sharpening Tool | Can Remove? | Recommended Method |
|---|---|---|---|
| Curved Blade | Small file | Yes | File + stone |
| Flat Blade | Sharpening stone | Yes | Stone only |
| Fixed Blade | Sandpaper | No | Sandpaper touch-up |
| Multi-arm Blade | File | Yes | File each arm |
Always check your blender’s manual before starting. Some brands have special instructions.
Can You Sharpen Blades Without Removing Them?
Yes, but it’s more difficult. Use sandpaper or a small file, and work slowly. Protect the blender with a cloth, and avoid touching other parts. If you can remove the blade, it’s safer and more effective.
Sharpening For Different Brands
Different brands have different blade designs. For example:
- Braun: Curved blades, usually removable
- KitchenAid: Flat blades, often fixed
- Cuisinart: Multi-arm blades, removable
- Hamilton Beach: Unique shape, usually removable
Check your brand’s website or manual for blade removal instructions. If unsure, contact customer support.

Credit: www.youtube.com
How To Store Your Immersion Blender After Sharpening
Proper storage keeps your blades sharp. Here’s how:
- Clean and dry: Always clean and dry after sharpening
- Store upright: Keep the blender upright to avoid pressure on blades
- Avoid crowded drawers: Blades can bump against other tools and dull
- Use blade covers: Some brands offer protective covers
Good storage habits help your sharpening last longer.
How To Sharpen Blades For Heavy Use
If you use your immersion blender heavily (daily or in a restaurant), sharpen every 2–3 months. Use a file and stone for a fine edge. Keep extra blades on hand for quick swaps. Record sharpening dates to track blade life.
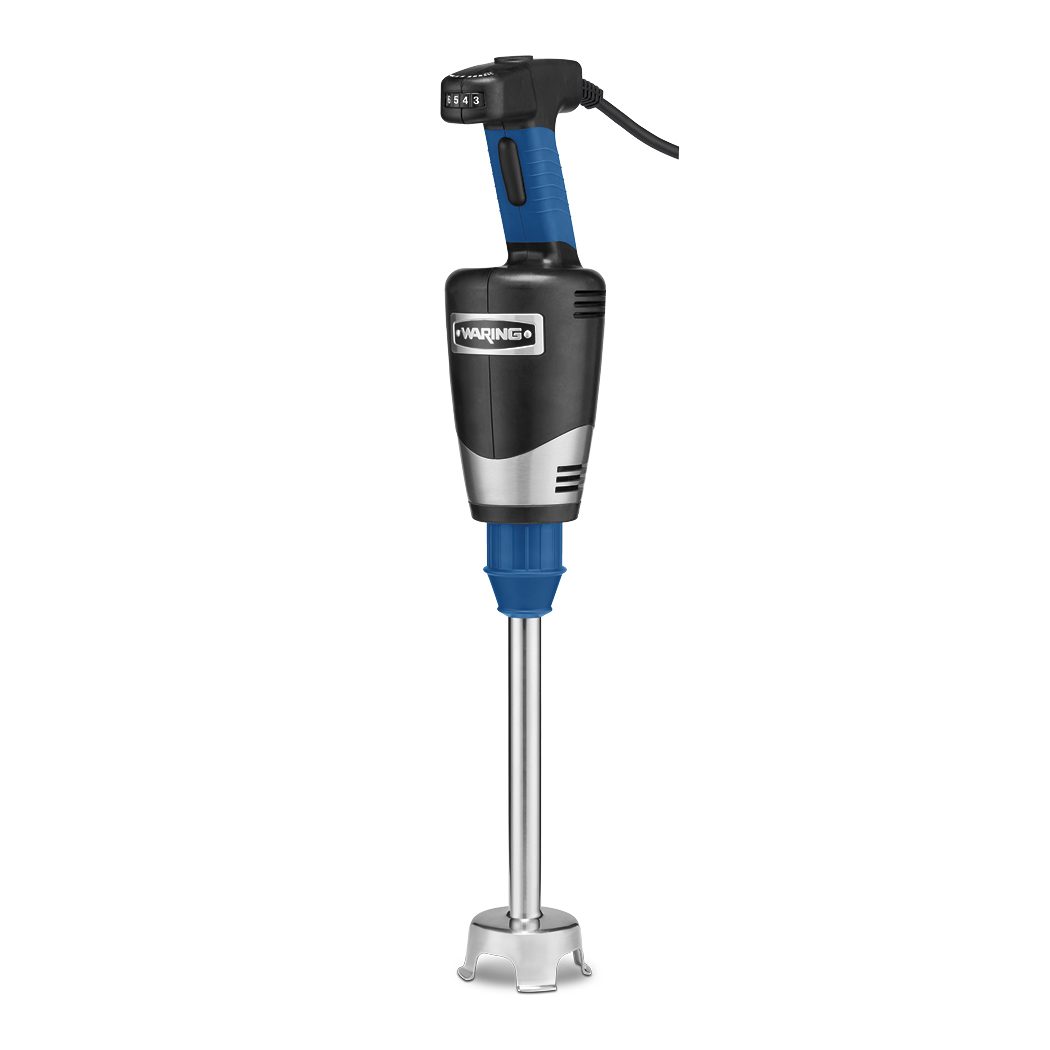
Credit: www.waring.com
Sharpening Immersion Blender Blades Vs. Kitchen Knives
Blender blades and kitchen knives are both metal, but their sharpening needs are different:
- Blender blades are smaller, often curved, and harder to reach
- Knives have flat, long edges
- Sharpening stones for knives don’t fit blender blades
- Blender blades need gentle, precise strokes; knives can handle more pressure
Don’t use knife sharpeners for immersion blender blades.
Signs Of Over-sharpening
Over-sharpening can wear out your blade. Signs include:
- Thin, fragile edge
- Chipping or breaking
- Blending is noisy or rough
If you notice these, stop sharpening and consider replacement.
Troubleshooting After Sharpening
Sometimes, sharpening doesn’t fix blending problems. Here’s what to check:
- Blade alignment: Is the blade straight and properly attached?
- Motor strength: Is the motor working normally?
- Blade shape: Did you sharpen the cutting edge only?
- Food type: Are you blending tough, hard foods?
Fix these issues for better performance.
Frequently Asked Questions
How Do I Know If My Immersion Blender Blade Is Dull?
Check by visual inspection, touch, and blending performance. If your blender takes longer, leaves chunks, or the blade edge looks rounded, it’s probably dull.
Can I Sharpen Blades Without Removing Them?
Yes, but it’s harder. Use sandpaper or a small file, and work slowly. Protect the blender’s motor and other parts. Removing the blade is safer and more effective.
What Is The Best Tool For Sharpening Immersion Blender Blades?
A small metal file is best for most blade types. For a finer edge, use a sharpening stone with lubricant. Avoid knife sharpeners—they are not made for curved blades.
How Often Should I Sharpen My Immersion Blender Blades?
For home use, every 6–12 months is enough. Heavy users should sharpen every 2–3 months. Sharpen only when you notice dullness to avoid over-sharpening.
Is It Safe To Sharpen Immersion Blender Blades At Home?
Yes, if you follow safety steps: unplug the blender, wear gloves and glasses, and use the right tools. If you’re unsure or the blade is damaged, seek professional help.
Keeping your immersion blender blades sharp makes cooking easier and saves money. With the right tools and careful steps, you can restore your blender’s performance at home. If you need more details, check your manufacturer’s manual or visit Consumer Reports for expert advice. Sharpening is a simple skill that pays off every time you cook.