How Do You Turn On A Ninja Professional Blender: Quick Guide
Many people buy a Ninja Professional Blender because they want fast, easy smoothies or soups. Yet, the first time you take it out of the box, you might pause. The design is sleek and modern, but not like the older blenders with a simple “on” switch. If you’re wondering, “How do you turn on a Ninja Professional Blender?” you’re not alone. This guide will walk you through every detail, from setup to troubleshooting, so you get the most out of your blender and avoid common mistakes. You’ll learn simple steps, real usage tips, and find answers to the questions most new owners ask.
Understanding Your Ninja Professional Blender
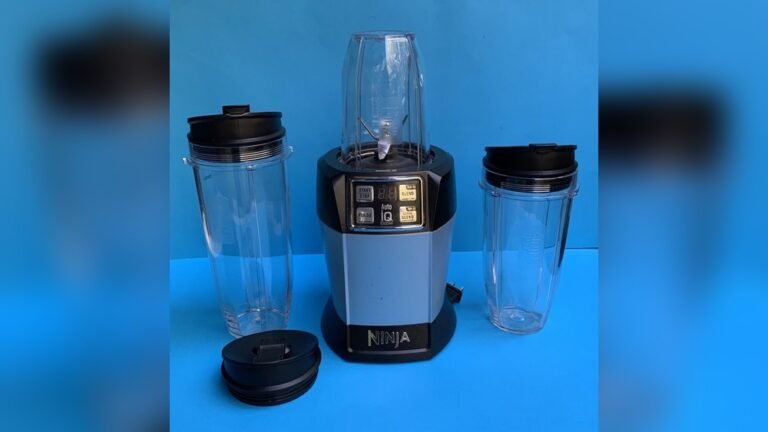
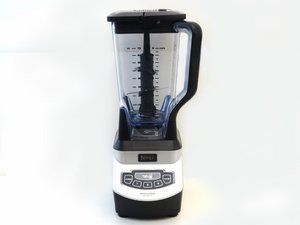
Before you power on your blender, it helps to know what you’re working with. The Ninja Professional Blender line includes several models, but most share similar features. They have a strong motor, sharp stacked blades, sturdy pitcher, and an electronic control panel. This panel usually has buttons like Power, Pulse, and speed settings (Low, Medium, High).
Some models have extra features, like Auto-iQ programs for smoothies or ice crush. While their buttons may be labeled differently, the way you turn them on is almost always the same. Recognizing the parts and what each button does makes you more confident and helps prevent mistakes.
Key Parts Overview
- Motor Base: The heavy part at the bottom. This contains the power cord and the motor that spins the blades.
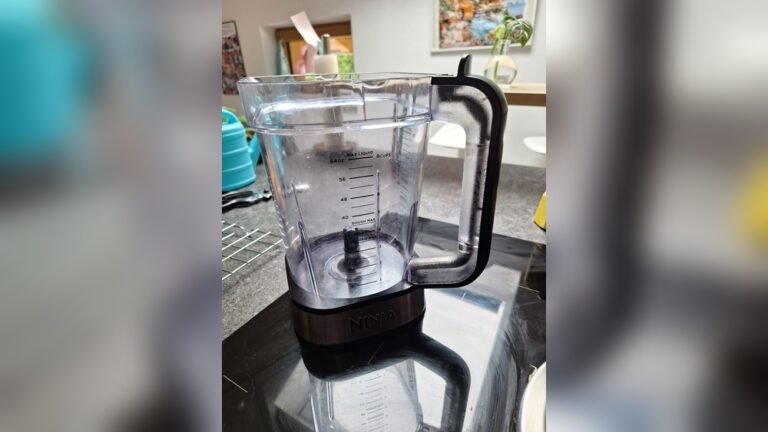
- Pitcher/Jar: The large clear container for ingredients. It has measurement lines for easy filling.
- Lid with Spout: Keeps ingredients inside while blending. Most have a small opening for adding ingredients safely.
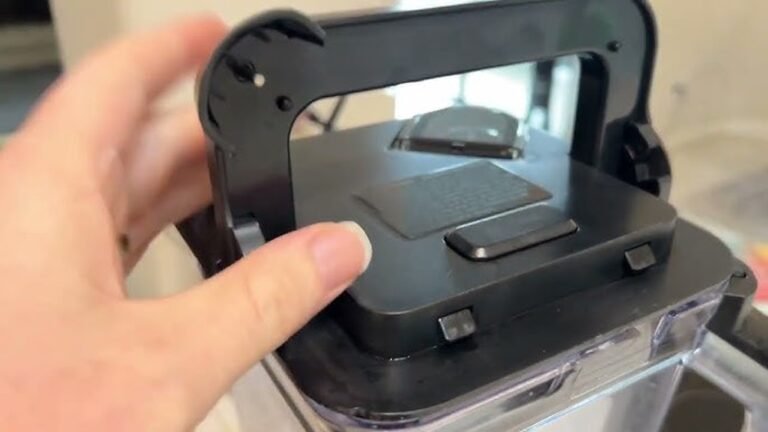
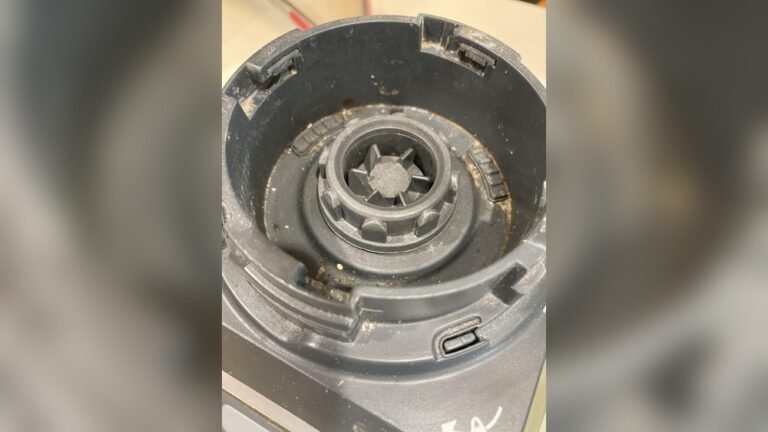
- Stacked Blade Assembly: Multiple sharp blades that sit inside the pitcher. These are not fixed to the bottom, so always handle with care.
- Control Panel: The buttons that let you operate the blender.
- Power Cord: Usually stored in a groove under the base.
Knowing these parts helps you set up the blender safely and ensures you assemble it correctly.
Step-by-step: How To Turn On A Ninja Professional Blender
Starting your Ninja blender is straightforward, but missing one small step can stop it from working. Here’s a clear, step-by-step process.
1. Place The Motor Base On A Flat Surface
Find a solid, clean counter with enough space around the blender. Placing it on a flat surface prevents vibration and keeps your blender steady.
2. Plug In The Power Cord
Unwrap the cord from the storage area under the base. Plug it into a grounded outlet. The blender will not turn on until it’s properly plugged in.
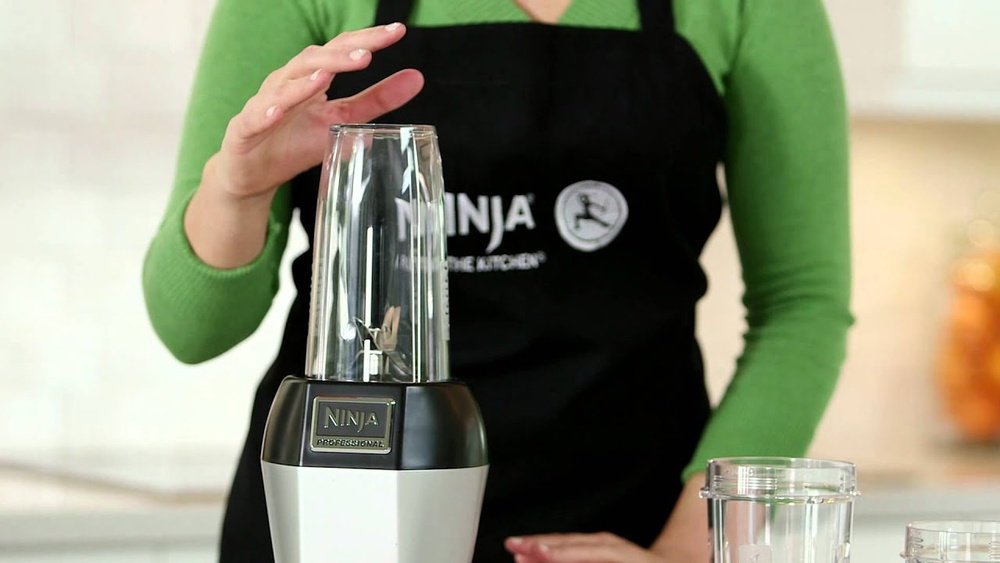
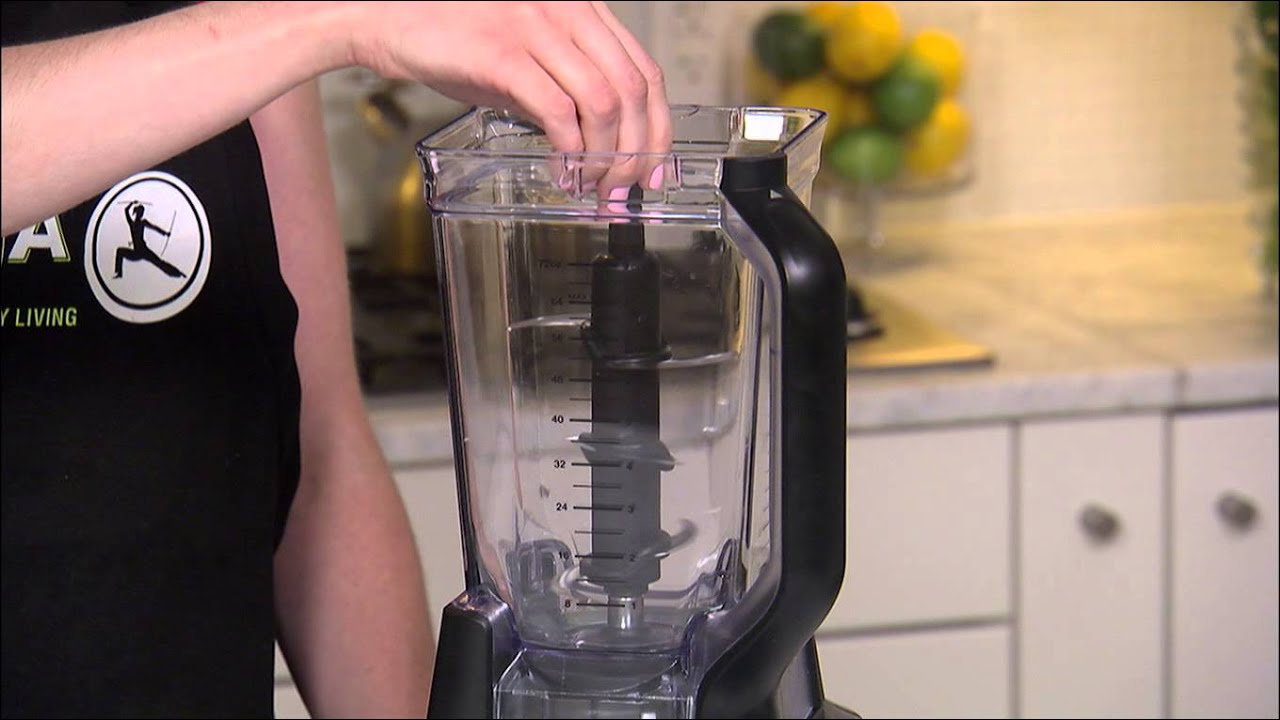
3. Assemble The Blender Pitcher
- Insert the stacked blade assembly into the pitcher. The sharp side faces up.
- Place your ingredients into the pitcher, but do not overfill. Stay below the max fill line.
- Secure the lid tightly. You’ll usually hear a click. Most Ninja Professional models have a safety feature: If the lid isn’t locked, the blender won’t start.
4. Attach The Pitcher To The Base
Align the pitcher handle with the side or front of the base (depending on your model). Turn or push the pitcher so it clicks into place. The pitcher must be fully seated or the blender will not power on.
5. Confirm The Lid Is Locked
Look for the lid lock symbol or indicator light (on some models). If the lid is not fully locked, the control panel may flash, beep, or stay off.
6. Press The Power Button
On most Ninja Professional models, the Power button is at the bottom or center of the control panel. Press it once. If everything is assembled correctly, the button or other controls should light up.
If the lights do not turn on, check:
- Is the pitcher seated correctly?
- Is the lid locked?
- Is the cord plugged in?
- Is the outlet working?
7. Choose Your Speed Or Program
After pressing Power, select a speed (Low, Medium, High) or an Auto-iQ program. For most tasks, Low or Medium works for soft foods, while High is for ice or frozen fruits.
8. Start Blending
Press and hold the Pulse button for short bursts, or press a speed button for continuous blending. The blender will run until you press Stop or the preset program ends.
9. Turn Off And Unplug
When finished, press Power again to turn off the blender. For safety, always unplug when cleaning or moving the blender.
Safety Features That Prevent Starting
Many users think their Ninja Professional Blender is broken when it will not turn on. But Ninja has built-in safety locks to prevent injury. These features are important for families, especially with children.
Lid Lock System
If the lid is not snapped in place, the blender will not turn on. Some models have a small tab or lock on the lid. If not aligned, the machine stays off. Always press the lid down until you hear a click.
Pitcher Lock System
The pitcher must be twisted or pressed into the base until it clicks. Even a small misalignment can keep the blender from starting. If the handle is not facing the correct direction, try removing and reattaching.
Power Light Indicator
Many Ninja blenders have a Power light that flashes if something is wrong. If you see this, check both the pitcher and lid alignment.
Overload Protection
If the motor overheats (from blending thick ingredients too long), the blender may shut off for safety. Unplug it and let it cool for 15-20 minutes before trying again.
Common Issues And How To Fix Them
Even after careful setup, users sometimes face problems. Here’s how to handle the most common issues.
Blender Does Not Turn On
- Check the power cord and outlet.
- Make sure the pitcher and lid are locked into place.
- Look for error lights or flashing buttons.
Blender Turns On But Will Not Blend
- Check if ingredients are stuck under the blades.
- Cut large ingredients into smaller pieces.
- Add a small amount of liquid to help blending.
- Do not overfill above the max line.
Blender Stops Suddenly
- The motor may have overheated. Unplug and let it cool.
- Remove any food that may be stuck around the blades.
- Check if the pitcher or lid has come loose.
Unusual Sounds Or Smells
- A burning smell can mean the motor is overloaded.
- Loud banging can mean the blade assembly is not seated properly.
- Stop immediately and check all parts.
Buttons Are Not Responding
- Unplug for 1 minute, then plug back in.
- Double check that all parts are assembled and locked.

Credit: www.costco.com
Ninja Professional Blender Models: Key Differences
There are several Ninja Professional Blender models. Understanding the small differences helps you use your specific model correctly. Here is a comparison of three popular models:
| Model | Pitcher Size | Control Panel | Auto-iQ Programs | Wattage |
|---|---|---|---|---|
| Ninja BL610 | 72 oz | Power, Low, Medium, High, Pulse | No | 1000W |
| Ninja BL660 | 72 oz + 16 oz cups | Power, Low, Medium, High, Pulse | No | 1100W |
| Ninja BL770 | 72 oz + food processor bowl + cups | Power, Dough, Blend, Crush, Pulse | No | 1500W |
Most steps to turn on these blenders are the same, but the BL770 includes extra bowls and buttons for dough and food processing.
Step-by-step: First Use And Cleaning Before Turning On
Your first use is important. A new blender may have dust or oil from manufacturing. Here’s how to prepare:
- Wash all removable parts (pitcher, lid, blade) with warm, soapy water.
- Rinse and dry thoroughly.
- Wipe the motor base with a damp cloth (never immerse in water).
- Assemble and run the blender with a cup of water and a drop of dish soap. Blend for 30 seconds, rinse, and dry.
This removes any factory residue and ensures your first smoothie tastes fresh.
Credit: www.ifixit.com
Tips For Smooth, Safe Operation
Use The Right Amount Of Ingredients
Overfilling is a common mistake. Stay below the max fill line. For thick mixtures, add a bit more liquid to keep things moving.
Cut Food Into Smaller Pieces
Large chunks can jam the blades. For best results, cut fruits and vegetables into 1–2 inch pieces.
Secure The Lid Tightly
Never try to start the blender with a loose lid. The safety system will prevent it, and trying to force it can break the locking mechanism.
Don’t Run The Motor Too Long
Most recipes need only 30–60 seconds of blending. For tough ingredients, use short bursts and let the motor cool between cycles.
Clean Immediately After Use
Leftover food can harden and become tough to clean. Rinse and wash all parts right after blending.
Advanced Usage: Auto-iq Programs
Some Ninja Professional Blenders come with Auto-iQ technology. These are preset programs for tasks like smoothies, frozen drinks, or chopping. If your model includes Auto-iQ, you’ll see buttons like Smoothie, Ice Crush, or Blend.
- To use, power on the blender, then press the desired program. The blender will automatically run the right speed and time for the selected task.
- Auto-iQ makes blending easier, but always check the lid and pitcher alignment first.
Real-world Example: Making A Green Smoothie
Let’s walk through turning on your Ninja Professional Blender and making a basic green smoothie.
- Place the motor base on your kitchen counter.
- Plug the power cord into a wall outlet.
- Insert the stacked blade into the 72 oz pitcher.
- Add 1 cup spinach, 1 banana (sliced), 1 cup frozen mango, and 1 cup water or almond milk.
- Snap the lid into place until it clicks.
- Attach the pitcher to the base, twisting until you hear a click.
- Press the Power button.
- Press Medium speed or the Smoothie Auto-iQ program.
- Blend for 45 seconds, then press Power to stop.
- Unplug, remove the pitcher, and pour your smoothie.
This step-by-step approach works for most recipes, from frozen drinks to soups.
Cleaning And Maintenance Tips
A clean blender lasts longer and works better. Here are some practical tips:
- Always unplug before cleaning.
- Wash the pitcher, lid, and blades in warm, soapy water.
- For deep cleaning, blend a mix of water and a drop of dish soap for 30 seconds, then rinse.
- Wipe the motor base with a damp cloth only—never put it in water.
- Dry all parts completely before reassembling.
- Check the blade assembly for wear. If the blades are dull or the gasket is damaged, order replacements from Ninja.
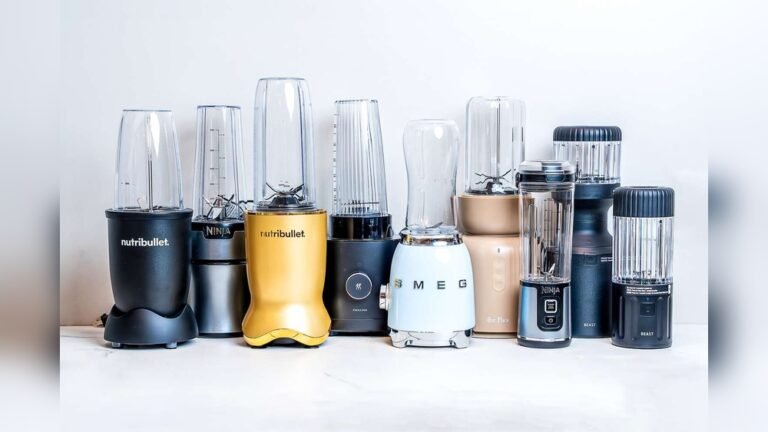
Comparing Ninja Professional Blender To Other Brands
How does the Ninja Professional Blender stack up against other popular blenders like Vitamix and NutriBullet? Here’s a quick side-by-side:
| Feature | Ninja Professional | Vitamix Explorian | NutriBullet Pro |
|---|---|---|---|
| Price | $$ | $$$$ | $ |
| Wattage | 1000–1500W | 1380W | 900W |
| Blade System | Stacked removable | Fixed to jar | Removable flat |
| Pitcher Size | 72 oz | 64 oz | 32 oz |
| Auto Programs | Some models | No | No |
| Best For | Family, ice, smoothies | Professional, hot soups | Single-serve, smoothies |
The Ninja Professional offers a balance between power, pitcher size, and price. The stacked blade system is unique and makes crushing ice or blending tough foods easy.
Non-obvious Insights For New Users
Many beginners overlook two key facts:
- The Blender Will Not Start Unless Everything Clicks: Ninja’s safety system is sensitive. Even a small misalignment of the pitcher or lid stops the machine. Always check both, and press down firmly.
- The Blades Are Loose Inside the Pitcher: Unlike some blenders, Ninja’s blade assembly is not fixed. If you tip the pitcher upside down, the blades will fall out. Always remove the blade before pouring out your smoothie, or you could cut yourself.
Both of these points are common causes of confusion and accidents. Knowing them makes your first use much smoother.
When To Call For Support
If you have tried all the steps above and your Ninja Professional Blender still won’t turn on, it might be time for expert help.
- Contact Ninja customer service if you see blinking lights, hear unusual noises, or have a damaged part.
- Have your model and serial number ready.
- Most Ninja blenders come with a 1-year limited warranty.
You can find more information and support resources at the official Ninja Kitchen website.
Frequently Asked Questions
Why Won’t My Ninja Professional Blender Turn On?
Several safety features can prevent your blender from starting. Check that the power cord is plugged in, the pitcher is seated correctly, and the lid is fully locked. If any part isn’t aligned, the blender will not power on.
How Do I Know If My Blender Lid Is Locked?
Most Ninja models make a clear clicking sound when the lid locks. Some have a lid lock symbol or an indicator light. If the controls don’t light up after pressing Power, try reseating the lid.
Can I Use The Blender Without Liquid?
For best results, always add at least a small amount of liquid. This helps move ingredients around the blades and prevents overloading the motor. Blending dry ingredients can cause jams or damage.
What Should I Do If My Blender Overheats?
If the motor stops and the blender feels hot, unplug it and let it cool for 15–20 minutes. Remove thick mixtures and blend in smaller batches next time. Overheating is usually a sign of overfilling or blending too long.
Is The Blade Assembly Dishwasher Safe?
The pitcher, lid, and blade assembly are usually top-rack dishwasher safe. The motor base should never be washed in a dishwasher or submerged in water. Always check your model’s manual for specific instructions.
—
Turning on a Ninja Professional Blender may seem complicated at first, but once you learn the steps and understand the safety features, it’s simple and safe. Take a moment to check the pitcher, lid, and blades every time you use it. This careful approach means you’ll enjoy smooth, consistent results—whether you’re making a quick smoothie or crushing ice for a party. With practice, you’ll find your Ninja blender is one of the most versatile tools in your kitchen.
Credit: www.youtube.com