How Many Watts In A Vitamix Blender: Power Ratings Explained
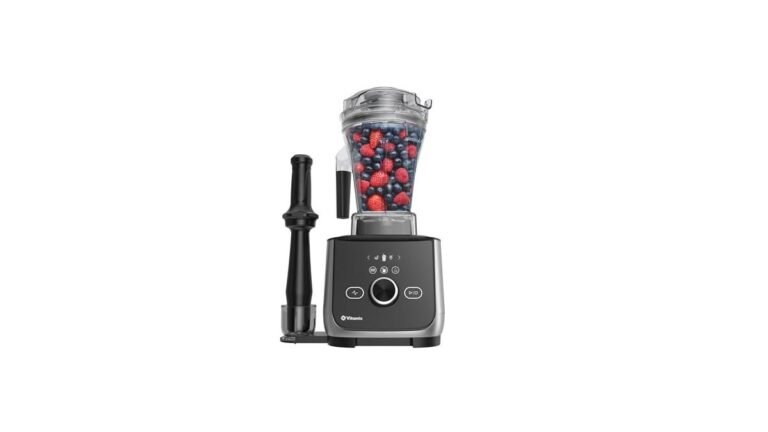
Most Vitamix blenders use between 1,200 and 1,640 watts of power, depending on the specific motor base and model series. You’ll find that the wattage for your specific unit is printed on the label on the bottom of the base, which is the most accurate place to check.
The power rating changes based on the series and the year of manufacture. A Vitamix motor designed for a home kitchen typically draws more current under a heavy load than during light blending. Always check the manufacturer’s official product specifications to see the exact peak power rating for your model, as this determines how much energy it pulls from your wall outlet.
How many watts a Vitamix needs
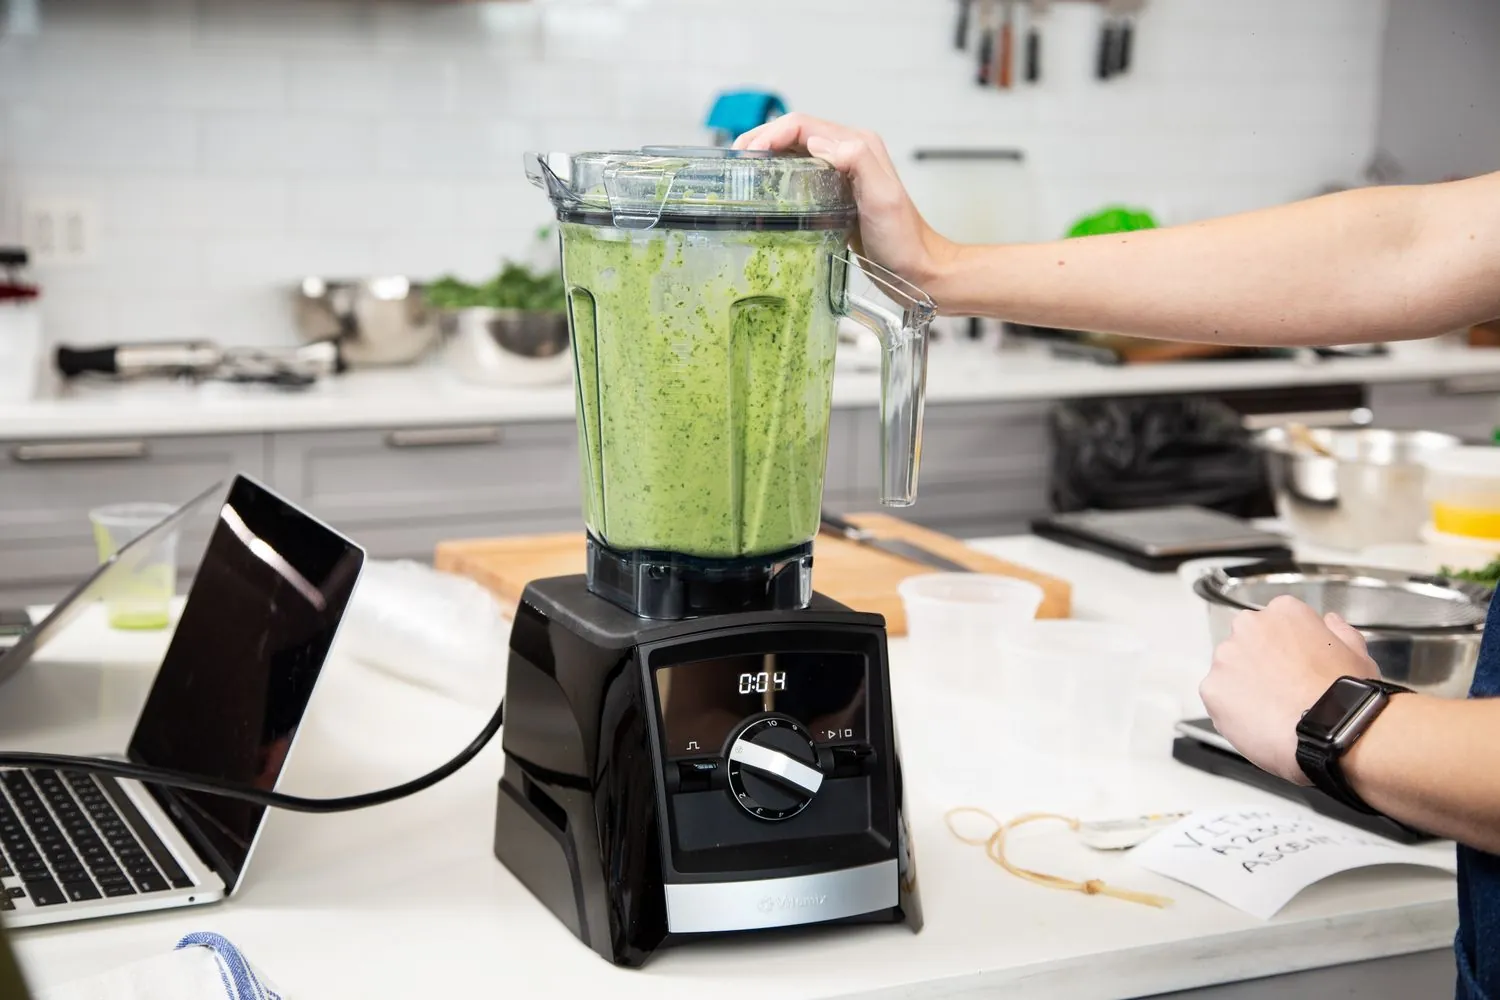
People who search for this information usually fall into one of two groups. The first group owns a blender and wants to know if it will trip their kitchen circuit breaker during a long blend. The second group is comparing different models to decide which one has the most torque for thick recipes like nut butters or frozen desserts.
This page serves the person who needs to understand their appliance’s electrical needs to ensure safe and efficient operation. We assume you’re using your blender in a standard residential kitchen with a dedicated 120-volt outlet. If you live in a region with different voltage standards, the power draw figures will change significantly. Readers looking for professional-grade, high-volume commercial kitchen advice should consult the specific electrical requirements listed in their commercial equipment manual instead of this general guide.
Factors That Change Power Draw
The power consumption of your blender isn’t a static number. It fluctuates based on several real-world factors that you encounter every time you use the machine.
The thickness of the ingredients is the primary factor that drives power usage. A motor working to crush frozen fruit or thick almond butter draws more current than one spinning plain water. If you notice the blender struggling or the pitch of the motor changing, it’s working harder to maintain speed under that heavy load.
The age and model of your blender also dictate the wattage. Older legacy models often have lower wattage ratings compared to newer, high-performance series. You can find the specific rating on the metal or plastic plate located on the underside of the motor base. Never guess this number, as it’s vital for understanding your circuit capacity.
Blade sharpness and internal friction also play a role in how much power the motor requires to spin. If the bearings are worn or the blades are dull, the motor must work harder to achieve the same blending result. This often leads to higher heat production in the base.
Most people make the mistake of assuming a higher wattage always means a better blend. In reality, the design of the container and the blade geometry are just as important as the motor’s peak power. A well-designed system will produce a smooth texture even if the motor isn’t the highest-wattage unit in the lineup.
Operating Your Blender Safely
- Plug the blender directly into a grounded wall outlet. Don’t use an extension cord, as it can cause a voltage drop and overheat the wire.
- Ensure the dial is set to the lowest speed before you turn the power switch on.
- Check that the lid is fully locked into place. A loose lid can cause the motor to struggle if ingredients splash against the seal.
- Turn the power switch to the “on” position.
- Slowly increase the speed dial from 1 to 10.
- Use the tamper to push ingredients into the blades if you’re making thick mixtures.
- Listen for a steady motor sound. If it starts to whine or smell like hot plastic, turn the machine off immediately.
- Let the motor cool for 5 minutes if you have been blending for more than 2 minutes at high speed.
The judgement call that defines a professional result is knowing when to stop blending. If you continue to run the motor after the ingredients have reached a smooth, vortex-driven consistency, you only generate unnecessary heat that can damage the blender’s internal components.
Power Ratings by Model Type
| Blender Series | Typical Wattage | Best Use Case | What to Watch |
|---|---|---|---|
| Explorian Series | 1,200 Watts | Daily smoothies | Motor heat |
| Legacy Series | 1,380 Watts | Heavy doughs | Circuit load |
| Ascent Series | 1,500 Watts | Complex recipes | Digital sensors |
| Professional Grade | 1,640 Watts | Commercial use | Proper cooling |
The Explorian series handles frozen fruit easily, but don’t run it for more than three minutes at a time. If the base feels hot to the touch, you have pushed the motor past its thermal limit.
Legacy models pull significant current, which often trips standard 15-amp kitchen breakers. If your lights flicker when you start a blend, move the unit to a dedicated circuit. Failing to do this can degrade the internal wiring over time.
Ascent units rely on digital sensors to prevent overheating. If you see an error code on the display, stop immediately. These sensors are sensitive to thick, viscous mixtures that stall the blades.
Professional grade blenders are designed for high-volume environments. They require at least six inches of clearance on all sides to vent heat effectively. If you tuck them under low cabinets, the motor will throttle its own power to avoid a fire.
Choose your model based on your routine. If you blend once a day, the Explorian is sufficient. If you process heavy doughs or nut butters weekly, the Legacy series is the only reliable choice. You’ll save money by matching the motor size to your specific ingredients rather than buying the highest wattage available. Over-specifying leads to unnecessary energy consumption and wasted counter space.
Details That Separate Results
Preparing Ingredients Correctly
Experienced users always cut their ingredients into 1-inch pieces before placing them in the container. This reduces the initial load on the motor and helps the blades create a vortex faster. Beginners often try to blend large chunks, which forces the motor to stall and pull maximum current, potentially triggering the internal thermal protection switch.
Working in the Right Order
Always place liquids into the container first, followed by soft ingredients, and finally frozen items or ice at the top. This layering allows the blades to engage with the easiest materials first, building momentum before hitting the toughest items. This method prevents the motor from “bogging down” and ensures a consistent blend without needing to pulse the power switch repeatedly.
Troubleshooting Common Power Issues
| What you notice | What it means | What to do first | How to stop it |
|---|---|---|---|
| Blender won’t turn on | Blown fuse or trip | Check kitchen breaker | Use dedicated outlet |
| Burning smell | Motor overheating | Turn off immediately | Reduce load size |
| Loud grinding noise | Bearing failure | Stop use | Contact manufacturer support |
| Screen flashes error | Sensor fault | Unplug for 10 minutes | Clear container base |
If your blender remains dead despite a flipped breaker, check the GFCI outlet button on the wall. These outlets often trip independently of the main panel, especially in humid kitchens. Press the reset button firmly until you hear a mechanical click.
A burning smell is rarely a mystery. If you’re processing frozen fruit or thick nut butters, you have likely exceeded the motor’s torque limit. Stop immediately. If you try to power through, you’ll melt the internal plastic drive coupling. This repair costs nearly half the price of a new unit.
Grinding noises signal that the blade assembly bearings have lost their seal. Liquid has likely leaked into the base, causing rust. If you feel gritty resistance or hear grinding when spinning the blades by hand, the bearings may be failing. Don’t attempt to lubricate these parts with household oil, as it will contaminate your food.
Screen errors often stem from debris trapped between the jar and the base. If the sensor detects an uneven seat, it will disable the motor to prevent gear stripping. Wipe the base with a dry cloth to remove any fine dust or dried residue. If the error persists after a full power cycle, the internal control board has likely suffered a short.
Electrical Guidelines and Limits
The electrical limits of your blender are set by the manufacturer to prevent damage to the motor and your home wiring. You must follow the instructions in your user manual regarding the maximum continuous run time. Most residential models are designed for short, high-speed bursts rather than hours of continuous operation.
If the motor housing feels hot to the touch after sixty seconds of blending, stop immediately. Running the appliance past this point risks melting the internal insulation, which leads to permanent electrical shorts. Always allow the motor to cool for at least three minutes between cycles to preserve the longevity of the windings.
In a commercial setting, ensure your electrical circuit can handle the specific amperage the machine pulls at startup. A standard 15-amp circuit is usually sufficient for one home blender, but you should never plug multiple high-wattage appliances into the same circuit simultaneously.
If the lights dim when you engage the high-speed setting, you’re likely overloading the branch circuit. This voltage drop reduces the motor’s available torque, which can cause the motor to stall and overheat, potentially triggering the thermal protection switch.
If you’re unsure about your home’s wiring capacity, consult a licensed electrician before running the machine for extended periods. When the blender trips a circuit breaker, don’t simply reset it and continue. This indicates a persistent draw that exceeds the safe limit of your wall outlet. Instead, move the device to a dedicated circuit that doesn’t share power with refrigerators or microwaves.
Understanding Your Energy Costs
Operating your blender doesn’t cost much in terms of electricity, even if it has a high wattage rating. Because you typically run the machine for less than 60 seconds at a time, the total energy consumption per blend is very low. The real cost is the effort you put into maintaining the unit and cleaning the container properly.
If you use your blender several times a day, you might notice a small increase in your monthly power bill, but it’s rarely significant compared to other kitchen appliances like the oven or dishwasher. The cost varies based on your local utility rates, which you can find on your most recent energy bill. Focus on the efficiency of your blending technique rather than the raw cost of the electricity used.
Maintaining Your Blender Long-Term
To keep your blender running at peak performance, clean the container immediately after every use. Warm water and a drop of dish soap run on high speed for 30 seconds will remove residue that can cause friction. Never submerge the motor base in water, as this will destroy the electrical components instantly. Wipe the base with a damp cloth instead.
Check the drive socket on top of the base occasionally. If the teeth look worn or rounded, the motor will lose efficiency because it can’t transfer power to the blades effectively. You can replace this part yourself if you follow the guide provided by the manufacturer, but if you feel uncomfortable with small repairs, contact a service center.
Most users make the mistake of storing the container upside down on the base while damp. This traps moisture inside the motor housing, leading to internal corrosion and a seized bearing. Always store the jar separately or leave the lid off until the interior is bone-dry.
If you notice a burning smell, stop immediately. This usually indicates the blades have dulled, forcing the motor to work twice as hard to process simple ingredients. If the blades feel dull to the touch, replace the entire blade assembly rather than sharpening them. Sharpening alters the factory-engineered angle, which creates cavitation and prevents the blender from creating a proper vortex. If your ingredients stop swirling, your blades are likely the culprit.
When to Choose Another Method
If you find that your recipes require more than 10 minutes of continuous high-speed blending, a standard residential Vitamix is the wrong tool for the job. These motors are designed for short, high-torque bursts rather than sustained thermal output. Pushing the machine past this threshold triggers the internal thermal protection switch, forcing an automatic shutdown that can take up to 45 minutes to reset.
You should consider a dedicated food processor for tasks that require long-duration processing, such as making large batches of dough or emulsifying thick, heavy pastes. While a blender relies on high-speed blade rotation to liquefy, a food processor uses a lower-speed, high-torque approach that prevents the motor from overheating during heavy mechanical loads.
If you need to blend substances that aren’t food, such as industrial chemicals, resins, or construction materials, don’t use your kitchen blender. These materials often contain solvents that degrade the polycarbonate container, leading to micro-cracking and eventual structural failure under pressure. Furthermore, particulates from non-food substances can become trapped in the blade assembly, creating a permanent contamination risk.
Using a food-grade appliance for non-food tasks voids your warranty immediately. If the motor housing shows signs of chemical exposure, the manufacturer will deny service, leaving you with a total loss. If you’re unsure whether a substance is safe, check the material safety data sheet; if it requires protective gloves for handling, it belongs nowhere near your blender.
Frequently asked questions
Is it safe to use a high-wattage blender on a standard outlet?
Yes, it’s safe to use a high-wattage blender on a standard 120-volt, 15-amp kitchen outlet. These outlets are designed to handle the momentary surge of power that occurs when you first turn the motor on. Never use an extension cord, as it can overheat and create a fire hazard.
Why does my blender smell like burning rubber?
A burning smell often means the motor is working too hard or the drive socket is slipping. Stop the blender, check for stuck ingredients, and ensure the container is seated properly on the base. If the smell persists after you clear the blockage, contact the manufacturer for a professional inspection.
How long can I run my blender at high speed?
You should limit high-speed blending to 60 seconds at a time for most residential models. Running the motor for longer than this can cause the internal thermal protection to trigger, which shuts the machine down to prevent permanent motor damage. Always follow the specific time limits listed in your user manual.
Does a higher wattage mean the blender is better?
No, higher wattage doesn’t always mean a better blend. The quality of the result depends on the design of the blade, the shape of the container, and the torque provided by the motor. A well-engineered system often performs better than a higher-wattage unit that lacks proper blade geometry.
What happens if I overload the motor?
The blender’s internal thermal sensor will detect the excess heat or current and cut the power automatically. If this happens, unplug the unit and let it cool until the thermal protection switch resets. Reducing the amount of frozen ingredients in your next batch will prevent this from happening again.
Can I use my blender in a different country?
You can’t use a US-model blender in countries with different voltage standards without a high-capacity voltage converter. Using the wrong voltage will destroy the motor and the internal electronics immediately. Always check the voltage rating on the base label before plugging the machine into an unfamiliar wall outlet.
Conclusion
Start by checking the label on the bottom of your motor base to confirm your specific power rating. Once you know your model’s wattage, keep your blending sessions under 60 seconds to protect the motor from overheating. If you ever smell smoke or notice the motor speed dropping significantly during a standard blend, turn the machine off and contact the manufacturer’s customer support team for guidance.