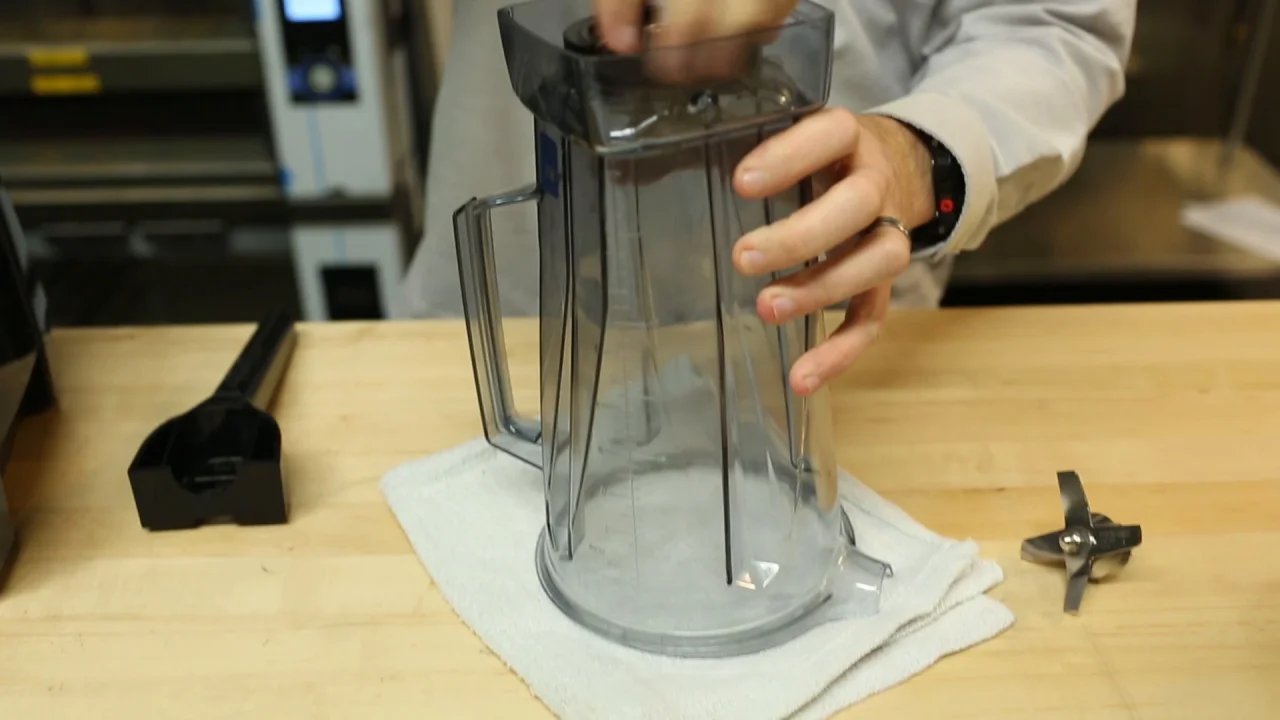
How To Take Apart Vitamix Blender To Clean Safely
You can clean a Vitamix blender using soap and water, but you should only disassemble the blade assembly if you own the specialized removal tool. This medium-difficulty task requires the official tool to avoid damaging the retaining nut or container base; never attempt to force the nut with standard household tools.
Tools needed to take apart your blender
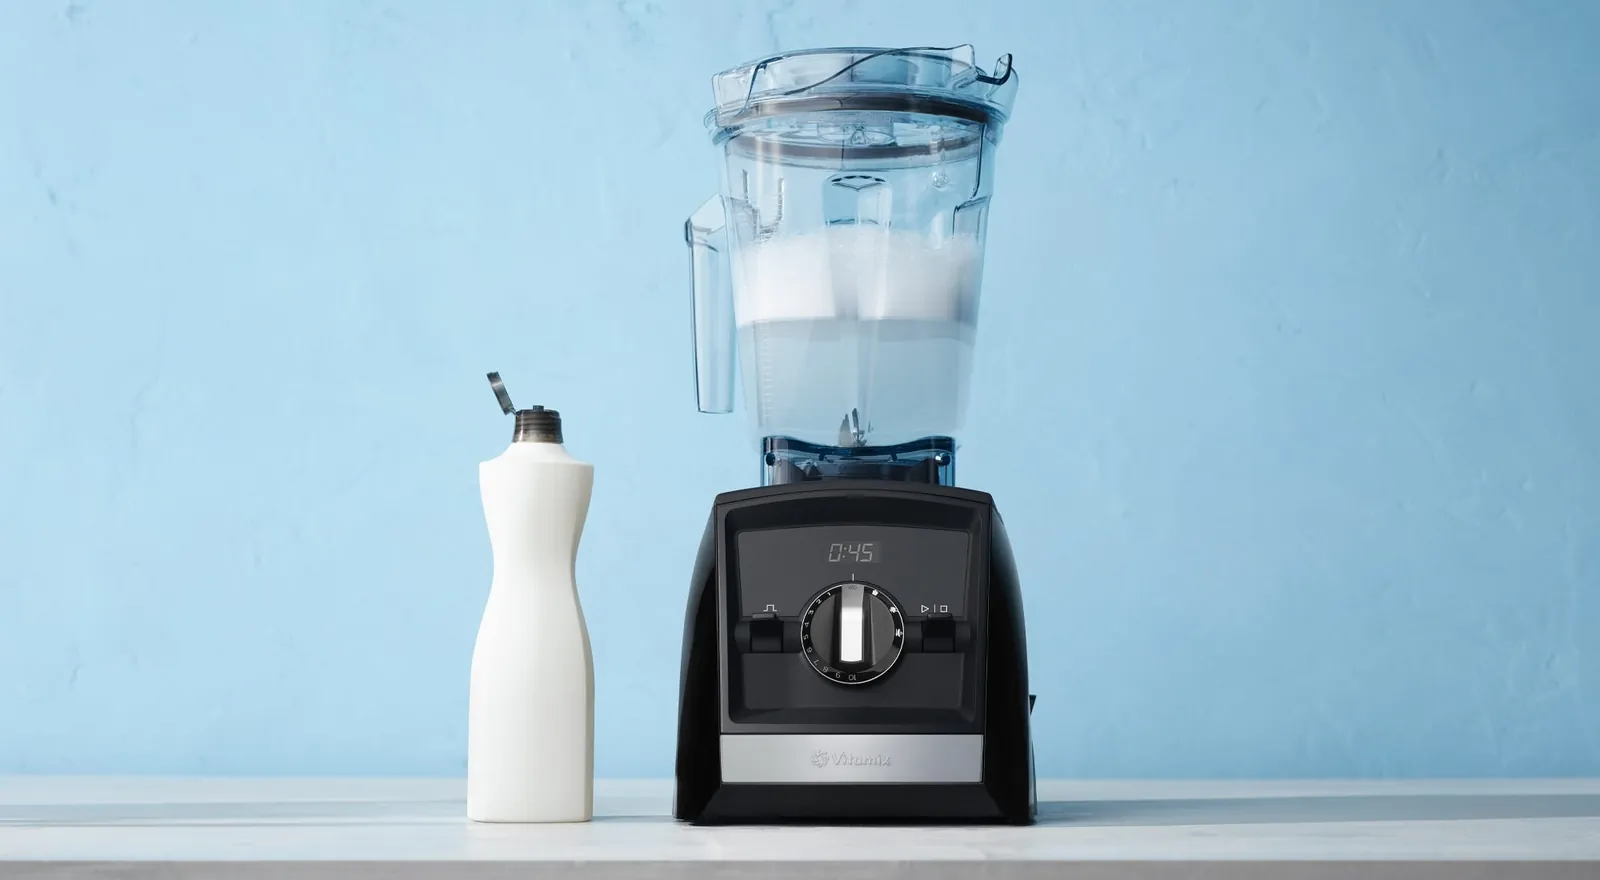
You need the correct equipment to avoid damaging the blender base or the blade assembly. Using the wrong tool can strip the plastic threads on the container or scratch the stainless steel blades.
| Item | How much | Why it’s needed | A substitute |
|---|---|---|---|
| Blade removal tool | 1 unit | Unlocks the retaining nut | None — don’t swap this |
| Warm water | 1 cup | Softens food residue | None — don’t swap this |
| Mild dish soap | 1 drop | Breaks down grease | None — don’t swap this |
| Soft nylon brush | 1 unit | Cleans around the seal | Toothbrush |
| Microfiber cloth | 1 unit | Dries the assembly | Cotton towel |
Always use the manufacturer-provided blade removal tool to loosen the retaining nut. If you attempt to use pliers or a screwdriver, you risk cracking the casing or bending the drive socket. A replacement base costs nearly half the price of a new machine, so prioritize the specialized tool.
Keep the water temperature below 120 degrees Fahrenheit. If the water is scalding, it can warp the rubber gaskets that prevent leaks. If you notice a faint, metallic smell after cleaning, you have likely compromised the seal with excessive heat.
Limit dish soap to a single drop. Excess suds create a film that’s difficult to rinse from the underside of the blade assembly. If you see white residue after drying, you have used too much soap. Run a rinse cycle with plain water for sixty seconds to clear the buildup.
When cleaning the seal, use a soft nylon brush rather than a metal scouring pad. Metal pads create microscopic scratches that harbor bacteria and food particles. If you’re cleaning a pitcher used for both savory and sweet ingredients, keep two separate brushes to prevent flavor transfer.
Preparation before disassembly
Unplug your Vitamix blender from the wall outlet completely to ensure the motor can’t activate while you’re working on the blade assembly.
Empty the container of all food contents and rinse it thoroughly under warm tap water to remove loose debris before you begin the deep clean. If you skip this, acidic food particles or sharp shards of frozen fruit can lodge in the threads, causing the blade nut to seize during removal.
Place the container upside down on a flat, stable surface like a kitchen counter to prevent it from sliding while you use the wrench. Use a microfiber towel underneath the container to catch any leaking liquid that might spill from the bearings during the process.
Inspect the rubber gasket around the blade base for any visible tears or signs of hardening. A healthy gasket should feel supple and bounce back when pressed. If the rubber feels brittle or cracked, you must order a replacement part from the manufacturer. Reusing a compromised gasket guarantees a leak into your motor base, which will eventually corrode the drive socket.
If you notice a burning smell or excessive noise when the motor runs, don’t disassemble the unit. Contact Vitamix customer support immediately. These are signs of internal motor wear that require professional repair rather than a blade swap.
Attempting to open the motor housing yourself voids your warranty and often leads to stripped screws that make the unit impossible for a technician to service later. If the blade spins freely by hand but the motor struggles under a light load, the issue is electrical, not mechanical.
Steps to take your Vitamix blender apart to clean
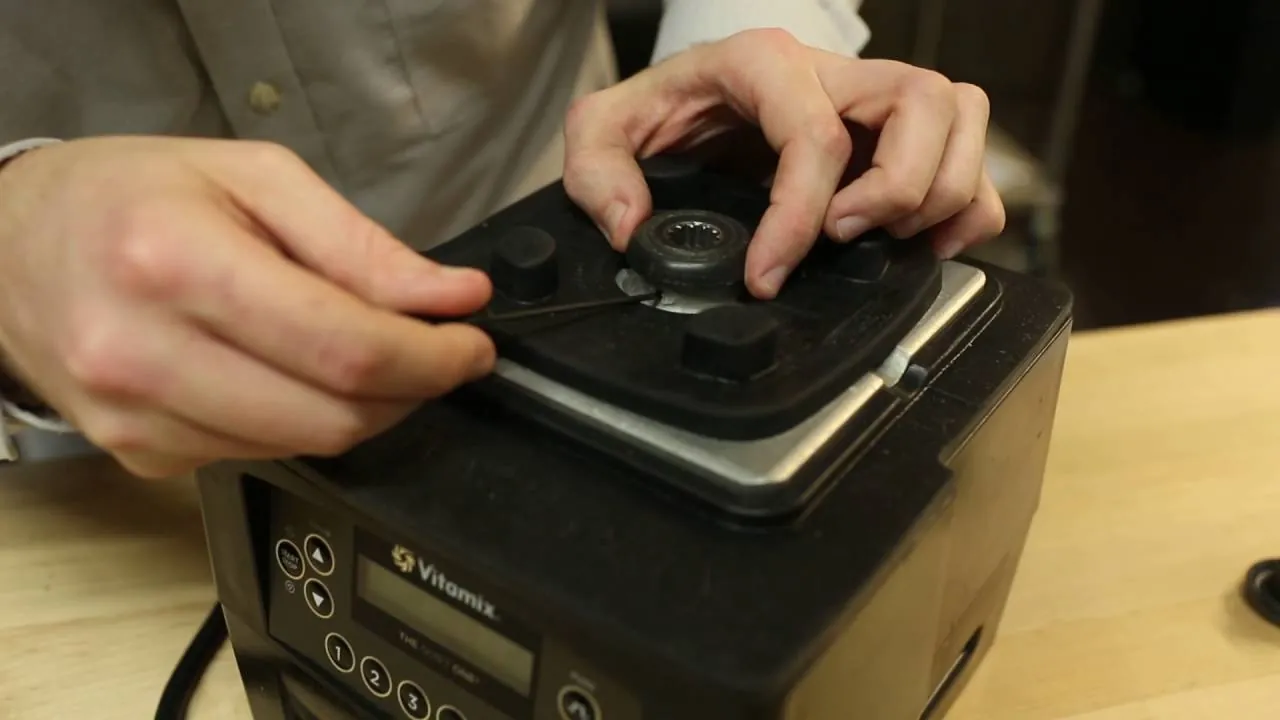
Turn the container upside down so the bottom nut faces you and identify the four notches on the retaining nut that holds the blade assembly.
Slide the Vitamix blade removal tool over the retaining nut until the teeth of the tool lock firmly into the notches on the nut. If the tool slips, you’re likely not pushing deep enough to engage the locking teeth; check for dried food buildup in the notches that might prevent a flush fit.
Hold the container firmly with one hand and turn the tool counter-clockwise to loosen the nut. Apply steady, firm pressure until it starts to move. If the nut refuses to budge, don’t force it with a hammer or mallet, as this can crack the plastic housing. Instead, soak the base in warm, soapy water for ten minutes to soften any hardened debris acting as a glue.
Unscrew the nut completely by hand once it’s loose and lift the blade assembly carefully out of the container base. Keep your fingers away from the sharp edges, as the blades are often obscured by residue.
Remove the rubber gasket from the blade assembly base. Don’t use a metal screwdriver to pry it out, as even a tiny nick in the rubber will compromise the seal and cause leaks during high-speed blending. Inspect the groove for any trapped food particles. If you see dark, slimy buildup, the gasket has likely lost its elasticity and should be replaced.
Wash the blade assembly, the nut, and the gasket in warm water with a mild dish soap. Use a soft-bristled brush to reach the tight corners under the blade wings. Avoid abrasive scouring pads, which scratch the stainless steel and create microscopic crevices where bacteria thrive.
Rinse all parts thoroughly under clean, running water. Ensure no soap residue remains, as this can affect the taste of future blends and break down the integrity of the rubber seal.
Dry every component completely with a lint-free cloth before reassembly. If you reassemble while damp, moisture trapped in the seal leads to mold or rust on the bearings within weeks.
Place the gasket back onto the blade assembly. Insert the assembly into the container and tighten the retaining nut clockwise using the wrench until it’s snug. Stop the moment you feel firm resistance; overtightening can warp the container base and lead to permanent leaks.
Verifying the cleaning results
The blade assembly should spin freely and quietly when you rotate it by hand after reassembly. If you feel resistance or hear a grinding sound, you have likely tightened the nut too much or misaligned the rubber gasket. If the blade doesn’t spin at all, loosen the nut by a quarter turn and check the gasket seating again.
A successful cleaning means the blades move smoothly without any visible debris in the crevices around the bottom of the container. Use a flashlight to inspect the underside of the blade housing. If you see dark residue or liquid leaking from the base during your next use, the gasket is likely worn out or not seated flat.
You should check the bottom of the container for any signs of moisture after the first use following a deep clean. Place the base on a dry paper towel for thirty seconds while the unit runs. If the towel shows a damp ring, stop using the unit immediately. Water entering the motor base causes permanent electrical damage that often exceeds the cost of a replacement unit.
The seals are designed to last, but their lifespan varies based on how often you blend hard ingredients like ice or frozen fruit. Inspect the gasket for micro-tears based on your usage frequency, as outlined in your owner’s manual. A healthy gasket feels supple and sits flush against the housing; if the rubber feels brittle or shows permanent indentations, replace it.
Most users make the mistake of over-tightening the nut, which compresses the gasket beyond its functional limit and causes it to warp. Use the specialized wrench to tighten the retaining nut until it’s secure; finger-tightening is insufficient to create a proper seal. If the unit vibrates excessively during operation, the nut is loose; if it leaks, the gasket is misaligned.
Troubleshooting common issues
| What happened | Why | What to do |
|---|---|---|
| Nut won’t turn | Corrosion or overtightening | Use more steady pressure |
| Leaking after cleaning | Gasket misaligned | Re-seat the rubber seal |
| Blades feel stiff | Soap residue trapped | Rinse with more water |
| Nut is stripped | Force used with wrong tool | Contact Vitamix support |
| Rust on blade base | Moisture left inside | Dry parts completely |
If the nut resists, apply pressure in short, controlled bursts rather than a single continuous pull. This prevents the metal from warping under sudden torque. If you feel the nut give slightly but then bind, stop immediately to avoid stripping the threads.
When reseating a gasket, inspect the rubber for tiny nicks or flattened edges. A seal that has lost its circular profile will never hold, no matter how tightly you screw the housing. If the gasket doesn’t sit flush in the groove, replace it. Using a damaged seal often leads to liquid leaking into the motor base, which causes permanent electrical failure.
Stiff blades often stem from soap film drying in the bearings. If rinsing with hot water fails, soak the base in a mixture of one part white vinegar to three parts water for ten minutes. This dissolves mineral deposits and soap scum that create friction.
Rust on the blade assembly is almost always a result of air-drying the unit upside down. Gravity pulls residual water into the bearing housing, where it sits trapped against the metal. Always store the assembly upright or pat the underside dry with a microfiber cloth immediately after washing. If you see orange streaks, scrub them with a soft-bristled brush and a paste of baking soda and water before they pit the steel.
How often to clean the blades
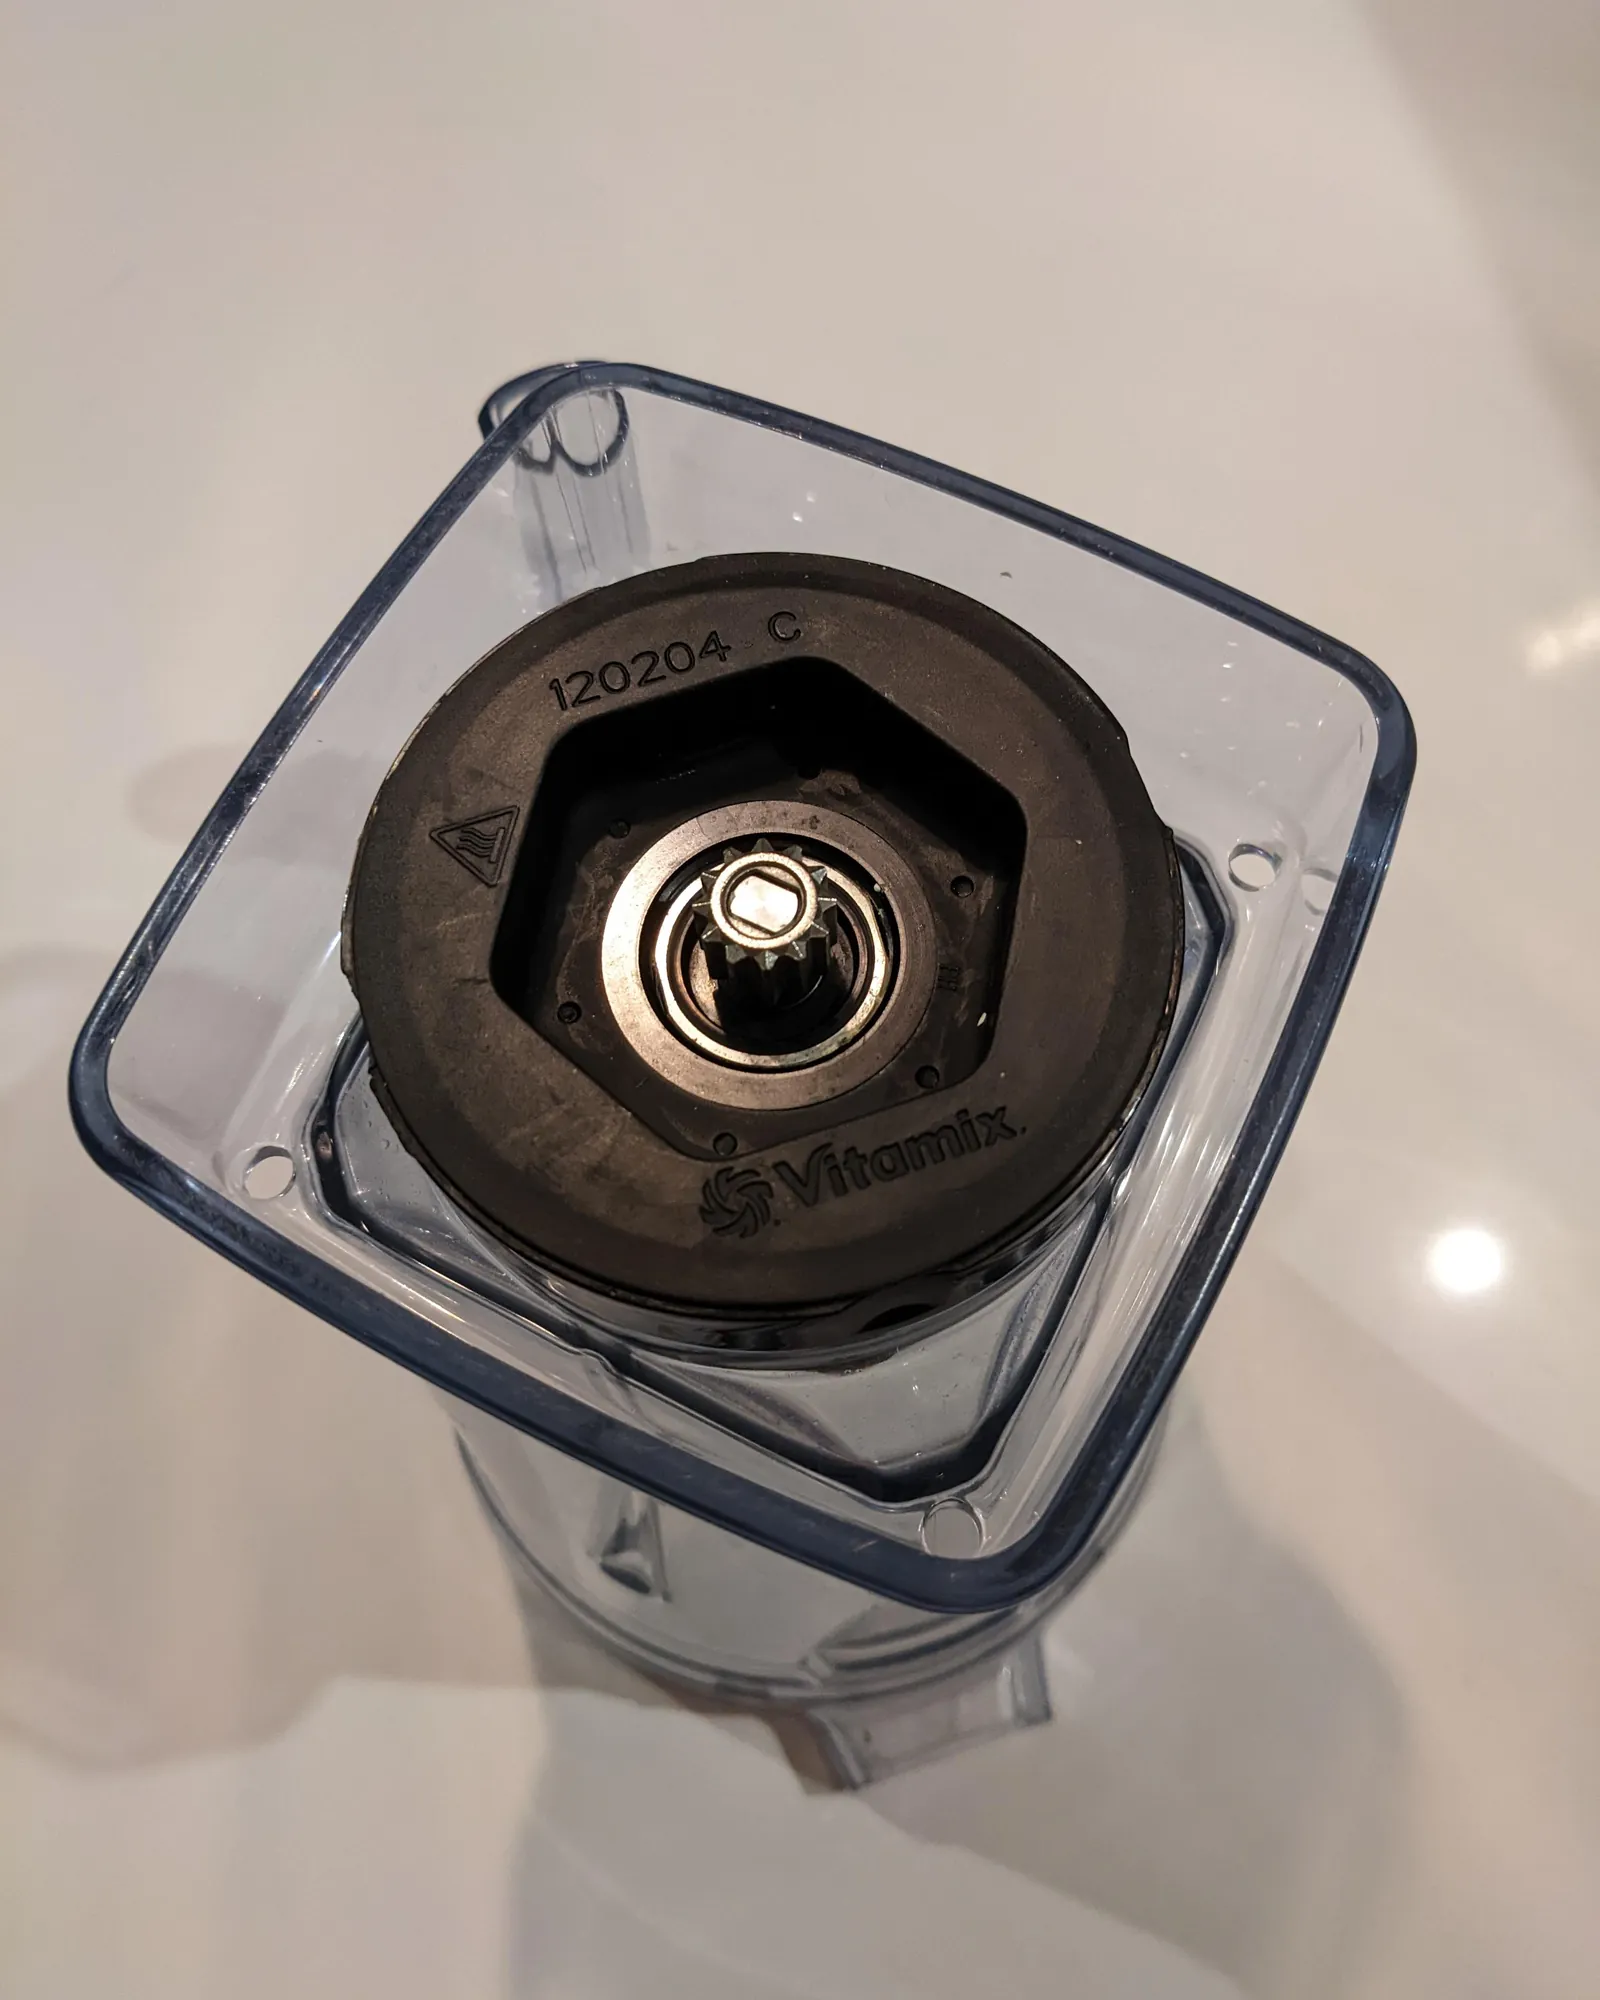
You should perform this deep cleaning process only when you notice buildup around the seal or if you have blended particularly sticky or oily ingredients that don’t come off with a standard rinse. Most users find that once every three to six months is enough for heavy use. Two main factors change this interval: the frequency of your blending and the types of ingredients you process.
If you frequently blend thick nut butters or heavy doughs, you may need to check the seal more often than someone who only makes morning fruit smoothies. You can monitor the cleanliness by looking at the underside of the blade assembly during your daily rinsing. If you see dark, stubborn debris that doesn’t wash away with a standard rinse, it’s time to take the assembly apart for a thorough scrub.
Frequently Asked Questions
Can I put the Vitamix container in the dishwasher?
Most modern Vitamix containers are dishwasher safe, but high heat can wear down the seals and the blade assembly over time. It’s better to hand wash the container to extend the life of the rubber gaskets and the blade bearings.
Is it safe to soak the blade assembly in water?
You should never soak the blade assembly for long periods, as water can seep into the bearings and cause them to seize or rust. Clean the parts quickly with soap and water, then dry them immediately to protect the internal metal components.
What if I lose the rubber gasket?
You can’t operate the blender safely without the rubber gasket, as it prevents liquid from leaking into the motor base. If you lose or damage the gasket, you must order a replacement part directly from the official Vitamix website before using the machine again.
Why do my blades sound louder after cleaning?
The blades may sound louder if the retaining nut isn’t tightened evenly or if the gasket is pinched during reassembly. Ensure the gasket is lying perfectly flat in its groove and that the nut is tightened until it stops moving, but don’t force it further.
Does the blade assembly ever need oiling?
The bearings in the Vitamix blade assembly are permanently sealed and don’t require oiling or lubrication. Adding oil can actually attract dust and food debris into the bearings, which will cause them to fail much faster than they would under normal use.
Can I replace just the blades?
You can’t replace just the blades because they’re permanently fixed to the assembly unit. If the blades become dull or the bearings fail, you must replace the entire blade assembly component to ensure the blender continues to operate safely and effectively.
Conclusion
Regular maintenance keeps your blender running smoothly for many years. Always prioritize the manufacturer’s official parts and guidance to protect your investment and ensure your safety during every use.