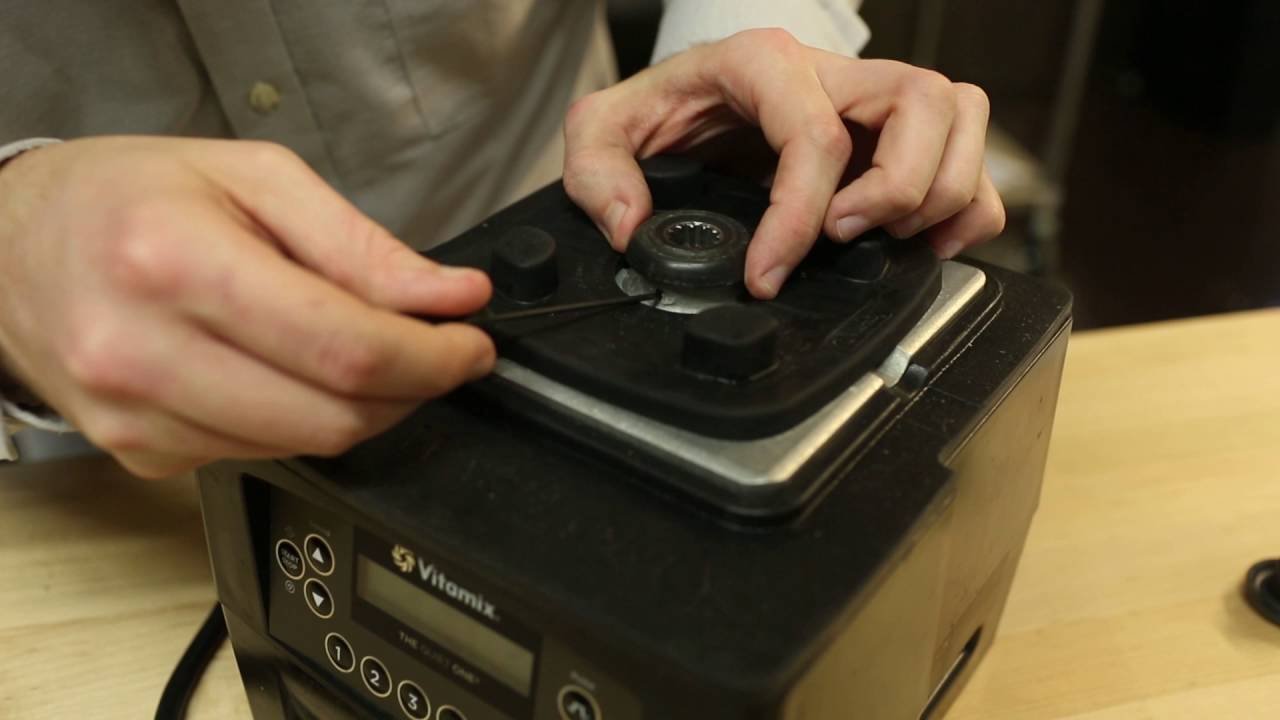
How To Take Apart A Vitamix Blender Container Safely
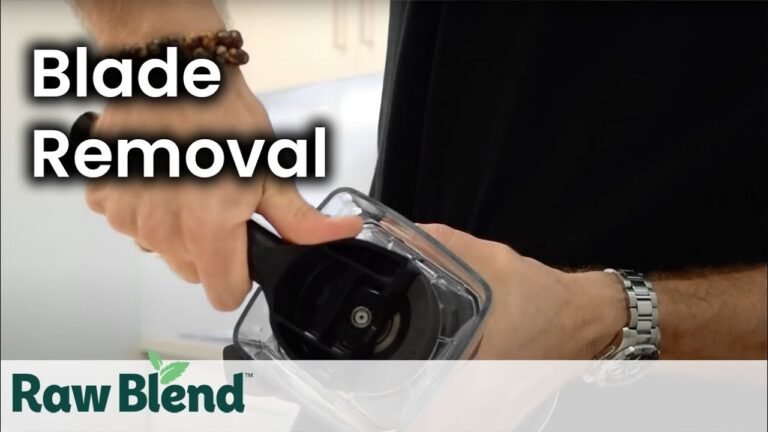
You can safely take apart a vitamix blender container to replace the blade assembly or clean deep buildup. This process requires a specific tool, known as a retainer nut wrench, which fits the grooves on the bottom of the container. Without this tool, you can’t remove the blade safely, and using pliers or hammers often damages the plastic housing or the nut itself.
The difficulty depends on the age of your container and how much food debris has hardened around the seal. If you have a newer container, the nut usually turns easily. If you have an older model, you might need to soak the base in warm water to loosen the sticky residue before you attempt to turn the wrench.
Who needs to open a blender base
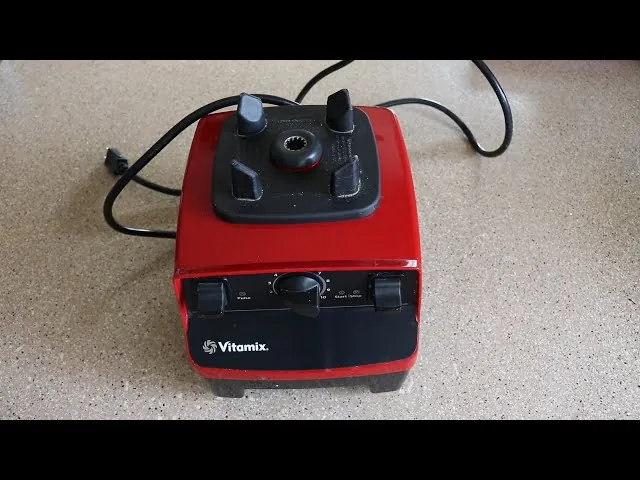
This page serves owners who need to perform repairs or deep maintenance on their Vitamix containers. You might be here because your blender is leaking from the bottom or because the blades have stopped spinning freely. Most people who look for this information have already tried to clean the outside but found that the smell or the resistance remains inside the blade assembly.
This guide assumes you’re working on a standard Vitamix container with a removable blade assembly. It doesn’t apply to blenders where the blade is permanently molded into the jar, as those models can’t be disassembled by the user.
If you aren’t comfortable working with small, sharp metal parts, you should contact the manufacturer or a local appliance shop instead. You must also accept that opening the base may void certain parts of your warranty if you cause damage during the process.
Factors that change the task
The most important factor is the condition of the metal retainer nut. If it’s rusted or covered in years of dried food, it will resist movement. You should check the bottom of your container under a bright light to see if there’s visible corrosion on the threads. If the threads look orange or brown, don’t force the wrench, as you might snap the plastic housing.
Another factor is the type of wrench you own. A metal wrench provides the best grip and leverage, while plastic versions are safer for the container but can slip under high pressure. If you have a choice, use the metal version for stubborn nuts. People often make the mistake of using a screwdriver and a hammer to tap the nut loose. This almost always cracks the plastic and ruins the entire container, which is an expensive mistake to fix.
The final factor is the age of the seal. When you take the blade out, the rubber gasket underneath will likely be worn or flat. If you don’t replace this gasket with a new one before putting it back together, the container will leak liquid into your motor base. Always inspect the gasket for cracks after you pull the assembly out.
Steps to take apart your Vitamix blender
- Unplug the blender base and remove the container.
- Turn the container upside down on a flat, stable surface.
- Place the retainer nut wrench onto the nut at the center of the base.
- Turn the wrench counter-clockwise to loosen the nut.
- If the nut doesn’t move, apply a small amount of warm water around the seal and wait 5 minutes.
- Continue turning the nut until it comes off completely.
- Push the blade assembly up from the inside of the container to remove it.
- Remove the old rubber gasket from the groove.
- Clean the area with warm water and mild soap, then dry it completely.
- Insert the new gasket, put the blade back in, and tighten the nut clockwise by hand until it’s snug.
The single judgment call is how hard to tighten the nut. You want it firm enough to create a seal, but if you overtighten it, you risk cracking the plastic threads of the container base.
Comparison of maintenance cases
| Situation | Action | Effort | What to watch for |
|---|---|---|---|
| Stiff nut | Use warm water soak | High | Cracked plastic |
| Leaking seal | Replace rubber gasket | Medium | Liquid in motor |
| Dull blades | Replace blade assembly | Medium | Sharp edges |
| Stuck assembly | Push from top | Low | Falling blades |
| Rust buildup | Clean with vinegar | High | Pitted threads |
When dealing with a stiff nut, prioritize a gentle soak over force. Applying pressure to a seized plastic component often causes hairline fractures that lead to total failure. If the nut remains frozen after ten minutes of soaking, stop immediately. Attempting to force it further will strip the threads, turning a simple maintenance task into a costly replacement.
For leaking seals, inspect the motor housing before installing the new gasket. If you see discoloration or moisture near the electrical contacts, the motor is already compromised. In this case, replacing the seal is a waste of money because the unit will fail shortly.
Always distinguish between surface rust and deep pitting. If the threads feel rough or gritty after a vinegar soak, the metal has lost its structural integrity. You must replace the component entirely. Using pitted threads under tension invites a catastrophic snap during operation.
Getting the best results
Preparing the workspace
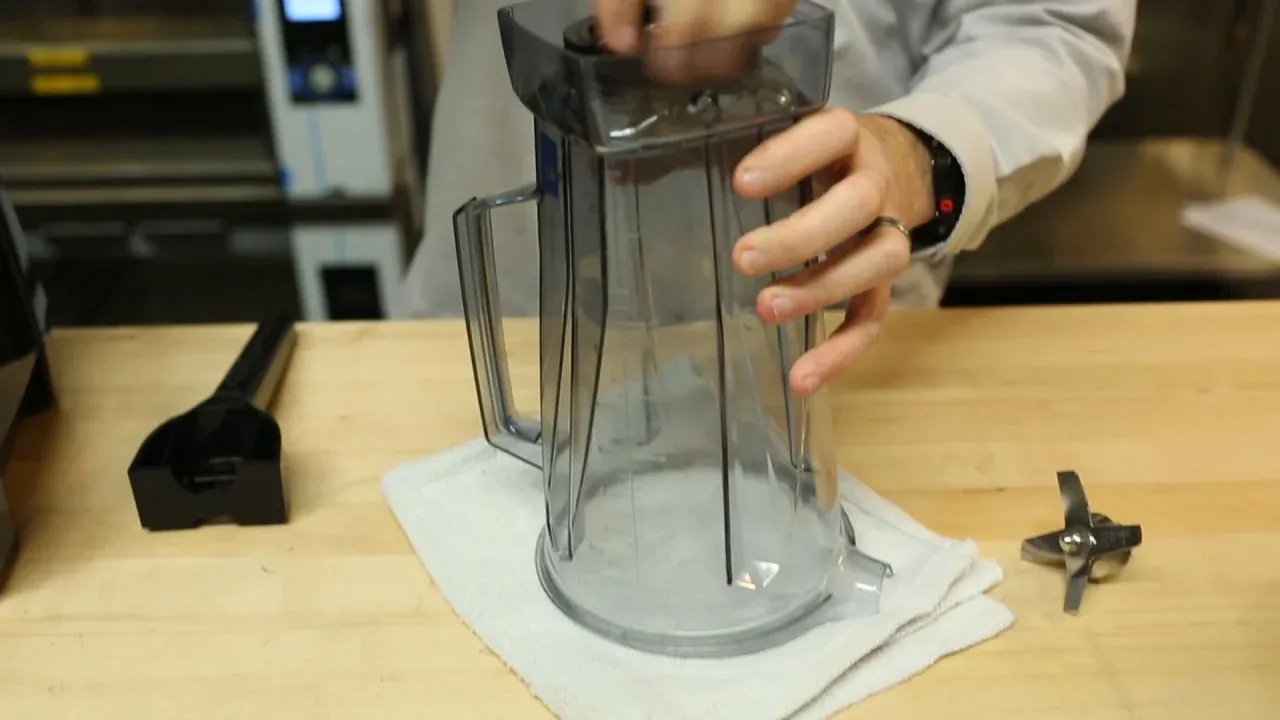
Always work on a dry, non-slip surface to keep the container steady. Experienced users place a towel down to catch any small parts or liquid that might leak out when the assembly releases. If you don’t have a steady hand, the wrench can slip and scratch the bottom of the container. Keep all cleaning supplies nearby so you can wash the threads immediately after opening the base.
Inspecting the components
Look closely at the blade shaft for any signs of movement or wobble. A good result means the blade spins smoothly with no grinding noise. If you feel resistance, the bearings inside the shaft have likely failed. In this case, you can’t fix the bearings yourself; you must buy a new blade assembly. Never try to lubricate the bearings with household oil, as this isn’t food-safe and will contaminate your ingredients.
Common issues and fixes
| What you notice | What it usually means | What to do first | How to stop it |
|---|---|---|---|
| Grinding noise | Worn bearings | Replace blade | Don’t submerge base |
| Liquid leaking | Bad gasket | Replace gasket | Hand wash only |
| Nut won’t turn | Dried food | Soak in water | Rinse after use |
| Blade wobbles | Loose assembly | Tighten nut | Check monthly |
| Rust on nut | Water exposure | Clean with vinegar | Dry immediately |
If the motor emits a high-pitched whine rather than a grinding sound, the internal cooling fan is likely obstructed by debris. Clear the air vents with compressed air before the motor overheats.
Most users mistakenly place the jar assembly in the dishwasher. If you see dark gray streaks on the base, the seal has already failed.
Always tighten the blade nut by hand. Using pliers often strips the threads or cracks the plastic housing, which creates a permanent imbalance. If the nut resists, soak the entire assembly in warm soapy water for twenty minutes to dissolve the sugars locking the threads. If the nut still refuses to budge, don’t force it, as you risk cracking the container base.
Rules for safe maintenance
Vitamix provides specific guidance on container care in their user manuals, which you can find on their official website. The primary rule is that the container isn’t designed for dishwasher use unless your specific model is marked as dishwasher-safe. High heat in a dishwasher degrades the rubber gaskets and the plastic housing.
If you need to replace parts, use only genuine parts from the manufacturer. Using third-party blades or gaskets often leads to poor seals and potential damage to the drive socket. If you notice any cracks in the plastic of the container itself, don’t try to repair it with glue. A cracked container is no longer safe to use, and you must replace the entire unit to prevent it from shattering under the high speed of the motor.
Understanding the real cost
The cost of this repair is mostly the price of the replacement parts. A new blade assembly and gasket set is inexpensive depending on your container model. If you already own the wrench, the only cost is your time. If you don’t have the tool, the wrench is an inexpensive addition.
The biggest hidden cost is the risk of damaging the container threads. If you force the nut and strip the plastic, you’ll need to buy a brand new container, which is expensive. Always compare the total cost of parts against the price of a new container before you start. If your container is very old, it might be more economical to upgrade to a new model that includes a full warranty.
Keeping your blender running
After you put the container back together, the best way to keep it right is to avoid soaking the base in water. Water that sits around the nut will eventually seep into the bearings and cause rust. Instead, fill the container halfway with warm water and a drop of dish soap after every use. Run the blender on its highest speed for 30 seconds to clean the blades, then rinse and air dry it upside down.
If you notice the container starting to leak again, check the nut for tightness immediately. Don’t wait for the leak to get worse, as the liquid will travel down into the blender’s motor base. If liquid enters the motor, it can cause a short circuit or permanent damage to the electronics.
Situations where you need professional help
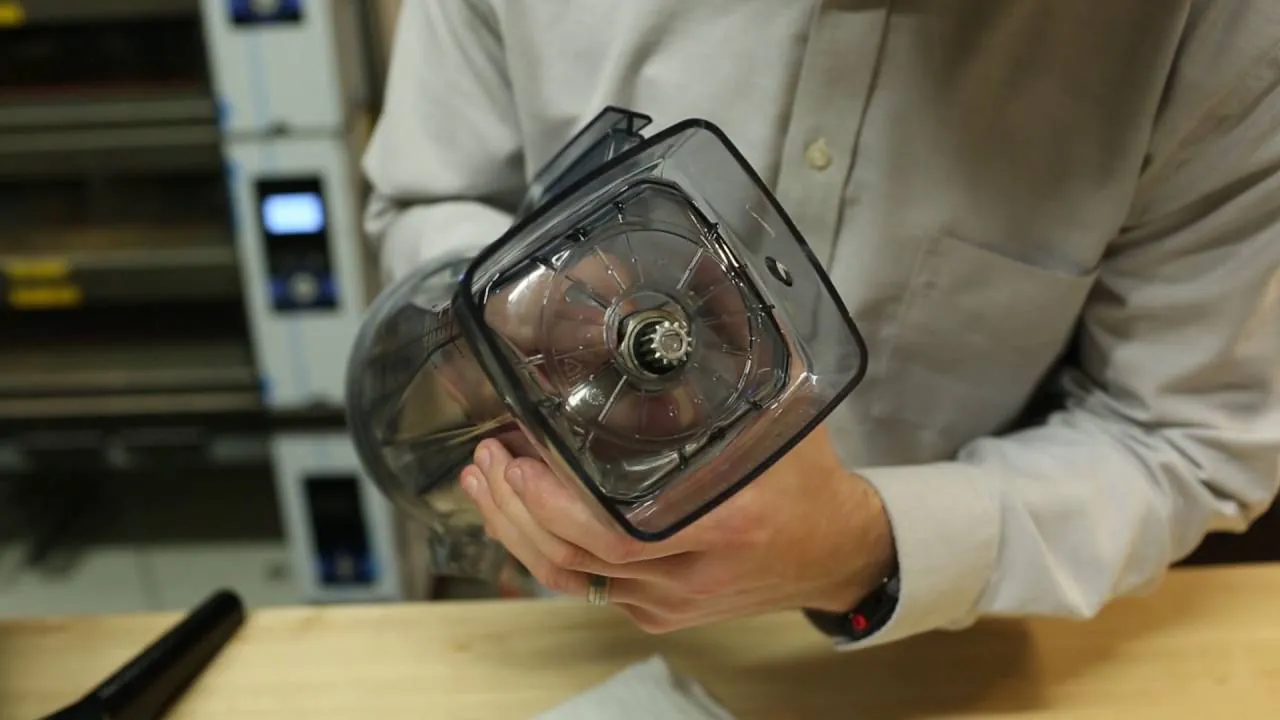
If the nut is completely seized or the plastic threads are already damaged, don’t continue. Forcing the nut at this stage will likely crack the jar base, which ruins the entire container. Instead, contact the Vitamix customer service team to see if your container qualifies for a trade-in or a repair service.
You should also seek help if you have a model with a specialized tamper-responsive blade that you don’t recognize. Some older or commercial models have different assembly methods that require specific factory tools. Attempting to force these open without the correct guide can result in injury from the sharp blades or damage to the internal locking mechanisms.
If you notice a dark, oily residue leaking from the bottom of the blade assembly, stop using the machine immediately. This indicates the internal seal has failed, and the unit is no longer food-safe. Trying to replace just the nut won’t fix the underlying bearing failure, and it will eventually seize your motor.
Frequently asked questions
Can I use a regular wrench to remove the nut?
You shouldn’t use a regular wrench because the metal jaws will likely crush or strip the plastic retainer nut. A dedicated Vitamix retainer nut wrench is designed to fit the specific shape of the nut and distribute pressure evenly across the plastic tabs to prevent breakage.
Is it safe to put the blade in the dishwasher?
It isn’t recommended to put the blade assembly in the dishwasher because the high heat and harsh detergents break down the rubber gaskets. This leads to leaks, and the heat can also warp the plastic housing, making it impossible to get a tight seal when you reassemble the unit.
How long should the blade assembly last?
The blade assembly typically lasts for several years under normal household use, but the exact lifespan varies based on how often you blend hard ingredients like ice or frozen fruit. You’ll know it’s time to replace it when you hear a grinding noise or notice that the blades don’t spin freely by hand.
What happens if I overtighten the nut?
Overtightening the nut puts excessive stress on the plastic threads of the container base and can cause them to crack or strip. Once the threads are damaged, the nut will no longer hold the blade assembly securely, which will cause leaks and potentially allow the blade to become loose during operation.
Does the gasket need to be replaced every time?
You should replace the rubber gasket every time you remove the blade assembly because the old gasket will have compressed over time and won’t seal properly again. Reusing an old, flattened gasket is the most common reason for leaks occurring immediately after a repair.
How can I tell if the bearings are bad?
The bearings are failing if you hear a loud grinding or screeching noise while the blender is running at high speeds. You can also test this by taking the blade assembly out and spinning the blades with your fingers; if they feel gritty or don’t spin smoothly, the bearings are worn out.
Conclusion
Start by gathering your wrench and a clean towel to protect your work surface. If the nut turns smoothly, you’ll likely have the unit back in working order within twenty minutes. If the nut refuses to budge after a warm soak, stop immediately to avoid breaking the plastic container.