How To Make Carrot Juice In A Vitamix Blender
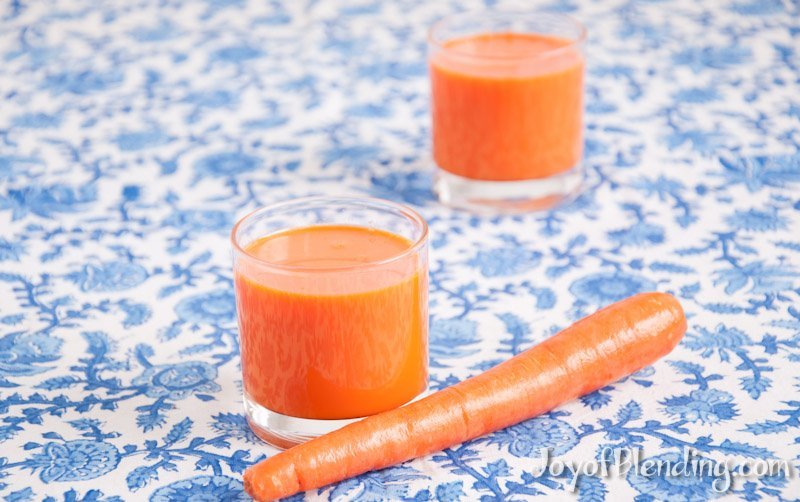
You can make smooth, nutrient-rich carrot juice in a vitamix blender by blending fresh carrots with water and straining the mixture through a nut milk bag or fine mesh sieve. This method takes about ten minutes from start to finish and yields roughly four cups of fresh juice.
The texture depends on how much liquid you add and how long you blend. If you want it thick, use less water. If you prefer a lighter drink, add more. The straining step is what separates pulp-free juice from a smoothie.
Who this recipe serves best
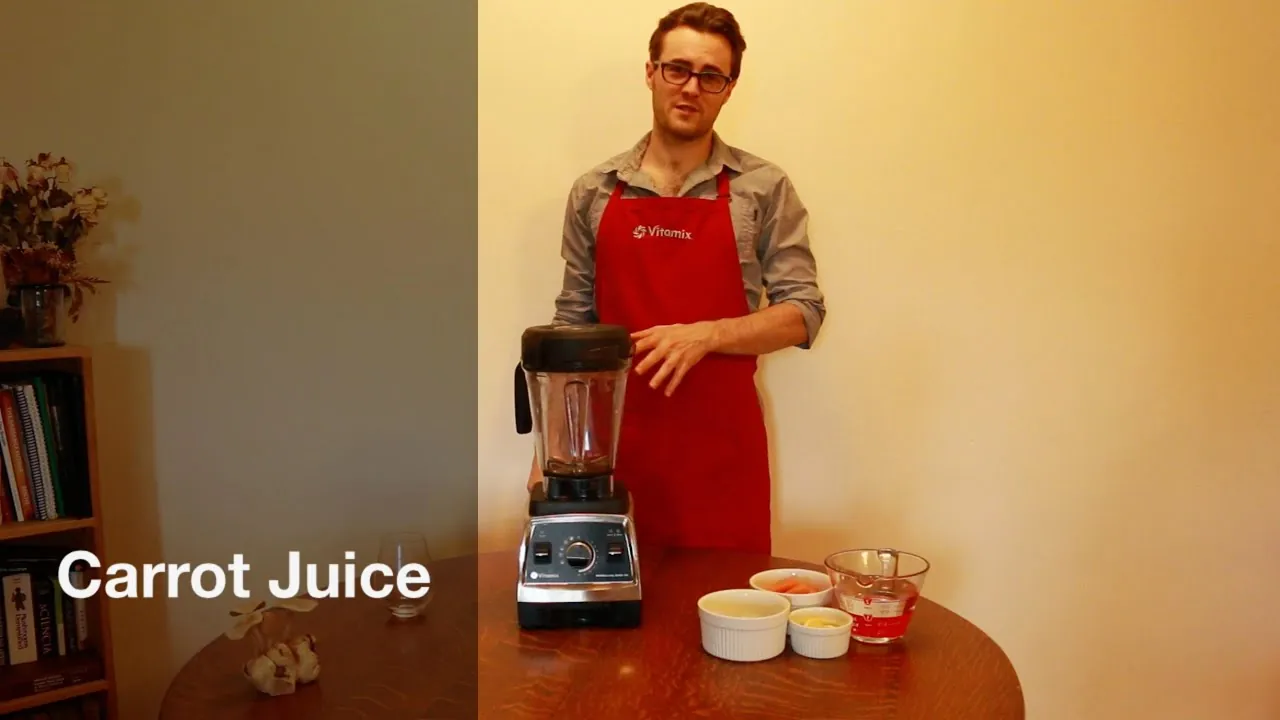
This guide helps home cooks who want fresh carrot juice without buying expensive cold-press machines. It works for people who already own a high-power blender like a vitamix and want to use it for more than smoothies. If you have leftover carrots from your garden or grocery haul, this method stops them from going bad in the fridge.
It also suits those who dislike the taste of raw carrots but love the sweetness when blended. Many people find that blending breaks down the fiber better than chewing. However, if you strictly want clear, pulp-free juice like you buy at a cafe, you must be willing to strain the mix. If you don’t mind pulp, skip the strainer and drink it as a thick smoothie.
If you’re looking for shelf-stable juice or need to preserve large batches for months, this method isn’t right for you. Freezing changes the texture significantly. Read our guide on canning instead if you want long-term storage. This page assumes you have a standard 64-ounce vitamix container and fresh, unwaxed carrots.
What decides the outcome
The quality of your juice comes down to three main factors: the type of carrot, the water ratio, and the straining technique. These elements change the taste, thickness, and yield of your final drink. Getting them right means the difference between a watery mess and a rich, sweet nectar.
First, choose the right carrots. Baby carrots are convenient but often waxed, which leaves a film on your blender blades and dulls the flavor. Loose, organic carrots with their greens removed are best. They taste sweeter and blend cleaner. If you wash them well, you can leave the skin on for extra nutrients. Peeling removes some vitamins but ensures no dirt remains.
Second, control the water amount. Vitmix blenders are powerful and can puree carrots into a thick paste if you add too little liquid. Start with one cup of water for every two cups of chopped carrots. This ratio allows the blades to spin freely without stalling. If you add too much water, the juice becomes thin and loses its creamy body. Adjust based on how thick you like your drink.
Third, the straining method matters most. Using a cheesecloth gives a thinner result but takes longer. A nut milk bag is faster and catches finer particles. If you rush this step, your juice will be pulpy. Squeezing the bag hard extracts more liquid but might release bitter compounds from the core. Let gravity do the work first, then apply gentle pressure.
People often get wrong the prep step. They try to blend whole carrots. This damages the motor and leaves huge chunks. Always chop carrots into one-inch pieces before blending. This small step protects your machine and ensures an even blend. The order of adding ingredients also affects speed. Put water in first, then carrots. This creates a vortex that pulls solids down toward the blades.
How to make carrot juice in a vitamix blender
Follow these steps to make fresh carrot juice quickly and safely. Each action builds on the last to ensure a smooth texture and full flavor extraction.
- wash the carrots thoroughly under cold water. scrub away any dirt with a vegetable brush. remove the green tops if attached, as they can turn bitter during blending.
- peel the carrots if you prefer a smoother texture and no earthy skin taste. if you keep the skin, ensure they’re unwaxed organic carrots. chop them into one-inch cubes for easier blending.
- place the vitamix container on the base. add one cup of filtered water to the bottom. this helps create the necessary vortex for efficient blending.
- add the chopped carrot pieces to the water. don’t fill the container past the max line. overfilling prevents proper circulation and can leak hot spots if you heat later.
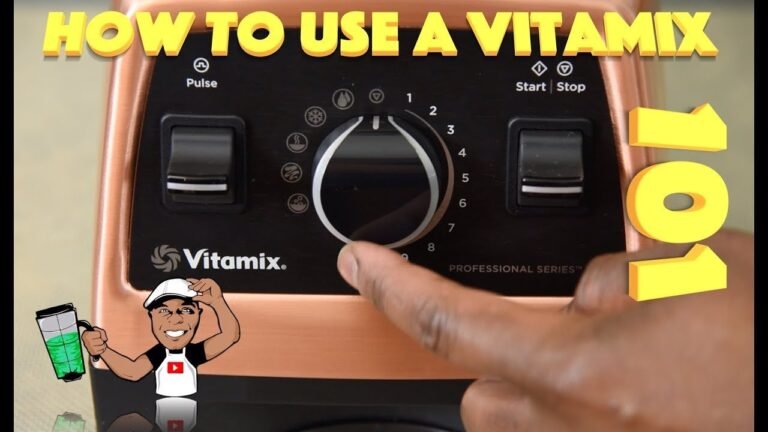
- secure the lid tightly. start the blender on low speed. gradually increase the speed to high over five seconds. blend for thirty to forty-five seconds until the mixture is completely smooth.
- pause the blender and check the consistency. if there are still visible chunks, blend for another ten seconds. the mixture should look like a thick orange puree with no solid bits.
- set up a nut milk bag or fine mesh sieve over a large bowl. pour the carrot puree into the bag. tie the top securely to prevent spills during the next step.
- squeeze the bag gently to extract the juice. hang the bag over the bowl for twenty minutes for best results. this passive draining removes more liquid than quick squeezing alone.
- discard the dry pulp or save it for baking. stir the collected juice in the bowl. taste it and add ice or honey if needed for temperature and sweetness balance.
The single judgment call here is how long to strain. Beginners often stop too early, leaving valuable nutrients in the pulp. Experienced users hang the bag longer, accepting that the pulp will be very dry. This dryness indicates maximum juice extraction. If you want a thicker, smootherie-like drink, skip the bag and just pour through a coarse sieve.
Variations at a glance
Different situations call for different adjustments to this basic recipe. Use this table to find the right approach for your specific needs and available tools.
| Situation | What To Do | Time/Cost | Watch For |
|---|---|---|---|
| Using frozen carrots | Thaw slightly before blending. Add extra water. | +5 mins thawing | Ice crystals dilute flavor fast |
| Making apple-carrot mix | Swap half carrots for green apples. No straining needed. | Same time | Apples ferment quicker; drink same day |
| Adding ginger spice | Blend one inch of peeled ginger with carrots. | Same time | Ginger heats up throat; start small |
| No nut milk bag | Use a double-layered cheesecloth or coffee filter. | +10 mins | Cheesecloth tears easily; handle gently |
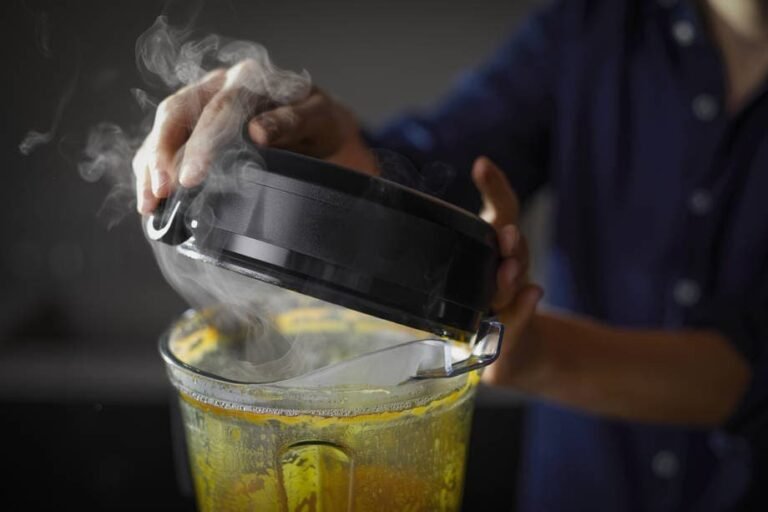
| Wanting warm juice | Blend carrots with hot water (not boiling). | Same time | Steam builds pressure; vent lid carefully |
| Large batch making | Double ingredients; blend in two cycles. | +5 mins total | Motor may overheat; rest between blends |
| Saving pulp for bread | Freeze pulp in ziplock bags immediately after straining. | Minimal effort | Pulp gets soggy if not frozen fast |
Separating good juice from poor juice
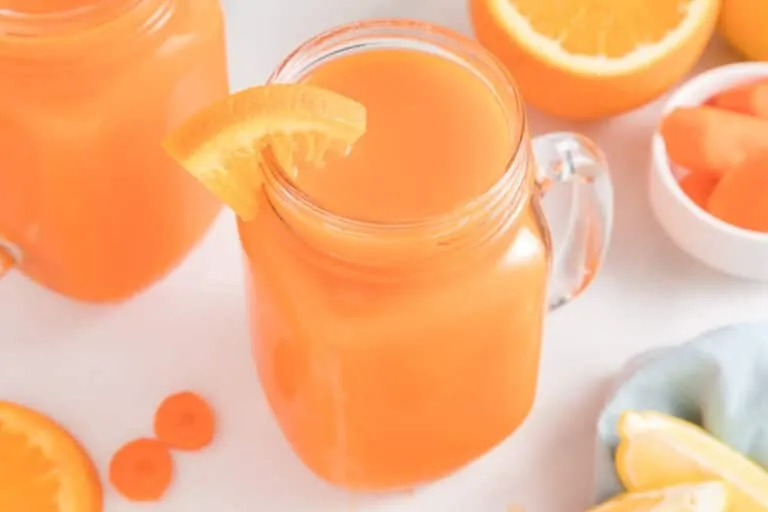
Experienced vitamix users know that power alone doesn’t make great juice. Technique and attention to detail separate the pros from the amateurs. Focus on preparation and patience to elevate your drink.
Prep and blade care
Beginners often dump whole vegetables into the blender and hope for the best. This leads to uneven blending and potential motor strain. Pros chop everything uniformly. They also wipe the blade assembly with a damp cloth before starting. Dried carrot bits from previous uses can harbor bacteria and alter taste. A clean surface ensures pure flavor. Pros also rinse the carrots well to remove soil particles that sand down the blades over time.
Timing and texture control
Amateurs blend until they think it looks done. Pros watch the vortex. They wait for all solids to disappear into the center of the liquid. This usually takes 40-60 seconds on high. Stopping early leaves gritty chunks.
Waiting too long generates heat, which can cook the carrots slightly and change the sweet taste. Pros also listen to the sound. A smooth hum means even blending. A chugging noise means blockage. Pros adjust the tamper tool to push food down rather than stopping and restarting. This maintains consistent texture.
What goes wrong and how to fix it
Even simple recipes hit snags. Here is what might go wrong and how to solve it quickly without ruining your batch.
| What You Notice | What It Usually Means | What To Do First | How To Stop It Happening Again |
|---|---|---|---|
| Juice tastes bitter | Carrot core was old or woody. | Strain again with honey. | Peel deeper; remove tough center |
| Blender leaks fluid | Lid not locked or gasket worn. | Turn off immediately. | Check lid alignment before starting |
| Pulp is too wet | Straining time was too short. | Squeeze bag harder. | Hang bag longer for passive drain |
| Mixture is too thick | Not enough water added initially. | Add more water; blend again. | Start with 1 cup water per 2 cups |
| Motor overheats | Container filled past max line. | Let cool for 10 minutes. | Never exceed the fill line indicator |
| Juice separates quickly | Natural settling of fibers. | Stir vigorously before drinking. | Drink immediately after straining |
| Strange metallic taste | Mineral buildup on blades. | Clean blades with vinegar. | Run cleaning cycle weekly with soap |
Rules that apply
Food safety is critical when handling fresh produce. The cdc recommends washing all fruits and vegetables under running water, even if you plan to peel them. This removes surface bacteria like salmonella. Never use soap or bleach on carrots; water and a brush are sufficient.
While carrot juice is usually served cold, friction can heat the mixture. If you notice steam, stop blending and let it cool.
Always store juice in a sealed glass jar to prevent oxidation. Plastic containers can absorb odors and flavors. Check local health codes if you plan to sell this juice commercially.
What it costs you
Making carrot juice at home is significantly less expensive than buying pre-made versions. This cost advantage makes homemade juice a much more economical choice compared to purchasing equivalent fresh juice from a cafe.
Time is the real cost. Chopping, blending, and straining take about ten minutes. If you use a juicer, prep is faster but cleanup is harder. With a vitamix, cleaning takes five minutes if you run a self-clean cycle with soap and water. This is efficient compared to disassembling multiple juicer parts.
Effort varies based on straining. Using a nut milk bag adds ten minutes of hanging time. Skipping the bag saves time but changes the texture. If you value convenience, invest in a good strainer. If you value speed, accept the pulp. The cost of electricity is negligible, less than a penny per batch.
Keeping it right afterwards
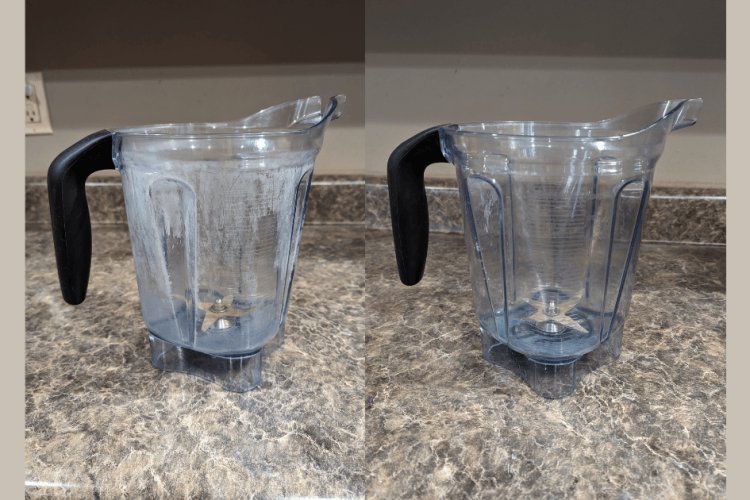
Proper maintenance keeps your vitamix ready for the next batch. After making juice, fill the container halfway with warm water and a drop of dish soap. Blend on high for thirty seconds. This cleans the blades and walls automatically. Rinse thoroughly and air dry upside down.
Store any leftover juice in a glass jar with a tight lid. Fill it to the brim to minimize air exposure, which causes browning and nutrient loss. Consume within two days for best flavor. The pulp can be frozen in portions for later use in muffins or soups. Label the bag with the date to track freshness.
Check the rubber gasket on the lid monthly. Wear or cracks can cause leaks during blending. Replace it if you see damage. This simple check prevents messy accidents and extends the life of your blender lid. Keep the base unit dry and wipe spills immediately to protect the motor housing.
When this is the wrong approach
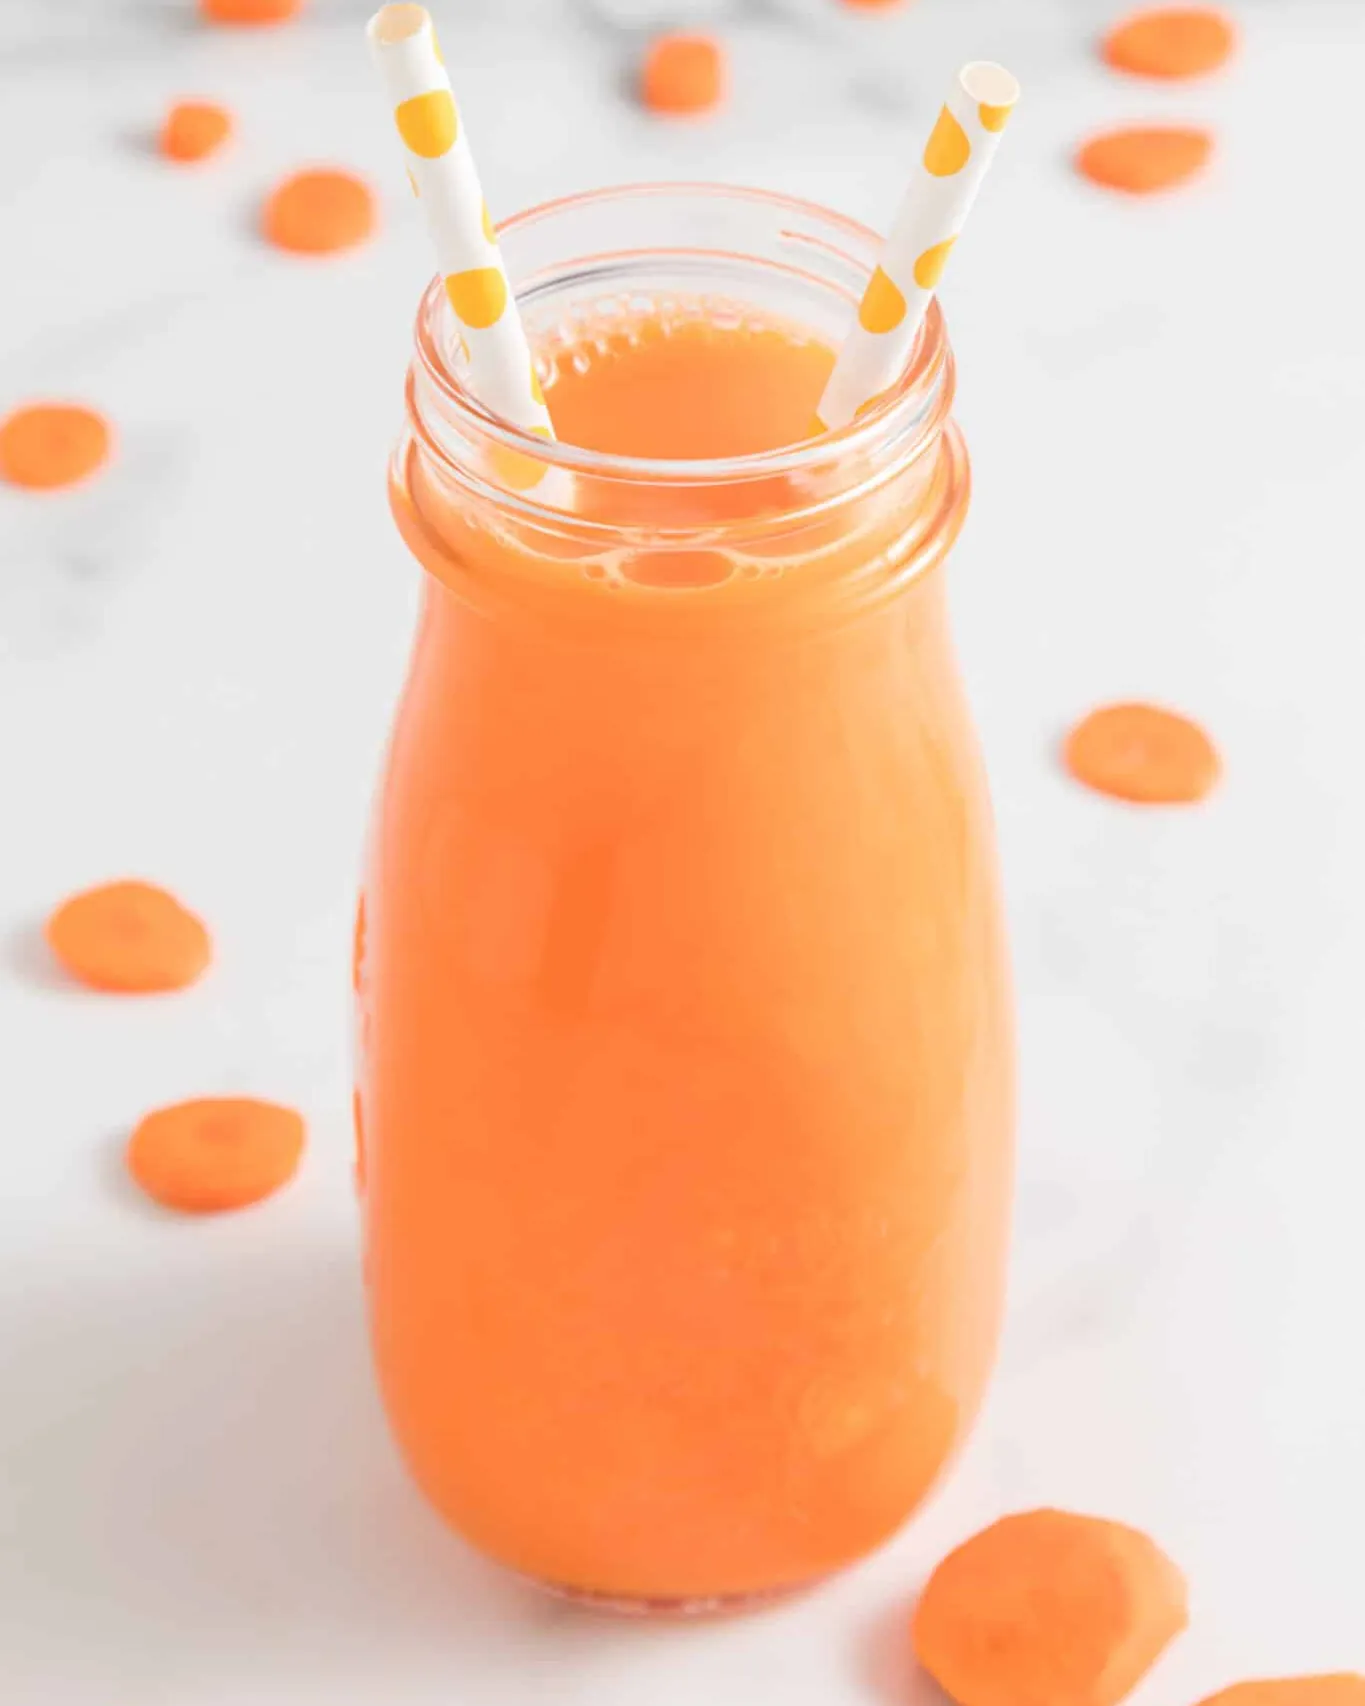
Sometimes a vitamix isn’t the best tool for the job. If you need clear, pulp-free juice for medical reasons or strict dietary needs, a centrifugal or masticating juicer is better. These machines separate pulp mechanically, giving a clearer result without manual straining.
If you’re making massive batches for a farm stand, a commercial juicer is faster and more durable. A home vitamix may overheat during continuous heavy use. Also, if you only have one carrot left, the effort of setting up the blender isn’t worth it. Use a grater or a small hand juicer instead.
Finally, if you hate cleaning, avoid this method. Straining adds a step that many find tedious. If you prefer minimal cleanup, stick to whole fruit smoothies where no straining is needed. Knowing when to switch tools saves time and frustration.
Consider the texture requirement carefully. If your goal is hydration rather than fiber intake, blending retains too much bulk. The pulp traps liquid, reducing the volume you actually drink. A dedicated juicer extracts nearly all water content. This matters for athletes needing quick absorption or patients managing digestion issues.
Check your budget against frequency. Buying an expensive juicer makes sense if you drink juice daily, but if you juice once a week, a standard blender wins on cost efficiency because the extra labor is negligible for occasional use.
Assess your kitchen space. Commercial units require significant counter real estate. They also generate noise levels that disturb households. If you live in an apartment with thin walls, the vibration from high-speed blending might annoy neighbors. A quiet masticating model offers a middle ground.
Evaluate your waste tolerance. Juicers produce dry pulp that must be disposed of regularly. This can smell if left out. Blenders keep everything in the glass. If you compost at home, the pulp is useful fertilizer. Otherwise, it becomes trash. Factor this into your decision.
Frequently asked questions
Can i use frozen carrots for this recipe?
Yes, you can use frozen carrots. Thaw them slightly before blending to help the blades move. Add an extra half cup of water to account for ice melting. The juice will be colder and slightly thinner.
Why does my carrot juice turn brown?
Oxidation causes the brown color. Exposure to air turns the natural pigments darker. This is safe but looks unappealing. Minimize air contact by filling your storage jar completely. Drink it immediately after straining for the best color.
How long does carrot juice last in the fridge?
Fresh carrot juice lasts up to 48 hours in the refrigerator. Store it in a sealed glass jar. The flavor and nutrient content degrade after two days. Always smell it before drinking; sour odor means it has spoiled.
Is it safe to blend carrots with the skin on?
Yes, it’s safe if the carrots are washed thoroughly. The skin contains nutrients and fiber. Use unwaxed organic carrots to avoid chemical residues. A vegetable brush removes dirt effectively. Peeling is optional but improves texture.
What happens if i don’t strain the juice?
You get a thick, pulpy drink similar to a smoothie. This retains all the fiber from the carrot. It’s healthier for digestion but has a heavier mouthfeel. If you want clear juice, straining is mandatory. Use a nut milk bag for best results.
Does adding honey make it healthier?
Honey adds sweetness and antioxidants but also increases sugar content. It doesn’t make the carrot itself healthier. Use sparingly if you’re watching sugar intake. Lemon juice is a lower-calorie alternative for balancing flavor.
How do i clean my vitamix after juicing?
Fill the container halfway with warm water and one drop of dish soap. Secure the lid and blend on high for thirty seconds. Rinse thoroughly with clean water. Air dry upside down on a rack. This self-cleaning method is effective and easy.
What to do next
Start by chopping your carrots into uniform chunks and adding them to the pitcher with cold water. Blend on high speed until completely smooth, then pour through a nut milk bag to extract every drop. Enjoy this rich, orange juice fresh, as it shouldn’t be stored for more than twenty-four hours.