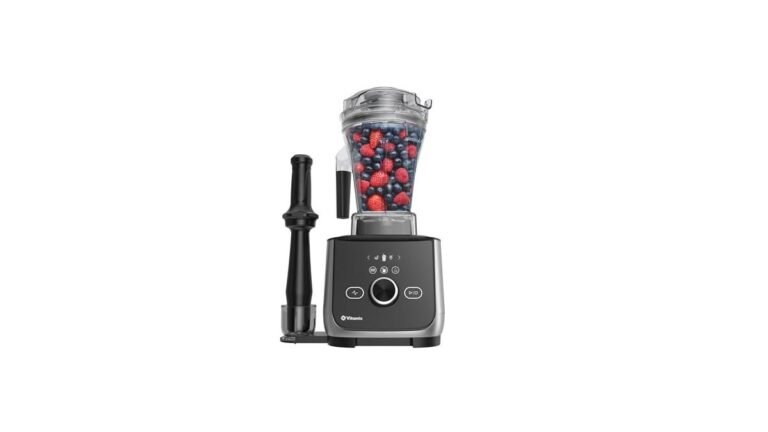
How To Make Soup In A Vitamix Blender: The Easy Method
Making soup in a vitamix blender takes about five minutes of active work and relies on the machine’s friction heat to cook the ingredients. You simply add raw vegetables, broth, and seasonings, then run the high-speed setting for four to six minutes until the mixture is smooth and steaming hot. The result is a silky, restaurant-quality soup without any stove-top monitoring or constant stirring.
This method works best for creamy, blended soups like tomato, butternut squash, or broccoli cheddar. It changes slightly if you want chunky textures or need to handle large volumes, which we will cover next.
Why make soup in a vitamix blender
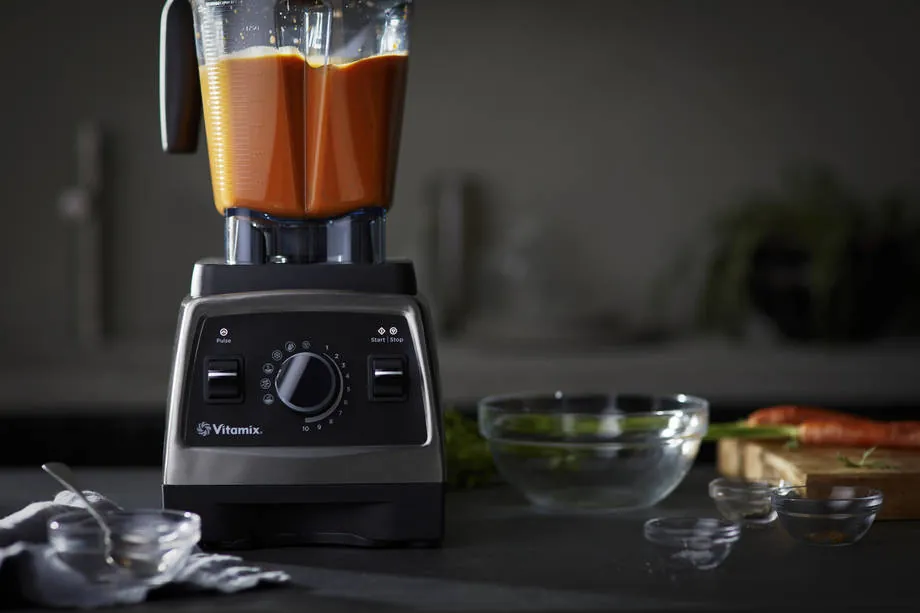
You might be looking at this because you want a quick dinner after a long day at work. If you have tired legs and zero energy for chopping onions or watching a pot boil over, this method saves your evening. You just toss everything in and walk away while the machine does the heavy lifting.
Another reader probably wants to use up leftover vegetables before they spoil. Vitamix blenders are powerful enough to turn wilting carrots or soft zucchini into a thick, nutritious meal. This approach helps reduce food waste by transforming scraps into something delicious and warm.
A third group consists of people who hate cleaning up multiple pots and pans. With this technique, you only deal with one container. There’s no saucepan to scrub, no ladle to wash, and no splatter marks on the counter. However, if you prefer chunky, rustic soups with distinct pieces of potato or meat, this blender method might not suit you. It creates a smooth puree, so check your texture preference first.
What decides the outcome
The texture of your soup depends mostly on how much liquid you add. Too little broth, and the blades struggle, leaving unblended chunks near the bottom. Too much, and the soup becomes thin and watery. Aim for a ratio that allows the vortex to pull ingredients down smoothly.
Time is the second major factor. Running the blender longer increases friction heat, cooking the vegetables more thoroughly. Four minutes yields a warm soup; six minutes makes it piping hot. If you stop early, the center might still be cool, leading to uneven eating.
Ingredient size matters significantly. Large chunks take longer to break down. If you leave big pieces of carrot or onion, the final product will feel gritty. Pre-chopping into small cubes ensures a uniform consistency and reduces strain on the motor.
Finally, the fat content affects creaminess. Adding cheese, cream, or oil changes the mouthfeel entirely. Without fat, vegetable soups can taste flat or overly fibrous. Choosing the right dairy or oil level determines whether the soup feels rich or light.
Step by step to perfect soup
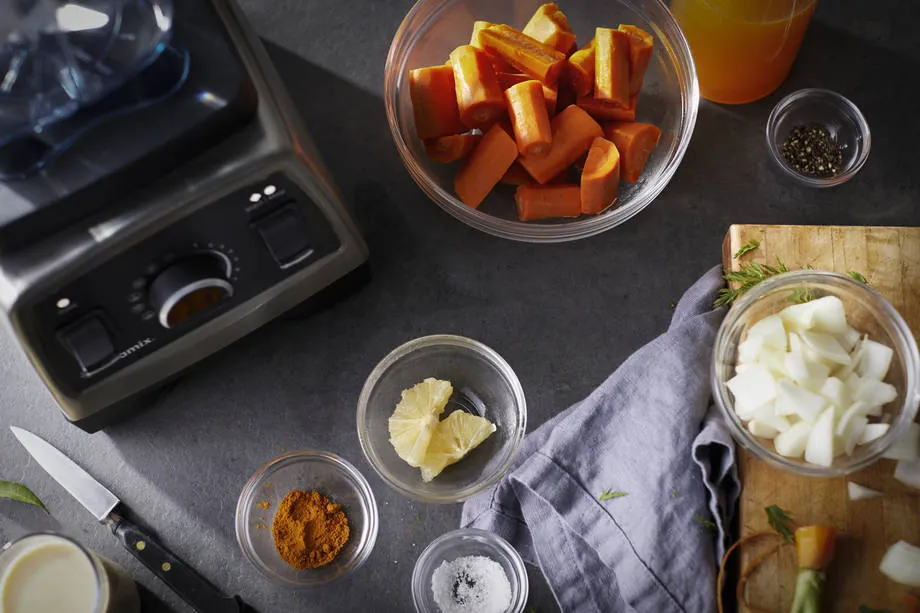
- Prep your ingredients. Chop all vegetables into small, uniform cubes about half an inch wide. Smaller pieces blend faster and more evenly.
- Add liquids first. Pour in your broth or water before adding solids. This protects the blades and helps create the initial vortex needed for blending.
- Layer the solids. Add chopped vegetables, spices, and aromatics on top of the liquid. Dense items like potatoes should go in last if possible.
- Secure the lid. Ensure the lid is tightly closed and the clear cap is in place. Hot soup can spray out if the seal fails during operation.
- Start on low speed. Turn the dial to variable 1 and slowly increase to high. This prevents splashing and gets the ingredients moving gently at first.
- Blend for four minutes. Keep the speed on high for exactly four minutes. Watch through the lid to see the soup swirl into a smooth, steaming mass.
- Check temperature and texture. Stop the machine and carefully remove the cap. Stir the soup to ensure even heat distribution and smoothness throughout.
- Adjust seasoning. Taste the soup and add salt, pepper, or herbs as needed. Blending can mute flavors, so you may need extra seasoning now.
- Serve immediately. Ladle the hot soup directly from the container into bowls. It stays hot well due to the insulation of the container walls.
The key judgment call is knowing when to stop. If the soup looks smooth but feels cool in the middle, blend for another minute. Over-blending can sometimes make starchy soups gluey, so watch the texture closely.
The variations at a glance
Different soups require slight adjustments in timing and ingredients. Here is how common types compare.
| Soup Type | What to Do | Time & Effort | What to Watch For |
|---|---|---|---|
| Tomato Basil | Blend cooked tomatoes fresh | 4 mins, low effort | Seeds may remain smooth |
| Butternut Squash | Roast squash first for flavor | 5 mins, medium effort | Skin must be peeled fully |
| Broccoli Cheddar | Add cheese off-heat to melt | 4 mins, low effort | Cheese can separate if too hot |
| Potato Leek | Use Yukon Gold potatoes | 5 mins, low effort | Starch thickens quickly as it cools |
| Black Bean | Rinse beans well before blending | 6 mins, medium effort | Beans can foam and overflow |
| Carrot Ginger | Add ginger root for spice | 4 mins, low effort | Ginger can overpower if excessive |
| Cauliflower Cream | Sauté cauliflower for nutty taste | 5 mins, low effort | Texture can become too thick |
What separates good from poor results
Preparation details
Experienced users always pre-cook hard vegetables like carrots or potatoes. Raw roots take longer to break down and can leave a gritty texture. Beginners often skip this step, assuming the blender handles everything equally. Soft veggies like spinach or zucchini don’t need pre-cooking, but roots benefit from boiling or roasting first. This simple prep step changes the mouthfeel from grainy to silky.
Handling techniques
Pros know to never fill the container past the max line. Overfilling prevents proper circulation, leaving unblended bits stuck at the bottom. They also wait for the vortex to form before increasing speed. Rushing this causes splashing and uneven blending. Amateurs often ignore the sound change; a smooth hum means success, while a chugging noise means jammed ingredients. Adjusting liquid levels mid-blend fixes most issues.
What goes wrong, and what to do
Sometimes things don’t go as planned. Here is how to fix common issues quickly.
| What you notice | What it usually means | What to do first | How to stop it happening again |
|---|---|---|---|
| Gritty texture | Pieces too large or hard | Blend longer or pre-cook | Chop smaller before starting |
| Soup too thin | Added too much liquid | Simmer separately or add starch | Measure broth carefully initially |
| Lid leaking | Cap not sealed tight | Stop, secure cap, restart | Check gasket for damage |
| Motor humming loud | Blades jammed by solids | Reverse pulse or stir manually | Don’t overload beyond max line |
| Burnt smell | Friction heat too high | Cool down, reduce time next | Use lower speed for dense mixes |
The rules that apply
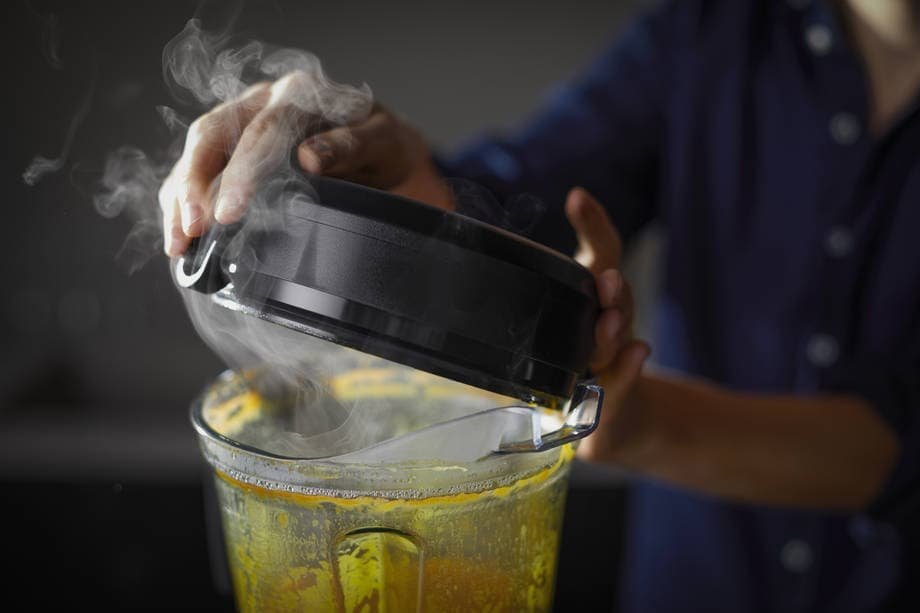
Safety is the primary rule when using high-speed blenders for hot liquids. Steam pressure builds rapidly inside the container. Always keep the clear center cap loose or covered with a towel to allow steam to escape safely. This prevents the lid from popping off or the container from cracking.
Warranty guidelines also matter. Most manufacturers warn against blending boiling liquids directly. Start with warm or room-temperature ingredients and let the friction heat do the rest. This protects the plastic container from thermal shock.
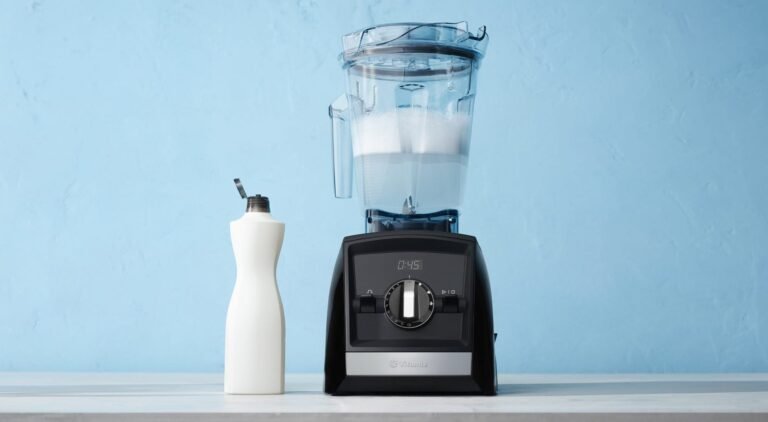
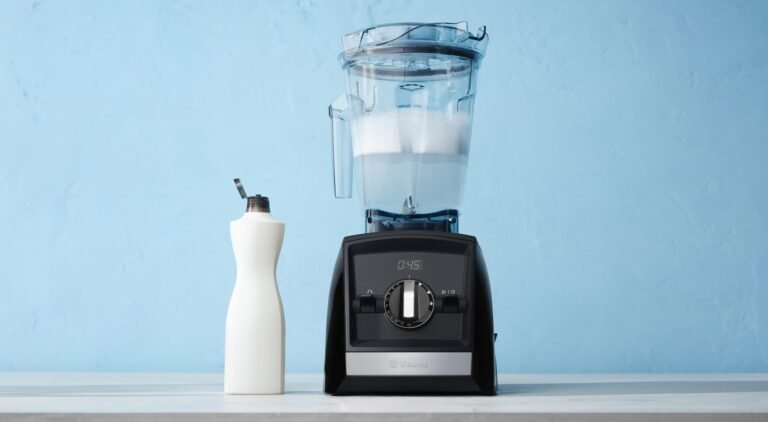
Cleaning rules are straightforward. Fill the container halfway with warm water and a drop of dish soap. Run the blender on high for thirty seconds. This self-cycles the blades and removes residue. Never submerge the base unit in water, as this damages the electrical components.
What it costs you
The main cost here is electricity, which remains negligible for a five-minute run. A typical Vitamix uses about 1,380 watts, costing less than a penny per use. This figure holds true whether you’re crushing ice or pureeing soup. The utility bill won’t change because of this habit. You can ignore the kilowatt-hour math entirely.
The real investment is your time and ingredient quality. Fresh vegetables cost more than canned, but the flavor difference is significant. Canned goods often contain added sodium or preservatives that dull the taste. Fresh produce offers vibrant color and sharp aroma. You pay for that sensory experience upfront.
If you buy pre-chopped veggies, convenience costs extra. Those bags sit in the refrigerated aisle at a premium. Whole vegetables save money but require prep time. Washing, peeling, and chopping take fifteen minutes. Decide if your evening is worth that effort. Some days, the bag is worth it. Other days, saving money matters more.
Consider your budget and schedule before buying. Also, factor in potential wear on the blender. Frequent hot blending can degrade seals over years. Modern models are built to handle heat, but they aren’t indestructible. High-speed friction generates warmth. That warmth stresses rubber components.
Regular maintenance extends lifespan, reducing long-term replacement costs. Clean the jar immediately after use. Soap and warm water prevent residue buildup. Inspect the blade assembly annually. Tighten any loose parts. Replace worn gaskets before they leak. This proactive care prevents costly repairs.
Keeping it right afterwards
Store leftover soup in the fridge for up to four days. Let it cool completely before sealing the container to prevent condensation and bacterial growth. Reheat portions in a microwave or saucepan, not back in the blender, to avoid overheating the container.
Clean the container immediately after use while residue is still wet. Dried-on starches become difficult to remove later. Inspect the blade assembly annually for signs of wear or loosening. Tighten if necessary according to the manual. Proper care ensures your blender lasts for many years of soup making.
If you plan to keep the soup longer than four days, freeze it instead. Pour the cooled mixture into ice cube trays for single servings. Once frozen solid, transfer the cubes to a labeled freezer bag. This method preserves quality for up to three months. Thaw overnight in the refrigerator before reheating. Don’t refreeze previously frozen soup, as repeated temperature changes degrade texture and safety.
When storing hot soup directly in the fridge, leave the lid slightly ajar for the first hour. This allows heat to escape without raising the internal temperature of the appliance dangerously. Seal it tightly only once it reaches room temperature. Leaving it sealed while warm traps steam, which creates a breeding ground for mold and bacteria.
For glass containers, check for micro-cracks along the rim before each use. Thermal shock from rapid heating or cooling can shatter compromised glass. Plastic containers may retain odors even after washing. Soak them in a solution of one part white vinegar to three parts water for thirty minutes. Rinse thoroughly afterward. This neutralizes lingering smells that plastic absorbs over time.
Always wipe the base of the blender with a damp cloth after unplugging it. Never submerge the motor unit in water. Food particles often accumulate around the rubber gasket at the bottom. Use a small brush to clean these crevices. Neglecting this area leads to unpleasant odors and potential mechanical failure.
When this is the wrong approach

This method isn’t ideal for chunky soups like minestrone or chili. If you want distinct pieces of pasta, beans, or meat, blending destroys the texture. Use a standard pot instead to maintain those elements.
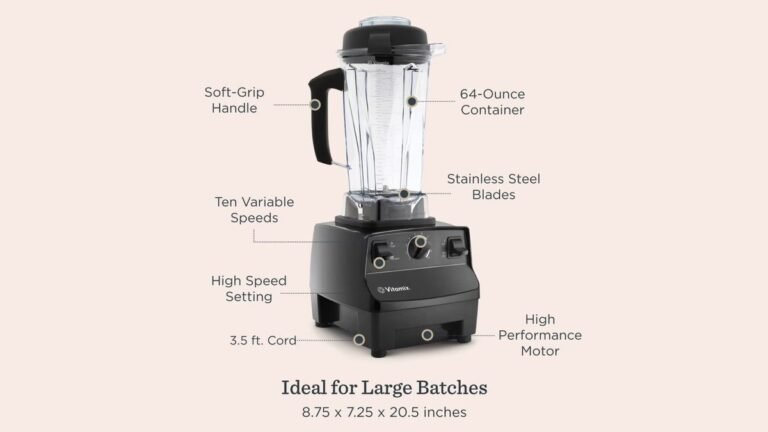
It’s also unsuitable for very large batches. Most home blenders hold 64 ounces max. Making soup for a family of eight requires multiple batches, which is inefficient. Cook large quantities on the stove where you can use a bigger pot.
Finally, avoid this for delicate herbs added at the end. High-speed blending bruises green herbs, turning them brown and bitter. Stir them in manually after blending to preserve color and fresh flavor.
Consider your ingredient density before starting. Heavy vegetables like potatoes or carrots create thick purees that strain blender motors. If your recipe includes more than two cups of dense root vegetables, you risk burning out the motor. Stovetop immersion blenders handle these loads better because they don’t require lifting heavy jars. You can simply pulse the mixture in the pot until smooth. This saves energy and prevents mechanical failure.
Texture preference matters too. Some people enjoy silky, uniform soups. Others prefer rustic mouthfeel with visible chunks. Blending forces uniformity. If you value the crunch of al dente pasta or the bite of whole beans, stick to traditional simmering methods. The blender will turn everything into a homogeneous paste. You lose the structural integrity of each component. Decide if you want a velvety finish or a hearty stew consistency before you begin cooking.
Temperature control is another factor. Blenders generate heat through friction. If you’re making a raw tomato soup or a cold gazpacho, the spinning blades will warm the liquid. This changes the flavor profile slightly. Warm tomatoes taste different from cool ones.
For cold preparations, chill your ingredients beforehand. Or use an immersion blender directly in the bowl. It generates less heat than a high-speed countertop unit. Check the temperature with your hand. If it feels warm, stop blending immediately. Let it rest before serving.
Frequently asked questions
Can I make cold soup in a Vitamix?
Yes, you can make gazpacho or chilled fruit soups easily. Just blend all ingredients with ice or chilled liquids. Skip the high-speed heating phase since you want a cold result. Strain if you desire a smoother texture.
Why is my soup too thick after blending?
Starchy vegetables like potatoes and squash thicken as they cool. The blender releases more starch during high-speed processing. Add more broth gradually until you reach your desired consistency. Remember, it thickens further in the fridge.
How long does it take to cook soup in a blender?
It takes about four to six minutes on high speed. This relies on friction heat generated by the blades spinning against the ingredients. The exact time depends on the volume and density of your ingredients.
Is it safe to blend boiling water in a Vitamix?
No, never blend boiling liquids directly. The steam pressure can blow the lid off and cause severe burns. Always start with warm or room-temperature ingredients. Let the machine generate heat naturally through friction.
What happens if I don’t add enough liquid?
The blades will struggle to create a vortex, leaving unblended chunks at the bottom. You may hear straining noises from the motor. Add more broth or water in small increments until the mixture flows freely around the blades.
Does blending destroy nutrients in vegetables?
Blending actually preserves most nutrients by keeping the fiber intact. Unlike juicing, which removes fiber, blending uses the whole vegetable. Heat exposure is minimal compared to boiling, so vitamins remain largely intact in the final soup.
What to do next
Start by gathering your favorite vegetable and some broth. Follow the steps above to create a smooth, hot meal in minutes. Expect a creamy texture and rich flavor that rivals restaurant versions. Stop and seek professional help if the motor smells burnt or makes unusual grinding noises.
Choose root vegetables like carrots or parsnips for natural sweetness. Leafy greens require blanching first to remove bitterness. This step changes the final color and taste significantly. Don’t skip it if you want a bright green puree.
Use low-sodium broth to control salt levels. Store-bought options vary wildly in sodium content. Taste your base before adding any extra seasoning. You can always add more salt later. It’s harder to remove it once mixed in.
Blend in short bursts to avoid overheating the blades. High heat breaks down nutrients and creates a watery consistency. Pause between pulses to scrape down the sides. This ensures every piece gets processed evenly.
Serve immediately while the soup is piping hot. Garnish with fresh herbs or a drizzle of oil. These additions provide texture contrast to the smooth base. Leftovers thicken as they cool in the refrigerator. Thin them out with water or stock when reheating.
Check your appliance manual for specific wattage recommendations. Higher wattage blends faster but generates more heat. Lower wattage requires longer blending times and more patience. Adjust your technique based on the machine’s power.