How To Assemble Nutribullet Blender in 4 Simple Steps
Assembling a Nutribullet blender takes about 30 seconds once you know the order — food into the cup, then the blade, then flip and twist. You don’t need tools, and there’s nothing to tighten or align. It’s easy work, though it needs care in one spot: the blade. Before you start, you must have the right cup for your motor base, because a Nutribullet cup and blade only lock onto the base they were made for.
What you need to assemble a Nutribullet blender
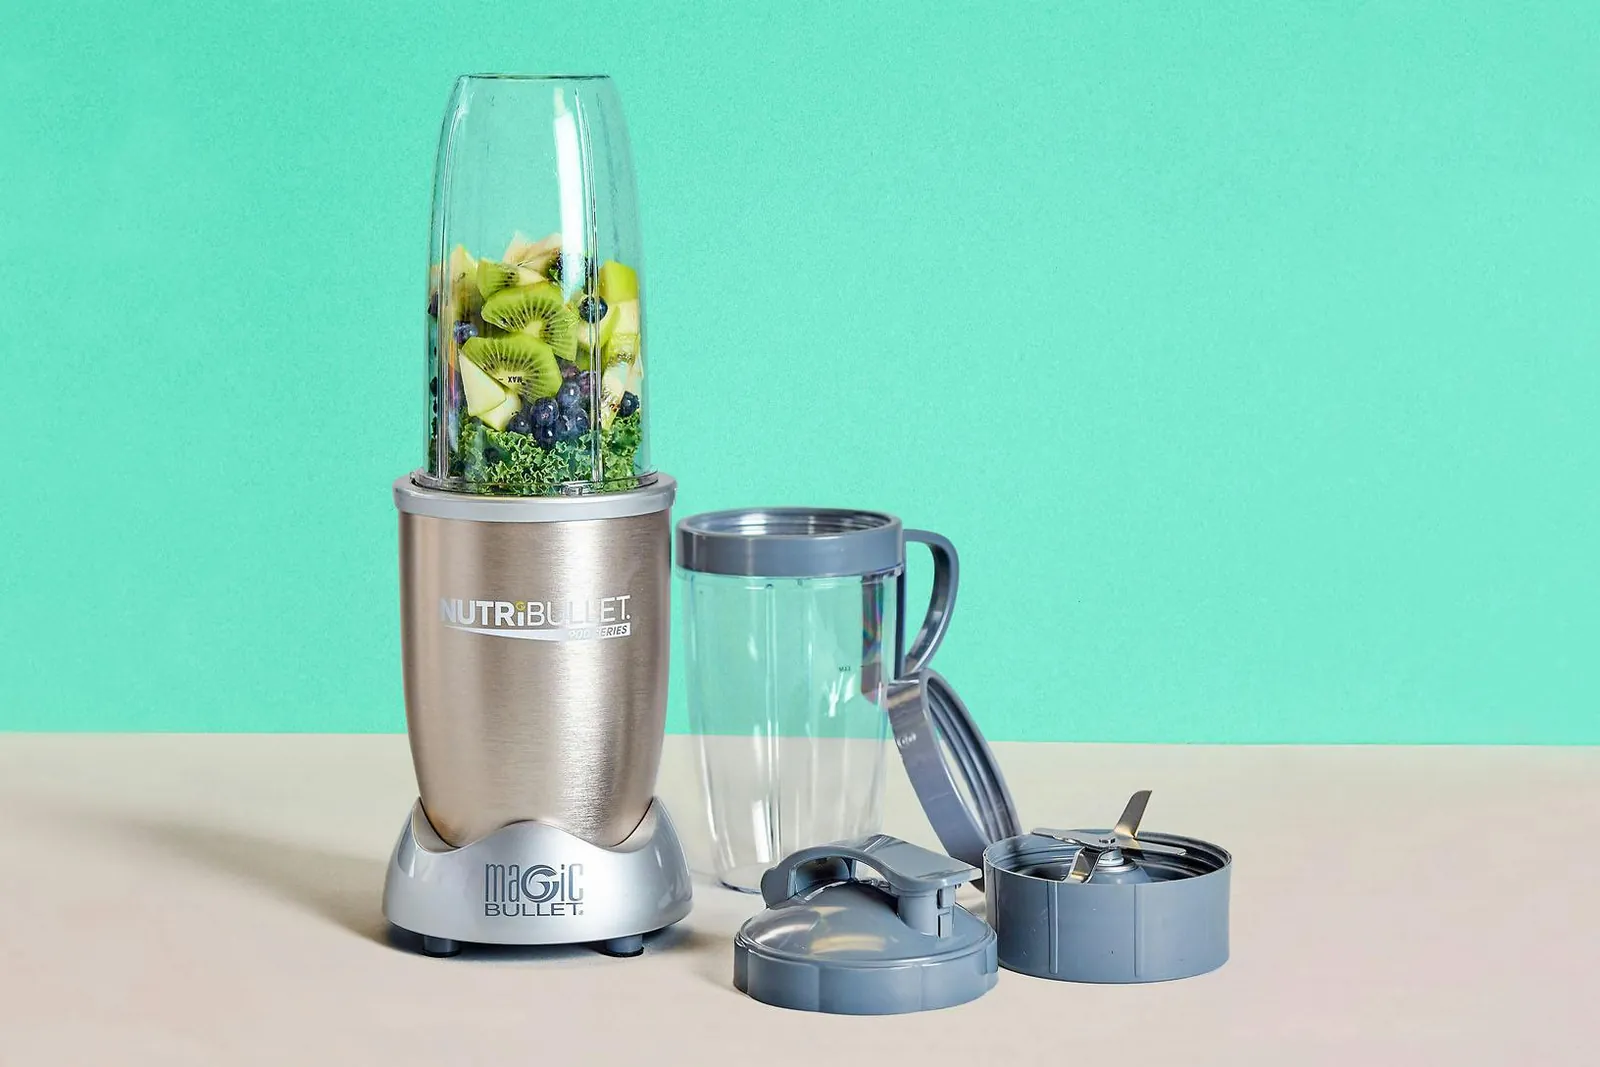
The parts come in the box, so this isn’t a shopping list — it’s a check that everything is on the counter before you twist anything. Missing one piece is why most people think their blender is broken when it isn’t.
| Item | How much | Why it’s needed | A substitute |
|---|---|---|---|
| Motor base | 1, plugged in | Turns the blade | None — don’t swap this |
| Extractor blade | 1, correct size | Cuts and blends | None — don’t swap this |
| Cup | 1, matching your base | Holds the food | A second cup of the same size |
| Lid | 1, fits the cup | Seals after blending | None — don’t swap this |
| Food | Fills to the MAX line | Stops overflow | None — don’t swap this |
| Flat counter space | About 12 in × 12 in | Keeps the base steady | A sturdy cutting board |
Before you assemble a Nutribullet blender
- Switch the base off and unplug it. A blender that’s still plugged in can start if the cup presses the tabs by accident. Pull the cord from the outlet, not the base.
- Wash and dry the cup, blade, and lid. A wet blade seat lets the cup slip instead of locking. Dry the rim with a towel before you twist.
- Check the blade for chips or a bent shaft. A damaged blade won’t seat straight, and it can throw the cup off balance. If it’s bent, replace it — don’t try to straighten it.
- Clear the counter and move anything loose. The base needs a flat, dry surface. A wobbly counter is the one preparation people skip, and it causes most of the trouble: the cup rattles and the blend comes out uneven.
- Keep your hands off the blade edge. The blade is sharp, and it stays sharp. Handle it by the plastic collar only, and never reach into the cup while the blade is seated.
If your model’s manual shows a different lock order, follow the manual over anything here. Opening the base housing, testing the motor, or replacing a fuse is technician work — a capacitor inside can hold a lethal charge even when unplugged. Take it to the maker’s service center instead.
How to assemble a Nutribullet blender step by step
Set the motor base on a flat, dry counter. Wipe the surface first, then place the base so its three tabs face up and the cord reaches the outlet without stretching. Press down on the base with one hand — it shouldn’t rock. If it wobbles, move to a different spot before you go further.
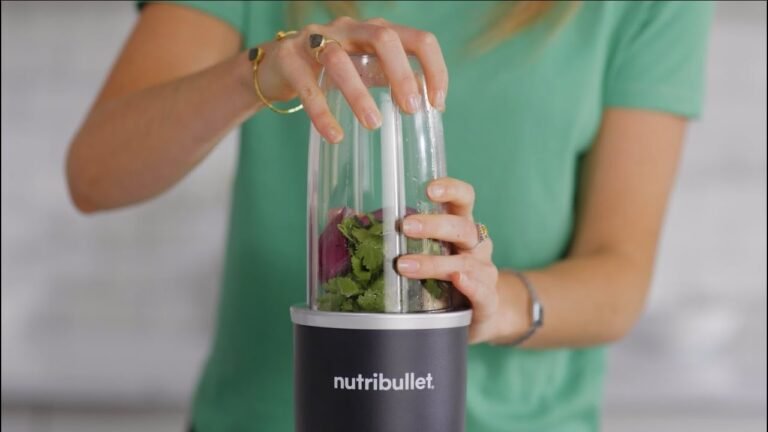
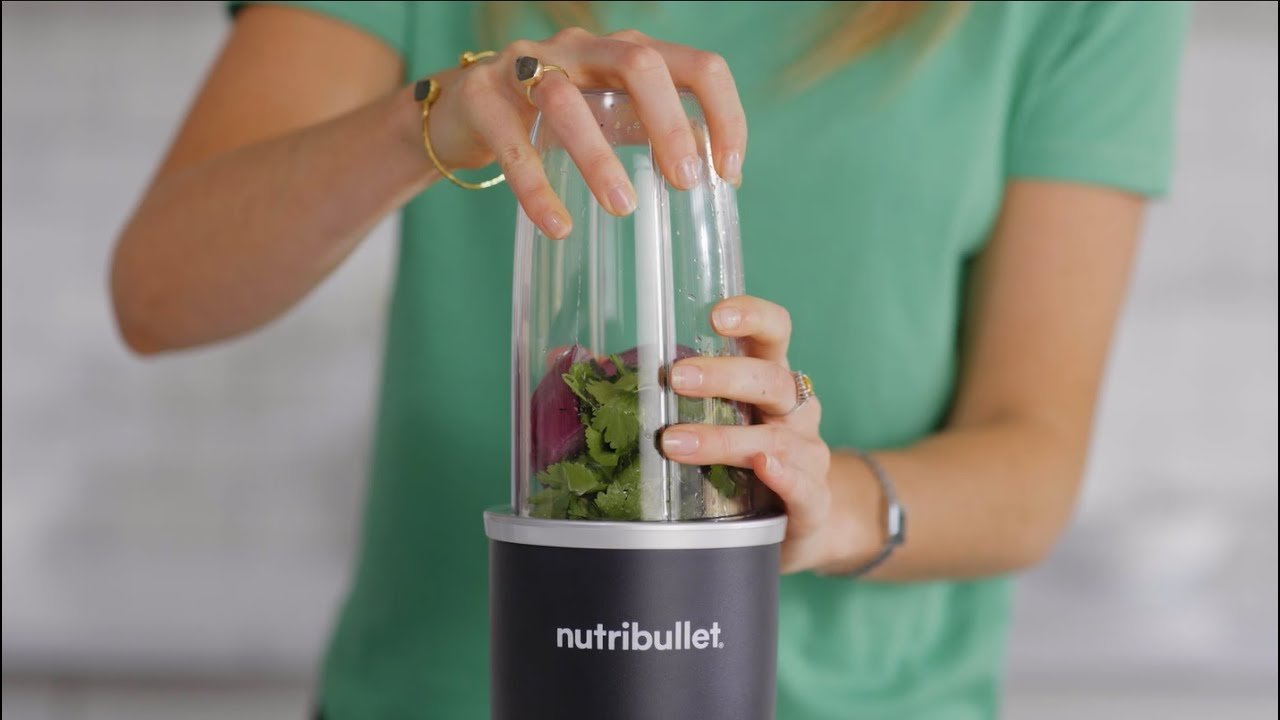
Fill the cup with food, and stop at the MAX line. Add solid pieces first, then liquid, and leave the top inch empty. Going past the MAX line pushes food into the blade seat and makes a mess. For most fruit and veg, cut pieces to about 1 inch so the blade catches them.
Screw the extractor blade onto the cup. Set the cup on the counter, hold the blade by its plastic collar, and turn it counterclockwise until it stops. It should sit flush with no gap. A gap means the threads aren’t lined up — lift it off and start again rather than forcing it.
Turn the cup over and set it on the base. Flip the sealed cup blade-down and lower it onto the three tabs. You’ll feel the cup settle onto the base with a slight click. Don’t push hard; if it doesn’t sit down, the tabs and the cup slots aren’t matched.
Press down and twist clockwise to lock. Push the cup down and turn it clockwise about a quarter turn. It locks when you can’t turn it further and the cup sits level. Let go — the cup should stay put on its own. If it springs back up, it isn’t locked.
Check the lock before you blend. Give the cup a light pull upward with one hand. It shouldn’t lift off the base. This two-second check is what stops the cup from jumping when the motor starts. If it lifts, twist it again until it holds.
Run the blend in short bursts. Press the cup down to run, and hold it for 5 to 10 seconds at a time. Let it rest a few seconds between bursts. Short pulses keep the motor from heating up and give the food time to fall back onto the blade.
Stop when the mix is smooth. Most soft fruit blends in 20 to 30 seconds of total run time. Hard items like ice or frozen fruit take closer to 45 to 60 seconds in bursts. Stop sooner if the base feels hot to the touch, and let it cool.
Twist counterclockwise to unlock, then lift the cup off. Turn the cup back a quarter turn and pull it straight up. Set it on the counter blade-up so it doesn’t leak. Never twist the cup off while the motor is still spinning.
Swap the blade for the lid. Unscrew the blade by turning it clockwise, then screw the lid on the same way. The lid seals the cup so you can drink or store it. Rinse the blade right away — dried food sticks in the collar and throws off the next blend.
How to know the cup is locked right
The lock is right when the cup sits level on the base and won’t lift when you pull it gently upward. Run that check every time — it takes two seconds and it’s the one sign you can feel with your hands. A correctly locked cup also turns the full quarter turn and stops hard, with no soft or springy feeling at the end.
The blend itself tells you the rest. A smooth, even mix with no chunks means the blade seated straight and the cup stayed locked. If you hear a rattle or a thump, stop and check the lock again — a loose cup is the usual cause. A high-pitched whine with no movement usually means the cup isn’t pressed down far enough to trip the safety tabs.
Watch the food, not the clock. If pieces are stuck on the sides and the blade spins free underneath, take the cup off and shake it, then blend again in bursts. Don’t add more liquid to fix it — too much liquid pushes the level past the MAX line and makes the leak worse. Give it a second round of short pulses instead.
One sign needs a different response: heat. If the base feels hot after 30 seconds, stop and let it cool for a few minutes. The motor has a thermal cutout that shuts it down when it gets too warm, and pushing through that just makes the wait longer. Let it rest, then finish in shorter bursts.
If something goes wrong
| What happened | Why | What to do |
|---|---|---|
| Cup won’t lock on | Cup and base don’t match | Check the model, use the right cup |
| Cup springs back up | Not turned far enough | Push down, twist a full quarter turn |
| Motor hums but won’t spin | Cup not pressed to the tabs | Press down harder until it starts |
| Liquid leaks at the blade | Blade not screwed flush | Unscrew, reseat, tighten by hand |
| Base gets hot and stops | Thermal cutout tripped | Unplug, cool 10 minutes, blend shorter |
| Blend comes out chunky | Overfilled past the MAX line | Remove some food, pulse in bursts |
Two of these look alike and are not. A motor that hums but won’t spin means the cup isn’t reaching the tabs, so press down harder. A motor that says nothing at all usually means no power is getting through at all, so check the outlet and the cord before you press anything.
The thermal cutout is the one people misread. It trips when the motor has run hot, often from back-to-back batches, and it resets itself once the base is cool. Ten minutes is a guide, not a guarantee. If it stops again within a minute of restarting, stop for the day.
Leaks at the blade are almost always the gasket, not the threads. If reseating and hand-tightening doesn’t stop it, the gasket is worn or missing and needs replacing before you blend anything wet again.
Never run the base with the cup off to test it.
How often to assemble and check your Nutribullet
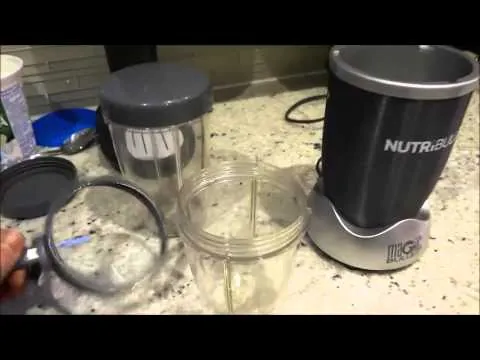
Assemble it fresh each time you blend — that’s every use, not once a week. The parts don’t stay locked between sessions, and a cup left on the base can collect dust in the blade collar. Rinse the blade and cup right after each use, and wash them with warm soapy water at least once a day if you blend daily.
Two things move that schedule most. The first is what you blend: ice, frozen fruit, and hard seeds wear the blade and the cup threads faster, so check the blade for chips every week or two instead of monthly. The second is how many people use it. A shared kitchen with several blends a day needs a weekly check of the cup rim and blade collar for cracks.
Check the blade seat and the cup threads once a month by twisting the blade on with no food. It should turn smoothly and sit flush. If it grinds or wobbles, the threads are worn, and it’s time for a new blade or cup. Your model’s manual lists the exact parts that fit — read it before you order, since sizes differ between models.
Frequently asked questions
Can you assemble a Nutribullet blender without the blade?
No — the blade is what lets the cup lock and blend. Without it, the cup can’t seal, and food would fly out the top. The cup also presses the safety tabs on the base, so the motor won’t start without it. If your blade is lost or damaged, order a replacement made for your exact model before you blend again.
Why won’t my Nutribullet cup lock onto the base?
The cup and base are from different models, or the cup isn’t turned the full quarter turn. Nutribullet makes more than one cup size, and they don’t all fit every base. Check the model number on the base and match it to the cup. If they match, push down firmly and twist clockwise until it stops hard.
How long does it take to assemble a Nutribullet?
About 30 seconds from clean parts to a locked cup. Filling the cup takes most of that time. If you’re starting with unwashed parts, add a few minutes to wash and dry them, since a wet blade seat lets the cup slip instead of locking. The twist itself is one motion — a quarter turn clockwise.
Is it safe to leave the blade on the cup in the fridge?
It’s safe, but the blade edge stays exposed and the cup can tip. Screw the lid on instead if you’re storing the drink. If you do leave the blade on, set the cup blade-up so it doesn’t leak, and keep it out of reach of children. Rinse the blade before the next use so dried food doesn’t throw off the balance.
What happens if you blend without locking the cup?
The cup can lift off the base while the motor spins, and the food goes everywhere. The safety tabs on most models stop the motor unless the cup is pressed down, but a partly locked cup can still shift. Always pull up gently on the cup before you blend — if it lifts, twist it again until it holds.
Does it matter which way the blade goes on?
Yes — the blade screws on counterclockwise and comes off clockwise, and it only fits one way. Turn it by the plastic collar until it sits flush with the cup rim. A gap means the threads aren’t lined up, so lift it off and start again. Never force it, since cross-threading ruins the cup.
How do you know when the cup is on right?
The cup sits level on the base and won’t lift when you pull it gently upward. It also turns a full quarter turn and stops hard, with no springy feel. Run this check every time before you press the cup down to blend. If it lifts or feels soft, twist it again until it holds.
Can you overfill a Nutribullet cup?
Yes — filling past the MAX line is the most common assembly mistake. It pushes food and liquid into the blade seat, which causes leaks and a chunky blend. Leave the top inch of the cup empty and add liquid last.
Conclusion
Once everything’s locked in, press the cup down and give it a short run to see how it feels. If the motor sounds normal and the blend looks even, you’re set. From here, just pick your first recipe and keep the blade rinsed between uses.