How To Clean An Oster Blender: Step-By-Step Guide
Cleaning an Oster blender comes down to four things: unplug it, take apart every removable piece, wash the jar and lid in warm soapy water (or run a warm water and dish soap blend cycle), and wipe the base with a damp cloth only—never submerge it. Most models, from the Classic Beehive to the Pro 1200, follow the same routine, and the whole job takes about five minutes.
Key Takeaways
- Unplug first, always. The motor base and its cord must never touch water; a damp cloth is the only thing that should clean it.
- Warm water plus dish soap, run for 30–60 seconds, is the fastest way to clean the jar without disassembly—then rinse and air dry.
- The blade assembly is the danger point. Handle it by the plastic hub or collar, never by the blades, and wash it with a long-handled brush.
- Most Oster jars, lids, and blade assemblies are dishwasher-safe on the top rack, but confirm your specific model’s manual because a few lids and gaskets are hand-wash only.
- Stuck-on residue responds to a baking soda paste or a white vinegar soak, not to scrubbing with abrasive pads that scratch plastic and glass.
- Once a month, deep-clean the base’s vents and the lid gasket, the two spots where odors and mold quietly build up.
Before You Start: Unplug and Disassemble
The single most important step happens before any water runs. Pull the plug from the wall outlet. Oster’s own care instructions are consistent on this point across every model line: the motor base contains electrical components and must never be immersed, and cleaning it while plugged in risks both shock and water damage to the motor.
Once it’s unplugged, take the blender apart completely. Depending on your model, that means:
- The blender jar (glass, plastic, or Tritan, depending on the model)
- The lid and its filler cap (sometimes called a center cap or lid plug)
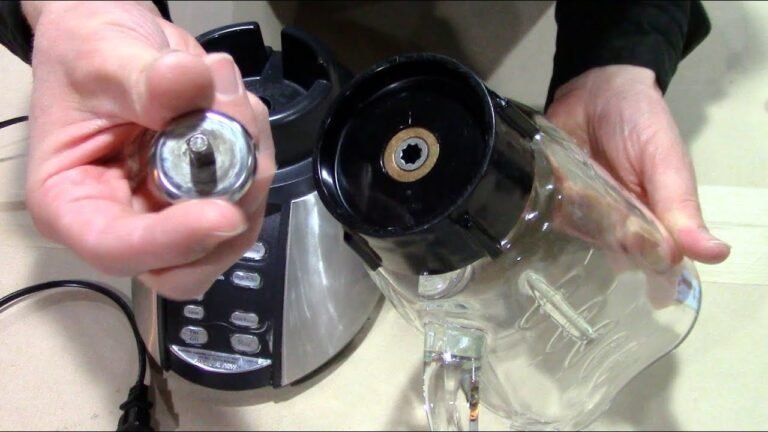
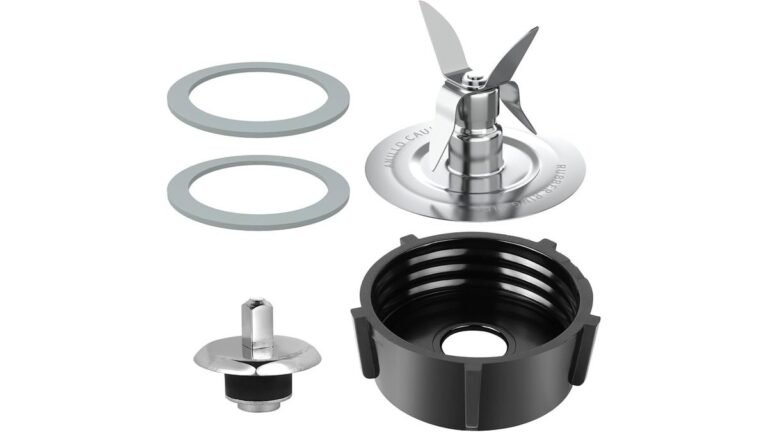
- The blade assembly, which on most full-size Oster blenders unscrews from the bottom of the jar as a single unit with a rubber gasket
- Any splash guard or stir stick that came with your model
- On personal-size models like the MyBlend or Blend-N-Go, the travel cup and blending blade base
Separating everything before washing matters for two reasons. First, residue trapped between the blade collar and the jar threads turns rancid and smells. Second, if you wash the jar with the blade assembly still attached, water seeps into the collar and drips onto your counter for hours afterward.
Pro Tip: Photograph the disassembled parts with your phone before washing. Reassembling the gasket, blade, and collar in the wrong order is the most common reason a blender leaks after its first cleaning.
How To Clean an Oster Blender Jar Fast
For everyday cleaning—after a smoothie, a protein shake, or a batch of blended soup—you don’t need to disassemble anything. Oster’s own quick-clean method works on every full-size model and takes under two minutes.
- Fill the jar about one-third full with warm water.
- Add a few drops of liquid dish soap. One teaspoon is plenty; too much creates a foam volcano.
- Secure the lid and make sure the blade assembly is tightened onto the jar.
- Pulse 5–10 times, or run on Low for 30–60 seconds. The agitation does the scrubbing.
- Pour out the soapy water, then repeat with clean warm water to rinse.
- Turn the jar upside down on a drying rack or a clean dish towel so water drains out of the threads.
This method handles 90 percent of everyday messes. It does not, however, clean the underside of the blade assembly or the jar threads, which is why a full disassembly wash should still happen every few uses.
When the Quick Rinse Isn’t Enough
If you blended something sticky—peanut butter, dates, frozen mango, a thick protein shake—the quick rinse leaves a film behind. You’ll know because the jar feels slightly slick even after rinsing, or because a faint smell lingers when you open the lid the next day. That’s your cue to fully disassemble and hand-wash, or to run the dishwasher cycle described below.
Hand-Washing the Jar, Lid, and Blades
Hand-washing is the safest option for every Oster part and the only option for a few of them. Here’s the order that works.
The jar. Fill a sink or basin with warm water and a squirt of dish soap. Wash the inside with a soft sponge or bottle brush, then the outside. Glass jars (found on the Oster Classic Series and many older models) tolerate hotter water than plastic ones, but sudden temperature swings can crack either type—so use warm, not boiling, water. Never use steel wool, scouring powder, or a stiff-bristled brush on plastic jars; they leave micro-scratches that cloud the plastic and harbor bacteria.
The lid and filler cap. These are the parts people forget. The filler cap traps smoothie residue in its ridges, and the lid’s inner rim collects it too. Wash both sides of the lid, paying attention to the groove where the gasket sits. If your lid has a removable rubber gasket, pop it out and wash it separately—that’s where mold starts.
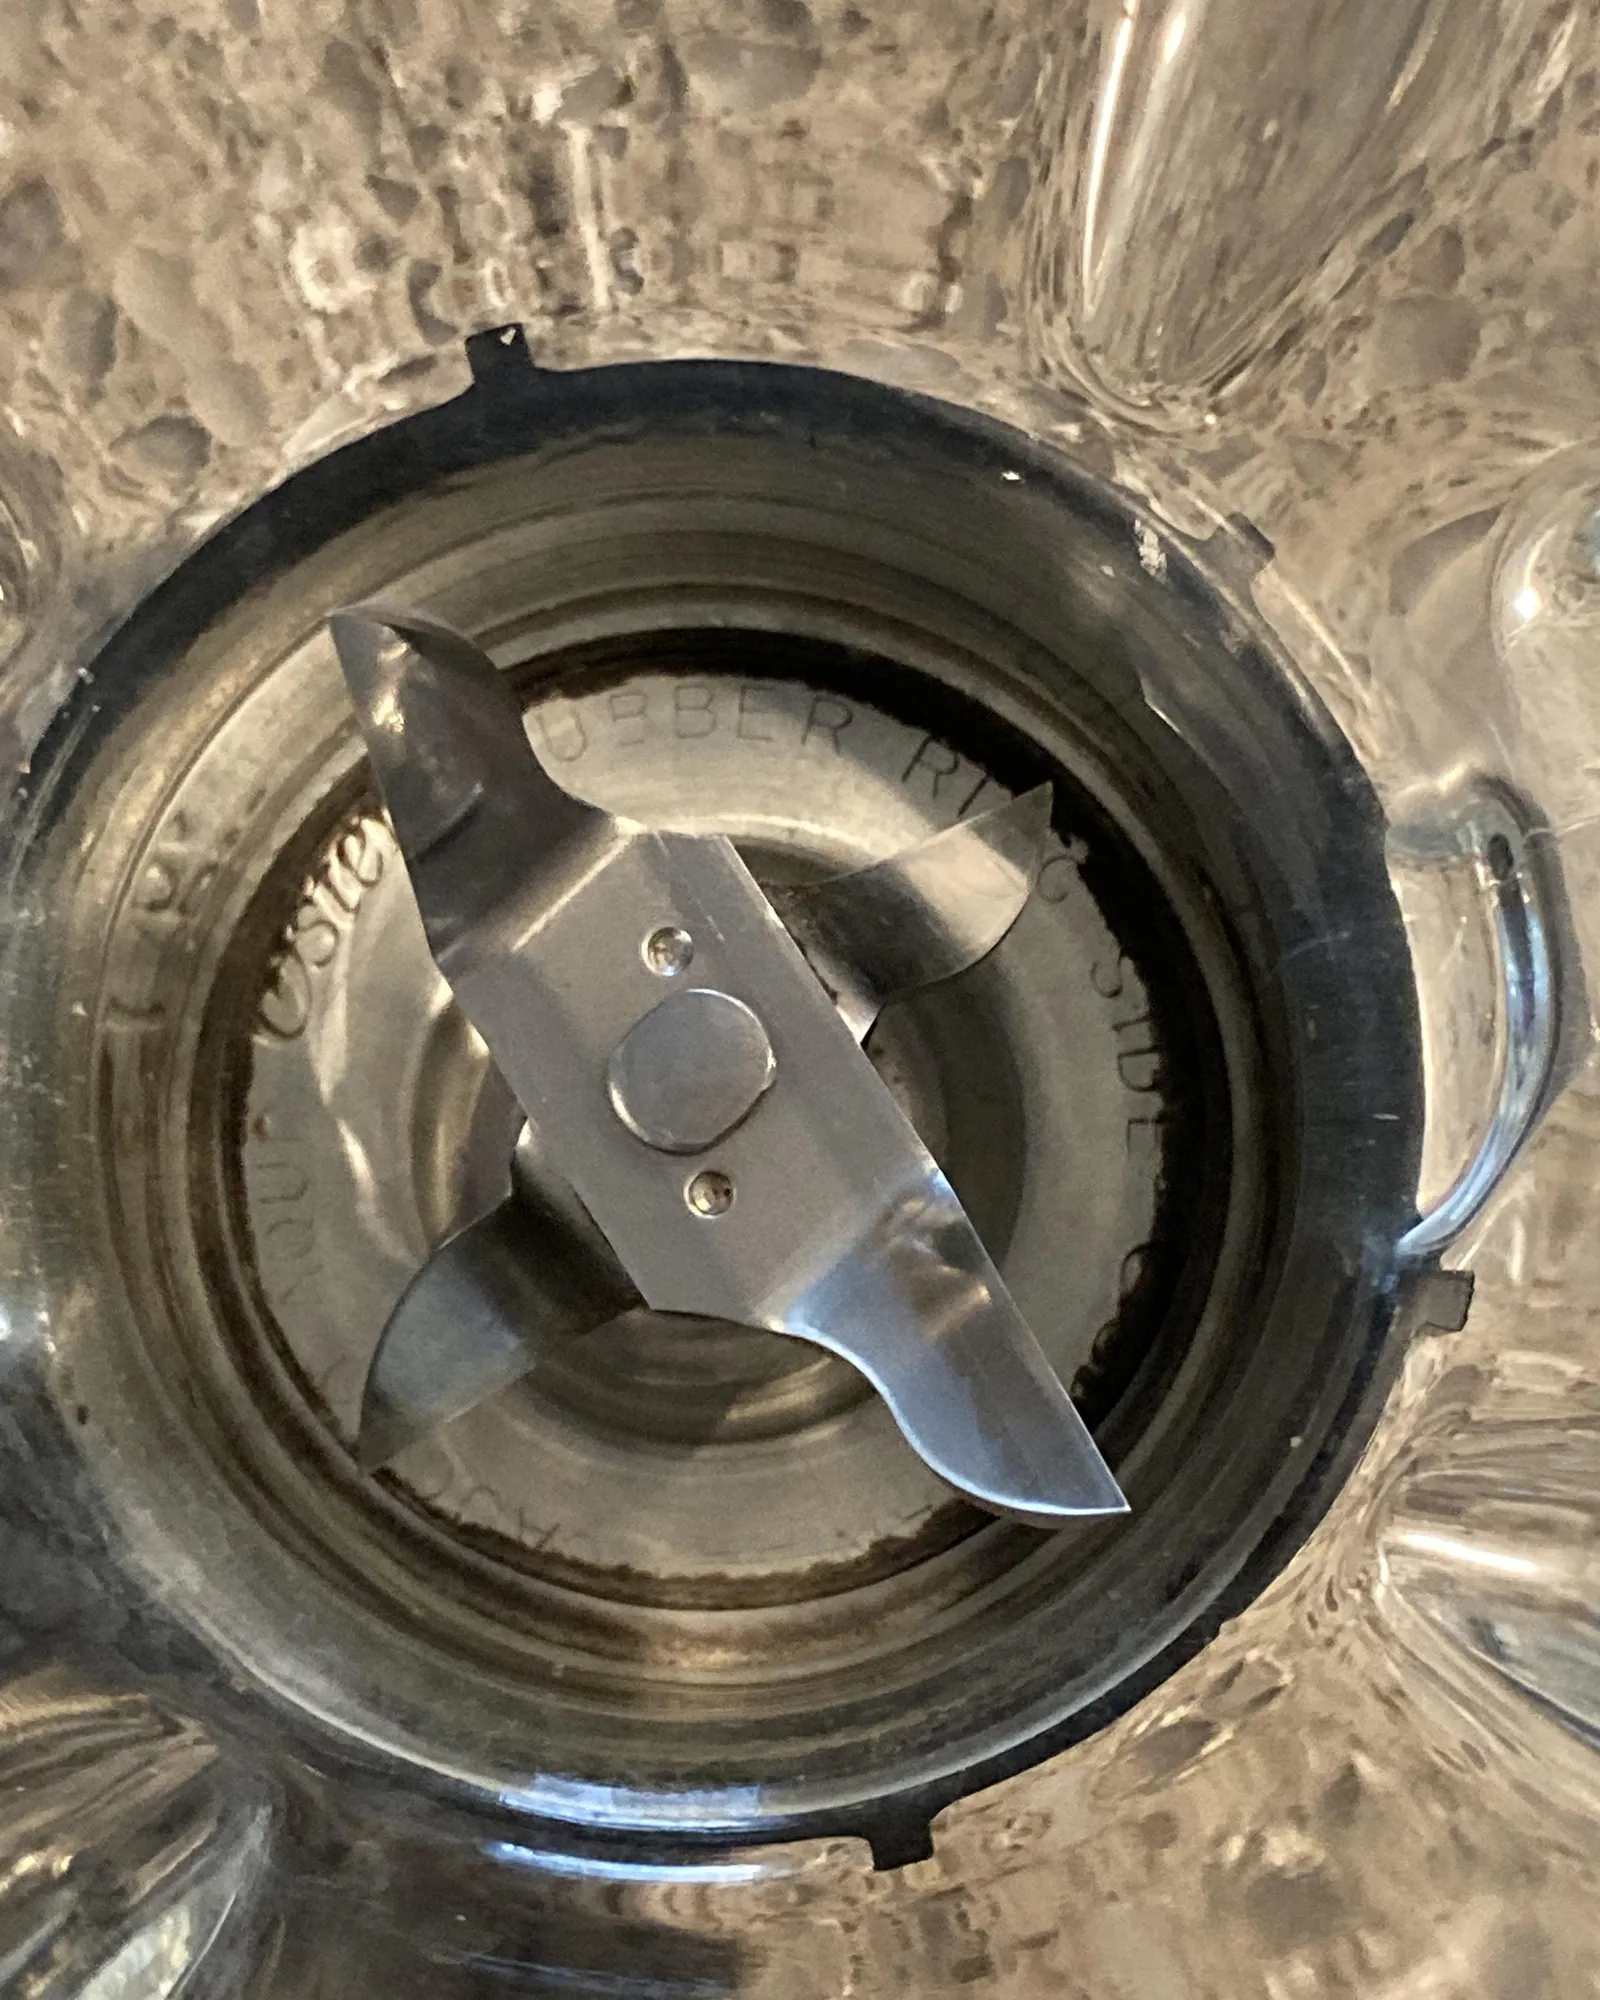
The blade assembly. This is the part that requires care. Oster blade assemblies have four sharp, curved blades permanently attached to a metal shaft and plastic or metal collar. You can’t and shouldn’t try to remove the blades themselves.
- Hold the assembly by the collar or hub, never by the blades.
- Wash it under running warm water with a long-handled brush, or swish it in soapy water while holding the collar.
- Use a small brush (a bottle brush or even a clean toothbrush) to scrub the underside of the blades and the area where the shaft meets the collar.
- Rinse thoroughly and set it blade-side down on a drying rack so water drains out of the collar.
Warning: Never put your fingers between the blades to wipe them, even with a sponge. Thousands of blender-related cuts happen exactly this way. If food is wedged under a blade, soak the assembly in warm soapy water for ten minutes first, then use a brush.
Cleaning Personal Blender Cups and Blade Bases
If you own an Oster MyBlend, Blend-N-Go, or similar personal blender, the routine is nearly identical with one twist: the blade base screws onto the cup rather than the cup’s bottom. Fill the cup with warm soapy water, screw on the blade base, and run it for 20–30 seconds just like the full-size method.
Then unscrew, wash the blade base by hand with a brush, and wash the cup normally. The travel lids for these models usually have a gasket in the drinking spout that needs the same gasket treatment as a full-size lid.
What’s Dishwasher-Safe (and What Isn’t)

This is the question that causes the most confusion, because the answer varies by model. Here’s the general rule, followed by the exceptions.
| Part | Dishwasher-Safe? | Rack Position | Notes |
|---|---|---|---|
| Glass jar | Yes | Top or bottom | Hot dry cycles are fine; avoid sudden temperature change |
| Plastic/Tritan jar | Yes, most models | Top rack | Bottom-rack heating elements can warp older plastic jars |
| Blade assembly | Yes, most models | Top rack | Remove before the dry cycle if your manual says so; hand-dry to protect the gasket |
| Standard lid | Yes, most models | Top rack | Check for a “hand wash only” stamp on the underside |
| Lid with soft gasket | Usually no | — | Hand-wash; heat degrades the seal and causes leaks |
| Filler cap | Yes, most models | Top rack | Small parts can flip over and fill with water—place face down |
| Motor base | Never | — | Wipe only with a damp cloth |
| Cord | Never | — | Wipe only |
The honest answer is that Oster’s dishwasher guidance has shifted over the years and varies between the Classic, Pro, Master, Heritage, and MyBlend lines. Your specific manual—printed on the card in the box or available as a PDF from Oster’s support site—is the final word. When in doubt, hand-wash. Nothing in a blender is so hard to clean by hand that it justifies ruining a gasket.
Pro Tip: If you do use the dishwasher, skip the heated dry cycle. Air-drying preserves the rubber gasket on the blade assembly and lid far longer, and gaskets are the number-one replacement part people order.
Deep Cleaning: Stains, Odors, and Stuck-On Residue
Even a well-rinsed blender accumulates problems over time. Here’s how to handle each one.
Removing Cloudy Film and Stains
Plastic jars turn cloudy from tiny scratches and from absorbing pigments—turmeric, beet, tomato, and berry stains are the usual culprits. A baking soda paste is the fix:
- Mix three parts baking soda with one part water to form a paste.
- Rub it onto the stained areas with your fingers or a soft sponge.
- Let it sit for 10–15 minutes.
- Rinse with warm water.
For stubborn stains, substitute white vinegar for the water, or soak the jar overnight in a solution of one part white vinegar to two parts warm water. Glass jars rarely stain but can develop hard-water film; the same vinegar soak removes it.
Eliminating Odors
Blenders hold onto smells—garlic, onion, fish, and strong spices linger in plastic and in gaskets. To deodorize:
- Soak the jar and lid in warm water with a few tablespoons of baking soda for 30 minutes.
- Or run a blend cycle with warm water, one sliced lemon, and a tablespoon of baking soda.
- Wash the gasket separately. A gasket that smells even after washing should be replaced.
Never mask odors with bleach on plastic parts; bleach can discolor plastic and leaves a residue you don’t want near food.
Cleaning the Motor Base and Vents
The base is the part everyone neglects, and it’s the part that can overheat. Dust and flour settle into the ventilation slots on the bottom and sides, gradually restricting airflow.
- Wipe the entire base with a damp cloth wrung out so it isn’t dripping.
- For the vents, use a soft dry brush (a clean paintbrush works well) or a vacuum with a brush attachment to lift dust out of the slots.
- Wipe the control dial or buttons with the same damp cloth; don’t spray cleaner directly onto the base.
- Dry everything immediately with a soft towel. Never let water sit in the seams.
Do this monthly, or more often if you bake frequently, since flour is the worst offender for clogging vents.
How Often To Clean Each Part
| Part | After Every Use | Weekly | Monthly |
|---|---|---|---|
| Jar | Quick rinse or full wash | Full disassembly wash | Vinegar soak if cloudy |
| Lid and filler cap | Rinse | Full wash, gasket checked | Gasket inspected for mold |
| Blade assembly | Rinse | Full brush wash | Soak in vinegar if residue builds |
| Motor base | Wipe with damp cloth | — | Vents brushed or vacuumed |
| Cord and plug | — | Wipe | Inspect for cracks or fraying |
If you use your blender daily for smoothies, the jar and blade get a quick rinse every day and a full wash every two or three days. If you use it a few times a month, wash everything thoroughly after each use and store it assembled but dry.
Troubleshooting Cleaning Problems
A lingering smell after washing. The gasket is the culprit nine times out of ten. Remove it from the lid or blade collar, wash it in hot soapy water, and soak it in white vinegar for 15 minutes. If the smell persists, replace the gasket—they’re inexpensive and widely available.
Water trapped inside the blade collar. This happens when you wash the blade assembly attached to the jar or submerge it upright. Shake it out, then set it blade-side down on a rack to drain overnight. If water remains sealed inside, the collar may need replacing.
A gritty residue in the jar threads. Dried smoothie collects in the threads where the blade collar screws on. Scrub with a small brush and warm soapy water; a toothbrush reaches into the grooves better than a sponge.
Cloudy plastic that won’t clear. Deep scratches don’t come out—once plastic is scratched, it stays scratched. You can reduce the appearance with a baking soda paste, but replacement jars are available for most current models if clarity matters to you.
Mold spots in the lid’s inner rim. Soak the lid in a solution of one part white vinegar to two parts water for 30 minutes, then scrub the rim with a small brush. If mold has worked into the gasket itself, replace the gasket or the lid.
Common Cleaning Mistakes To Avoid
- Submerging the motor base. It isn’t waterproof. Water reaching the motor or wiring causes rust, shorts, and a dead blender.
- Washing blades with bare hands. Use a brush. Every time.
- Using abrasive cleaners on plastic. Scouring powder, steel wool, and harsh scrubbing pads scratch the surface permanently.
- Putting a hot jar in cold water. Thermal shock cracks glass jars. Let the jar cool first.
- Leaving the blade assembly attached while soaking. Water gets trapped in the collar.
- Skipping the gasket. It’s the smallest part and the most common source of smells and leaks.
- Storing a wet blender assembled. Trapped moisture between the jar and lid grows mold. Let everything air-dry fully before reassembling.
Reassembling and Storing Your Blender
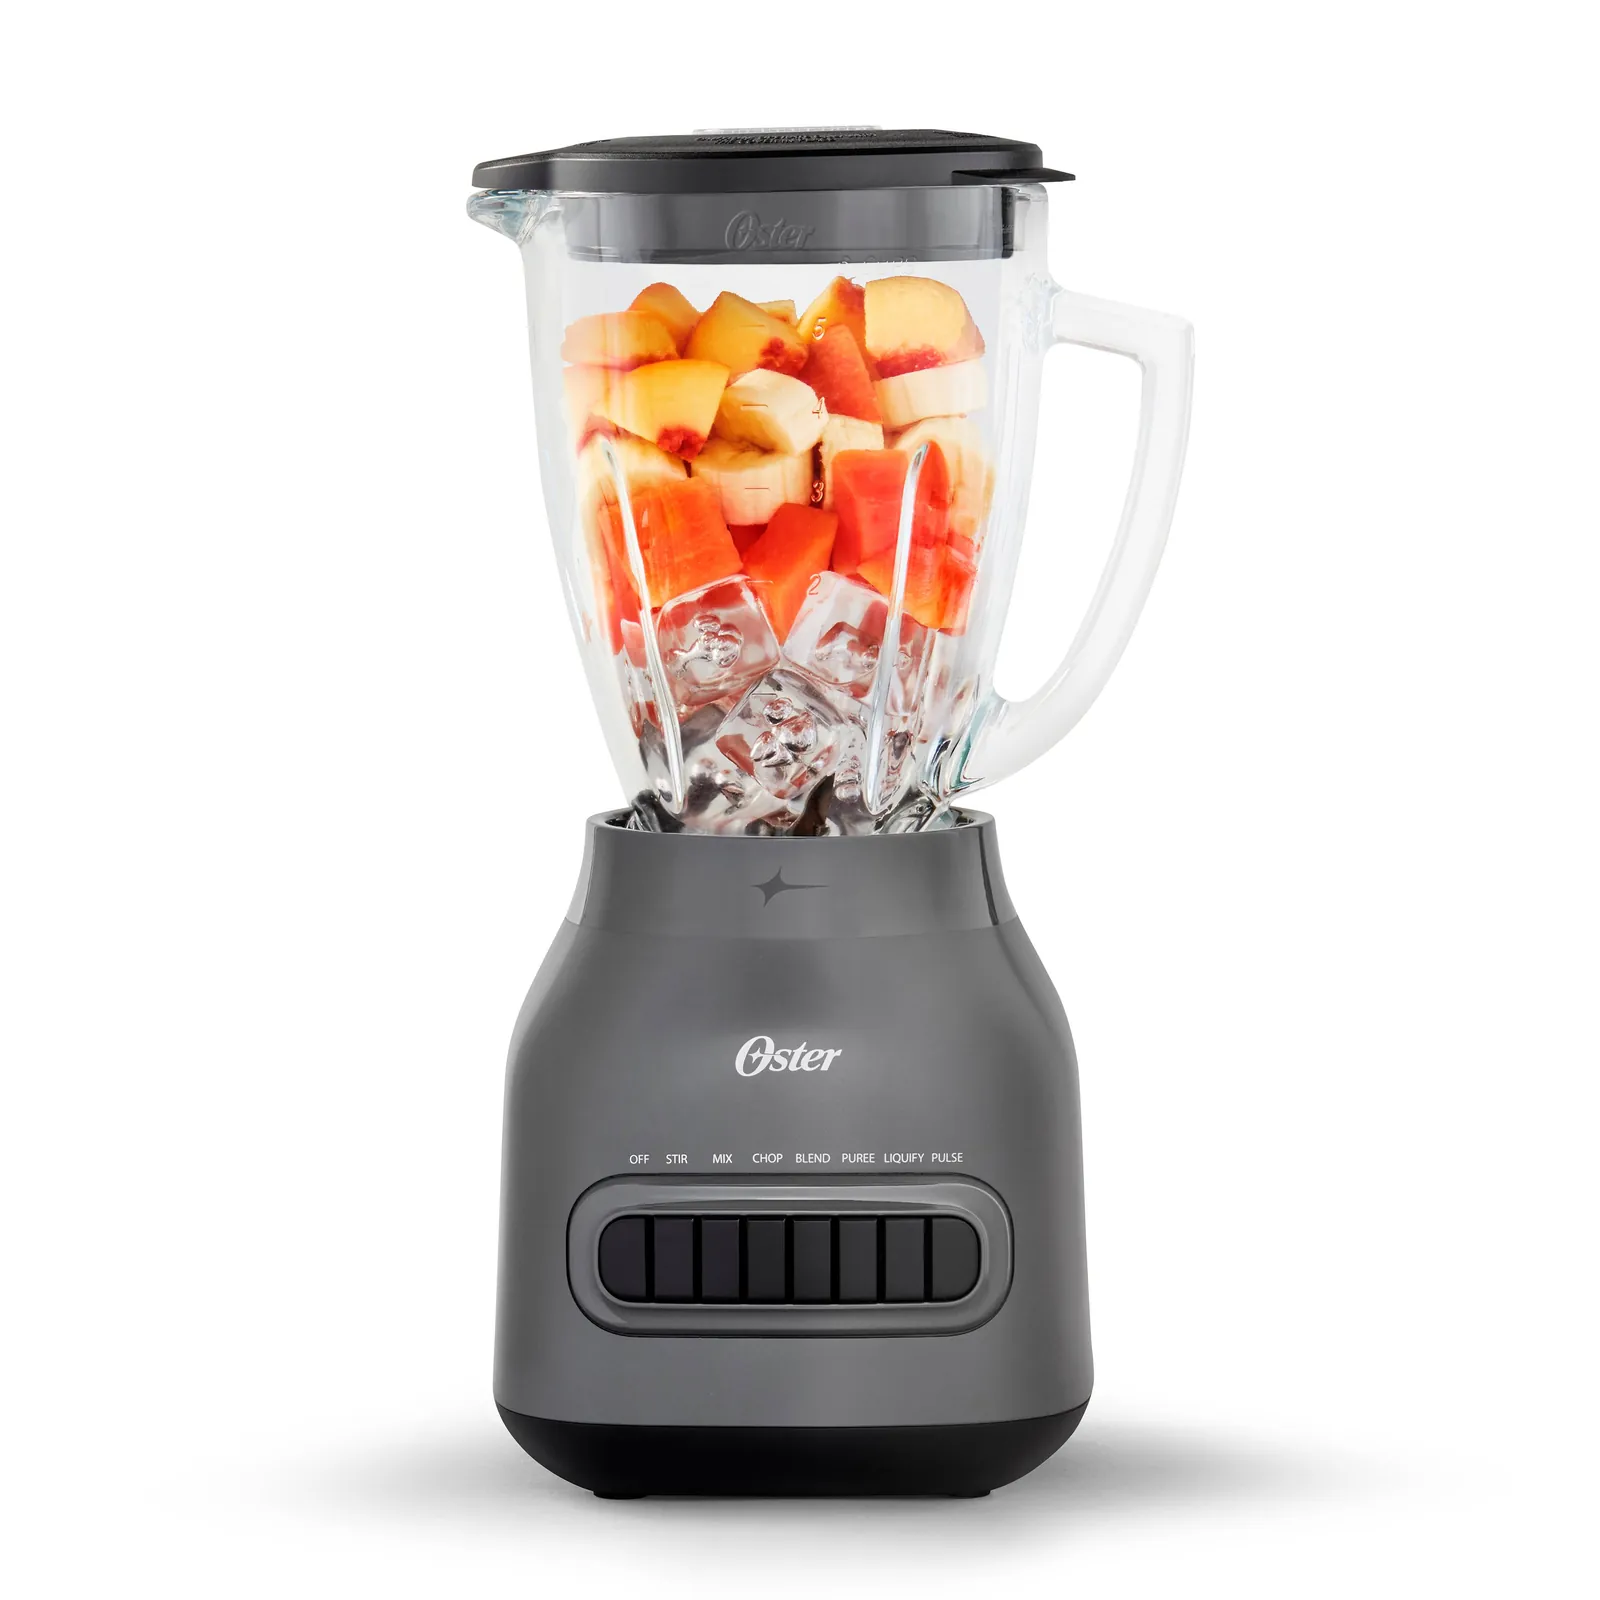
Once everything is clean and completely dry, reassemble in this order:
- Set the gasket into its groove on the blade assembly or jar base.
- Screw the blade assembly onto the jar, turning until snug. Don’t overtighten—you’ll compress the gasket and cause leaks.
- Place the lid on the jar and press it down evenly.
- Insert the filler cap.
- Set the jar on the motor base, or store it separately if you have limited counter space.
Store the blender with the lid slightly ajar, or with the jar off the base entirely. A sealed, damp jar is a mold incubator. Keep the cord loosely coiled—not wrapped tightly around the base, which stresses the wire where it enters the housing—and store the blender somewhere dry rather than under a sink.
Frequently Asked Questions
Can I put my Oster blender jar in the dishwasher?
Most Oster glass and plastic jars are dishwasher-safe on the top rack, and most blade assemblies and lids are too. However, lids with soft rubber gaskets and some older plastic jars are hand-wash only, because heat warps plastic and degrades gaskets. Check the stamp on the underside of your part or your model’s manual before loading it.
How do I get the smell out of my Oster blender?
Soak the jar, lid, and gasket in warm water with a few tablespoons of baking soda for 30 minutes, or run a blend cycle with warm water, a sliced lemon, and a tablespoon of baking soda. Wash the gasket separately, since it holds odors longest. If the smell survives a vinegar soak, replace the gasket.
How do I clean the blades without cutting myself?
Never touch the blades with your fingers or a sponge. Hold the blade assembly by its plastic or metal collar, wash it with a long-handled bottle brush under running warm water, and set it blade-side down to dry. If food is stuck, soak the assembly in warm soapy water for ten minutes first.
Can I wash the Oster blender base?
No. The motor base must never be immersed in water or run through a dishwasher. Wipe it with a damp cloth wrung out so it isn’t dripping, then dry it immediately. Clean the ventilation slots monthly with a soft dry brush or a vacuum brush attachment to prevent overheating.
Why does my Oster blender leak after cleaning?
A leak almost always means the gasket is missing, pinched, or installed in the wrong order, or that the blade collar isn’t screwed on tightly enough. Disassemble, check that the gasket sits flat in its groove, and reattach the collar until snug—but don’t overtighten, which flattens the gasket and causes the same problem.
How often should I deep clean my Oster blender?
Deep clean the jar, lid, and blade assembly weekly with a full disassembly wash, and do a vinegar or baking soda soak monthly or whenever you notice cloudiness, stains, or odors. Clean the motor base’s vents monthly. If you blend daily, shorten the jar and blade interval to every two or three days.
Conclusion
Start tonight by running the warm water and dish soap blend cycle, then disassemble the blade assembly and wash the gasket by hand—that one extra step eliminates most of the smells, leaks, and cloudy jars people blame on their blender.