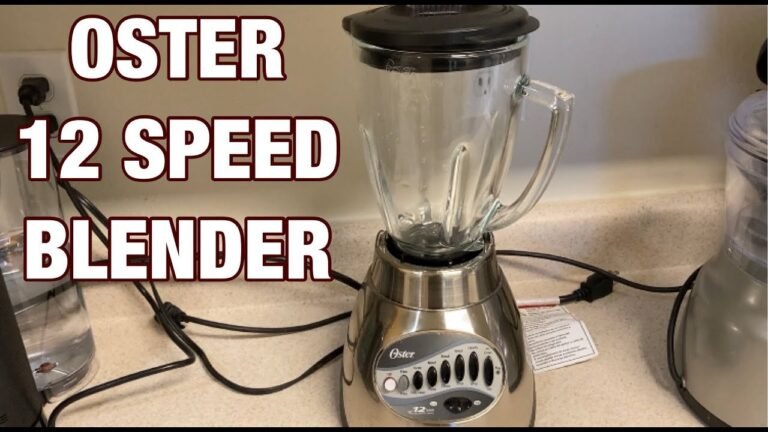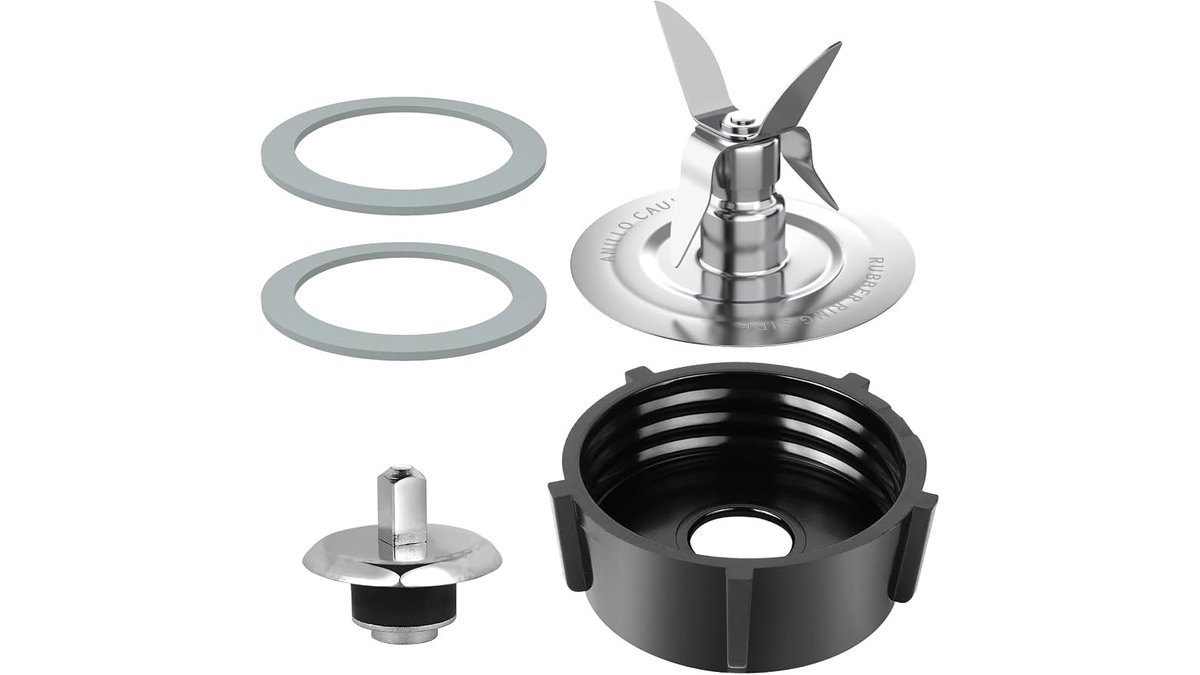
How Does an Oster Blender Gasket Fit? Step-by-Step
An Oster blender gasket fits into the groove in the base of the blade assembly, flat side down, so the blade unit seals against the jar when you screw it on. The gasket is a soft ring, about 2.5 inches across on most Oster jars, and it presses into a channel around the blades. If it’s in the right place, the jar won’t leak when you blend.
Three things change that answer. First, which jar you own — glass, plastic, or a smaller 5-cup size — because the groove sits in a different spot on each. Second, which side of the gasket faces up. Third, whether the old gasket is still in there, stuck and hidden. This page covers all three.
Which Oster Owner Needs This
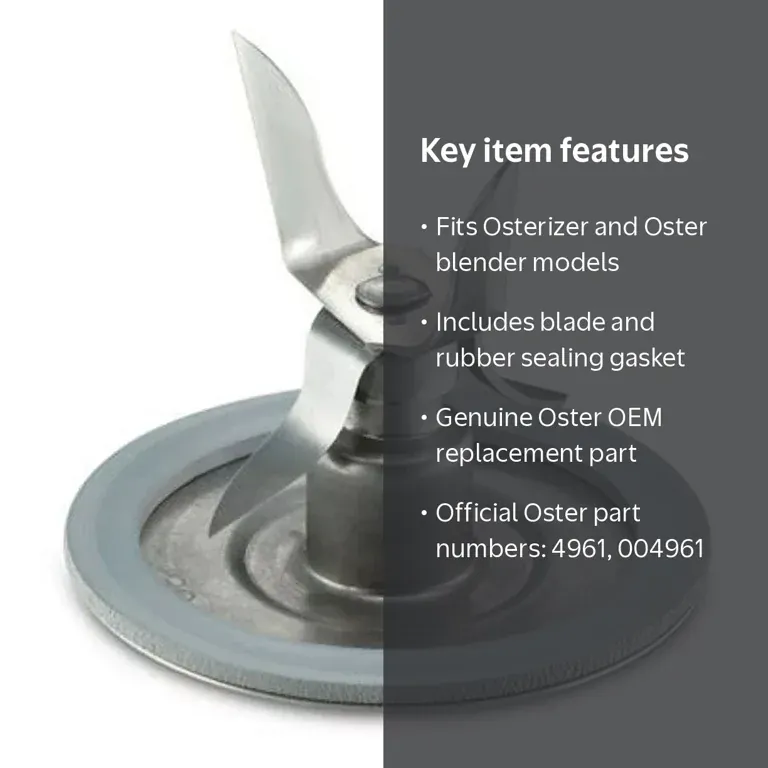
Three kinds of people type this question, and they don’t need the same thing. The first owns a classic Oster blender with a glass jar and a metal blade base. They’ve had it for years, it leaks at the bottom, and they’ve never taken the blade assembly apart. They need to know where the gasket sits and how to get the old one out.
The second just bought a replacement gasket online. It arrived as a thin rubber ring, and now they’re holding it, looking at the blade base, and not sure which way it goes. They need the orientation, not the whole repair.
The third has a newer Oster model with a plastic jar and a one-piece blade assembly. On some of these, the gasket isn’t sold as a separate part at all. They need to know that before they spend money on a ring that won’t fit.
This page serves the first two readers best. It assumes you have a blade assembly that comes apart — a metal base you can grip and a gasket you can lift out with a fingernail. If your blade base is sealed plastic with no removable ring, this page isn’t for you, and you should check your model number on the Oster site instead.
What Decides Whether It Seals
The jar type sets the gasket size. Oster made glass jars, plastic jars, and smaller 5-cup jars over the years, and the gasket for each is a different diameter. A glass-jar gasket on a plastic jar won’t sit in the groove. Measure your old gasket across the outside edge before you order, and match that number to the part.
Which way up the gasket faces decides whether the jar seals. Most Oster gaskets have a flat side and a slightly rounded or lipped side. The flat side goes down against the blade base. Flip it and the jar won’t seal, no matter how hard you tighten.
The old gasket hides more often than people expect. It sticks to the groove, goes hard, and looks like part of the plastic. People fit a new gasket on top of it and wonder why the jar still leaks. Run a fingernail around the groove before you assume it’s empty.
Over-tightening is the mistake that costs the most. Gripping the jar and twisting hard feels like it should stop a leak. It doesn’t. It flattens the gasket, cracks plastic jar threads, and can warp the blade base so no gasket sits right again. Hand-tight is enough.
The groove itself wears. If the channel in the blade base is chipped or packed with dried fruit fiber, a new gasket can’t seal against it. This is the one people miss most, and it’s the reason a fresh gasket sometimes doesn’t fix the leak.
How the Oster Blender Gasket Fits, Step by Step
- Unplug the blender. Pull the cord from the wall outlet. The blades are sharp and you’ll have your hand near them — no power, no accidents.
- Empty and separate the jar. Pour out any contents, then unscrew the blade base from the jar by turning it counterclockwise. Set the jar aside.
- Lift out the old gasket. Work a fingernail or a butter knife tip under the ring in the groove and pry it up. If it’s stuck, soak the base in warm soapy water for 10 minutes first. You’ll know it worked when the groove is bare.
- Clean and dry the groove. Wipe the channel with a cloth and check for dried bits or cracks. A clean, dry groove is what the new gasket grips. If you see a crack running through the channel, stop — the base needs replacing.
- Check the new gasket’s shape. Lay it on the counter. One side sits flat; the other has a slight lip or curve. The flat side is the one that goes down.
- Press the gasket into the groove. Set it flat side down and push it in with your thumbs, working around the ring. It should sit level, with no part riding up over the edge. Run a finger around it — if any section lifts, reseat it.
- Screw the base onto the jar. Turn it clockwise until it stops with light hand pressure. Don’t force it past the point where it tightens.
- Fill with water and test. Add about 2 cups of water, hold the lid on, and run the blender on low for 5 seconds. Dry the outside of the base with a towel first, so any new leak shows clearly.
- Check for drips at the seam. Look where the base meets the jar. A dry seam means the seal is good. A slow bead of water means the gasket is flipped, pinched, or the groove is damaged.
The judgement call is step 6. A gasket that’s 90% seated looks fine and leaks under pressure. Press it in until the whole ring sits below the rim of the groove, not level with it.
Matching the Gasket to Your Jar
| Your situation | What to do | What it takes | What to watch for |
|---|---|---|---|
| Glass jar, metal base | Standard glass-jar gasket | 10 minutes | Measure old ring first |
| Plastic jar, newer model | Check if gasket is sold separately | A look at your model number | Some are sealed units |
| Old gasket stuck in groove | Soak in warm soapy water | 10 minutes soaking | It looks like plastic |
| New gasket won’t seat | Flip it, flat side down | 2 minutes | Lip side up causes leaks |
| Groove cracked or chipped | Replace the blade base | Cost of a new base | No gasket will seal it |
| Jar threads stripped | Replace the jar | Cost of a new jar | Base won’t tighten |
| Leak only when blending thick food | Reseat gasket, don’t over-tighten | 5 minutes | Thick mixes push harder |
What Skilled Hands Do Differently
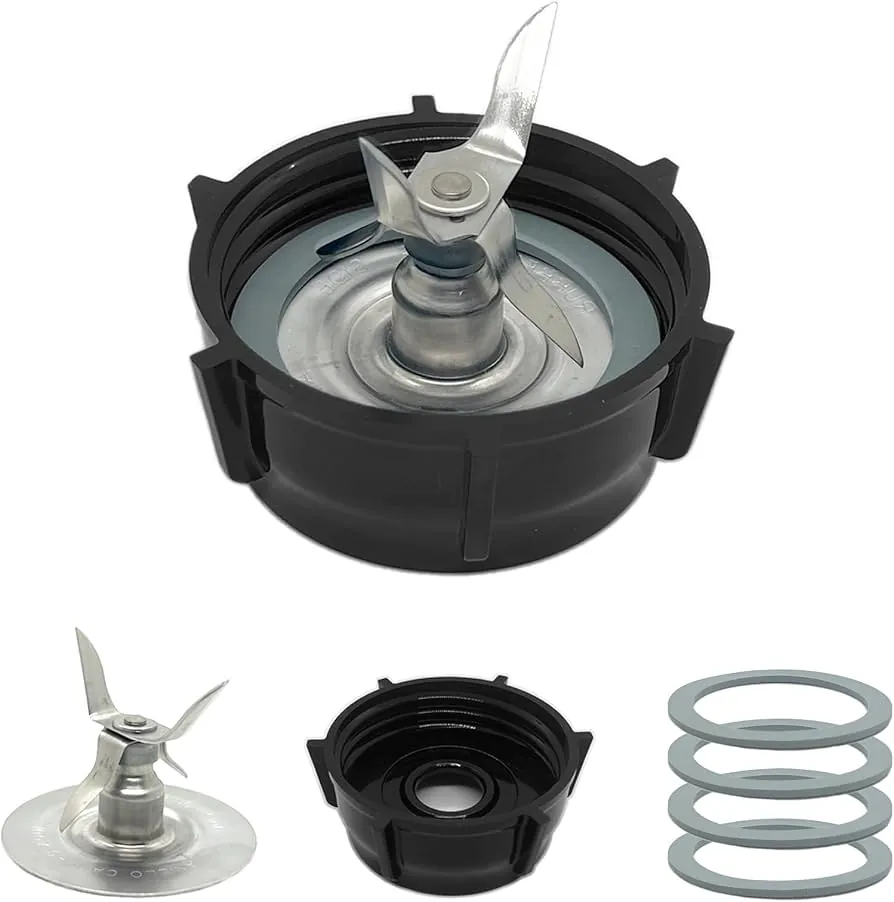
They check the old part before ordering
The first move is always the same: take the blade base apart and look. Measure the old gasket across its outside edge with a ruler, and write the number down. Oster gaskets come in more than one diameter depending on the jar, and a gasket that’s a few millimeters off won’t sit in the groove.
Ordering by the blender’s model number alone works too, but only if you’ve read the number off the bottom of the base correctly. A photo of the old gasket next to a ruler settles it in seconds.
They stop tightening before it feels done
Hand-tight means the base stops turning with light pressure from your wrist. People who’ve fixed leaks before turn it a quarter-turn past that, and that’s where plastic threads crack. They also dry the seam with a towel before the test run. A wet base hides a slow leak, so you can’t tell if the fix worked. And they leave the gasket alone once it’s seated — no poking at it, no trimming it with scissors. A trimmed gasket never seals again.
When It Still Leaks
One lead check first: dry the seam, run the blender with water, and watch where the water appears. That tells you which row below applies.
| What you notice | What it usually means | What to do first | How to stop it happening again |
|---|---|---|---|
| Water beads at the seam | Gasket flipped or pinched | Reseat flat side down | Check orientation every time |
| Leak starts after 10 seconds | Old gasket still in groove | Pry out both rings | Feel the groove is bare |
| Base won’t tighten fully | Jar threads damaged | Try a different jar | Don’t force past hand-tight |
| Gasket pops out when blending | Groove is worn or cracked | Inspect the channel | Replace the blade base |
| Slow drip when jar sits full | Gasket flattened over time | Fit a new gasket | Replace when it goes hard |
| Leak only with thick mixtures | Seal can’t hold under load | Blend in smaller batches | Keep fills under the max line |
| Gasket feels loose in groove | Wrong size for your jar | Measure and reorder | Match diameter to old ring |
The Rules and Limits That Apply
The gasket is a wear part, and Oster sells it as a replacement item rather than a permanent fixture. That means the fit is only guaranteed for the jar and blade base it was made for — a gasket listed for one jar size won’t seal another, even if it looks close.
Cleaning rules matter here too. The US Department of Agriculture advises washing anything that touched raw meat, poultry, seafood, or eggs with hot soapy water before it touches other food, and a blender jar and blade base fall under that. The gasket traps food in the groove, so it needs the same wash as the jar.
Where the rules differ is by model and by country. Oster’s own parts pages list gaskets by model number, and the fit varies between the classic Osterizer line and newer models.
If your blender is under warranty, check Oster’s warranty terms before you take the blade base apart — some repairs void it. For anything involving the motor housing, the cord, or the base’s electrical parts, stop and take it to a service center. Those carry a shock risk and aren’t a home job.
What the Fix Costs You
A replacement gasket is one of the cheapest parts on the blender. Prices move with the seller and the model, so check Oster’s parts page or a retailer for today’s number rather than trusting a figure written here. What you’re really spending is time: about 10 minutes to swap a gasket, plus 10 more if the old one is stuck and needs soaking.
The costs that surprise people are the ones that follow a mistake. Over-tightening cracks a plastic jar, and a new jar costs far more than a gasket. Forcing a gasket into a cracked groove wastes the gasket and leaves you with the same leak. Buying the wrong size means a second order and another wait.
The good news is that the cheap path is also the correct one. Measure first, buy the right ring, seat it flat side down, and hand-tighten. That’s the whole job, and it keeps the cost at one part.
Keeping the Seal Good
Rinse the gasket and groove after every use with thick or sticky mixtures, because dried food in the channel is what pushes a gasket out of place. Once a week, take the blade base apart, lift the gasket out, and wash both parts by hand in warm soapy water. A dishwasher works for most Oster jars and bases, but check your model’s manual — some plastic parts warp on the heated dry cycle.
The sign it’s time for a new gasket is simple: it feels hard instead of rubbery, or it’s lost its shape and won’t sit flat. A gasket that’s gone stiff won’t seal no matter how you position it. When that happens, replace just the ring, not the whole blade assembly. The base and blades usually outlast several gaskets.
When This Isn’t the Right Fix
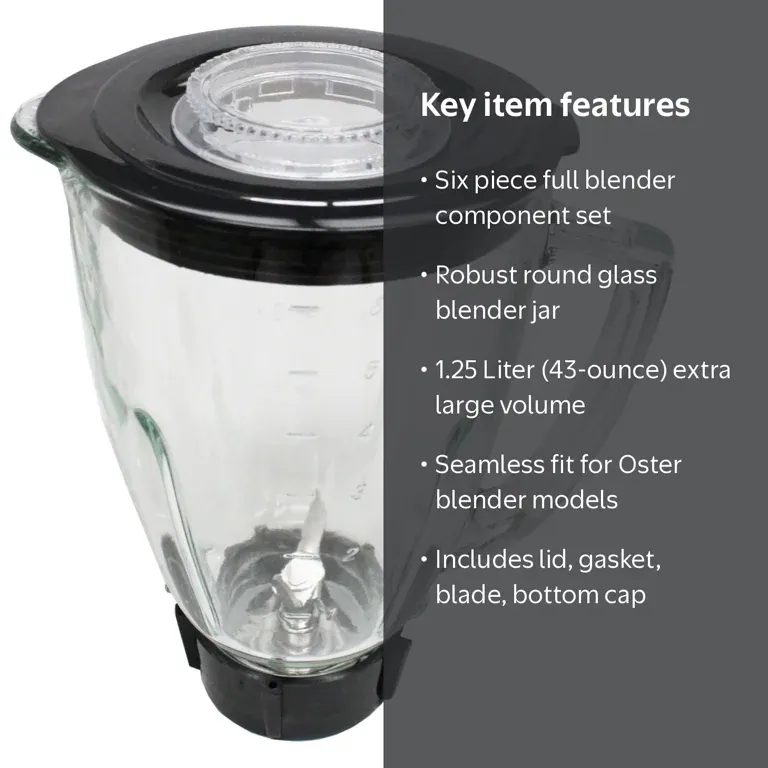
If your blade base is a sealed plastic unit with no removable ring, there’s no gasket to fit. Newer Oster models sometimes build the seal into the base. In that case, replace the whole blade assembly, or check your model on Oster’s site to see what part is sold.
If the groove in the base is cracked, a new gasket won’t help. Replace the blade base. If the jar’s threads are stripped so the base won’t tighten, replace the jar.
And if the leak comes from the motor housing, the cord, or anywhere near the electrical parts, don’t open it. Take it to an authorized service center. A blender base contains electrical parts that carry a shock risk, and that repair isn’t a home job.
Frequently asked questions
Which way does an Oster blender gasket go in?
The flat side goes down, against the blade base, with any lip or curve facing up toward the jar. If you fit it the other way, the jar won’t seal and you’ll see water at the seam within seconds of blending. Lay the gasket on a counter first — the flat side is easy to spot.
How do I know if my Oster gasket is still in the blade base?
Run a fingernail around the groove in the base. A gasket that’s still there feels like a soft ridge you can lift. Old gaskets go hard and blend into the plastic, so people often fit a new one on top of them. If the groove feels solid with no give, the old ring is still in there.
Can I use my Oster blender without the gasket?
No. Without the gasket, liquid runs straight through the gap between the jar and the blade base. You’ll get a leak on the counter within seconds. The gasket is the only thing sealing that joint, so the blender isn’t usable until it’s fitted.
How long does an Oster gasket last?
It depends on use and washing, so no fixed number applies. The honest check is feel: when the ring goes hard instead of rubbery, or won’t sit flat in the groove, it’s done. Heat from dishwasher drying cycles speeds that up, which is why hand washing makes gaskets last longer.
How much does a replacement Oster gasket cost?
Prices change by seller and model, so check Oster’s parts page or a retailer for today’s figure. The gasket is one of the cheapest parts on the blender — far less than a new jar or blade base. Buy the size that matches your old ring’s diameter.
Why does my Oster blender leak after I replaced the gasket?
The most common cause is the old gasket still sitting in the groove under the new one. The second is fitting the new ring lip-side down. Pull the base apart, check the groove is bare, and reseat the gasket flat side down. If it still leaks, the groove may be cracked.
Does the gasket size differ between glass and plastic Oster jars?
Yes. Glass jars, plastic jars, and smaller 5-cup jars each take a different gasket diameter. A ring made for one won’t seal another, even when it looks close. Measure your old gasket across the outside edge and match that number to the part you order.
Can I stretch a small gasket to make it fit?
No. Stretching a rubber gasket leaves it uneven, and it won’t sit level in the groove. It may seal for one blend and fail the next. Order the correct size instead — the part is cheap, and a stretched ring just wastes your time.
Fitting Your Oster Gasket Today
Take the blade base off, lift out the old gasket, and measure it before you order anything. Measure the outer diameter and the thickness, not just the width across the jar. A ring that’s a hair too thick won’t seat, and one that’s too thin won’t seal no matter how hard you tighten.
Then fit the new ring flat side down, press it fully into the groove, and hand-tighten the base onto the jar. Run a fingernail around the seated ring. If it catches on a high spot, work that spot down with your thumb before you screw the base on.
Expect a dry seam when you test with water — that’s the sign it worked.
If water still beads at the seam after a correct fit, or the groove is cracked, stop and replace the blade base or take the unit to an Oster service center.