How To Crush Ice In A Ninja Blender: Quick and Easy Guide
Crushing ice at home can feel like a small luxury. Think of perfectly chilled smoothies, frozen cocktails, or even icy treats for summer. For many, a Ninja blender is the go-to kitchen tool for this job. But not all blenders are equal, and not all techniques work the same. If you’ve ever ended up with big ice chunks or worried about damaging your blender, you’re not alone. The good news: with the right steps and some insider tips, you can crush ice easily—and safely—using your Ninja blender. Whether you want fine snow for snow cones or a rougher texture for drinks, this guide will help you master the process.
Why Use A Ninja Blender For Crushing Ice?
A Ninja blender is more than just a regular blender. It’s designed with strong motors and tough blades, making it ideal for ice. Many people buy Ninja blenders for their power and durability, but what makes them especially good for this task?
- Powerful motor: Most Ninja models have motors between 900 and 1500 watts. This is strong enough to crush ice without overworking the machine.
- Blade design: The unique multi-level blades help chop ice more evenly compared to standard flat blades.
- Jar strength: Ninja blender jars are made from BPA-free, high-impact plastic that can handle ice without cracking.
These features combine to make crushing ice not only possible but also efficient and safe. But as with any tool, knowing how to use it properly makes all the difference.
Types Of Ice And Their Impact
Not all ice is the same. The type of ice you use changes the results and can affect your blender’s performance.
Common Ice Types
- Standard freezer cubes: These are the typical ice cubes from your freezer or tray. They are dense and take longer to crush.
- Store-bought ice: Often found in bags, these cubes are usually hollow, making them easier to break down.
- Crushed ice: Pre-crushed ice is easier on the blades, but you may want even finer texture.
- Sonic-style pellet ice: Small, chewable pieces. Easier to crush but can melt quickly.
Using harder, larger cubes can make your blender work harder. For best results, let freezer cubes sit at room temperature for 2-3 minutes before crushing. This makes them just a bit softer, reducing stress on the blades and motor.
Choosing The Right Ninja Blender Model
Not every Ninja blender is built the same. Some models are better for ice than others. Let’s compare popular options so you know what works best.
| Model | Motor Power | Blade Design | Ice Crushing Capability |
|---|---|---|---|
| Ninja Professional Blender 1000 | 1000 Watts | Stacked 6-blade | Excellent |
| Ninja Foodi Power Blender | 1400 Watts | Hybrid edge blades | Outstanding |
| Ninja Nutri Pro | 900 Watts | 4-blade assembly | Good (for small batches) |
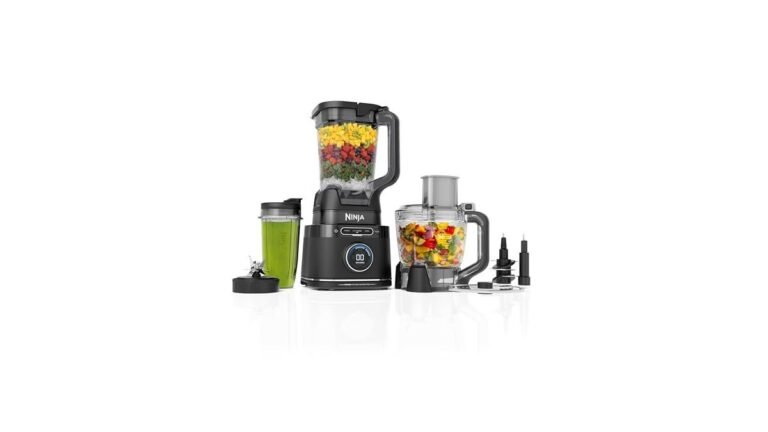
| Ninja Mega Kitchen System | 1500 Watts | Stacked 6-blade | Excellent |
Key takeaway: Higher wattage and stacked blade designs provide the best ice crushing. If you use a personal-size Ninja (like the Nutri Pro), use smaller amounts of ice and pulse carefully.
Preparing Your Blender And Ice
Before you start, a little preparation goes a long way. Setting up your blender and ice correctly prevents problems.
Blender Setup
- Assemble correctly: Make sure the pitcher or cup is seated and locked in place. Loose parts can cause leaks or even damage.
- Check blade sharpness: Dull blades crush less efficiently and can overheat the motor.
- Clean pitcher and blade: Old residue can affect taste and performance.
Ice Preparation
- Size matters: If using large cubes, break them into smaller pieces by wrapping in a towel and tapping with a rolling pin. This helps avoid jams.
- Don’t overfill: Fill the blender jar only halfway with ice. Too much ice puts strain on the motor.
- Add liquid if needed: For drinks, add a small amount of water or juice. This helps blades move freely and prevents overheating.
- Let ice sit: As mentioned, let ice rest for a few minutes out of the freezer. This small step makes a big difference.
Insider tip: For the finest snow-like texture, use slightly wet ice. Dry, hard cubes are harder to crush evenly.
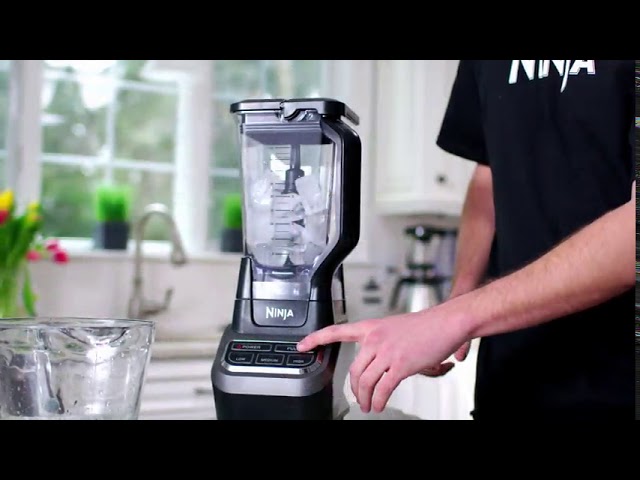
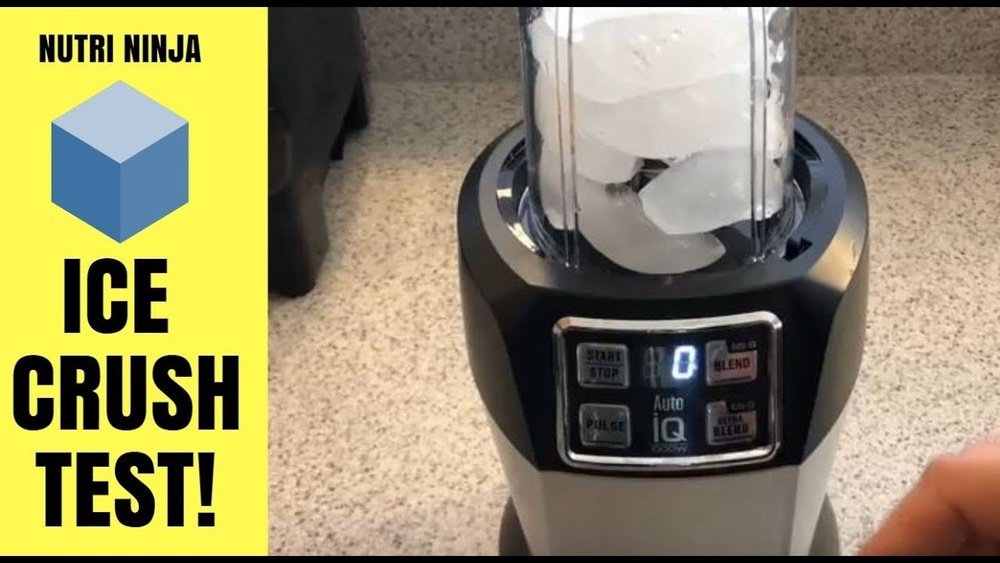
Credit: www.youtube.com
Step-by-step Guide: Crushing Ice In A Ninja Blender
Here’s how to get perfect crushed ice every time. Whether you want chunky ice for drinks or fine snow for desserts, these steps cover it all.
- Add ice to the pitcher
- Fill halfway, never more. For best results, use 1-2 cups per batch.
- Add a splash of liquid (optional)
- For smoother blending, add 2-4 tablespoons of water, juice, or milk.
- Secure the lid tightly
- Make sure the lid clicks into place. This prevents leaks and ensures safety.
- Select the right setting
- Most Ninja blenders have a “Crush” or “Ice” button. If not, use the “Pulse” function.
- Pulse, don’t blend continuously
- Use short bursts (1-2 seconds each), then check the ice. This protects the motor and gives better texture.
- Shake or stir if needed
- Stop and shake the pitcher if ice clumps near the blades. You can also use a spatula (when the blades stop) to mix.
- Repeat until desired texture
- For snow, keep pulsing until you see fine, even ice. For drinks, a chunkier texture may be enough.
- Empty and use immediately
- Crushed ice melts faster. Use it right away for best results.
Example Routine For A Frozen Margarita
- Add 1.5 cups of ice cubes to the Ninja blender.
- Pour in 3 oz tequila, 2 oz lime juice, 1 oz triple sec.
- Pulse 6-8 times, shaking the pitcher between pulses.
- Stop when you reach a fine, slushy texture.
- Pour into a salt-rimmed glass and enjoy.
Common Mistakes And How To Avoid Them
Even with a strong blender, mistakes can happen. Here are some errors to watch out for:
- Overloading the jar: Too much ice can jam the blades or burn out the motor.
- Blending continuously: Holding down the blend button overheats the motor. Always pulse.
- Not enough liquid: Dry ice alone is harder to crush. A little liquid helps everything move.
- Ignoring the ice type: Hard, freezer-fresh cubes are tougher to crush. Let them soften for a few minutes.
- Using dull blades: Replace blades if they look worn or don’t cut as well as before.
A common beginner error is filling the jar to the top and hitting “Blend” for 30 seconds straight. This often leads to uneven chunks, a stuck blade, or even a broken pitcher.
Getting The Texture You Want
Crushed ice isn’t one-size-fits-all. Sometimes you want a fine powder, other times, chunky bits are best. Here’s how to control the texture:
For Chunky Crushed Ice
- Use larger cubes and pulse just 3-4 times.
- Check after each pulse to avoid over-processing.
- Ideal for cocktails like mojitos or whiskey on the rocks.
For Fine Snow-like Ice
- Use small or slightly wet cubes.
- Pulse 8-12 times, shaking between pulses.
- Perfect for snow cones or frozen desserts.
For Smoothies And Slushies
- Add both ice and liquid (milk, juice, or yogurt).
- Use the “Smoothie” or “Crush” button, pulsing as needed.
- If the mix stops moving, add a bit more liquid and pulse again.
Non-obvious insight: The more liquid you use, the smoother and less icy the texture becomes. For thick, spoonable slush, use less liquid; for drinkable smoothies, use more.
Cleaning Up After Crushing Ice
Ice may seem clean, but residue and small bits can stick to the pitcher and blades. Cleaning properly keeps your blender working well.
- Rinse immediately: As soon as you finish, rinse the pitcher and blades with warm water.
- Add soap and blend: Fill halfway with warm water, add a drop of dish soap, and pulse a few times.
- Scrub gently: Use a soft brush or sponge to remove any stuck pieces.
- Dry thoroughly: Shake off excess water and let air-dry before storing.
Avoid using harsh scrubbers or putting blades in the dishwasher, as this can dull them over time.
How Ninja Blenders Compare With Other Brands For Ice
Is a Ninja blender really the best for ice? Let’s look at how it stacks up against other popular brands.
| Brand | Typical Power | Blade Design | Ice Crushing Rating |
|---|---|---|---|
| Ninja | 900–1500 W | Stacked, multi-level | Excellent |
| Vitamix | 1200–1800 W | Flat, 4-prong | Outstanding (but costly) |
| Oster | 600–1200 W | Flat, 4-prong | Good |
| NutriBullet | 600–1200 W | Flat, 4-prong | Fair (small batches) |
Ninja offers the best value for most homes. While Vitamix is more powerful, it’s often double the price. NutriBullet and Oster can handle small ice loads, but struggle with large amounts.
Recipes That Use Crushed Ice
Once you know how to crush ice well, there are many things you can make. Here are some ideas to try with your Ninja blender:
Classic Mojito
- 2 oz white rum
- 1 oz lime juice
- 2 tsp sugar
- 6-8 mint leaves
- 1 cup crushed ice
- Soda water
Add rum, lime, sugar, and mint to the blender with ice. Pulse until ice is crushed and mint is broken up. Pour into a glass and top with soda.
Fruit Slush
- 1 cup frozen berries
- 1/2 cup orange juice
- 1 cup crushed ice
- 1 tbsp honey
Blend until smooth but still icy. Serve immediately.
Coffee Frappe
- 1 cup strong brewed coffee (cooled)
- 1 cup crushed ice
- 1/4 cup milk
- 1 tbsp sugar
Add all ingredients to the blender, pulse until frothy and icy.
These recipes are just a starting point. Crushed ice can be used in everything from smoothies and milkshakes to desserts and party drinks.
Troubleshooting: When Things Go Wrong
Sometimes, even if you follow all the steps, things don’t turn out right. Here’s how to fix common problems:
- Ice won’t crush evenly: Try smaller batches, or let the ice sit out longer before blending.
- Blender smells hot: Stop, unplug, and let it cool down. You may be overloading or blending too long.
- Pitcher leaks: Check if the lid and base are tight. Replace seals if worn.
- Blades stuck: Remove the pitcher, shake it gently, and pulse again. Never force the blades with a tool.
If your Ninja blender continues to have trouble, check the manual or contact customer support. Most issues are fixable at home.
Maintenance Tips For Long Blender Life
Your Ninja blender can last for years with proper care. Here’s how to keep it in top shape:
- Clean after every use: Don’t let ice or residue dry inside the pitcher.
- Check blades regularly: Replace dull or bent blades immediately.
- Don’t overload: Stick to recommended ice amounts.
- Store with lid off: This prevents odors and lets the jar dry completely.
- Run “self-clean” cycles: If your model has this feature, use it weekly.
Non-obvious insight: Even high-powered blenders benefit from occasional blade sharpening or replacement. This keeps them performing like new.

Credit: www.rtings.com
Safety Considerations When Crushing Ice
Safety comes first, especially with powerful kitchen appliances.
- Never insert utensils while blending: Wait until the blades stop before stirring or scraping.
- Keep hands away from blades: Blades are sharp, even when not spinning.
- Supervise children: Kids love to help, but always supervise closely.
- Check for cracks: If the pitcher is cracked, stop using immediately to avoid leaks or breakage.
If you hear unusual noises or smell burning, stop blending and check for jams or motor problems.
Saving Money With Crushed Ice At Home
Buying crushed ice or frozen drinks can add up quickly. Making your own at home saves money and gives you more control over quality.
- Cost comparison: One bag of store-bought ice costs $2–$4. Making the same amount at home costs pennies.
- No additives: Home ice is free from preservatives or flavors sometimes added to store-bought ice.
- Custom size: Make coarse or fine ice as you like, instead of settling for what’s available.
Over time, using your Ninja blender for ice pays for itself—especially if you enjoy frozen drinks or host parties.
Ninja Blender Accessories That Help With Ice
Ninja sells accessories that can make the ice crushing process easier or more effective.
- Blade replacements: Fresh blades improve results.
- Pitcher sizes: Using a smaller cup for small batches reduces waste.
- Tamper tools: Some models come with tampers that help move ice safely (never use a spoon or hand).
- Travel lids: Blend crushed ice for drinks and take them on the go.
Check which accessories fit your model before buying.
Environmental Impact: Home Vs. Store-bought Ice
Crushing ice at home also has environmental benefits. Store-bought ice uses extra packaging and transportation, increasing your carbon footprint.
- Less plastic: Home ice avoids plastic bags and containers.
- Energy efficient: Modern fridges and Ninja blenders use less energy compared to industrial ice makers.
- Waste reduction: Make only what you need, when you need it.
If you’re looking to reduce waste, making your own crushed ice is a small but meaningful step.

Credit: www.amazon.com
Frequently Asked Questions
How Much Ice Can I Crush At Once In A Ninja Blender?
Most full-size Ninja blenders handle up to 2 cups of ice at a time. Overfilling can strain the motor and lead to uneven results. For personal-size cups, stick to 1 cup or less per batch.
Can I Crush Ice Without Adding Any Liquid?
Yes, but adding a small amount of liquid makes the process easier and protects the motor. If you want pure crushed ice, pulse in short bursts and avoid continuous blending.
What Should I Do If My Ninja Blender Blades Get Stuck?
Stop the blender, unplug it, and shake the pitcher gently to loosen the ice. If needed, use a spatula to move pieces (never with the blender plugged in). Pulse again in short bursts.
Is It Safe To Crush Ice Every Day In My Ninja Blender?
Yes, Ninja blenders are built for daily use. Clean the pitcher and blades regularly, and avoid overloading to extend the blender’s life.
Where Can I Find More Tips Or Official Guidance For My Specific Ninja Model?
Visit the Ninja Kitchen support page for manuals, troubleshooting, and tips for your exact model.
Crushing ice in a Ninja blender opens up many possibilities—from refreshing drinks to frozen treats. With the right technique, your blender becomes a versatile kitchen tool. Remember to use the right amount of ice, pulse instead of blend, and keep everything clean for best results.
Over time, you’ll find the perfect routine for your tastes and needs. Enjoy your icy creations!