How To Operate A Nutribullet Blender: Step-By-Step Guide
Operating a NutriBullet is simple once you understand its core principle: unlike traditional blenders with buttons and dials, most NutriBullet models blend by twisting the cup onto the base, which activates the motor automatically. Load your ingredients, twist, blend for up to 60 seconds, untwist, and enjoy. This guide walks you through setup, blending, cleaning, and troubleshooting every common issue.
Key Takeaways
- Twist to blend: Most NutriBullet models have no on/off button — twisting the cup clockwise onto the motor base locks it in and starts the motor; untwisting stops it.
- Never fill past the Max line: Overfilling is the number one cause of leaks and strained motors.
- Use liquid first: Adding water, milk, or juice before solid ingredients helps the blades form a vortex and blend smoothly.
- One minute maximum: Run the motor for no more than 60 seconds at a time, then let it rest for a minute to prevent overheating.
- Hand-wash the cups and blades: The blade assembly, cups, and lids aren’t dishwasher-safe on most models; only the motor base should never touch water.
- Tighten the extractor blade firmly: A loose blade assembly is the most common cause of leaks from the bottom of the cup.
Getting To Know Your Machine
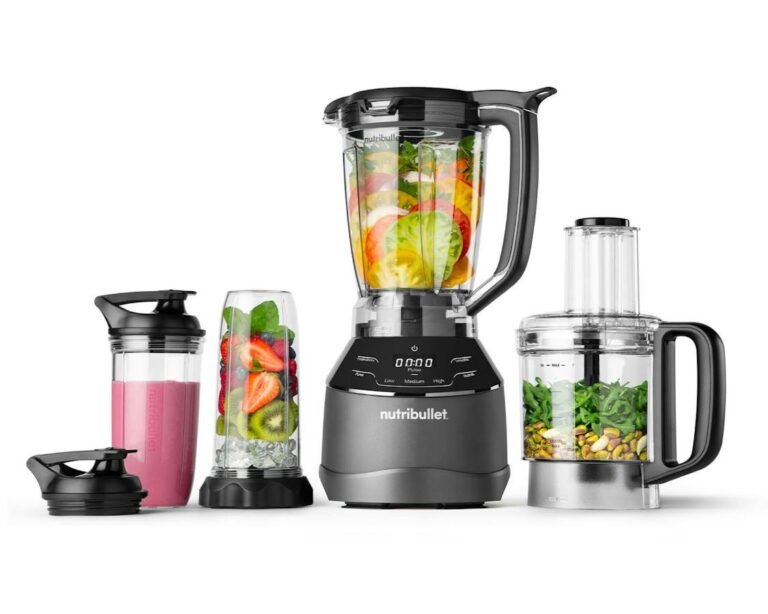
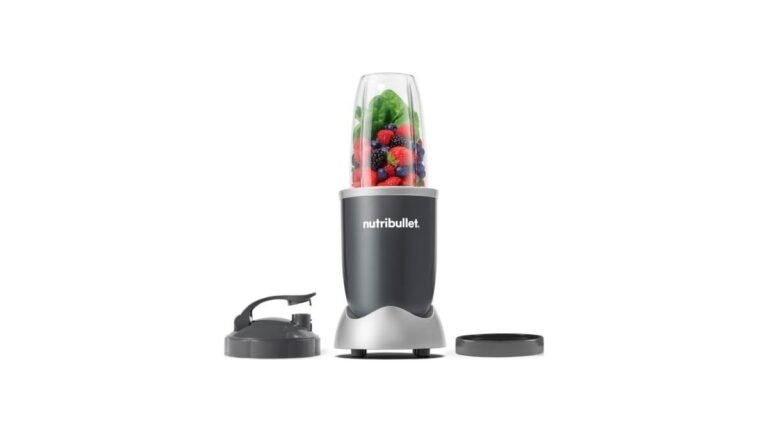
NutriBullet makes several distinct product lines, and knowing which one you own matters because the operation differs slightly. The classic NutriBullet 600 and NutriBullet Pro 900 use the twist-and-blend system with no buttons. The NutriBullet Rx adds a hands-free “smart technology” mode and a heating function for soups. The NutriBullet Lean and the newer NutriBullet blender combo models add a traditional base with buttons and a pitcher, alongside the single-serve cups.
Every model shares the same core parts:
- Motor base — the heavy unit that houses the motor.
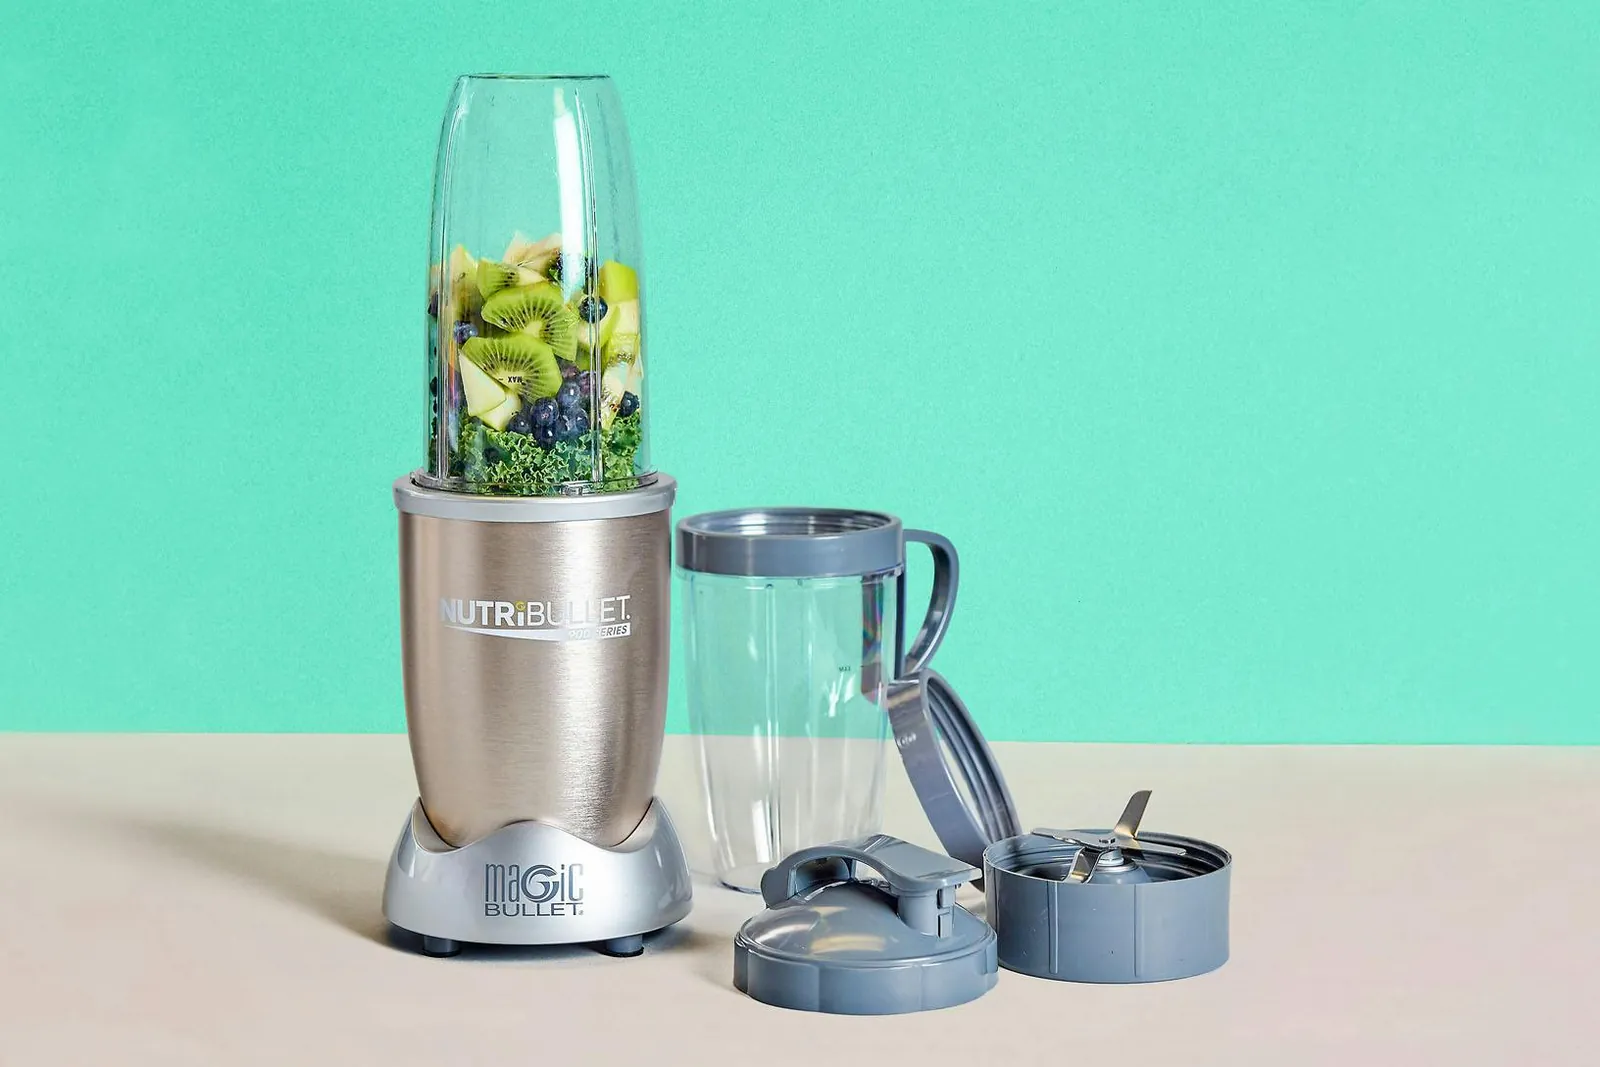
- Cups — short cups (around 24 oz) and tall cups (around 32 oz), plus a handled “lip ring” style on some models.
- Blade assemblies — the extractor blade (cross-shaped, for smoothies) and, on some models, a milling blade (flat, for grinding dry ingredients).
- Lids and rings — a stay-fresh lid for storage and a comfort lip ring for drinking.
Before your first blend, unpack everything, wash the cups, blades, and lids in warm soapy water, rinse, and dry thoroughly. Wipe the motor base with a damp cloth only.
Setting Up For The First Blend
Place the motor base on a flat, dry, stable surface near an outlet. Avoid the edge of the counter, and never place it under hanging cabinets where steam from a stove can reach it. Check that the power cord isn’t stretched across a walkway.
Confirm the rubber gasket (the small flexible ring) is seated inside the blade assembly. If it’s missing or loose, the blender will leak from the bottom of the cup. The gasket should sit snugly in its groove with no twists.
Pick the right cup for the job. A single smoothie for one person fits comfortably in the tall cup; a small sauce or dressing fits the short cup. Match the cup to the blade — the extractor blade handles both cups on most models.
Loading Ingredients The Right Way
Order matters more than most people expect. The sequence that produces the smoothest results is:
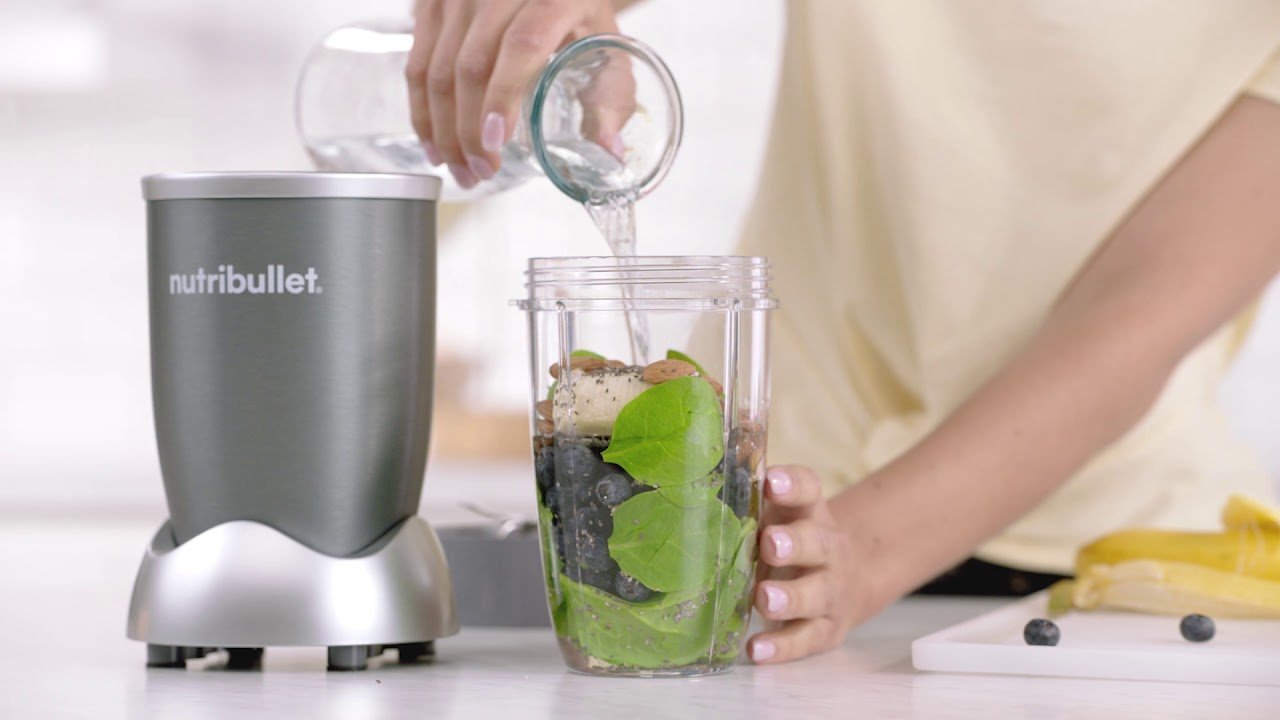
- Liquids first — water, milk, plant milk, or juice. For a typical smoothie, start with 4 to 8 ounces.
- Soft ingredients next — spinach, banana, yogurt, avocado.
- Hard or frozen items last — frozen berries, ice cubes, raw carrots, nuts. Gravity drops them into the blades as the vortex forms.
- Powders in the middle — protein powder, cocoa, or nut butter go between the soft and frozen layers so they don’t clump at the bottom or stick to the lid.
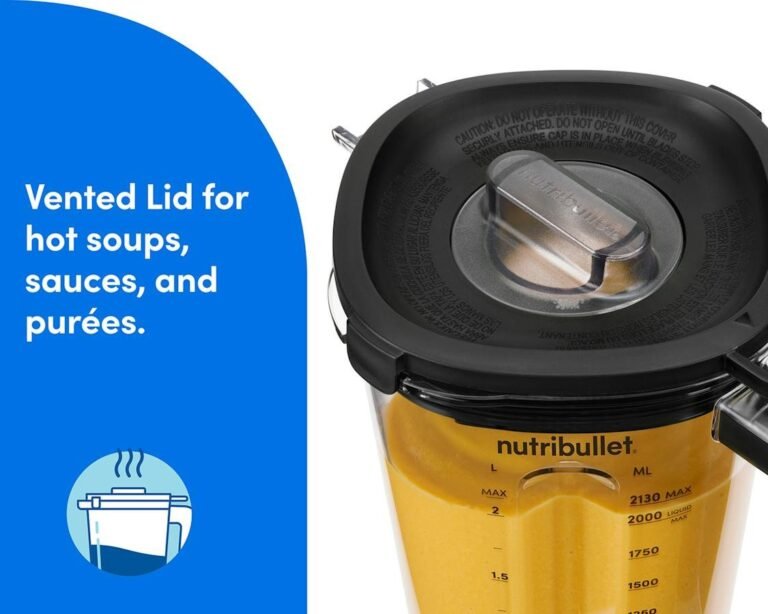
Warning: Never fill past the Max line printed on the cup. Overfilled cups leak during blending and push liquid into the blade assembly, where it can seep into the motor base and damage it. Hot ingredients are another hazard: on most models, never blend liquids hotter than lukewarm, because heat builds pressure and can blow the lid off. The NutriBullet Rx is the exception — it’s designed for hot soups.
Screw the extractor blade onto the cup until it’s snug — firm hand-tight, not forceful. Too loose and it leaks; too tight and you’ll struggle to untwist it after blending.
How To Operate A Nutribullet Blender Step By Step
Here is the complete blending sequence, from plug to pour:
- Plug in the motor base. Most models have no power switch; they’re live as soon as they’re plugged in.
- Load the cup using the liquid-first order described above, staying under the Max line.
- Attach the blade assembly and hand-tighten it securely.
- Flip the cup upside down so the blade side faces down.
- Line up the tabs on the cup with the tabs on the motor base and place the cup onto the base.
- Twist clockwise until you feel resistance — the motor starts immediately. Keep light downward pressure on the cup while blending.
- Blend in pulses or continuously, gently shaking or rocking the cup if ingredients stall around the blades.
- Stop at 60 seconds. Untwist the cup counterclockwise to stop the motor. If the mixture needs more time, let the motor rest for about a minute, then run another cycle.
- Flip the cup right side up, untwist the blade, replace it with a stay-fresh lid or lip ring, and drink straight from the cup.
Pro Tip: If ingredients aren’t circulating, stop the motor, untwist the cup, and give it a firm shake or tap on the counter. A quick shake redistributes the contents and usually fixes a stalled vortex in seconds.
The classic models have no speed settings — the motor runs at one speed, which is why pulsing (twist on, twist off in short bursts) is useful for chunky ingredients. Let the blades get moving before expecting them to crush through a block of frozen fruit.
What Each Model Does Differently
Operation varies enough between lines that it’s worth checking which one matches your machine:
| Model | How It Starts | Key Differences | Best For |
|---|---|---|---|
| NutriBullet 600 | Twist cup clockwise onto base | 600 W motor, one speed, 60-second max run | Basic smoothies and shakes |
| NutriBullet Pro 900 | Twist cup onto base | 900 W motor, stronger blades, handles frozen fruit and nuts better | Daily smoothies with ice and frozen produce |
| NutriBullet Rx | Place cup on base; automatic cycle | 1700 W, hands-free 30- and 60-second cycles, SoupeBlast heating function | Hot soups, sauces, tougher blends |
| NutriBullet Blender Combo | Buttons on base | Includes a full-size pitcher with multiple speeds and pulse | Families, larger batches, salsas |
| Magic Bullet | Twist cup onto base | 250 W, smaller cups | Light-duty dips, sauces, soft ingredients |
If you own the Blender Combo or a model with a pitcher, operation is more conventional: lock the pitcher onto the base, add ingredients, secure the lid, and press the speed or pulse button. The single-serve cups on that model still use the twist system.
Cleaning And Maintaining Your Blender
Cleaning immediately after blending takes under a minute and prevents dried smoothie from cementing itself to the blades:
- Rinse the cup and blade under warm water right after use.
- Hand-wash with dish soap, using a brush or sponge to clean around the blade edges carefully. The cups, blades, and lids are not dishwasher-safe on the 600, 900, and Rx — high heat warps the plastic and dulls the blade assembly.
- Wipe the motor base with a damp cloth only. Never submerge it, never run it under the tap, and keep water out of the activator tabs on top.
- Dry everything before reassembling, especially the blade assembly and gasket.
For a deeper clean, fill a cup halfway with warm water, add a drop of dish soap, attach the blade, and run a 20–30 second cycle. Rinse thoroughly. This self-clean trick clears residue from under the blades where a sponge can’t reach.
Warning: Never twist a cup onto the base without the blade assembly attached, and never reach into the cup while it’s on the base — the blades are sharp and the twist action starts the motor instantly.
To deal with cloudy cups (common after blending carrots or turmeric), rub a little vegetable oil around the inside, or wash with a paste of baking soda and water. For stubborn odors, leave a mixture of baking soda and water in the cup overnight, then rinse.
Blending Times And Speeds By Ingredient
The NutriBullet runs at a single speed, but how long you run it changes the texture. These are typical starting points, not fixed rules:
| Ingredient | Typical Blend Time | Texture Result |
|---|---|---|
| Fresh fruit and leafy greens | 20–30 seconds | Smooth, pourable |
| Frozen fruit and ice | 30–60 seconds | Thick, creamy smoothie |
| Nuts and seeds | 30–60 seconds | Finely ground; longer runs make nut butter |
| Oats or grains (milling blade) | 20–40 seconds | Fine flour |
| Hummus and dips | 45–60 seconds, with rest | Smooth paste; scrape sides once |
| Fibrous vegetables (kale stems, celery) | 60 seconds, rest, 30 more | Mostly smooth with slight texture |
Pro Tip: For the smoothest frozen-fruit smoothies, let frozen fruit sit at room temperature for three to five minutes before blending, or add a splash more liquid. A completely frozen block forces the small motor to work at its limit every cycle.
Troubleshooting Common Problems
Most NutriBullet complaints trace back to five causes. Work through this list before assuming the machine is broken:
- Blender won’t start: Check that the cup is twisted fully clockwise — the safety tabs must align or the motor won’t engage. Confirm the unit is plugged in and test the outlet with another device. On models with a lock position, make sure the cup is in the blend position, not the lock position.
- Leaking from the bottom of the cup: The blade assembly is loose, or the rubber gasket is missing, worn, or misaligned. Hand-tighten the blade; inspect and reseat the gasket.
- Leaking from the top or lid: You’ve filled past the Max line, or the blade isn’t tight. Reduce liquid and re-tighten.
- Burning smell or motor stalling: The motor is overheating, usually from overfilling, too little liquid, or blending too long without rest. Unplug immediately and let it cool for at least an hour. Dense frozen loads with no liquid are the usual culprit.
- Grinding or rattling noise: The blade bearing may be worn, or a hard object (an uncracked nut, a fruit pit) is striking the blades. Stop and inspect the contents.
- Blades won’t spin freely by hand: Food is jammed under the blade. Unscrew the blade, soak it in warm soapy water, and clear the jam with a brush — never with your fingers.
If the motor runs but makes a clicking sound, the drive coupler (the plastic gear on top of the base) may be stripped. This is a wear item; contact the manufacturer’s customer service about a replacement rather than trying to force it.
Safety Rules Worth Following
A few rules prevent the vast majority of NutriBullet accidents:
- Never blend hot liquids in the 600, 900, or standard cups — pressure can force the lid off.
- Never run the motor longer than 60 seconds continuously; the small motor needs rest between cycles.
- Keep the base away from water, stoves, and hot surfaces.
- Unplug before cleaning or when not in use.
- Don’t blend carbonated drinks — pressure builds fast.
- Keep fingers, hair, and loose sleeves away from the blade area; the twist-to-start design means there’s no button to catch you out.
- Replace cracked cups immediately. A fractured cup can shatter or leak under torque.
The machine is designed with safety interlocks — it physically can’t run unless the tabs align — but those interlocks don’t protect against overfilling, hot liquids, or worn parts.
Making The Most Of Your NutriBullet
Once the basics feel natural, a few habits expand what the machine can do:
- Freeze smoothie packs: Portion fruit, greens, and seeds into freezer bags. Dump one into a cup, add liquid, and blend — a 30-second breakfast.
- Prep overnight oats: Blend dates, banana, and milk, then stir into oats the night before.
- Grind your own: The milling blade turns whole oats, flaxseed, and chia into fresh flour or meal in under a minute.
- Sneak in vegetables: Blend steamed-then-frozen cauliflower or zucchini into smoothies; the extractor blade makes them undetectable.
- Thin as you go: If a blend is too thick, add liquid one tablespoon at a time through the top after removing the blade — never while the cup is on the base.
Pro Tip: Write your favorite ratio on a sticky note inside a cabinet door — for example, 1 cup liquid, 1 cup fruit, 1 handful greens, 1 scoop protein. Consistent ratios mean consistent texture without measuring every morning.
Frequently Asked Questions
Can I put ice in a NutriBullet?
Yes, on the 900 W, Rx, and Blender Combo models — a few cubes blended with liquid works fine. The 600 W model handles small amounts of ice mixed with liquid, but avoid blending ice alone, which stresses the motor and dulls the blades. Always include liquid to help the blades circulate.
Why is my NutriBullet not turning on?
The most common cause is the cup not being twisted fully clockwise — the safety tabs must lock, or the motor won’t activate. Also check that the plug is fully seated, the outlet works, and you’re using a NutriBullet cup with the correct tab pattern for your model. Incompatible cups won’t engage the activator.
Can NutriBullet cups go in the dishwasher?
On most models, no. The cups, blade assemblies, and lids should be hand-washed; dishwasher heat can warp the plastic and compromise the blade bearings. Some newer Blender Combo pitchers are top-rack dishwasher-safe, so check the manual that came with your specific model before loading anything.
How long can I run a NutriBullet continuously?
No more than 60 seconds per cycle on the standard models. If the blend needs more time, stop, let the motor cool for about a minute, and run another cycle. Extended continuous running overheats the motor, triggers a burning smell, and can permanently damage the machine.
Can I blend hot soup in a NutriBullet?
Only in the NutriBullet Rx, which is built for hot ingredients and includes a heating cycle. On all other models, hot liquid creates steam pressure that can pop the lid and spray contents. Let cooked ingredients cool to lukewarm before blending, then reheat on the stove.
Why does my smoothie taste gritty?
Grit usually means under-blending, too little liquid, or fibrous ingredients like kale stems and chia seeds that need more time. Blend a full 60 seconds, add enough liquid for a vortex to form, and chop large or fibrous items into smaller pieces before loading the cup.
Where To Go From Here
Pick one simple recipe — a banana, a handful of spinach, half a cup of frozen berries, and a cup of milk — and run it through the full sequence today: liquid first, load under the Max line, tighten the blade, twist clockwise, and stop at 60 seconds. Once that first smoothie comes out smooth, the whole system clicks, and you’ll find yourself reaching for the machine every morning without thinking about the steps.