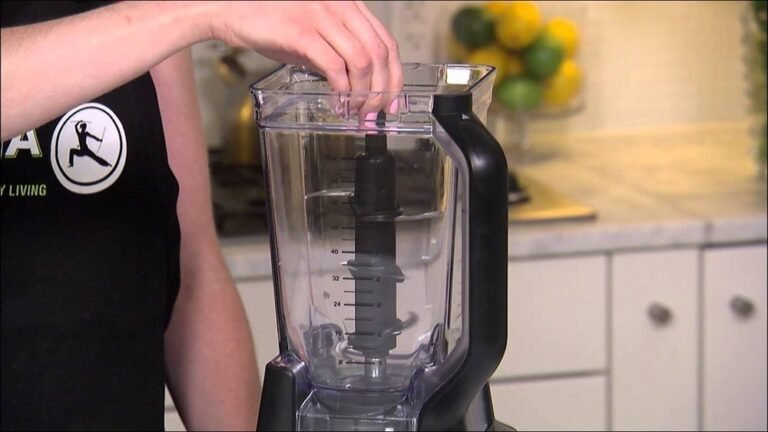
How To Operate Ninja Professional Blender: Step-by-Step Guide
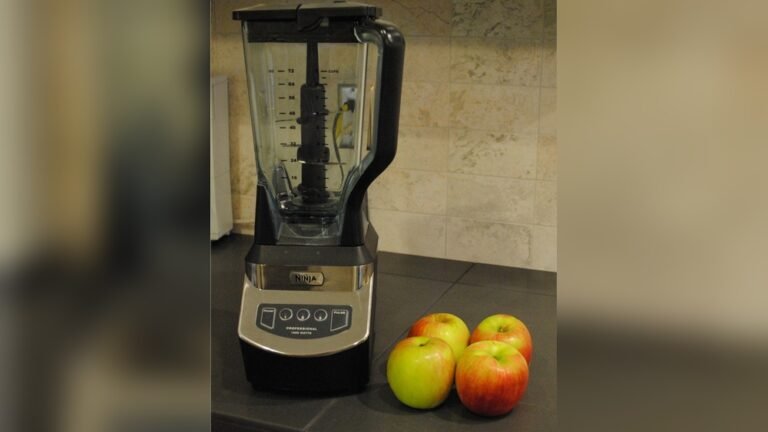
Operate a Ninja Professional Blender by locking the pitcher onto the base, adding ingredients, and selecting a speed button. Ensure the lid is fully snapped into the locked position to engage the safety interlock switch. Always handle the sharp blade assembly by the top plastic spindle, and wait for the blades to stop spinning completely before removing the pitcher.
The parts that do the work
| Part or input | What it does | What you notice when it goes wrong |
|---|---|---|
| Motor base | Provides rotational power | Unit doesn’t turn on |
| Pitcher | Holds all food ingredients | Leaking or cracked plastic |
| Blade assembly | Chops and blends contents | Uneven or chunky food texture |
| Lid | Seals the pitcher shut | Food sprays out the top |
| Safety interlock | Enables motor operation | Blinking light or no power |
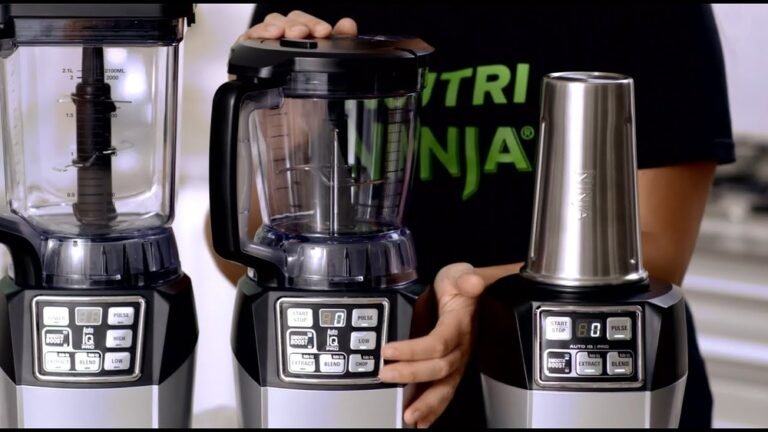
| Control panel | Sets the blending speed | Buttons fail to respond |
The motor base houses the high-torque drive socket. If the rubber gasket inside this socket wears down, you’ll hear a high-pitched grinding noise. Replace this component immediately to prevent the motor from burning out under excess friction.
Pitchers often develop hairline fractures near the base after repeated dishwasher cycles. If you see liquid pooling under the unit, stop using it. A cracked pitcher can shatter under the pressure of high-speed blending, creating a significant safety hazard.
Blade assemblies rely on precision-sealed bearings. If your ingredients remain chunky despite a long blend time, the blades have likely dulled or the bearings have seized. Test this by spinning the blades by hand; they should rotate freely without resistance or grit.
The lid features a rubber gasket designed to create a liquid-tight seal. If food sprays upward, check this ring for debris or warping. A simple cleaning often restores the seal, but a permanent gap requires a full lid replacement.
The safety interlock is a magnetic or mechanical switch. If the light blinks, ensure the pitcher is fully seated and clicked into the locked position. Many users mistake a misaligned pitcher for a dead motor, wasting time on unnecessary repairs.
Control panels use membrane switches that degrade from moisture exposure. If buttons fail, unplug the unit and use a hairdryer on a low setting to remove trapped condensation. If the issue persists, the internal circuit board has likely suffered short-circuiting.
How To Operate Ninja Professional Blender: Step-by-Step
Place the motor base on a clean, dry, and level surface. Plug the power cord into a wall outlet. Ensure the area around the base is clear of debris so the cooling vents remain open for proper airflow. If you place the unit on a soft surface like a towel, the intake vents underneath will choke, causing the motor to overheat and trigger an automatic thermal shutdown within minutes.
Align the pitcher with the base and rotate it clockwise until it clicks into place. If the pitcher isn’t locked, the motor won’t engage. This safety feature prevents the blades from spinning while the pitcher is loose. If you feel resistance before the click, don’t force it; check for food particles trapped in the base grooves, as even a small crumb can prevent the safety sensor from depressing fully.
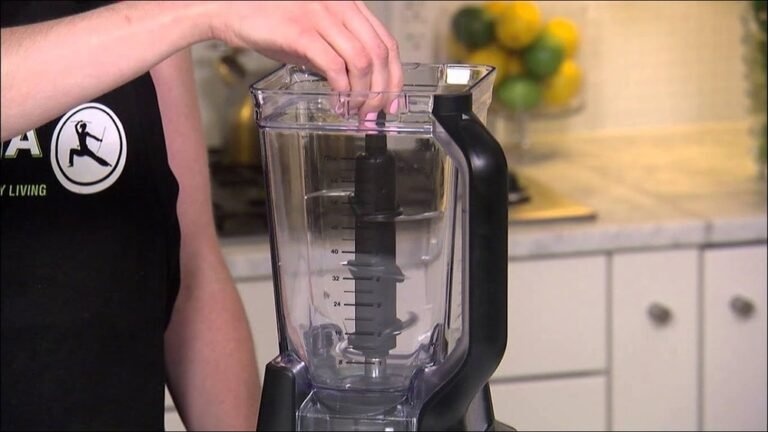
Lower the blade assembly carefully onto the center gear inside the pitcher. Hold it only by the plastic top post. Check that it sits flat on the gear. It shouldn’t wobble when you gently shake the top post. If the assembly sits at an angle, the gear teeth will grind against each other, leading to a permanent loss of torque or a stripped drive coupling.
Add your liquids first, followed by solid foods like frozen fruit or ice. Don’t fill the pitcher past the “Max Liquid” line. Overfilling causes the motor to strain and can lead to leaks during high-speed operation. If your mixture is thick, like nut butter or dough, use the “pulse” setting rather than a continuous run to prevent air pockets from forming around the blades, which causes the motor to spin freely without processing the load.
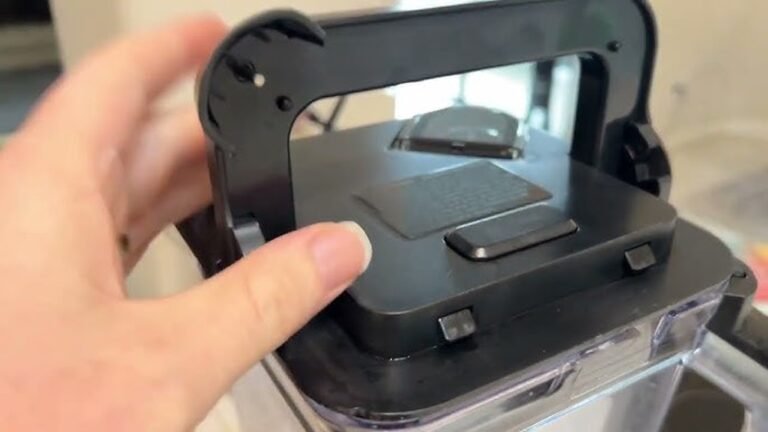
Place the lid on the pitcher and press the handle down until you hear a click. The lid must be fully locked for the safety switch to trigger. The motor won’t start if the lid handle is in the upright, unlocked position. If the unit still fails to engage, check the rubber gasket on the lid for debris; a thin film of residue can prevent the lid from seating deep enough to depress the safety pin.
Select your speed setting or preset program. Start on low for a few seconds to break up large chunks, then move to high for a smooth texture. Most blending tasks take between 30 and 60 seconds depending on the ingredients. If you’re blending hot liquids, remove the center cap from the lid to allow steam to escape, or the pressure buildup will blow the lid off the pitcher.
Wait for the blades to stop moving completely before you lift the lid. Press the release button on the lid handle to open it. Remove the blade assembly first by the plastic post before you pour your finished mixture. If you pour first, the heavy blade assembly can shift and strike the pitcher wall, potentially chipping the plastic or damaging the seal.
Why this matters when something goes wrong
The safety interlock system is the most common reason a blender appears broken when it’s actually functioning perfectly. This system uses small physical switches inside the base and the lid handle to detect if the unit is assembled correctly. If the lid isn’t pushed down firmly or the pitcher isn’t rotated fully to the right, the circuit remains open and the motor won’t receive power. You should check that the lid handle is pressed all the way down until it’s flush with the pitcher, as even a small gap prevents the safety latch from engaging.
Most users fail to notice the audible “click” that confirms the circuit is closed. If you don’t hear this sound, the switch isn’t depressed. Don’t rely on visual alignment alone, as the plastic housing often shifts over time. If the blender fails to start, apply firm downward pressure on the lid while pressing the pulse button. If it engages under pressure, your lid gasket has likely compressed or worn down, requiring a simple replacement rather than a new machine.
Another frequent issue involves the blade assembly and the motor gear. If the blender makes a loud grinding noise or the blades don’t spin while the motor runs, the blade assembly is likely not seated properly on the center gear. You must remove the pitcher and check the gear for any food debris that might stop it from sitting flat. Never attempt to force the pitcher onto the base if you feel resistance, as this can damage the plastic gear teeth.
If the gear teeth look rounded or stripped, the motor will spin freely without turning the blades. This is a mechanical failure caused by forcing the pitcher onto the base while the motor is still spinning down. Always wait for a complete stop before removing the pitcher. If you see black plastic shavings around the base, the coupling is failing. This requires a replacement part, as continuing to run the motor will eventually strip the drive socket entirely.
Texture issues often stem from the order in which you add ingredients. Because the blades rotate from the bottom up, heavy or frozen items placed at the bottom can stall the motor if there’s no liquid to start the flow. Follow the rule of liquids first, then soft solids, then frozen items. This creates a vortex that pulls ingredients into the blades. If the mixture stops moving, don’t add more force. Stop the machine, add two ounces of liquid, and restart.
Following FoodSafety.gov’s chart for handling any raw food ingredients is necessary to prevent cross-contamination in your kitchen. If you’re blending leftovers, ensure they’re chilled properly before processing to maintain safety. Never blend hot liquids at high speeds, as the steam pressure can blow the lid off. Always remove the center cap to allow steam to escape if you must process warm ingredients.
If the blender stops mid-cycle, the motor may be overheating. This happens if you process thick mixtures for too long without enough liquid. The unit has a thermal protector that shuts it down to prevent damage. If this happens, unplug the unit and let it rest for 15 minutes before you try again. If the unit still doesn’t work after cooling, the issue is likely internal, and you should stop using it to avoid electrical hazards.
If the blender smells like burning ozone or melting plastic, don’t attempt a reset. This indicates a short circuit in the motor windings. In this case, the thermal protector has failed to act as a sufficient safeguard. Unplug the device immediately and discontinue use. Attempting to repair a motor housing is dangerous and usually voids the manufacturer’s warranty.
What you can change, and what you cannot
What you control
- The amount of liquid you add to the pitcher.
- The speed setting chosen for specific ingredients.
- The size of food chunks added to the blend.
- How long you run the motor continuously.
What is fixed by design
- The maximum capacity of the pitcher.
- The internal safety interlock mechanisms.
- The blade sharpness and rotation speed.
The internal electrical components aren’t user-serviceable. A capacitor can hold a lethal charge even when the unit is unplugged. If the base requires repair, contact the manufacturer or a professional technician.
Getting more out of it
Consistent blending habits help your equipment last longer and produce better results. Always add liquids first because this creates a vortex that pulls solid ingredients down into the blades. If you skip this step, the blades spin in air, which provides no resistance to process the ingredients.
If you’re blending frozen items, let them sit at room temperature for 5 minutes before you start. This softens the ice or fruit enough to reduce the strain on the motor. If the ingredients remain rock-hard, the motor experiences a torque spike that can strip the internal drive coupling.
Never run the blender for more than 3 minutes at a time. If your recipe requires a longer blend, turn the unit off, let it rest for 2 minutes, and then start again. This prevents the motor from overheating during heavy tasks. If you notice the motor sounds sluggish, add 60 milliliters of liquid at a time until the mixture moves freely.
The decision rule is simple: if the vortex stalls, stop immediately. Adding more liquid is the only way to restore the flow. If you force the motor to push through a thick, stationary mass, you risk blowing a thermal fuse.
Cleaning the pitcher immediately after use prevents residue from hardening on the blades. Add 250 milliliters of warm water and a drop of dish soap to the pitcher, then pulse it 5 to 10 times. This cleans the underside of the blades without you having to touch the sharp edges. Always rinse the pitcher thoroughly afterward to remove all soap.
Many users make the mistake of soaking the base in water. Never do this. Moisture inside the housing corrodes the electrical contacts and destroys the bearings. If you spill liquid on the base, unplug it and wipe it down with a dry microfiber cloth immediately.
Store the pitcher off the base to protect the gear teeth and keep the blade assembly in a secure location. Inspect the rubber gasket periodically for cracks to prevent leaks that could damage the motor. Moving forward, consider ordering a replacement gasket if you notice any signs of wear.