How Do I Get The Lid Off My Ninja Blender: Easy Solutions
If you’ve ever found yourself wrestling with the lid on your Ninja blender, you’re not alone. Many users, both new and experienced, have trouble getting the lid off—especially when it’s stuck tight after blending thick smoothies, frozen drinks, or nut butters. Maybe you pressed down a bit too firmly, or maybe there’s a vacuum seal you didn’t expect. Whatever the reason, a stuck Ninja blender lid can be frustrating and even risky if you try to force it. But don’t worry. With some practical tips, a better understanding of how your blender works, and a few troubleshooting tricks, you can open your blender safely and keep your blending routine smooth.
This guide will walk you through everything you need to know about removing your Ninja blender lid. You’ll learn why the lid sticks, the right way to open it, and how to avoid damage. You’ll also find real-life examples, comparison tables, and expert tips that most manuals miss.
Whether you’re a smoothie lover or a meal-prep fan, you’ll have the confidence to handle any blender lid challenge by the end of this article.
Why The Ninja Blender Lid Gets Stuck
Understanding why your Ninja blender lid can be hard to remove is the first step to solving the problem. Ninja blenders are made for a tight, leak-proof seal. This is great when you’re blending, but it can cause the lid to stick afterward.
Common Reasons For A Stuck Lid
- Vacuum pressure: When you blend hot or very thick ingredients, the air inside the jar can expand or contract, creating a vacuum that holds the lid tightly.
- Sticky residue: Blending sticky foods like nut butters or thick smoothies can leave residue on the rim, acting like glue.
- Overfilled jar: If you fill the pitcher above the max line, food or liquid can push against the lid and create extra pressure.
- Improper lid alignment: Ninja lids are designed to lock into specific grooves. If the lid isn’t seated properly, it can jam.
- Age and wear: Over time, rubber seals or plastic parts can warp, making it harder to open the lid.
Example: Vacuum Seal With Hot Liquids
Suppose you blend hot soup. The heat causes steam, which increases pressure inside the pitcher. As the steam cools, it creates a vacuum. This suction can make the lid almost impossible to remove by hand.
Types Of Ninja Blender Lids
Not all Ninja blenders have the same lid design. Knowing your model helps you apply the right technique. Here’s a comparison of common lid types:
| Model Series | Lid Type | Lock Mechanism | Release Method |
|---|---|---|---|
| Ninja Professional (BL610/BL660) | Full-size pitcher lid with locking handle | Flip-up handle, safety latch | Lift handle, press latch |
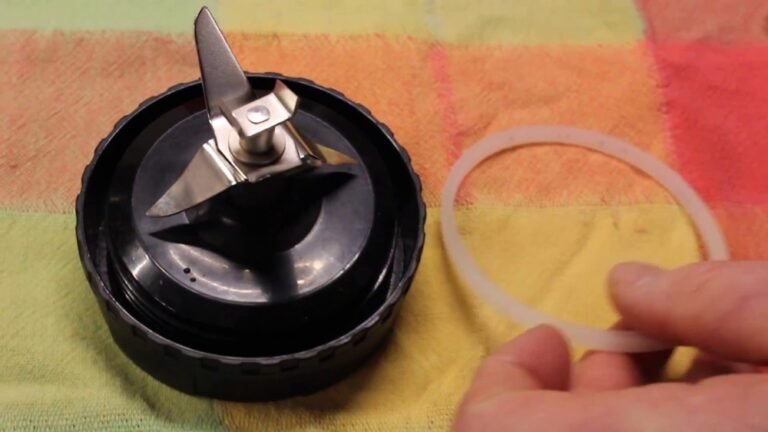
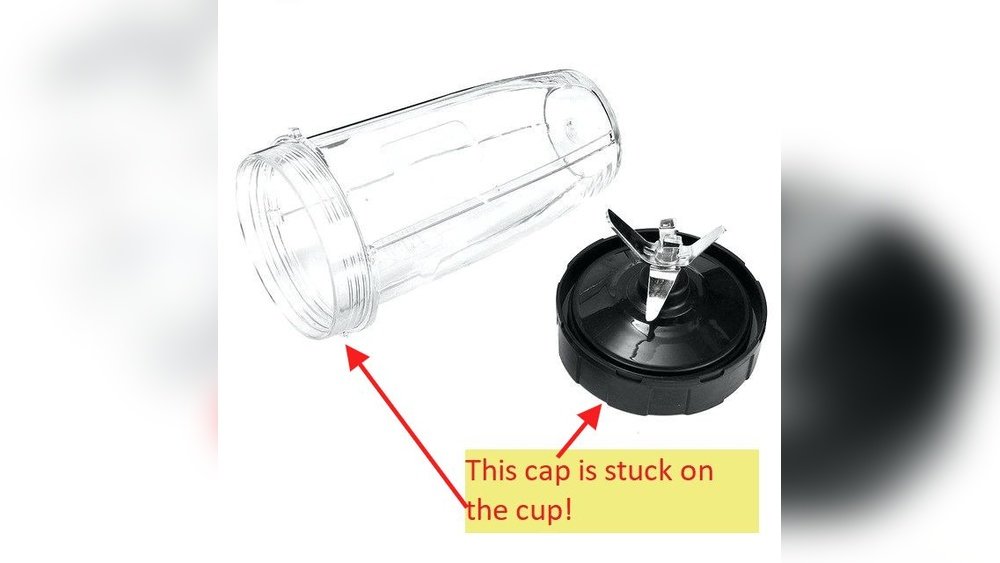
| Ninja Personal (Nutri Ninja) | Screw-on cup lid | Twist-to-lock | Twist counterclockwise |
| Ninja Foodi Power Blender | Pitcher lid with pour spout | Snap-in, push-button release | Press button, lift |
Tip: Always check your user manual for your specific lid type. For most models, you can find digital copies on Ninja’s official website.

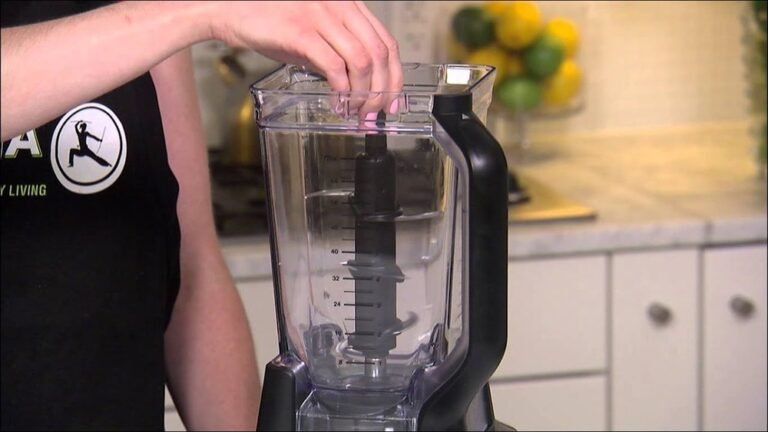
Credit: www.youtube.com
Safe Steps To Open A Ninja Blender Lid
Never force the lid open with sharp objects or excessive strength—this can damage the jar or cause injury. Instead, follow these safe, step-by-step methods.
Step 1: Make Sure The Blender Is Unplugged
Always unplug your blender before handling the pitcher or lid. Even if you think it’s off, this prevents any chance of accidental activation.
Step 2: Release The Lock Mechanism
- On full-size pitchers, lift the locking handle fully upright.
- If there’s a safety latch, press or slide it to unlock.
- For screw-on lids, grip the base and twist the lid counterclockwise.
Step 3: Break The Seal
If the lid is stuck, try one of these techniques:
- Tap Around the Lid: Use the palm of your hand to tap gently around the lid’s edge. This can help break sticky residue.
- Twist Gently: Hold the pitcher base firmly with one hand and wiggle the lid with the other, applying steady, even pressure—never jerk or yank.
- Use Warm Water: If residue is the problem, pour warm (not boiling) water over the lid and let it sit for 2–3 minutes. This softens dried-on food and can loosen the seal.
- Break the Vacuum: For vacuum-sealed lids (often after blending hot food), insert a butter knife (not sharp) under the pour spout or vent and lift slightly to let air in. Do not force the main lid.
Step 4: Lift The Lid
Once the seal is broken, lift the lid straight up. If it’s a locking handle, pull the handle fully upwards before lifting. For screw-on cups, twist until the threads release.
Warning: If the lid still won’t come off, don’t use tools like pliers or excessive force. Move to troubleshooting tips instead.
Troubleshooting A Stuck Ninja Blender Lid
Some stuck lids need more than gentle wiggling. Here are advanced troubleshooting steps.
Warm And Cool Method
This method works for vacuum-sealed or sticky lids:
- Fill your sink with warm water (not hot enough to warp plastic).
- Submerge just the lid area (not the base or motor) for 2–3 minutes.
- After soaking, try to open the lid while it’s still warm.
- If it’s still stuck, run cold water over the lid for a few seconds. The rapid temperature change can help loosen the seal.
Use The Pour Spout
Most full-size Ninja pitcher lids have a pour spout. Open the spout and try to wiggle the lid gently. Sometimes, releasing the pressure through the spout is enough.
Check For Food Blockage
Look for any food particles or seeds stuck in the lid’s locking grooves. Use a toothpick or a soft brush to clean out debris before trying to open again.
Lubricate The Seal
If the rubber gasket is sticky, dab a little cooking oil on a paper towel and wipe around the edge. Wait a minute, then try opening again.
Insight: Many users forget that dried smoothie or nut butter can harden quickly, almost “gluing” the lid. Cleaning right after use can prevent this.
Preventing The Lid From Sticking
Prevention is always easier than fixing a stuck lid. Here’s how to keep your Ninja blender lid moving freely.
Clean Immediately After Use
Rinse both the lid and pitcher with warm, soapy water right after blending. Pay attention to the rubber gasket and grooves.
Do Not Overfill
Respect the max fill line on your pitcher or cup. Overfilling increases pressure and causes more splatter into the lid’s locking areas.
Lubricate The Gasket Occasionally
Every few weeks, wipe a tiny bit of food-safe mineral oil or vegetable oil around the gasket. This keeps the seal flexible and prevents sticking.
Store With Lid Off
After cleaning, let your blender air dry with the lid off. This prevents moisture buildup and keeps the gasket from compressing.
Avoid Blending Hot Ingredients
If your blender is not rated for hot liquids, let soups or sauces cool before blending. This reduces vacuum pressure that can trap the lid.
Non-Obvious Tip: If you make sticky blends often, keep a spare lid or gasket handy. Swapping in a clean, dry lid can save time and hassle.
Differences Between Ninja And Other Blender Lids
Ninja blenders are known for their safety features and strong seals. But how do they compare to other popular blender brands when it comes to lid removal? Here’s a quick comparison:
| Brand | Lid Type | Ease of Removal | Special Features |
|---|---|---|---|
| Ninja | Locking with rubber gasket | Medium (can stick with thick blends) | Safety latch, pour spout |
| Vitamix | Push-in, no lock | Easy (usually no vacuum seal) | Lid plug for adding ingredients |
| NutriBullet | Screw-on cup lid | Medium (threads can stick) | Single-serve cups |
| Oster | Push-on, no lock | Easy (rarely sticks) | Simple design |
Insight: Ninja’s locking mechanism makes it safer for high-speed blending but can cause more stuck lids than “push-in” designs like Vitamix or Oster.

Credit: www.reddit.com
When To Replace Your Ninja Blender Lid
Sometimes, a stuck lid means it’s time for a new one. Here’s how to tell:
- Visible cracks: Small cracks can cause leaking and make the lid harder to remove.
- Warped or hardened gasket: If the rubber seal is misshapen or stiff, it won’t flex properly.
- Broken latch or handle: A broken locking mechanism means the lid will jam or not seal at all.
- Repeated sticking: If you clean and lubricate but the lid keeps sticking, replacement is safer and easier.
You can order replacement lids or gaskets directly from Ninja’s official website.
Tip: Always buy genuine parts for the best fit and safety.
Handling The Lid After Blending Hot Foods
Blending hot foods is one of the most common reasons for a vacuum-sealed, stuck lid. If you want to blend soups or sauces, follow these safety steps:
- Let food cool: Wait 10–15 minutes after cooking before blending.
- Fill halfway: Don’t fill the pitcher more than halfway with hot liquids.
- Remove the center cap: If your lid has a removable center, leave it open and cover with a towel. This lets steam escape.
- Blend in short pulses: Use short bursts instead of long blends to avoid pressure buildup.
- Wait before opening: After blending, let the pitcher sit for 1–2 minutes before trying to remove the lid.
If the lid still sticks, use the vacuum-breaking tips from earlier. Never force a hot, stuck lid—steam or hot liquid can spray out.
Cleaning And Maintenance Tips For Easy Lid Removal
Regular maintenance will keep your Ninja blender working smoothly and make lid removal much easier.
Deep Cleaning The Lid
Every few uses, take the lid apart (if your model allows) and clean all parts:
- Soak the lid and gasket in warm, soapy water for 10–15 minutes.
- Use a soft brush or sponge to clean grooves and seals.
- Rinse thoroughly and let all parts air dry before reassembling.
Inspect And Replace The Gasket
Check the rubber gasket for signs of wear or food buildup. If it’s dirty, clean with a brush. If it’s cracked or misshapen, replace it.
Dry Completely
Moisture trapped in the lid or gasket can cause sticking and even mold. After cleaning, let the lid dry fully before storing.
Store Properly
Don’t store your blender with the lid locked on. Instead, keep the lid loose or off to prevent seal compression.
Non-Obvious Tip: If you use your blender daily, keep a microfiber cloth nearby. Wipe the lid and rim after each use to stop buildup before it starts.
What Not To Do With A Stuck Ninja Blender Lid
Some methods can damage your blender or be dangerous. Avoid these common mistakes:
- Don’t use sharp knives: Forcing a knife under the lid can break plastic or cut the gasket.
- Don’t bang the pitcher: Hitting the blender on the counter can crack the jar or lid.
- Don’t use metal tools: Metal can scratch or damage the plastic lid or jar.
- Don’t microwave the pitcher: Most Ninja pitchers are not microwave-safe.
- Don’t soak the motor base: Only the pitcher and lid are safe to submerge.
If you’ve tried all safe methods and the lid still won’t come off, contact Ninja customer support.

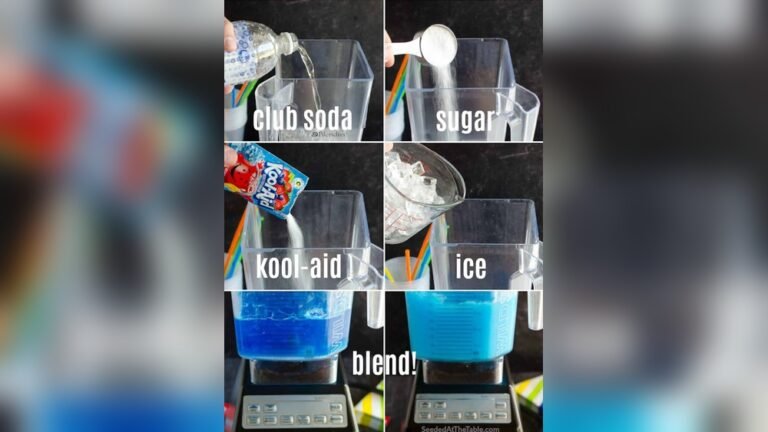
Credit: www.youtube.com
Real-world Examples: Ninja Blender Lid Problems
Let’s look at a few true-to-life scenarios:
Example 1: Frozen Smoothie Stuck Lid
You blend a thick frozen fruit smoothie. When you try to open the lid, it’s jammed tight. Solution: Let the pitcher sit for 3–5 minutes to allow pressure to equalize, then use the warm water method.
Example 2: Nut Butter Residue
After making almond butter, the lid refuses to budge. Sticky nut oils can glue the gasket. Solution: Pour warm water over the lid, wait 2 minutes, then gently twist open.
Example 3: Hot Soup Vacuum Lock
You blend hot soup right off the stove. The lid is impossible to remove due to vacuum pressure. Solution: Open the pour spout or vent, let air in, and wait 1–2 minutes before lifting the lid.
Example 4: Old Lid, New Problems
After years of use, the lid sticks even with simple blends. The gasket is hard and cracked. Solution: Replace the gasket or the whole lid for smoother operation.
How To Identify If Your Lid Is Damaged
Knowing the signs of lid damage can save you from bigger problems later:
- Loose fit: The lid doesn’t seal tightly.
- Persistent leaks: Liquid escapes from under the lid even when locked.
- Cracks or chips: Check both the lid and pitcher rim.
- Discolored gasket: Yellow, gray, or hard spots mean the rubber is breaking down.
Replacing a worn lid early can prevent blending accidents.
Expert Tips For Smooth Lid Removal
- Hold the pitcher firmly: Always use one hand on the pitcher base when opening the lid. This gives better control and prevents spills.
- Work in a well-lit area: It’s easier to see food debris or cracks in good light.
- Keep the lid dry: Wet hands can make gripping the lid harder. Dry your hands before twisting.
- Use a rubber grip: If your hands slip, try a silicone jar opener for better grip and leverage.
- Don’t rush: Take your time, especially with a new blender, to learn the feel of your specific lid.
Comparing Ninja Blender Lid Materials
Ninja blender lids are usually made from high-grade plastic and rubber gaskets, but material quality can vary by model.
| Lid Material | Durability | Ease of Cleaning | Sticking Risk |
|---|---|---|---|
| BPA-Free Plastic | High | Easy | Medium |
| Silicone Gasket | Medium | Easy | Low (if maintained) |
| Hard Rubber Gasket | Medium | Moderate | High (if not lubricated) |
Pro Tip: Silicone gaskets resist sticking better than hard rubber, especially with regular oiling.
Alternative Solutions: When All Else Fails
If you’ve tried every technique and the lid still won’t budge, here are your last options:
- Customer Support: Reach out to Ninja support for guidance or warranty help.
- Replacement Parts: Order a new lid or gasket.
- Professional Help: Some appliance repair shops can remove jammed lids safely.
- Upgrading: If your blender is old and parts are hard to find, consider upgrading to a newer Ninja model with improved lid design.
Don’t risk injury or breakage if the lid is truly stuck beyond safe removal.
Frequently Asked Questions
Why Does My Ninja Blender Lid Get Stuck Every Time?
This can happen due to vacuum pressure, dried food residue, or a worn gasket. Regular cleaning, not overfilling, and keeping the gasket lubricated can help prevent sticking.
Can I Use Tools To Pry Off A Stuck Ninja Blender Lid?
Never use sharp or metal tools—they can damage the lid or cause injury. Safe methods include warm water soaking, using a butter knife under the spout (not the main lid), or gentle twisting with a rubber grip.
How Do I Clean The Lid To Prevent Sticking?
Rinse the lid immediately after use, soak in warm soapy water, and scrub grooves with a soft brush. Remove and clean the gasket if your model allows. Dry completely before storing.
Is It Safe To Blend Hot Liquids In My Ninja Blender?
Only if your model is rated for hot blending. Even then, fill only halfway, open the vent cap, and blend in pulses. This prevents vacuum sealing and lid sticking. Check your manual for hot blending instructions.
Where Can I Find A Replacement Ninja Blender Lid Or Gasket?
You can order genuine parts from Ninja’s official website. Avoid third-party sellers unless they are authorized by Ninja.
Getting the lid off your Ninja blender doesn’t have to be a daily struggle. With the right techniques, regular care, and a little patience, you can keep your blender working smoothly for years. Practice these tips and your Ninja will be ready for smoothies, soups, and more—without the frustration.