How to Make Sorbet in a Ninja Blender: Simple Step-by-Step Guide
You can create a smooth, frozen treat by blending four cups of frozen fruit with one-half cup of simple syrup or juice until the mixture reaches a thick, creamy consistency. How to make sorbet in a Ninja blender is a simple process of using the pulse button to break down frozen solids without melting the base too quickly.
Your final texture depends heavily on the power of your specific model and the sugar content of your fruit. Always check your manual for the maximum capacity of your blender jar before starting.
Who should make sorbet this way
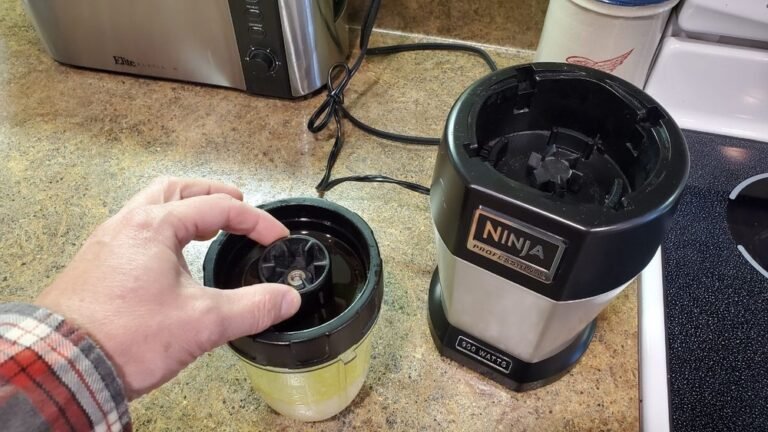
This guide is for home cooks who want to turn seasonal fruit into a chilled dessert using the kitchen equipment they already own. You likely have a bag of frozen berries or mango chunks in your freezer and a high-speed blender on your counter. This page assumes you’re using a standard Ninja blender with a blade assembly that reaches the full height of the pitcher.
If you’re a professional pastry chef looking for complex emulsion techniques or stabilizers like locust bean gum, this information will feel too basic. This page isn’t for someone trying to make sorbet in a standard food processor, as the blade design and motor torque differ significantly from the Ninja system. We assume you’re working with fruit that’s fully frozen, not fresh fruit that you intend to freeze later. If you have a personal-size blender cup rather than a large pitcher, you must reduce the fruit amount to two cups to avoid motor strain. This guide provides the baseline method; your specific results will vary based on the water content of the fruit you choose to process.
Factors that influence consistency
The sugar content of your fruit acts as an antifreeze, which prevents the sorbet from turning into a solid block of ice. If you use fruit with high natural sugar, like ripe mangoes, you need less added sweetener. If you use tart berries, you must add more syrup to reach a scoopable texture. You can verify the sugar levels of various fruits by checking the nutritional data provided by the USDA FoodData Central.
The power of your Ninja motor determines how much liquid you need to add to get the blades moving. A high-wattage model can handle a thicker mixture, while a lower-wattage unit requires more juice or water to prevent the blades from spinning in a vacuum. If the blades stop moving, don’t force the motor; add two tablespoons of liquid at a time and stir with a spatula while the unit is unplugged.
The temperature of the fruit is the most important variable for texture. You should take your fruit out of the freezer exactly two minutes before blending. If the fruit is slightly thawed, the sorbet will be runny. If it’s rock-hard, you’ll need to pulse longer.
Blade sharpness matters, but the physical design of the Ninja tower blade is what creates the sorbet texture. Because these blades are stacked, they pull the frozen fruit down toward the bottom. If you notice the mixture isn’t circulating, stop the machine and scrape the sides down to ensure all frozen pieces hit the blades.
How To Make Sorbet In A Ninja Blender: Step by Step
- Place 4 cups of frozen fruit into your Ninja blender jar.
- Pour 1/2 cup of simple syrup, honey, or fruit juice over the frozen fruit.
- Secure the lid tightly on the jar and lock it into the base.
- Pulse the machine 5 to 10 times to break the large frozen chunks into smaller pieces.
- Switch to the lowest continuous speed setting for 30 seconds.
- Stop the motor and remove the lid to scrape down the sides with a rubber spatula.
- Blend on medium speed for an additional 45 seconds until the mixture looks uniform and thick.
- Check the consistency by lifting the spatula; the sorbet should hold its shape without dripping rapidly.
- Transfer the mixture to an airtight container and freeze for 2 hours if you prefer a firmer scoop.
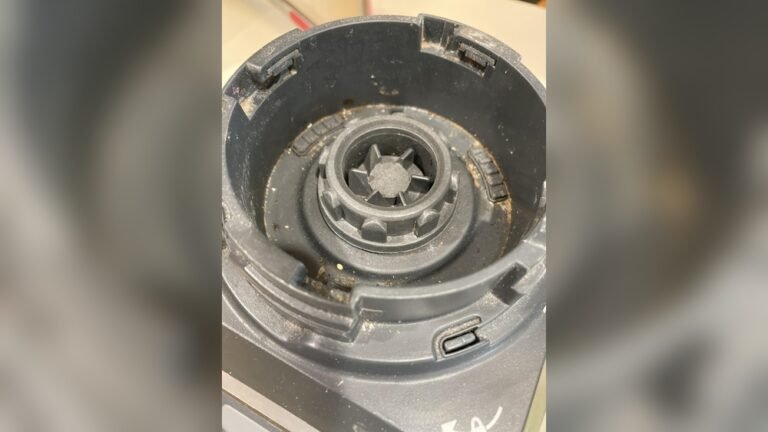
The difference between a great sorbet and a smoothie is the ratio of frozen fruit to added liquid. If you add too much juice, the mixture will be icy rather than creamy. Always start with the minimum liquid required to get the blades spinning. If you have a model with a “frozen drink” or “crush” button, use that setting, as it’s calibrated to manage the torque required for frozen solids. Never attempt to service the motor base or open the housing yourself if the blender stops working; a capacitor can hold a lethal charge even when unplugged.
The variations at a glance
| Situation | Action | Time/Effort | Watch for |
|---|---|---|---|
| Very tart fruit | Add extra syrup | 5 minutes | Icy texture |
| Thick consistency | Add splash juice | 2 minutes | Motor strain |
| Soft fruit | Use less liquid | 3 minutes | Melting base |
| Large batches | Blend in parts | 10 minutes | Uneven blending |
| Adding herbs | Pulse at end | 1 minute | Bitter taste |
When dealing with tart fruit, the primary mistake is over-sweetening to mask the acidity. If you add more than two tablespoons of syrup per cup of fruit, you risk a syrupy, icy texture that fails to set properly. If the mixture remains too thick, stop immediately. Running the motor for more than 30 seconds against high resistance can trigger a thermal shutdown in most standard blenders.
If you’re working with soft fruit like berries or peaches, reduce your liquid by 25 percent compared to your standard recipe. Excess moisture here causes the base to melt into a watery slush rather than a stable puree.
For large batches, never fill the canister beyond the halfway mark. If you exceed this, the blades create a vacuum pocket that leaves chunks at the top while liquefying the bottom. Finally, when adding herbs, pulse only three times at the very end. If the blades run for more than five seconds, the heat generated can degrade the delicate flavor profile of the herbs. Use this rule: if the mixture looks uniform, stop blending immediately to preserve the delicate top notes of your ingredients.
Precision in the process
Preparing the base
The secret to a smooth finish is the size of your fruit pieces. If you’re using whole strawberries or large peach halves, slice them into one-inch cubes before freezing. This ensures the blades grab the fruit immediately. Experienced users know that adding a tablespoon of lemon juice brightens the flavor of most fruits. Don’t add dairy or cream to this process, as it will change the classification of the dessert from a sorbet to a sherbet.
Managing the motor
Watch the motor base for signs of overheating during the process. If you smell a faint metallic or burning scent, turn the machine off immediately and let it rest for ten minutes. This usually happens when the motor is working too hard against a mixture that’s too dry. If you find yourself needing to add more than one cup of liquid to reach a blendable state, your fruit was likely too frozen or not broken down enough by the initial pulsing.
What goes wrong, and what to do
| What you notice | What it usually means | What to do first | How to stop it happening again |
|---|---|---|---|
| Mixture is runny | Too much liquid | Add more frozen fruit | Measure liquid carefully |
| Blades spinning free | Air pocket formed | Stop and stir | Use more fruit |
| Large ice chunks | Insufficient pulsing | Pulse longer | Cut fruit smaller |
| Motor slows down | Mixture too thick | Add small liquid amount | Thaw fruit slightly |
| Bitter aftertaste | Over-blending fruit seeds | Pulse less | Remove seeds first |
If your mixture remains runny after adding fruit, you likely exceeded the 1:2 ratio of liquid to solids. Beginners often mistake a tall glass for a standard measurement; use a marked measuring cup instead.
When blades spin freely, the density of your ingredients is too low to create a vortex. If you find yourself stopping more than twice per blend, your fruit pieces are likely too large to settle. Aim for one-inch cubes to ensure they gravity-feed into the blades.
Motor strain is a warning sign of overheating. If you smell ozone, stop immediately. You have likely overloaded the canister beyond its capacity. A good rule is to keep ingredients at least two inches below the lid.
Many users assume high-speed blending is always better. However, over-blending releases tannins from seeds, turning your drink bitter. If the color turns murky or brownish, the fruit has oxidized due to exposure to air. Stop when the texture is consistent, not when the machine sounds like it’s struggling. Always pulse in three-second bursts to maintain control over the final texture.
The rules that apply
Safety for frozen food relies on keeping your equipment clean and your ingredients cold. According to the FoodSafety.gov cold food storage charts, you should never leave frozen ingredients out on the counter to thaw for more than two hours. If the temperature in your kitchen is above 90°F, this limit drops to one hour.
If you smell a faint, sour odor after washing, the seal is already compromised and must be replaced immediately.
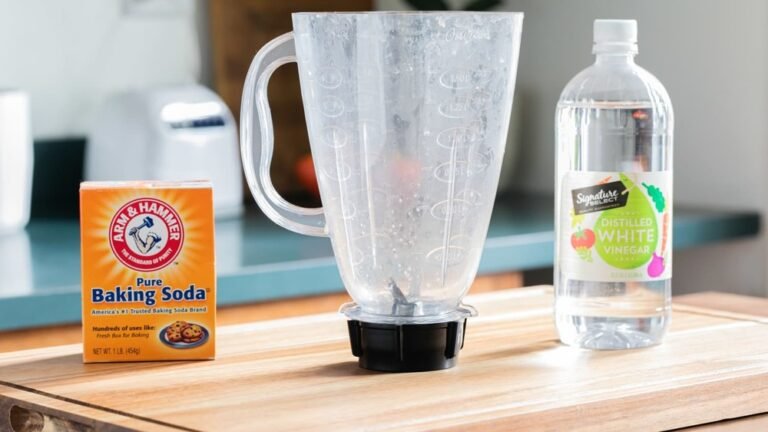
Always wash the blender jar, lid, and blade assembly in hot, soapy water immediately after use to prevent bacterial growth in the crevices of the blade tower. If you’re using pre-packaged frozen fruit, check the bag for any recall notices from the manufacturer. Never attempt to use the blender for non-food items, as this can cross-contaminate the plastic pitcher with materials that aren’t safe for human consumption. If the plastic shows deep scratches, discard the pitcher to avoid hidden residue.
What it costs you
If your blender motor burns out, the replacement cost for a new base can be a significant expense, depending on the model.
Keeping it right afterwards
Once you have finished blending, serve the sorbet immediately for the ideal velvety texture. If you prefer a firmer consistency, transfer the mixture into a shallow, airtight plastic container and place it at the very back of your freezer. The back maintains a more consistent temperature than the door, which prevents the formation of large ice crystals.
Your sorbet is ready to serve once it reaches a scoopable, semi-solid state. This process usually takes two hours. If the sorbet sits for more than 24 hours, it will likely harden significantly. In this case, let the container sit on your counter for five minutes before attempting to scoop. This brief temper period prevents you from bending your metal spoons or bruising your wrists.
Avoid the common mistake of refreezing sorbet that has fully melted into a liquid state. Once the mixture melts, re-freezing it creates a coarse, icy texture that ruins the mouthfeel. If your batch has melted, use it as a base for a chilled fruit cocktail or a smoothie instead. If you’re unsure whether it’s salvageable, check for large, jagged ice shards; if you see them, the texture will be poor.
When this is the wrong approach
If you’re trying to make a large volume of sorbet for a party of twenty people, a home blender is the wrong tool. The motor will overheat from the repeated stress of processing multiple batches. Instead, use an electric ice cream maker, which churns the mixture slowly to incorporate air and create a professional, velvety finish.
If you’re trying to create a specific, low-calorie sorbet using sugar substitutes, be aware that many sweeteners don’t provide the same body as sugar. You’ll likely end up with a hard block of ice rather than a scoopable sorbet. In this case, follow a recipe specifically designed for sugar-free frozen desserts that includes a stabilizer like xanthan gum to maintain the proper texture.
The primary mistake here is failing to account for the freezing point depression that sugar provides. Without sugar, your mixture will freeze into a solid, impenetrable brick at standard freezer temperatures. If you must go sugar-free, add one-quarter teaspoon of xanthan gum per quart of liquid to mimic the mouthfeel of sucrose.
Frequently asked questions
Can I make sorbet with fresh fruit?
No, you must freeze the fruit first to achieve a sorbet texture. If you use fresh fruit, the result will be a liquid puree or a smoothie, not a frozen dessert.
Is it safe to use the blender for frozen fruit?
Yes, most Ninja blenders are designed to crush ice and frozen fruit. Always ensure you have enough liquid in the jar to help the blades move the fruit.
How long does homemade sorbet last?
It stays fresh for up to two weeks in the freezer. Keep it in an airtight container to prevent ice crystals from forming on the surface.
What happens if I don’t use syrup?
The sorbet will be much harder and less scoopable. Sugar acts as an antifreeze, so removing it changes the physical structure of the frozen mixture.
Does the blender heat the fruit?
Yes, friction from the blades generates heat during long blending cycles. This is why you must use frozen fruit and avoid blending for more than two minutes.
Can I add alcohol to the mix?
Yes, but only in small amounts. Alcohol lowers the freezing point, so adding more than two tablespoons will prevent the sorbet from ever freezing properly.
Why is my sorbet grainy?
This happens if the fruit wasn’t fully frozen or if you added too much water. Use less liquid next time and ensure your fruit is rock-hard.
Start by pulsing your frozen fruit and sweetener in short bursts until the mixture begins to hold together. If the blades get stuck, add a tiny amount of liquid and pulse again until you see a smooth, consistent swirl. If the motor starts to labor or makes a loud grinding noise, stop immediately to avoid damage.