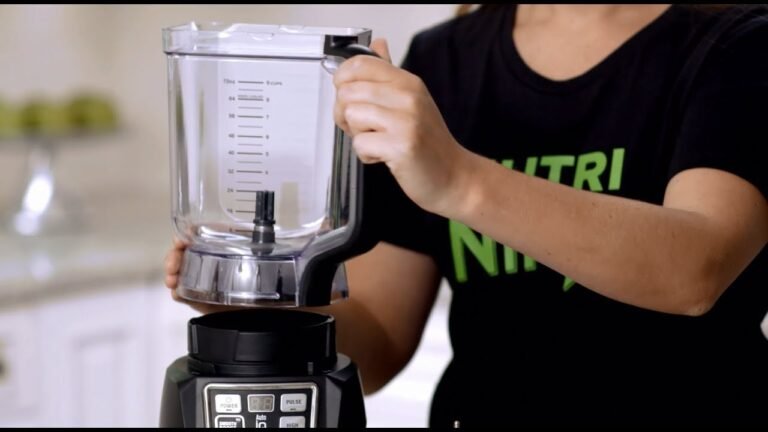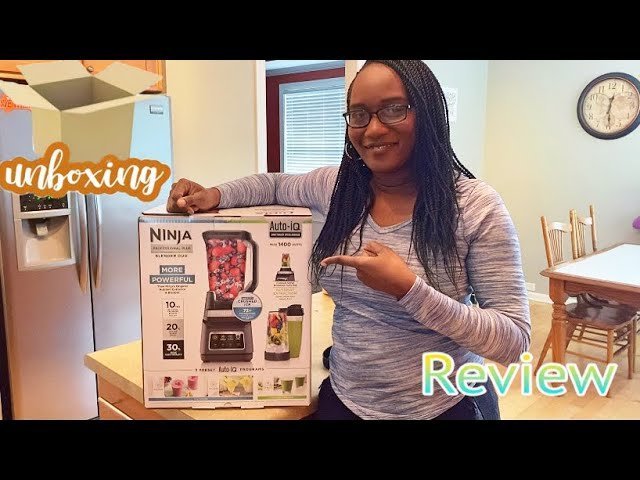
How To Put A Ninja Blender Back In The Box: Step-by-Step Guide
You can successfully manage how to put a ninja blender back in the box by aligning the base and accessories with their original molded foam or cardboard inserts. The key is to place the heaviest components at the bottom to maintain balance and prevent shifting during transport or storage.
Your result depends on whether you kept the original packing materials. If you have the original box inserts, the process is straightforward; if they’re gone, you’ll need to wrap components individually to avoid scratches and breakage.
Who needs to pack a Ninja blender
This guide serves individuals who need to store, ship, or move their Ninja blender and want to ensure it arrives safely. You’re likely someone who values your appliance and wants to avoid the common mistake of throwing everything into the carton without padding. This causes the heavy motor base to bang against the plastic pitchers, which often leads to cracked containers or broken gear teeth.
The readers who get the most from this information are those who still have the original box but have lost the specific placement order. If you have already thrown away the box and its inserts, this guide helps you choose the right alternative packaging to prevent damage.
We assume you’re handling a standard Ninja Professional or Nutri-Ninja system with at least one motor base and one primary pitcher. If you’re dealing with a commercial-grade unit, note that these models are 30% heavier and require double-walled boxes for safe transport. This page isn’t for people trying to repair a broken unit; it’s strictly for packing an intact, functional machine for storage or transit.
Factors that change your packing success
The most important factor is the condition of your internal packing materials. If you have the original molded cardboard or foam inserts, you must use them exactly as labeled. These are engineered to distribute the weight of the motor base so that it doesn’t put pressure on the pitcher’s locking tabs. If you don’t have these, you must use at least 3 inches of bubble wrap around every hard plastic component.
The second factor is the orientation of the motor base. Always place the base with the power cord wound neatly against the side, not underneath the unit. If you place the base on top of the cord, the pressure can damage the internal wiring or the plug itself. You can check your cord health by looking for any exposed copper or deep creases in the rubber insulation.
The third factor is the handling of the blade assemblies. These are the sharpest parts of the system and can easily puncture a standard cardboard box if they shift. Always secure the blades inside their respective pitchers or wrap them in a thick layer of bubble wrap. If you leave them loose, they will rattle and cause cosmetic damage to the inside of the pitcher, which ruins the clear finish.
People often make the mistake of leaving the pitcher lid locked onto the base during storage. This puts constant tension on the plastic locking pins, which can weaken or snap over time. Always store lids and pitchers separately to release that pressure. You can verify if a lid is too tight by checking if the locking mechanism feels “stuck” when you try to disengage it.
Steps to pack a Ninja blender back in the box
- Clean and dry every component thoroughly to prevent mold growth.
- Remove the blade assembly from the pitcher and wrap it in three layers of bubble wrap, securing it with tape so it can’t slide out.
- Place the pitcher at the bottom of the box, ensuring it sits flat on the base of the carton.
- Wrap the motor base in bubble wrap, ensuring the power cord is tucked safely to the side, and place it next to the pitcher.
- Fill any empty gaps in the box with crumpled packing paper or air pillows so the items can’t move when you shake the box.
- Place the lid and smaller cups on top of the base, ensuring no part of the lid puts weight on the pitcher’s handle.
- Close the box and give it a gentle shake; if you hear anything moving, add more padding until the contents are completely still.
- Seal the seams of the box with at least two strips of heavy-duty packing tape to ensure the bottom doesn’t give way during handling.
The final judgement call is the “shake test.” If you feel the items shifting when you move the box, the blender isn’t safe for transit. You must open the box and add more filler until the contents feel solid.
Packing scenarios and requirements
| Situation | Action | Effort Level | Watch For |
|---|---|---|---|
| Original box/inserts | Re-insert all parts | Low | Proper alignment |
| No original box | Use double-walled box | High | Heavy padding |
| Moving house | Wrap in bubble wrap | Medium | Cord protection |
| Long-term storage | Clean and dry fully | Medium | Dust seals |
| Shipping via post | Double box the unit | High | Box integrity |
When using the original box, ensure the internal foam inserts aren’t compressed. If they feel soft or misshapen, they have lost their structural integrity and will fail to protect the unit during a drop.
For shipping, use the “two-inch rule.” If your item is less than two inches from the wall of the box, it will likely sustain internal damage during transit. Always use double-walled cardboard for items exceeding 15 pounds.
If you’re storing the unit long-term, avoid plastic bins. Plastic traps moisture, which leads to oxidation on sensitive circuit boards. Use a cardboard box in a climate-controlled environment instead.
The biggest mistake is using packing peanuts for heavy electronics. They settle during transit, leaving the item to bounce against the bottom of the box. Use dense, molded foam or thick bubble wrap instead.
If you’re unsure which method to choose, follow this decision rule: If the item will be handled by a third-party carrier, treat it as a “Shipping via post” scenario. If it remains in your direct control, the “Moving house” standard is sufficient.
Details that matter for protection
Preparing for the transition
Experienced users always remove the blade assembly before packing. Beginners often leave the blades inside the pitcher to save space, but this is a mistake that costs money when the sharp edges cut through the plastic or the box. Use a piece of cardboard to cover the blades if you must store them inside the pitcher. This extra layer stops the metal from vibrating against the plastic walls during movement.
Managing the weight distribution
Always place the heaviest item, the motor base, at the very bottom of the box. If you put the base on top of the pitcher, the weight will likely cause the pitcher to crack under the pressure. Professional packers place the base in the center of the box to keep the center of gravity low. If you’re shipping the unit, ensure the box is rated for at least 20 pounds to handle the weight of the motor.
Troubleshooting common packing issues
| What you notice | What it means | What to do first | How to stop it |
|---|---|---|---|
| Box is bulging | Too much pressure | Remove extra items | Use larger box |
| Rattling sounds | Loose components | Add more filler | Use bubble wrap |
| Cord is pinched | Improper placement | Reposition cord | Coil it loosely |
| Lid won’t close | Misaligned parts | Re-arrange items | Check orientation |
| Box feels weak | Damage risk | Tape the bottom | Double-wall it |
If a box bulges, you have exceeded its structural weight limit. A common mistake is assuming tape can hold the seams together under tension. It cannot. If the sides bow outward, the cardboard fibers are already stressed and will fail during transit.
Rattling indicates an air gap. If you hear movement, your item will shift and gain momentum, eventually punching through the box wall. Pack items so they remain immobile when you shake the container firmly.
A pinched cord often occurs near the hinges or corners of a container. If the cord is compressed, the internal copper strands can snap, leading to intermittent power failure. Always coil cables in a loose circle, securing them with a twist tie rather than folding them sharply.
When a box feels weak, check the bottom flaps. If they don’t meet perfectly in the center, the gap acts as a stress riser. You must apply a three-strip H-tape method across all seams. If you still feel flex, use a double-walled box.
Rules for safe storage
The manufacturer, Ninja, recommends storing the blender in a cool, dry place to prevent the electrical components from corroding. If you’re storing the unit in a garage or shed, ensure the temperature stays above freezing. Extreme cold can make the plastic brittle, which increases the risk of cracking when you take the blender out to use it again.
Never store the motor base near chemicals or cleaning agents. These substances can off-gas and damage the plastic housing or affect the rubber seals on the base. If you have questions about specific storage temperatures for your model, look at the back of your manual or visit the official Ninja website.
If you find any cracks in the plastic housing, stop using the blender and contact the manufacturer; don’t attempt to glue the housing yourself, as this can lead to electrical hazards.
Financial and time costs
Packing your blender correctly requires only a small investment in supplies if you need to buy a new box and bubble wrap. The time required is usually 15 to 20 minutes if you’re careful. If you rush and break a pitcher, the replacement cost can range from $20 to $50 depending on the model. This is why spending an extra 5 minutes on padding is always worth the effort.
Most people make the mistake of using a box that’s too large, which forces them to use excessive filler. This increases your dimensional weight, often triggering a surcharge from carriers like UPS or FedEx. If the box dimensions exceed one cubic foot, you’ll pay for the size rather than the weight.
The cost of shipping also varies by weight. A standard Ninja blender weighs between 8 and 12 pounds. When you add the weight of the box and padding, you should expect to pay for a 15-pound package. If the quote is high, consider using a regional ground service instead of standard air shipping to save money.
Maintenance after storage
When you take the blender out of the box, inspect the power cord for any signs of wear. If the cord looks frayed or the plug is loose, don’t plug it in. A damaged cord is a fire hazard that can cause a short circuit the moment it draws current.
Clean the pitcher and blades with warm, soapy water to remove any dust that gathered during storage. Before your first use, run a cycle with just water to ensure everything is operating smoothly and that the motor sounds normal.
If the blender makes a grinding noise, stop immediately and check the gear teeth on the bottom of the pitcher. If they’re worn down, they won’t engage with the motor base correctly. This failure often stems from forcing the blender to process frozen ingredients before the motor has reached full speed. You can often find replacement parts on the manufacturer’s website.
Always ensure the unit is completely dry before plugging it in. If you see moisture near the base, ensure the unit is completely dry before plugging it in. Plugging in a damp unit risks internal corrosion or a catastrophic electrical fault. If the motor smells like ozone during that first test run, unplug it and contact support immediately.
Situations where this guide fails
If your Ninja blender has a history of electrical problems or a burning smell during use, don’t pack it for long-term storage. A motor that’s already failing won’t improve while sitting in a box. In this case, contact the manufacturer or a certified appliance repair center to see if the unit is still under warranty.
If you’re packing a blender that has a cracked motor housing, it isn’t safe to use or store. The plastic shell protects the internal wiring, and a crack exposes those parts to moisture and dust. In this situation, the only safe option is to recycle the unit according to your local electronic waste regulations. Never attempt to open the motor housing yourself, as the internal capacitor can hold a dangerous electric charge even when the unit is unplugged.
You should also abandon this storage guide if the blender has been exposed to liquid ingress or excessive humidity. If you see rust on the base screws or discoloration on the power cord, the internal circuitry is likely corroded. Trying to power on a corroded unit often triggers a short circuit, which can trip your home’s breakers or pose a fire risk. If you’re unsure, check the base for a rattling sound, which may indicate loose internal components.
Frequently asked questions
Can I store the blender with the blades inside?
You can store it with the blades inside, but only if you wrap them in thick bubble wrap first. Leaving blades loose inside the pitcher is a mistake that causes deep scratches in the plastic. Use an extra layer of cardboard between the blades and the pitcher wall for better protection.
Is it safe to store the blender in the attic?
It isn’t safe to store the blender in an attic because the high heat and humidity can damage the motor. Extreme temperatures warp the plastic parts and can cause the rubber seals to dry out. Always choose a climate-controlled area inside your home, such as a kitchen cabinet or a pantry.
How long can I keep the blender in the box?
You can keep it in the box for many years as long as the storage area remains dry and cool. The main risk is moisture, which can cause internal parts to rust or mold to grow on the rubber seals. Check the unit once every 12 months to ensure it stays clean and dry.
What happens if I lose the original inserts?
If you lose the inserts, you must create your own padding using bubble wrap or thick packing paper. The goal is to keep the motor base from touching the plastic pitcher. Wrap every hard component in at least 3 inches of material and fill all empty space in the box so nothing moves.
Does it matter if the box gets wet?
It matters a lot because a wet box loses its structural strength and can lead to mold inside the blender. If the box gets wet, you must remove the blender immediately and dry it thoroughly. If the cardboard is soft or torn, discard it and move the blender to a new, dry box.
How do I stop the cord from bending?
You stop the cord from bending by coiling it loosely and securing it to the side of the motor base. Never wrap the cord tightly around the base, as this puts stress on the connection point. Use a small piece of tape or a rubber band to hold the coil in place.
Conclusion
Start by placing the heaviest items at the bottom of your box to ensure the container stays balanced during transport. You should expect the blender to remain secure and free of damage if you fill all empty gaps with packing paper. If you notice any cracks in the plastic or smell a burning odor, stop your work and contact a professional technician for help.