How To Clean Vitamix Blender Jar: The 60-Second Fix
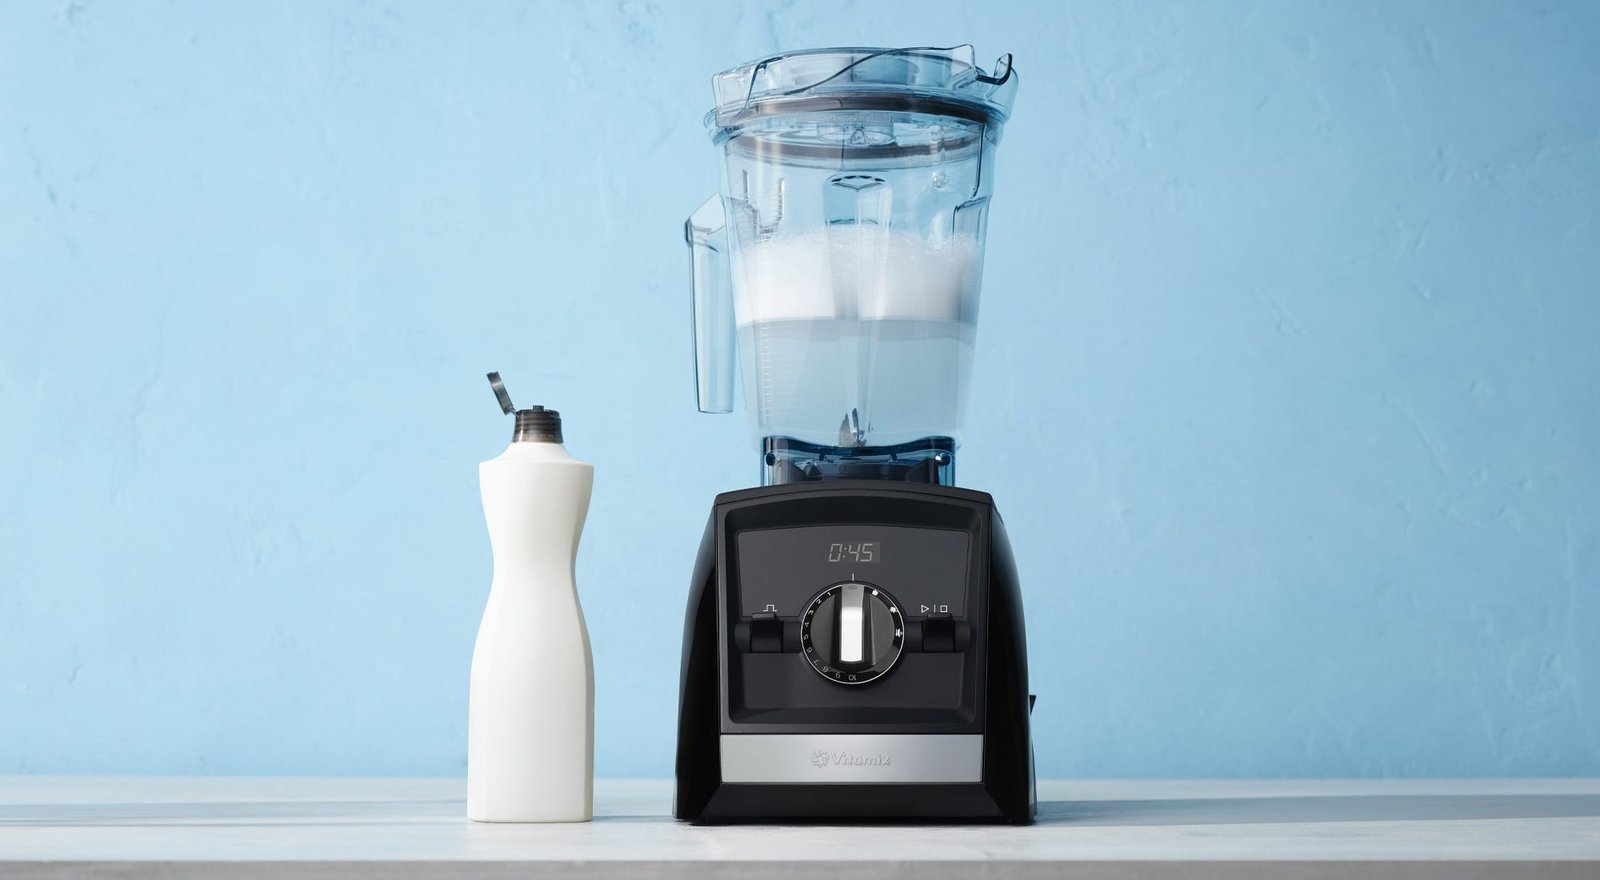
You can clean a Vitamix blender jar in under 60 seconds by filling it with warm water and a drop of dish soap, then running the machine on high for one minute. This method works because the spinning blades create a vortex that scrubs every corner without you touching the sharp edges. The exact time needed depends on how much food stuck inside, whether your model has a self-clean cycle, and if you’re using hot tap water or very warm water.
Who needs to clean their Vitamix blender jar
This page is for people who just made a thick smoothie, a hot soup, or a nut butter batch and want to rinse the container before it dries. You likely have a standard 48-ounce or 64-ounce jar sitting on your counter right now, and you don’t want to scrub hard at the blade assembly. You need to know the safe way to wash the bottom where the metal blades live without cutting your fingers.
It also serves owners of older models who might not have the specific “self-clean” button on their control panel. These users often try to use a sponge or brush immediately after blending, which is risky and wastes time. If you own a commercial-grade unit used in a busy kitchen, you should read a different guide about industrial dishwasher protocols instead. We assume you’re working with a home-use Vitamix blender and have access to warm tap water and mild dish soap.
What decides the outcome
The biggest factor changing how long cleaning takes is the temperature of the water you use. Hot water breaks down oils and sugars much faster than cold water, turning a ten-minute soak into a one-minute spin. If your tap water feels lukewarm, you’ll need to let the soapy mixture sit longer or add a splash of vinegar to help cut through the gunk.
The second major variable is the type of residue left behind. Sticky things like peanut butter, honey, or thick sauces cling to the blades and walls more than watery liquids like juice or milk.
A thin layer of spinach or fruit pulp rinses away easily, but a dried-on layer of oatmeal requires a full cycle plus a quick manual wipe. People often get this wrong by assuming a quick rinse is enough for sticky ingredients, only to find gunk stuck in the gasket later.
The third thing that matters is the size of your jar. Larger containers hold more water, which means the vortex creates more force but also requires slightly more time to circulate the soap evenly. Smaller personal jars need less water and less time to reach the same cleaning power.
Finally, the age of the gasket under the blade assembly plays a role; worn seals trap food particles that the water stream can’t reach, requiring you to remove the lid and check the crevices manually.
Step by step to a spotless jar
- Fill the empty jar halfway with warm water and add one drop of liquid dish soap near the center.
- Secure the lid tightly but ensure the vent plug is open to allow air exchange and prevent pressure buildup during the spin.
- Start the blender on the lowest speed setting, then gradually increase to a medium-high speed for the duration of the cycle, ensuring the lid is secure.
- Let the machine run for 45 to 60 seconds until the water turns cloudy and foamy inside the container.
- Turn off the blender and carefully pour out the dirty soapy water into the sink or trash can.
- Rinse the jar thoroughly with fresh warm water while holding the base steady to avoid splashing.
- Inspect the blade area and the rubber gasket for any remaining bits of food or sticky residue.
- Wipe the outside of the jar and the lid with a damp cloth to remove any fingerprints or splashes.
- Dry the jar upside down on a rack or towel to prevent water spots from forming on the plastic.
- Store the jar with the lid off to allow air to circulate and stop odors from developing inside.
The single judgment call here is deciding when to stop and dry versus when to repeat the cycle. If you see any cloudiness or feel any stickiness after the first rinse, don’t put the jar away yet; run the cycle one more time. Stopping too early leaves a film that attracts bacteria and makes the next blend taste strange.
The variations at a glance
| Situation | What to do | Time & Effort | Watch For |
|---|---|---|---|
| Fresh smoothie | Run self-clean cycle immediately | 1 min, low effort | No residue left |
| Dried yogurt | Soak in hot water 10 mins first | 15 min, medium effort | Stubborn spots near blades |
| Hot soup | Let cool 5 mins before washing | 2 min, low effort | Steam burns on hands |
| Thick nut butter | Add extra soap and run twice | 3 min, high effort | Gunk trapped in gasket |
| Sticky honey | Use warm water and vinegar mix | 2 min, medium effort | Sugar crystallizing |
| Greasy dressing | Skip soap, use hot water only | 1 min, low effort | Soap scum buildup |
| Frozen fruit | Thaw slightly before cleaning | 5 min, low effort | Hard chunks blocking blades |
What separates good results from poor ones
The prep work you skip
Experienced users never wait for the jar to dry completely before starting the cleaning process. They rinse it within minutes of finishing the blend, which prevents proteins and starches from hardening onto the surface. Beginners often leave the jar sitting for hours, thinking they will wash it later, and then struggle to remove the crusty mess. This delay forces them to use harsher chemicals or scrub harder, which risks damaging the plastic or scratching the glass.
Another detail pros handle correctly is the amount of soap used. They use just one drop because the spinning action creates plenty of suds. Using too much soap creates excessive foam that can leak out of the lid or interfere with the blade’s ability to scrub the walls. The excess foam also takes longer to rinse away, leaving a soapy taste in your next drink.
The checks you miss
Amateurs often forget to check the rubber gasket under the blade assembly. This small ring traps food particles that the water vortex misses completely. Pros always lift the lid and look down into the gap between the blade and the jar wall after rinsing.
If they see a speck of food there, they use a soft toothbrush to gently dislodge it before drying. Skipping this step leads to mold growth and bad smells that no amount of washing can fix later.
What goes wrong, and what to do
| What you notice | What it usually means | What to do first | How to stop it happening again |
|---|---|---|---|
| Cloudy water stays clear | Not enough soap or time | Run cycle another minute | Add one more drop of soap |
| Strong smell remains | Food trapped in gasket | Remove lid and scrub seal | Clean gasket after every use |
| Water leaks out top | Lid not tightened or cracked | Check vent plug and seal | Ensure plug is fully seated |
| Blades make grinding noise | Hard chunk stuck below | Stop immediately and unplug | Cut fruit smaller before blending |
| Residue sticks to sides | Water was too cold | Re-run with hotter water | Use tap water that’s steaming |
| Foaming overflows | Too much soap added | Pour out foam and rinse | Use only one drop next time |
| Plastic looks scratched | Used steel wool or brush | Stop using abrasive tools | Only use soft cloths or sponges |
The rules that apply
The FDA recommends washing all food contact surfaces with hot water and detergent to remove pathogens effectively. You must never submerge the motor base in water, as this creates a severe electrical shock hazard. Food safety experts recommend cleaning all food contact surfaces immediately after use to prevent bacterial growth.
Vitamix itself advises against using bleach or abrasive cleaners, as these can degrade the plastic and void your warranty. Always check the owner’s manual for your specific model, as some newer units have different instructions for the lid components. If you live in an area with very hard water, you may need to descale the jar periodically to prevent mineral buildup.
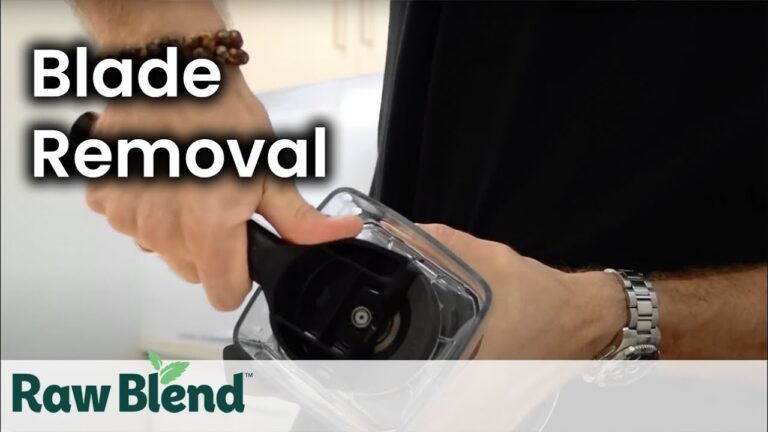
When cleaning the blade assembly, carefully remove the jar and rinse the underside of the blades under running water while holding the jar steady. Don’t attempt to scrub the sharp edges by hand, as even dull blades cause deep lacerations instantly. Use a soft sponge only on the interior walls of the jar, avoiding the rubber gasket entirely since soap residue there breeds mold within days.
If your unit has a tamper tool, store it separately after use rather than leaving it inside the jar where it scratches the plastic. Wipe the motor base with a damp cloth only, ensuring no moisture enters the air vents located at the bottom. For stubborn stains, soak the jar in warm soapy water for ten minutes before rinsing, but never leave it submerged overnight.
What it costs you
Cleaning a Vitamix jar costs almost nothing in money, mostly just a tiny fraction of a cent for the soap and water. The real cost is time, which ranges from one to three minutes depending on how sticky the previous contents were. If you ignore the cleaning rule and let food dry, you pay a higher price in effort later, spending ten minutes scrubbing instead of one minute rinsing.
There’s also a hidden risk cost. Using the wrong tool like a steel wool pad can scratch the jar, making it harder to clean in the future and potentially harboring bacteria in the grooves. Replacing a scratched jar costs far more than buying a new sponge. Proper maintenance keeps the jar looking new and ensures your blender lasts for many years without needing replacement parts.
If you’re blending thick nut butters or frozen fruit, rinse the container immediately with warm water before the mixture sets into a glue-like state. This simple step prevents the need for soaking, which often requires leaving the jar filled for twenty minutes before any scrubbing begins. When the residue feels tacky rather than wet, you have already waited too long to act effectively.
Avoid using abrasive scouring pads or metal utensils inside the container, as these tools create micro-scratches that trap food particles. These tiny grooves become breeding grounds for bacteria that regular washing can’t reach, forcing you to replace the entire unit sooner than expected. A soft nylon brush or a non-abrasive sponge is sufficient for all daily cleaning tasks and protects the plastic surface from permanent damage.
Keeping it right afterwards
After you finish washing and drying, store the jar with the lid loose or removed to allow air to flow freely. This simple habit prevents musty odors from developing inside the sealed container, especially if you live in a humid climate where moisture lingers longer. Don’t stack heavy items on top of the jar, as this can crack the plastic or warp the lid over time, creating a permanent seal that traps dampness.
If you plan to store the jar for a long period, wipe it down with a little lemon juice to keep it smelling fresh. Check the rubber gasket occasionally to ensure it hasn’t become brittle or torn, replacing it if you see any signs of wear.
Regular inspection helps you catch small issues before they turn into big problems that affect your blender’s performance. If the gasket feels sticky or crumbles when pinched, swap it out immediately rather than waiting for the next cycle. A worn seal allows liquid to seep under the blade assembly, which creates a hidden mess that’s difficult to clean without disassembling the entire unit.
When this is the wrong approach
Don’t use the self-clean method if the jar contains large chunks of frozen fruit or ice that could jam the blades. You must thaw the contents slightly or remove them manually before attempting to wash. Trying to blend hard ice directly into the cleaning cycle can damage the motor or break the blade assembly.
Also, avoid this method if you have noticed cracks in the jar or the lid, as the pressure from the spinning water can cause the plastic to shatter. If the jar is heavily stained or has a permanent odor that washing doesn’t remove, you may need to replace the container entirely. In these situations, contacting customer support is safer than trying to force a fix yourself.
If the jar feels loose on the base during the spin cycle, stop immediately and check for hairline fractures around the mounting ring. A cracked seal often allows water to leak into the motor housing, which creates a short circuit within minutes. This specific failure point costs more to repair than buying a new unit because the internal electronics are rarely salvageable after water exposure.
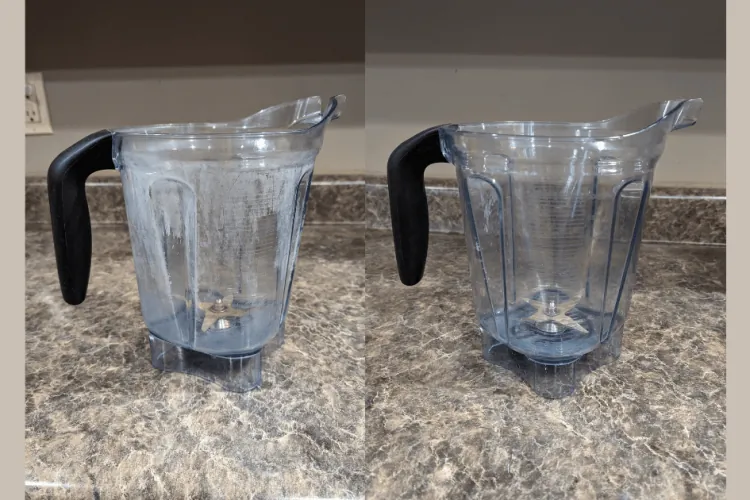
When the cleaning cycle leaves a gritty residue at the bottom, the issue is likely mineral buildup rather than food debris. Running a vinegar solution through a standard wash cycle will dissolve the scale, but using abrasive powders will scratch the glass surface permanently. Once scratched, the rough texture traps bacteria and odors that no amount of scrubbing can ever fully eliminate.
Frequently asked questions
Can I put my Vitamix jar in the dishwasher?
Many modern Vitamix jars are dishwasher safe on the top rack, though hand washing is often preferred to extend the life of the plastic and maintain clarity.
Why does my jar smell after cleaning?
A lingering smell usually means food is trapped in the rubber gasket under the blades. Remove the lid and inspect the seal closely, scrubbing it with a soft brush to remove the hidden residue causing the odor.
How long does it take to clean a Vitamix jar?
It takes about 60 seconds of running the machine plus a few seconds for rinsing and drying. This total time assumes you start cleaning immediately after blending with warm water and one drop of soap.
Is it safe to touch the blades while cleaning?
No, never touch the blades with your hands or a sponge. The blades are extremely sharp and can cause serious cuts even when the machine is off. Always rely on the water vortex to do the scrubbing for you.
What happens if I use hot water on a cold jar?
Using boiling water on a cold glass jar can cause thermal shock and lead to cracking. Wait until the jar cools down slightly or use warm tap water that’s comfortable to the touch before adding it.
Does it matter if I use cold water?
Yes, cold water works poorly for breaking down oils and fats found in smoothies and soups. Warm water is essential for effective cleaning, so always ensure your tap water is heated before starting the cycle.
Can I use bleach to clean my blender?
No, bleach is too harsh and can damage the plastic components of the jar and lid. Stick to mild dish soap and warm water, which are sufficient to kill bacteria and remove food residue safely.
What to do next
Start the cleaning process immediately after you finish blending to save time and effort. You should expect a sparkling clean jar with no visible residue or strange smells. If you notice any cracks or persistent odors after following these steps, stop using the blender and contact Vitamix support for assistance.
Run the machine on high speed with warm water and a drop of dish soap for thirty seconds before rinsing. This quick cycle dislodges sticky proteins that sit in the blade assembly if you wait too long. Never soak the base unit in water, as moisture will ruin the motor even if the cord looks dry.
Check the gasket under the blade every week by lifting it gently; food trapped there causes the bad smell that lingers. If the jar feels loose during operation, tighten the ring until it clicks rather than forcing it harder. A loose jar creates vibration that wears out the bearings faster than normal use.