How To Make Vanilla Ice Cream In A Vitamix Blender
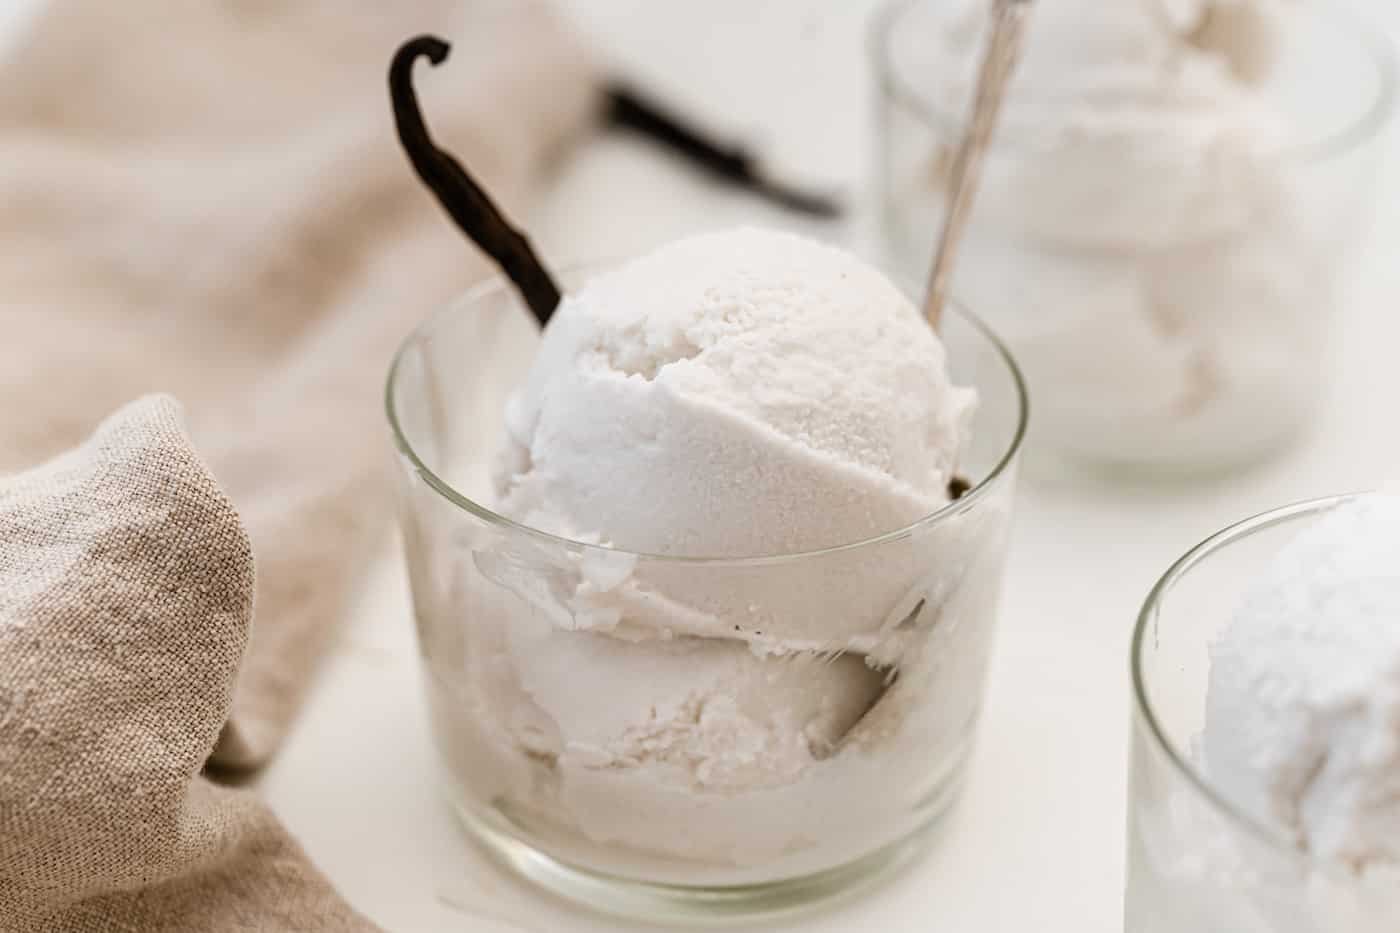
Making vanilla ice cream in a vitamix blender takes about five minutes of prep and twenty minutes of freezing. You blend heavy cream, sugar, salt, and real vanilla extract until smooth, then freeze the mixture in a shallow pan before giving it one final whirl to get that creamy texture.
The result depends on two things: how cold your ingredients are when you start, and how long you let the base chill before blending. If either step slips, the ice crystals grow large and ruin the mouthfeel.
This page serves home cooks who want restaurant-quality results without an ice cream maker. It assumes you have a standard high-speed blender and a freezer that hits zero degrees or lower. If you lack those tools, this method won’t work for you.
Make vanilla ice cream in a vitamix
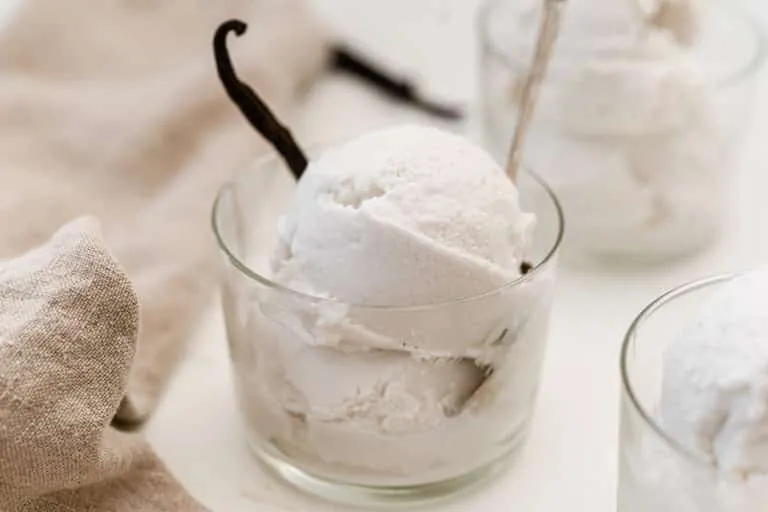
You might be reading this because you love homemade desserts but dread the waiting game. Traditional churning takes hours and requires special equipment most people never use. This method skips the machine entirely by using the blender’s power to break up ice crystals as they form.
It works best for busy parents who need dessert fast, or for hosts who want to impress guests without spending all afternoon in the kitchen. It also suits anyone who wants full control over sweetness and dairy content.
If you’re looking for ultra-premium textures with air incorporated slowly, this isn’t your best bet. The texture is denser than churned ice cream. But if you value speed and simplicity, this approach saves time without sacrificing flavor.
Assume your blender runs at least 1000 watts. Lower power blenders struggle to crush frozen bits evenly. Also, assume your freezer maintains consistent temperatures above -5°F. Warm spots create uneven freezing.
What changes the final texture
Three factors decide whether your ice cream turns out silky or grainy. First, the fat content matters most. Heavy cream provides enough fat to coat ice crystals, keeping them small. Skim milk leads to icy chunks.
Second, sugar acts as an antifreeze. More sugar means softer ice cream that stays scoopable straight from the freezer. Less sugar makes it hard as rock. Balance sweetness against texture needs.
Third, temperature control determines success. Ingredients must be very cold before blending. Warm mixtures melt during processing, creating separation. Chill everything in the fridge overnight for best results.
Most people ignore the third factor. They think blending fixes everything. It doesn’t. Cold starts prevent melting. Hot starts guarantee failure. Always check ingredient temps first.
Step-by-step instructions
Start by measuring two cups of heavy whipping cream, half a cup of granulated sugar, a quarter teaspoon of salt, and two teaspoons of pure vanilla extract. Place these in your Vitamix container.
- Secure the lid tightly and start the blender on low speed.
- Gradually increase to high speed over ten seconds.
- Blend for thirty seconds until fully combined and smooth.
- Pour the mixture into a shallow metal baking dish.
- Freeze uncovered for two hours until edges are solid.
- Break up any large frozen chunks with a fork.
- Return the semi-frozen mixture to the blender.
- Blend again on high for forty-five seconds until creamy.
- Transfer to an airtight container and freeze for four more hours.
- Let sit at room temperature for five minutes before scooping.
The key judgment call happens after the second blend. If the mixture looks too thick, add a tablespoon of milk. If it’s too thin, freeze longer. Don’t rush the final freeze.
Variations at a glance
Different situations require slight adjustments to the base recipe. Here’s how to adapt for common scenarios without changing the core technique.
| Situation | Adjustment Needed | Time/Cost Impact | Watch For |
|---|---|---|---|
| Using almond milk | Add extra sugar | Slightly higher cost | Thinner texture |
| Adding chocolate chips | Fold in after blending | Minimal extra effort | Uneven distribution |
| Making dairy-free | Use coconut cream | Higher ingredient cost | Strong coconut taste |
| Sweetening less | Reduce sugar by half | Same time/cost | Harder consistency |
| Flavored variants | Swap vanilla extract | Minimal extra cost | Overpowering flavors |
| Low-fat version | Use light cream | Lower cost | Icy crystal formation |
| Extra rich style | Double the cream | Higher dairy cost | Richness overload |
Each variation shifts balance slightly. Adjust sugar based on liquid choice. Coconut cream needs less sweetener. Almond milk needs more.
Details pros know well
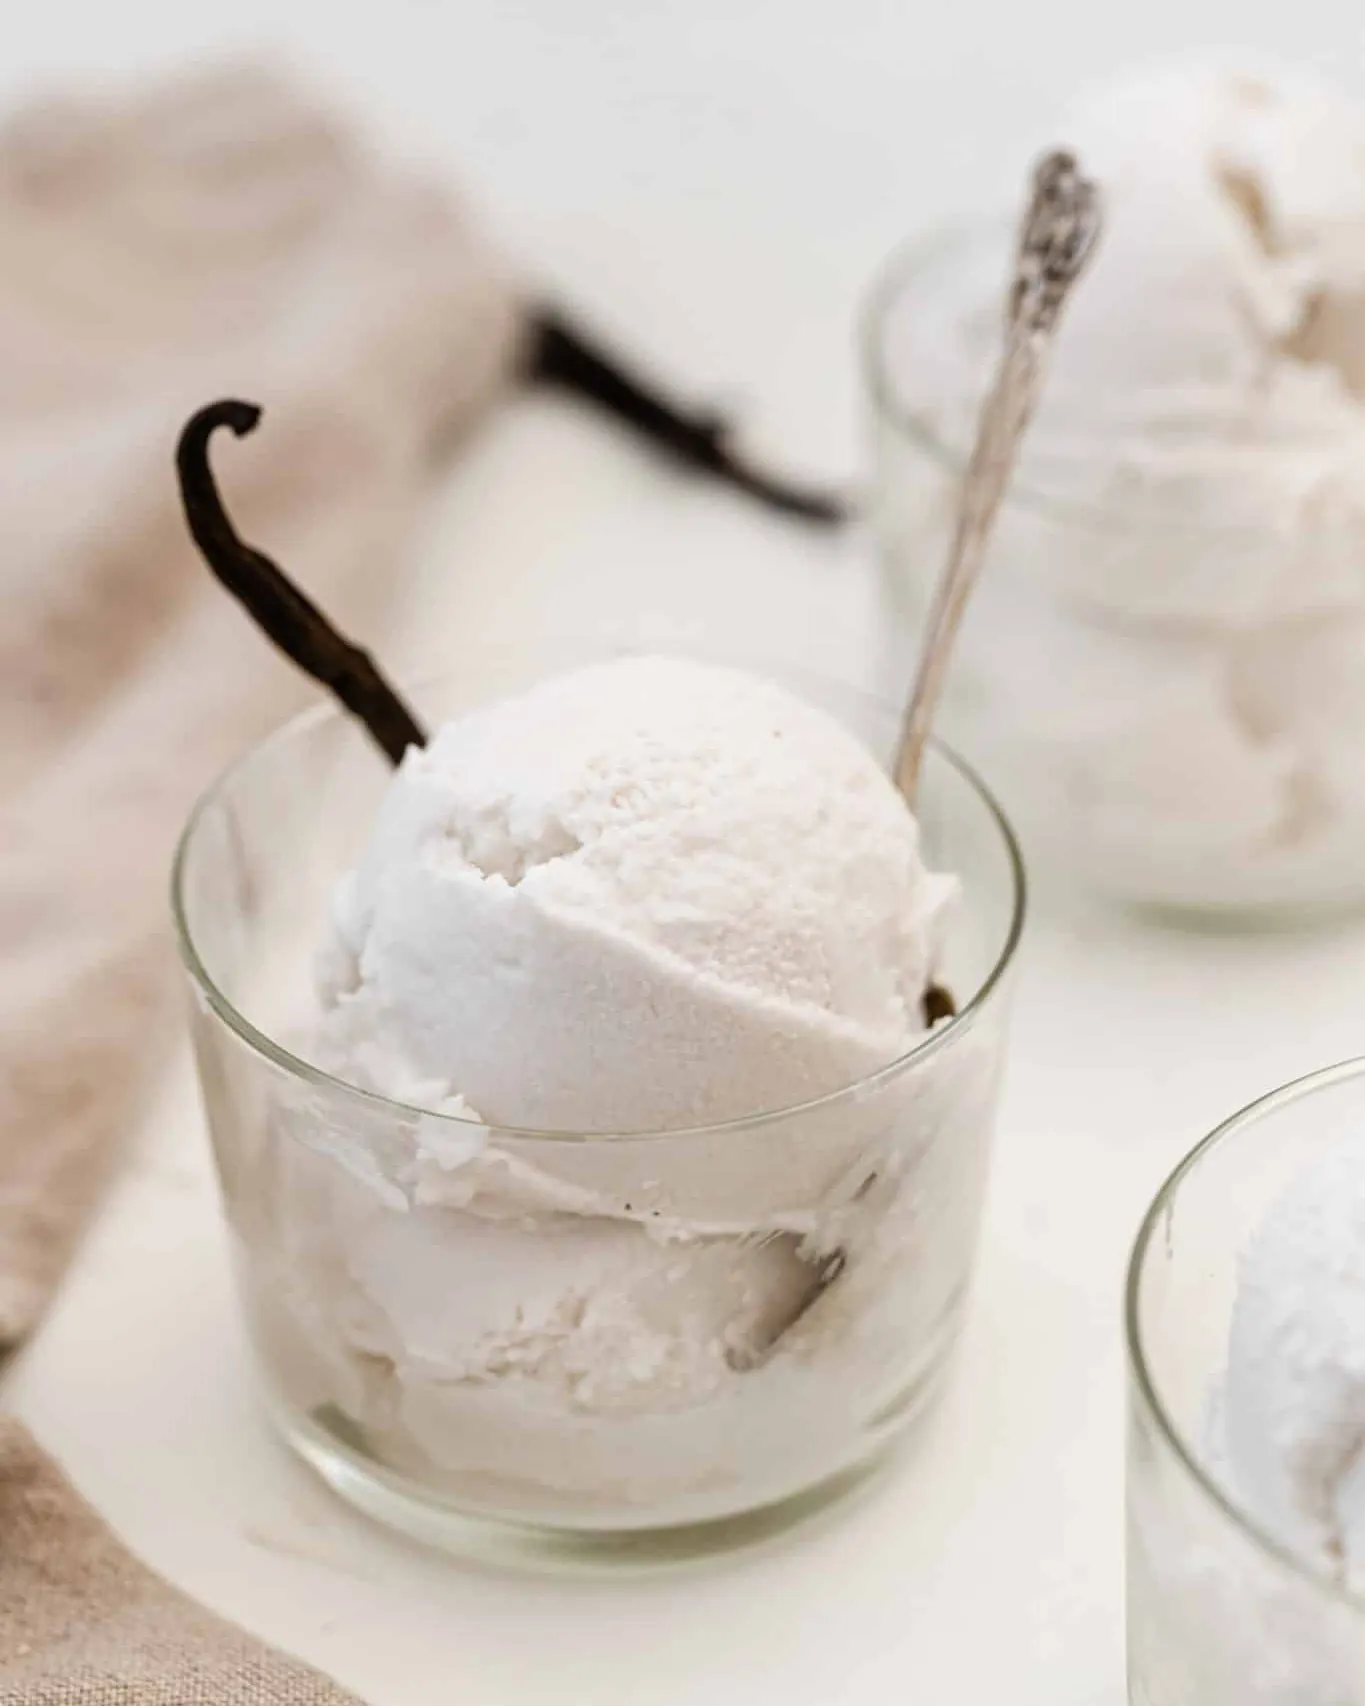
Experienced makers focus on preparation order and temperature checks. Beginners often skip steps or rush blending. Small differences create big texture gaps.
Preparation precision
Pros measure ingredients by weight, not volume. A scale ensures accuracy. Sugar density varies wildly between brands. Weighing prevents under-sweetening.
They also chill the blender jar beforehand. A cold container keeps the mixture stable during mixing. Room temp jars warm the base too quickly.
Blending technique
Beginners blast ingredients on high immediately. Pros start slow, then ramp up. This prevents splashing and ensures even incorporation.
They watch the vortex closely. A deep swirl means proper viscosity. Flat surfaces indicate unmixed pockets. Stop and scrape sides if needed.
Common problems and fixes
Sometimes things go wrong despite careful steps. Here’s what usually causes issues and how to resolve them quickly.
| Symptom | Likely Cause | Immediate Fix | Prevention Tip |
|---|---|---|---|
| Grainy texture | Large ice crystals | Re-blend briefly | Chill base longer |
| Separated layers | Overheating during blend | Discard and restart | Keep ingredients cold |
| Too hard to scoop | Not enough sugar | Add milk and re-blend | Increase sugar next time |
| Watery consistency | Melting during process | Refreeze in shallow pan | Work faster next time |
| Burnt smell | Friction heat buildup | Pause and let cool | Blend in short bursts |
Most errors stem from temperature neglect. Keep everything cold. Handle mixtures swiftly. Prevent overheating.
Rules that govern safety
The two-hour rule isn’t a suggestion. It’s a hard limit based on bacterial growth rates in the danger zone between forty and one hundred forty degrees Fahrenheit. If your kitchen is hot, cut that time in half. Bacteria double every twenty minutes in warm conditions.
Leaving batter out while you chop nuts or answer a phone call invites illness. The clock starts the moment ingredients touch. Don’t taste test raw batter to check sweetness. That single dip can introduce new pathogens into an otherwise safe mixture.
Pasteurized eggs are essential for raw applications. They undergo heat treatment to kill salmonella without cooking the protein. This preserves the creamy texture you want in mousse or frosting. Regular shell eggs might look clean but harbor invisible threats. Your immune system can’t always fight off these specific strains. Children, pregnant women, and elderly guests are especially vulnerable. Always buy cartons labeled pasteurized if you plan to serve uncooked egg mixtures.
Blender motors have thermal limits. Overfilling forces the blades against the lid seal. This creates friction and overheats the motor quickly. You’ll smell burning plastic before it fails. Stick to the manufacturer’s maximum fill line marked inside the jar. For thick mixtures like nut butters, use lower speeds.
High speed with heavy loads strips gears. Clean parts immediately after use. Dried residue breeds bacteria faster than fresh food. Warm soapy water removes fats effectively. Letting bowls sit overnight allows proteins to bond to plastic. This makes thorough cleaning nearly impossible.
Real cost breakdown
The $3 baseline assumes you already own the core tools. If you must buy a blender, add its cost to the first batch. A basic model costs around $40. That single purchase doubles your initial expense. You only recoup that fee after making roughly thirteen batches. Frequent preparation shifts the math from immediate savings to long-term value.
Heavy cream prices fluctuate with seasonal demand. Winter often sees lower rates due to reduced baking activity. Buying during these dips can cut ingredient costs by twenty percent. Check local dairy distributors rather than grocery stores for better bulk pricing. They often sell half-gallons at a fraction of the per-unit cost found in supermarkets.
Vanilla extract is where most people overspend. Pure extract contains real beans and alcohol. It costs significantly more than imitation vanilla. For everyday scoops, imitation works fine. It tastes sweet and chemical-free enough for casual consumption. Reserve pure extract for special occasions or recipes where flavor is central. A small bottle lasts months if used sparingly.
Time calculation ignores cleanup. Washing bowls and blades takes another ten minutes. Factor this into your total effort estimate. If you dislike washing dishes, the time investment grows substantially. Consider using silicone molds that require no scrubbing. They rinse clean in seconds. This simple change preserves the low-time advantage.
Premium ingredients like Madagascar vanilla beans cost $15 each. One bean flavors an entire batch. Use them only when hosting guests. For personal enjoyment, standard extract suffices. Organic cream adds little nutritional benefit but increases price by thirty percent. Choose based on budget, not perceived health superiority.
Maintenance after making
Store leftovers in airtight containers lined with parchment paper. This prevents freezer burn. Consume within two weeks for best quality.
Clean the blender immediately after use. Residue hardens quickly. Rinse with warm water and mild soap. Avoid abrasive sponges.
Inspect seals regularly. Worn gaskets cause leaks. Replace annually. Keep blades sharp for consistent crushing power. Dull blades tear rather than blend.
The parchment liner serves a specific mechanical purpose beyond simple separation. It stops the frozen mass from fusing to the plastic wall. When you pull the container out, the food releases cleanly. Without it, you often have to chip away ice chunks. That chipping action introduces air pockets into the storage space. Those pockets accelerate oxidation.
The food dries out faster. You lose texture before the two-week window closes. Use standard baking sheets cut to fit. They’re cheaper than specialty liners. Trim them neatly so they don’t fold over the rim. A folded edge creates a seal break. Air enters there first.
Freezer burn isn’t just about dryness. It’s about structural collapse. Ice crystals grow large when temperature fluctuates. Every time you open the door, warm air hits the cold surface. The outer layer sublimates. The inner part remains safe but loses flavor compounds.
Two weeks is the limit for peak taste. After that, safety remains intact for months. Quality drops sharply. Plan your meals around this window. If you can’t eat it then, process it into smoothies or sauces. Don’t store it longer hoping it will last. It will not.
Cleaning must happen while the residue is still soft. Hardened plant matter binds to the metal shaft. Scrubbing later damages the finish. Warm water loosens the oils. Cold water sets them. Mild soap breaks down the proteins. Abrasive sponges scratch the interior. Those scratches harbor bacteria.
Over time, the surface becomes rough. Cleaning becomes harder. The blender looks old. It performs poorly. Use a soft brush instead. Reach into the corners where liquid pools. Let it soak for ten minutes if needed. Don’t rush the rinse. Soap residue affects taste. Run clear water until it runs transparent.
Seals fail silently at first. A tiny leak lets moisture escape. The motor works harder to compensate. Heat builds up inside the base. This stress shortens the lifespan of the unit. Check the rubber ring regularly based on usage patterns. Look for cracks or flattening. Press it gently. It should spring back.
If it stays deformed, replace it. Consult the owner’s manual for guidance, as maintenance needs vary with use. Heavy use demands more frequent checks. Sharp blades crush cell walls efficiently. Dull ones mash tissue. Mashed tissue releases bitter enzymes. Your drink tastes metallic. Sharpening is difficult for most users. Buy replacements instead. It’s safer and more effective.
When this method fails
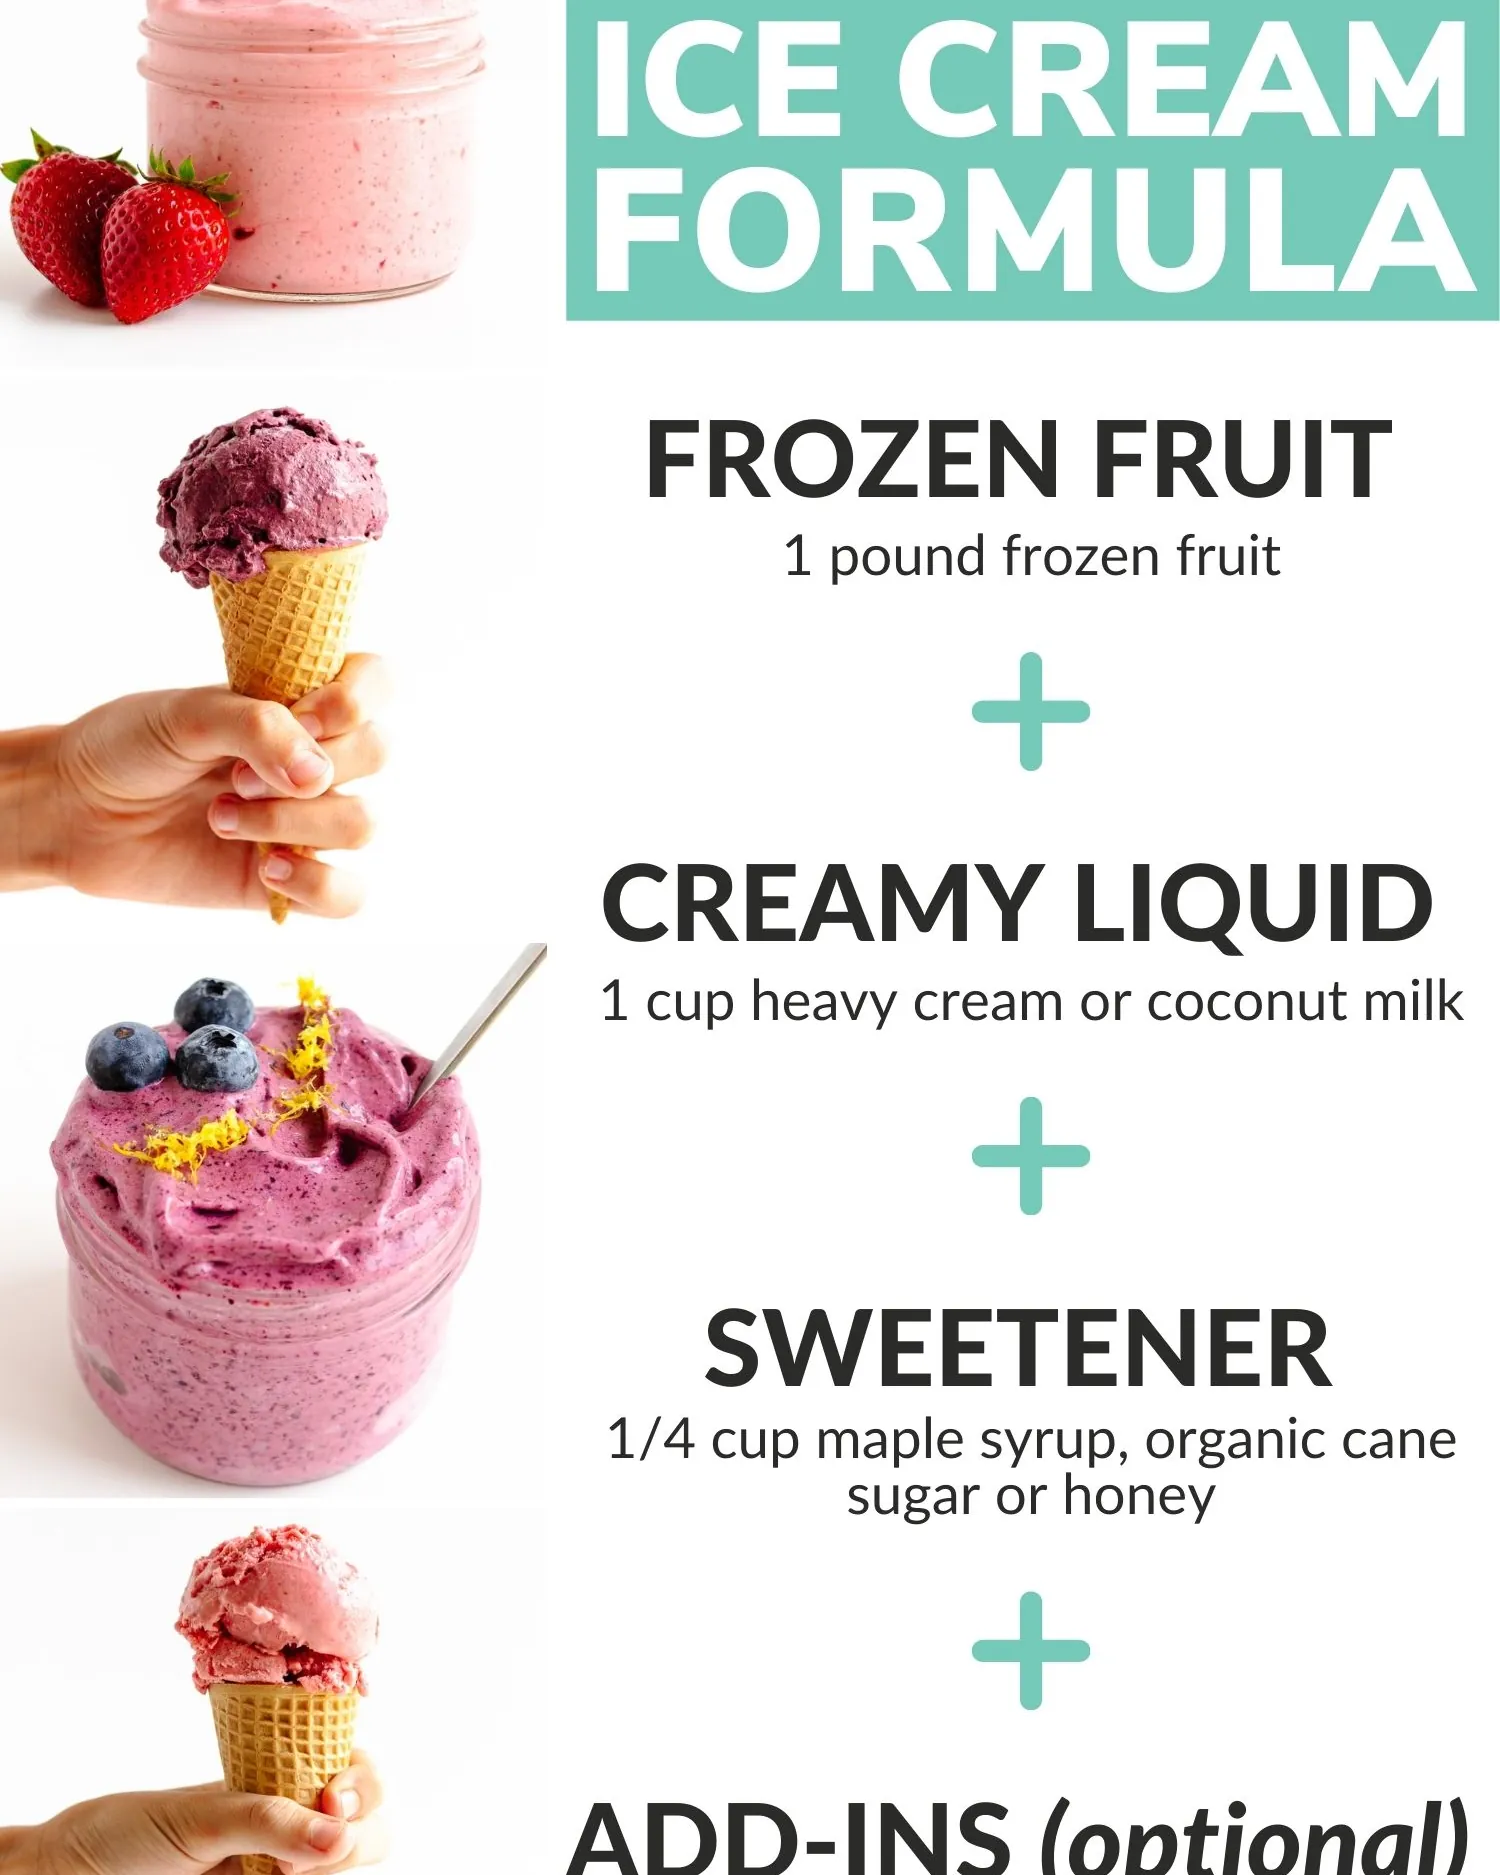
This method fails when texture is your only metric. Traditional churning incorporates air differently than high-speed blending. The resulting density changes the mouthfeel entirely. If you seek a cloud-like consistency, stick to the old way. Blender methods pack fat and sugar tighter. They don’t trap bubbles in the same structure. You’ll taste richness but lose lightness. This trade-off is permanent. You can’t whip air back into a dense mix later.
Temperature stability matters more than most admit. Your freezer must hold below zero degrees Fahrenheit consistently. Fluctuations create ice crystals that ruin the smoothness. These crystals grow larger over time. They turn creamy into gritty. Check your appliance’s actual temperature with a separate thermometer. Don’t trust the dial. It often lies by several degrees. If your unit struggles, upgrade before you start. No amount of technique fixes bad hardware.
Equipment quality dictates safety and success. Cheap blenders lack the torque for frozen dairy. They overheat quickly. Motors burn out mid-cycle. Seals fail under pressure. Liquid leaks onto hot components. This creates a fire hazard. It also ruins the batch instantly.
Inspect your motor base for strain. Listen for unusual sounds during operation. High-pitched whining means stress. Stop immediately. Replace worn parts or buy a new machine. Safety isn’t optional. Quality gear prevents accidents and ensures uniform mixing. Invest in durability. It saves money long-term.
Related guides
- 10 Best Ninja Blender For Ice Cream Picks for Perfect Desserts
- How To Make Ice Cream With Immersion Blender: Easy Recipe Guide
Frequently asked questions
Can I make this without heavy cream?
Yes, use full-fat coconut milk instead. It provides similar fat content. Expect a slight coconut flavor. Adjust sugar accordingly. Texture remains creamy.
Why does my ice cream separate?
Separation usually means overheating during blending. High friction raises temperatures. Chill ingredients thoroughly. Blend in shorter bursts. Keep everything cold throughout.
How long does it take to freeze?
Initial freezing takes two hours in a shallow pan. Final setting requires four additional hours. Total active time is five minutes. Passive time is six hours.
Is it safe to eat raw egg yolks?
Only if pasteurized. Regular eggs carry salmonella risk. Pasteurized yolks eliminate danger. Buy pre-pasteurized products or cook yolks gently. Never use raw untreated eggs.
What happens if I add too much sugar?
Excess sugar makes ice cream soft and syrupy. It lowers freezing point significantly. Reduce quantity next time. Balance sweetness with texture goals. Aim for half cup baseline.
Does brand matter for vanilla extract?
Pure vanilla extract beats imitation significantly. Imitation lacks depth. Brand matters less than purity. Look for “pure” label. Avoid artificial flavors. Quality impacts taste directly.
Can I freeze this for months?
Best consumed within two weeks. Beyond that, texture degrades. Ice crystals grow larger. Flavor fades. Store properly to extend life slightly. Freshness peaks early.
Next steps to try
Chill your ingredients tonight. This isn’t a suggestion for convenience but a structural necessity. The fat in butter or cream must be solid to trap air during mixing. If the temperature is too high, the emulsion breaks immediately. You’ll lose volume and texture permanently. Keep everything in the refrigerator until the moment before use. Even the bowl should be chilled if possible.
Measure precisely tomorrow morning. Guessing leads to inconsistent results every single time. Use a digital scale for accuracy rather than cups. Volume measurements vary wildly based on how you pack flour or sugar. Weight doesn’t lie. It provides a consistent baseline for every batch you make. This precision allows you to replicate success reliably.
Follow the blending sequence exactly. Order matters more than speed. Adding liquids to fats first creates a smooth base. Incorporating dry ingredients last prevents overmixing. Overmixing develops gluten which makes baked goods tough instead of tender. Respect the timeline provided in the recipe. Don’t rush steps that require resting or folding. Patience yields better structure and mouthfeel.
Expect dense, rich results. These recipes are designed for intensity, not lightness. They rely on high ratios of fat and sugar. This creates a luxurious experience that lighter cakes can’t match. Adjust your expectations accordingly. If you want airy textures, choose a different recipe type.
Stop if mixture melts excessively. Heat is the enemy of proper incorporation. If the bowl feels warm to the touch, pause immediately. Let it rest in the fridge for ten minutes. Continuing to mix warm ingredients will ruin the final product. Recognizing this sign saves your effort and time.