How To Replace Drive Socket On Vitamix Blender: Step-by-Step Fix
Replacing a worn drive socket on your vitamix blender is straightforward if you have the right tools and patience. You’ll need a new socket kit, a hex key set, and a clean workspace. The process takes about 20 to 30 minutes for most users. Safety is key: always unplug the machine before starting any repair work.
The outcome depends on your blender’s model age and how much wear has occurred. Older models might need extra cleaning of the motor shaft. This guide covers the standard steps for most countertop units, ensuring you don’t strip threads or damage the coupling during reassembly.
Replace the drive socket on your Vitamix
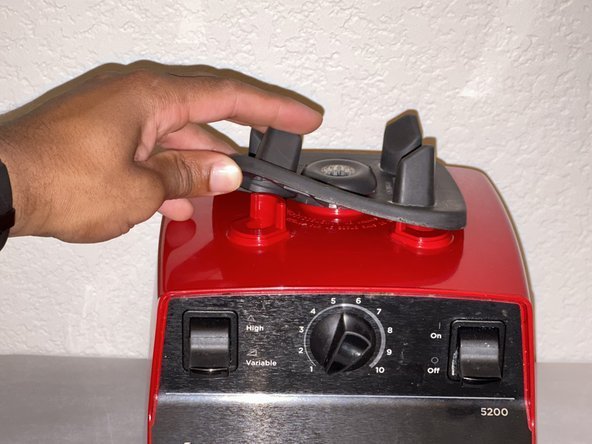
You’re likely here because your blender struggles to blend thick mixtures, makes a grinding noise, or simply stops turning while the motor still runs. This usually means the plastic drive socket on the base has worn down from friction.
If you own a professional-grade unit used daily in a cafe, the wear happens faster, and you might need to replace the entire base assembly rather than just the socket. For home users who make smoothies a few times a week, replacing the socket extends the life of your expensive appliance significantly.
This page serves home owners who want to save money by fixing their own equipment. It assumes you have basic hand tools and can follow visual instructions. If you aren’t comfortable working with electrical appliances or small screws, hiring a local repair shop is safer.
The guide also helps those who recently bought a used vitamix and want to ensure the drive mechanism is sound before heavy use. We assume your blender is unplugged and cool to the touch when you begin.
What decides the outcome
Several factors influence whether a simple socket replacement will restore full power to your blender. The first and most critical factor is the condition of the motor shaft itself. If the metal shaft under the socket is pitted, bent, or covered in hardened food residue, a new socket won’t grip properly.
You must inspect the shaft closely; if it looks damaged, the repair may fail quickly. Cleaning the shaft thoroughly with a soft brush and mild soap often solves minor grip issues.
The second factor is the specific model of your vitamix. Older pre-2010 models often use a different socket design compared to newer ones like the Ascent or Legacy series. Using the wrong kit can lead to poor alignment and immediate failure. Always check the model number on the bottom of the base before ordering parts. Mismatched parts are a common reason why repairs don’t hold up over time.
The third factor is your torque application during reassembly. Over-tightening the retaining screw can crack the new plastic socket or strip the threads in the base. Under-tightening allows the socket to slip again. Finding the sweet spot requires feeling the resistance as you turn the screw. Most people get this wrong by using too much force initially. A steady, firm hand is better than brute strength.
Finally, the cleanliness of the mating surfaces matters greatly. Any debris left between the socket and the base will prevent a secure fit. This is often overlooked but causes intermittent blending issues. Wipe both surfaces with a lint-free cloth before installation. These four elements combine to determine if your blender will work like new after the fix.
Step by step
- Unplug the blender from the wall outlet. Move it to a clear, flat table away from water sources. Gather a Phillips head screwdriver, a hex key set, and a new drive socket kit matching your model.
- Turn the blender base upside down. Locate the four rubber feet and peel them back gently to reveal the screws holding the base plate. Remove these screws and set them aside safely.
- Lift off the base cover to expose the internal components. You’ll see the motor shaft and the old drive socket attached to it. Note how the socket sits and where the retaining screw is located.
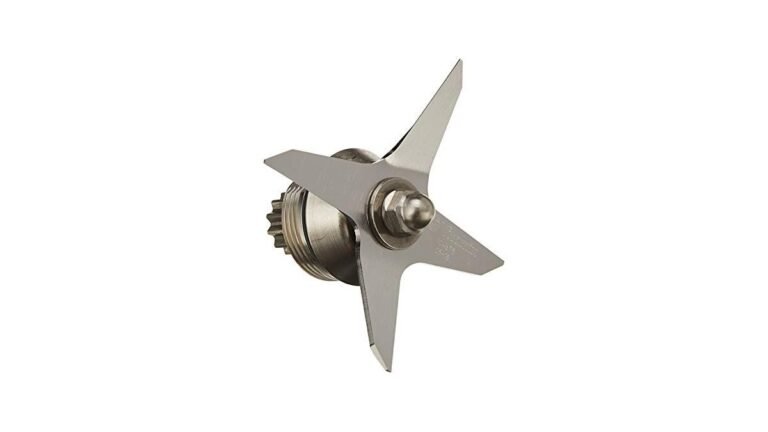
- Use the correct hex key to loosen the retaining screw that holds the socket to the shaft. Be careful not to drop the screw into the motor housing. Once loose, pull the old socket straight off the shaft.
- Inspect the motor shaft for any remaining plastic fragments or debris. Clean the shaft thoroughly with a damp cloth and let it dry completely. Ensure the shaft spins freely without wobbling.
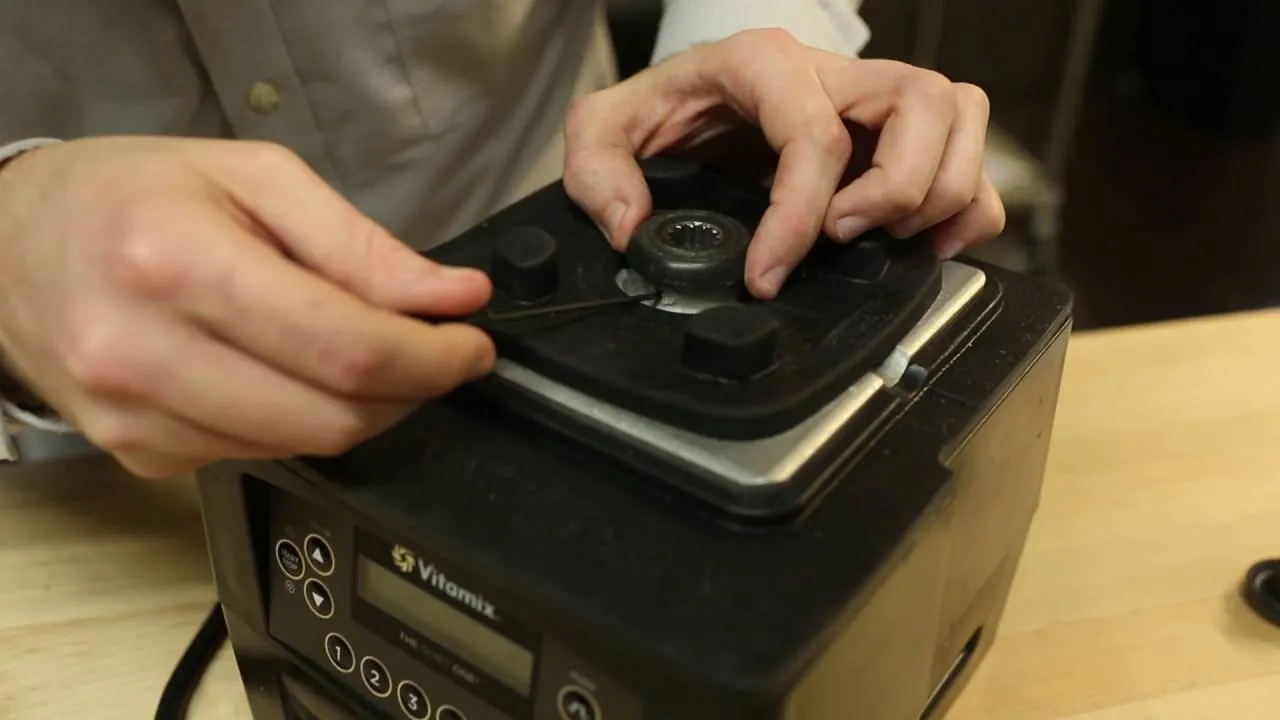
- Take the new drive socket and align it with the splines on the motor shaft. Slide it on firmly until it seats fully against the shoulder of the shaft. Don’t force it if it resists.
- Insert the retaining screw through the center hole of the new socket. Tighten it with the hex key until snug. Stop tightening once you feel significant resistance to avoid cracking the plastic.
- Place the base cover back onto the unit. Align the screw holes and insert the four base screws. Tighten them evenly to secure the cover without stripping the threads.
- Peel the rubber feet back over the screws to hide them. Plug the blender back into the outlet. Test it briefly with water only to ensure the blades spin smoothly and quietly.
The single judgement call here is knowing when to stop tightening the retaining screw. If you hear a crunching sound or feel the plastic deform, you have gone too far. A proper fit feels solid but doesn’t require extreme force.
The variations at a glance
Different scenarios require slightly different approaches depending on your blender’s history and current state. The table below outlines the most common situations you might encounter during this repair.
| Situation | What to do in it | Time/Cost/Effort | Watch for |
|---|---|---|---|
| Standard Socket Wear | Replace socket with OEM kit | Low effort, $20 part | Shaft cleanliness |
| Stripped Screw Hole | Use epoxy or helicoil kit | High effort, extra cost | Base structural integrity |
| Damaged Motor Shaft | Contact support for base swap | Very high effort, costly | Warranty status first |
| Old Model Pre-2010 | Verify exact socket compatibility | Medium effort, research | Wrong part size ordered |
| Post-Repair Noise | Check alignment and seating | Low effort, quick fix | Loose retaining screw |
Each row represents a distinct path. If your situation matches one of these, follow the corresponding action. Avoid mixing steps from different rows as they address different root causes.
What separates a good result from a poor one
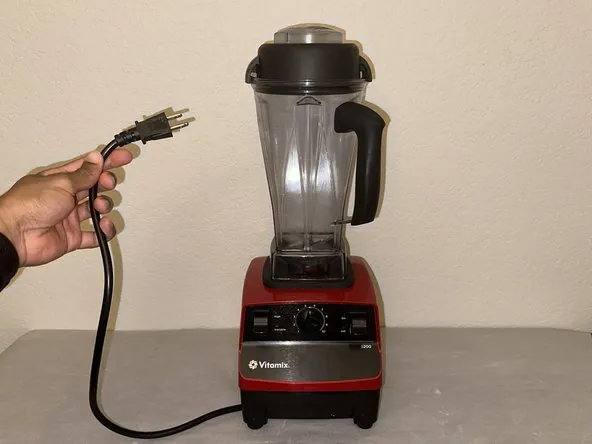
Preparation and Inspection
Experienced technicians spend more time inspecting the shaft than installing the new part. They look for microscopic cracks or corrosion that beginners miss. A dirty shaft leads to slippage regardless of how tight the screw is. Beginners often skip this step, assuming the old socket hid the dirt. Wiping the shaft with alcohol ensures no residue remains. This simple check prevents future failures.
Torque and Alignment
Pros apply torque evenly and check alignment visually before final tightening. They ensure the socket sits flush against the shaft shoulder. Beginners often tilt the socket slightly, causing uneven stress. This misalignment creates vibration and noise during operation. Using a level surface helps keep the base stable while you work. Proper alignment ensures smooth blending performance for years.
What goes wrong, and what to do
If your blender behaves oddly after the repair, the issue is usually mechanical. The table below matches common symptoms to their likely causes and fixes.
| What you notice | What it usually means | What to do first | How to stop it happening again |
|---|---|---|---|
| Grinding noise | Socket not seated fully | Re-seat socket carefully | Clean shaft before install |
| Blades won’t spin | Retaining screw too loose | Tighten screw securely | Use correct hex key size |
| Vibration during use | Misaligned socket | Check alignment visually | Ensure flush fit on shaft |
| Burning smell | Friction from tight fit | Let cool, check torque | Avoid over-tightening screw |
| Water leakage | Base seal damaged | Inspect rubber gasket | Replace gasket if cracked |
Most issues stem from improper installation rather than defective parts. Following the steps precisely avoids these problems. If a symptom persists, disassemble and re-check each step.
The rules that apply
The CPSC warning isn’t a suggestion. It’s the baseline for liability. If you skip disconnecting power, you’re gambling with your life. The outlet must be dead. Don’t trust the switch on the wall. Unplug the cord.
Vitamix bases are modular by design. You can replace the drive socket without touching the motor. This is the only safe user-serviceable path. The manual lists these parts clearly. Stick to them. When you pry open the sealed motor housing, you cross a line. The warranty becomes void immediately. There’s no appeal process. Don’t attempt this if you value future support.
Grounding is essential. A three-prong plug exists for a reason. If your home has two-prong outlets, install a GFCI adapter. It cuts power in milliseconds during a fault. This prevents electrocution more effectively than grounding alone.
Check the label inside the outlet cover. It should say “Test” and “Reset.” Press test monthly. If it doesn’t trip, replace the adapter. Fire hazards often start from loose grounds. Heat builds up where current leaks. Your skin can’t feel that heat until it burns.
Local codes vary wildly. Others allow homeowners to handle simple fixes. Check your municipal website. Look for the electrical code section. If you find ambiguity, assume the stricter rule applies. Ignorance of local law isn’t a defense against fines or insurance denial. Protect yourself by knowing the exact requirement for your zip code.
What it costs you
The part itself is rarely the shock. A standard drive socket is inexpensive relative to the alternative at most big-box stores. You can find them cheaper online, but that introduces a variable you can’t control: time. Shipping fees often add another cost if you need it fast. If you order from a marketplace seller with free shipping, you might wait two weeks for a component that takes thirty minutes to install. That delay costs more than the fee ever would.
Your actual labor cost depends on your hourly rate. For most people, replacing this part takes roughly 30 minutes for a first-time attempt. If you value your time at $25 an hour, that effort equals $12.50 in direct labor. Add in the tools.
A basic hex key set is inexpensive relative to the alternative if you don’t already own them. This is a one-time purchase. If you have a drawer full of mismatched bits, you’ll strip the screw head. Stripped heads double the job time and ruin the socket. Buy the right size immediately.
Professional repair shops charge labor costs ranging from $50 to $100. They also mark up the parts. The total bill often exceeds $150. DIY saves you significant money only if you avoid mistakes. Prices vary by retailer and shipping speed. Check official retailers for accurate current pricing before buying. Don’t assume the cheapest option is the best. A slightly higher price from a reputable source prevents the frustration of incompatible parts or delayed shipments.
Keeping it right afterwards
Wipe the base daily with a damp cloth. Food residue hardens quickly in the crevices around the motor housing. Use mild soap only. Harsh chemicals degrade the plastic casing over time. This keeps the exterior clean and prevents slip hazards.
Check the retaining screw regularly. Use a small Phillips head driver. Tighten it gently if you feel any play. Don’t overtighten, as this strips the threads. Loose screws cause vibration that damages the bearing. A secure connection ensures smooth operation.
Store the blender upright in a dry cabinet. Moisture corrodes the electrical contacts inside the socket. Keep the cord loosely coiled. Sharp bends weaken the internal wiring. Proper storage protects the motor from dust and humidity.
If you hear grinding or squealing, stop immediately. Unplug the unit before inspecting. Check for debris trapped under the blade assembly. Clear any obstruction carefully. Ignoring noise signals leads to motor burnout. Early intervention saves costly repairs.
Regular care extends the appliance’s lifespan significantly. Consistent maintenance prevents minor issues from becoming major failures. Follow these steps to keep your blender running efficiently.
When this is the wrong approach
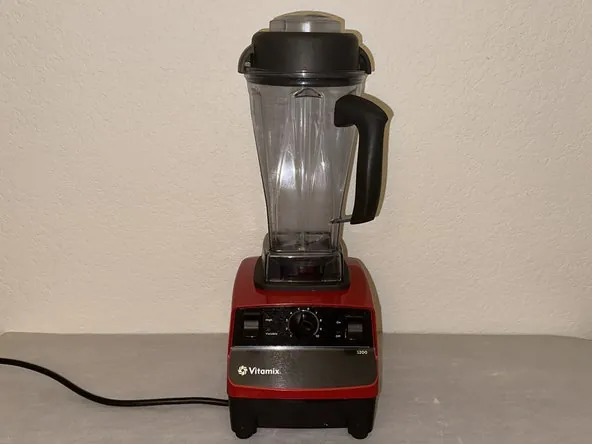
A bent shaft isn’t a cosmetic flaw. It creates a wobble that grinds against the drive coupling every time you blend. The socket might look fine, but the internal gears are taking a beating from the misalignment. Replacing just the socket ignores the root cause. You’ll hear a new grinding noise within days. The repair fails because the foundation is broken.
Corrosion tells a different story. If the metal base shows deep pitting or white crust around the bolts, moisture has breached the seal. This often happens if you rinse the unit under running water instead of wiping it down. The electrical contacts inside become unreliable. Cleaning them rarely works for long. The corrosion spreads faster than you can see. A new base unit is the only safe fix.
Warranty rules matter here. Opening the base yourself voids coverage immediately. Vitamix seals are tamper-evident. Once broken, they can’t be restored. You lose protection for the entire motor assembly. The cost of a new blender far exceeds the repair fee. Keep the original packaging and receipt. Contact support before touching any screws. They will guide you to an authorized technician. Professional intervention prevents further damage.
Frequently asked questions
Can I use any drive socket kit?
No. Only use kits designed for your specific model. Compatibility varies by year. Check the label on your base.
How long does the repair take?
It takes about 20 to 30 minutes. First-timers may need closer to 45 minutes. Practice improves speed.
Is it safe to open the base?
Yes, if unplugged. Never touch internal wires. Keep hands dry. Follow safety guidelines strictly.
What happens if I overtighten the screw?
The plastic may crack. The socket could slip later. Stop when snug. Don’t force it further.
Does this fix low power issues?
Only if the socket was slipping. If the motor is weak, this won’t help. Diagnose the cause first.
What tool do I need for the screw?
A hex key set. Size varies by model. Check your kit manual. Usually 4mm or 5mm fits.
Can I buy just the screw?
Sometimes. But kits usually include it. Buying separately risks mismatched sizes. Get the full kit.
What to do next
Start by unplugging your blender. This isn’t a suggestion. It’s the only way to ensure you don’t shock yourself while reaching into the base. Gather your tools before you begin. You’ll need a Phillips head screwdriver, usually size #2. You may also require a Torx set for newer models. Keep these items on a clean towel. Don’t work over a sink or a cluttered counter.
Order the correct socket kit for your model number. Check the label on the bottom of the unit. Write down the exact code. Generic kits often lack the specific bits needed for proprietary screws. Using the wrong tool strips the head. Stripped heads make removal nearly impossible without special extractors. If you strip one, you might need to replace the entire housing. That costs more than the kit.
Begin the disassembly process carefully. Remove the rubber feet first. Screws hide underneath them. Place each screw in a small container labeled with its location. The top screws are different from the bottom ones. Mixing them up causes alignment issues when you reassemble. Take photos at every stage. These images serve as your map if you forget how parts fit together.
Expect a successful repair if you follow each step precisely. Patience is your primary tool here. Rushing leads to broken clips. Stop if you encounter severe damage or warranty restrictions. Cracked plastic can’t be safely glued back for high-speed use. Contact the manufacturer if your unit is still under coverage. DIY repairs void that protection immediately.