Is There a Better Blender Than Vitamix? The Honest Verdict
Whether there’s a better blender than vitamix depends entirely on how you use your machine, as most professional kitchens consider these units the standard for durability, while home users might prefer quieter or cheaper alternatives for basic tasks. If you prioritize raw power and longevity, this brand is difficult to beat; if you need a specialized tool for small portions or lower noise levels, other options exist.
Who needs a better blender than Vitamix
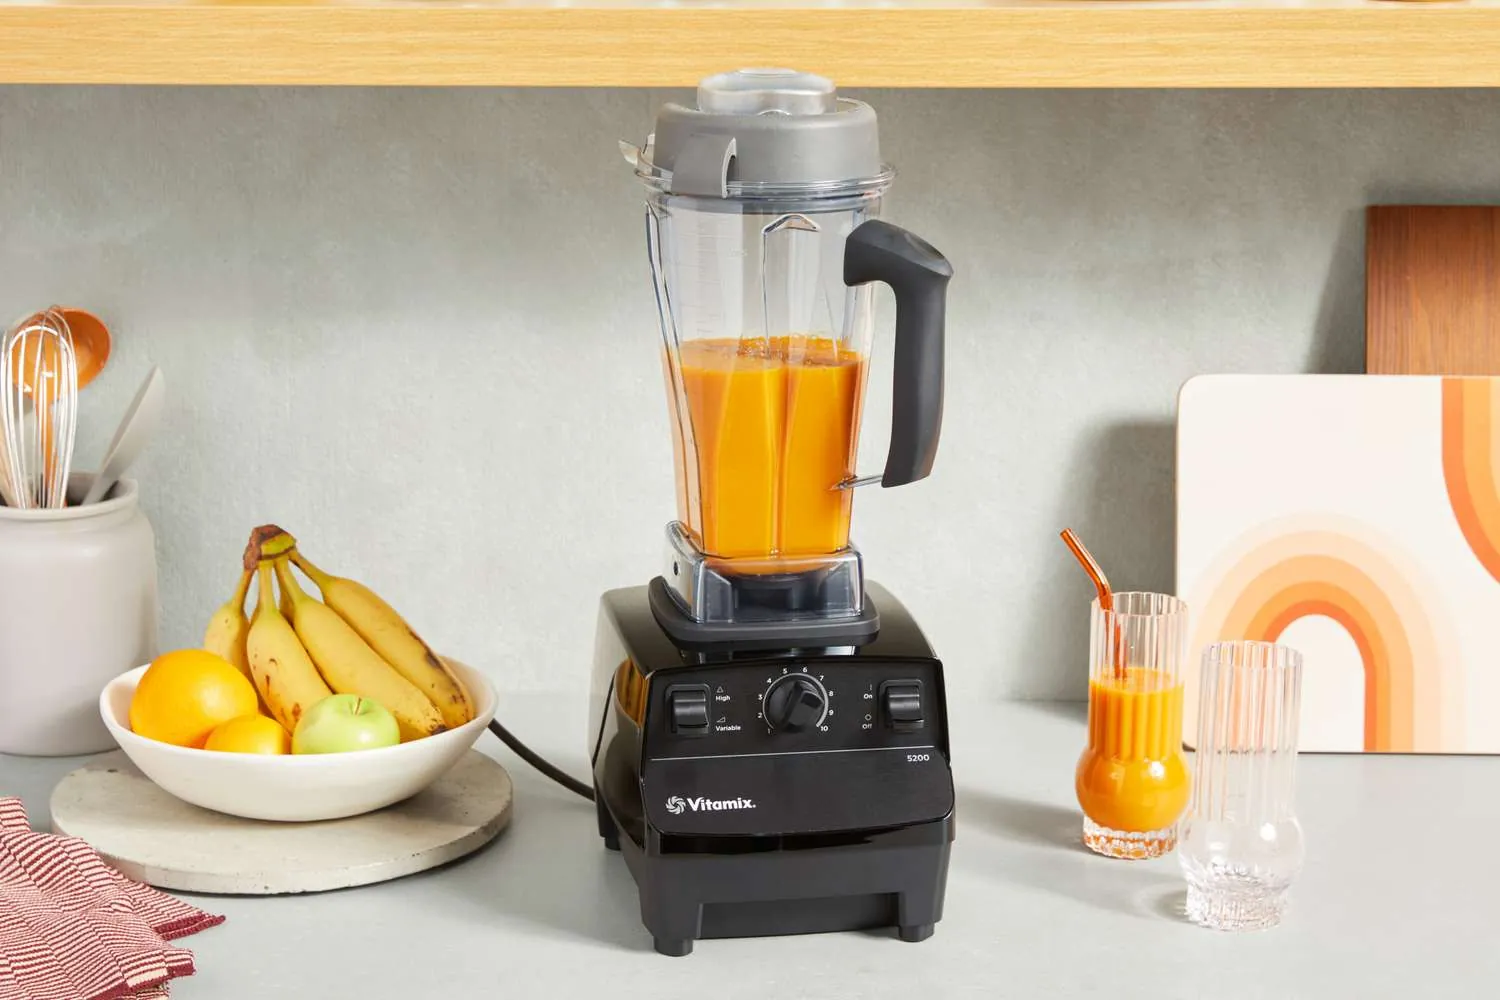
Home cooks and professional chefs search for alternatives because they want a different set of features than what the standard commercial-grade models provide. This page serves the user who already owns or is considering a high-performance blender and wants to know if switching to a competitor like Blendtec, Ninja, or KitchenAid will improve their daily routine. It assumes you’re looking for a machine to handle tasks like smoothies, hot soups, nut butters, and frozen desserts.
If you’re a casual user who only blends soft fruit once a week, you likely don’t need the industrial power of a top-tier machine. This article focuses on heavy-duty blending, which is where the differences between brands become clear.
We avoid fluff and focus on technical differences like motor torque, container shape, and interface types. If you simply want a cheap machine for occasional use, the following comparison helps you see why a high-end unit might be overkill for your specific kitchen needs.
Factors that change the outcome
Motor torque and blade speed are the primary factors that determine how smooth your final product will be. A high-torque motor, typically rated at 2 peak horsepower or higher, allows you to process fibrous kale or tough root vegetables without the blades stalling. People often mistake high wattage for performance, but the actual force delivered to the blade is what matters most for texture.
Container design is the next most important feature that users frequently overlook. A narrow, tapered jar forces ingredients back into the blades, which is ideal for small batches or thick mixtures like hummus. If you prefer wide jars for easier cleaning or reaching inside with a spatula, you might find the narrow design of some high-end jars frustrating.
Noise levels vary significantly between models, especially when you compare traditional blenders to those with sound-dampening enclosures. If you live in a small apartment or share a kitchen with others, the decibel rating of the motor at full speed is a major point of difference. Many people ignore this until they turn the machine on for the first time.
Interface and control styles represent the final major variable. Some users prefer manual dials for total control over speed, while others want preset programs that stop the machine automatically once a cycle is finished. If you need consistent results without standing by the machine, look for models with programmed cycles.
How to compare blending power
- Place your ingredients in the jar, starting with liquids at the bottom to assist the blades.
- Secure the lid firmly, ensuring the locking tabs or rubber seal are fully engaged.
- Start the motor at the lowest speed setting to prevent splashing and air pockets.
- Increase the speed to the maximum level slowly over 10 seconds.
- Use the provided tamper to push ingredients into the blades if the mixture stops moving.
- Blend for 45 to 60 seconds for a standard smoothie, or until the mixture looks smooth.
- Turn the dial back to the lowest setting before you switch the power off.
- Check the consistency by looking for unblended chunks or uneven texture.
The judgement call here is identifying the perfect texture. For soups, you want a silky, uniform liquid; for smoothies, you might want a slight bit of texture. If the motor sounds strained or the blade stops moving, you have overloaded the jar or used too little liquid. Stop immediately to prevent the motor from overheating, which can lead to a thermal cutoff.
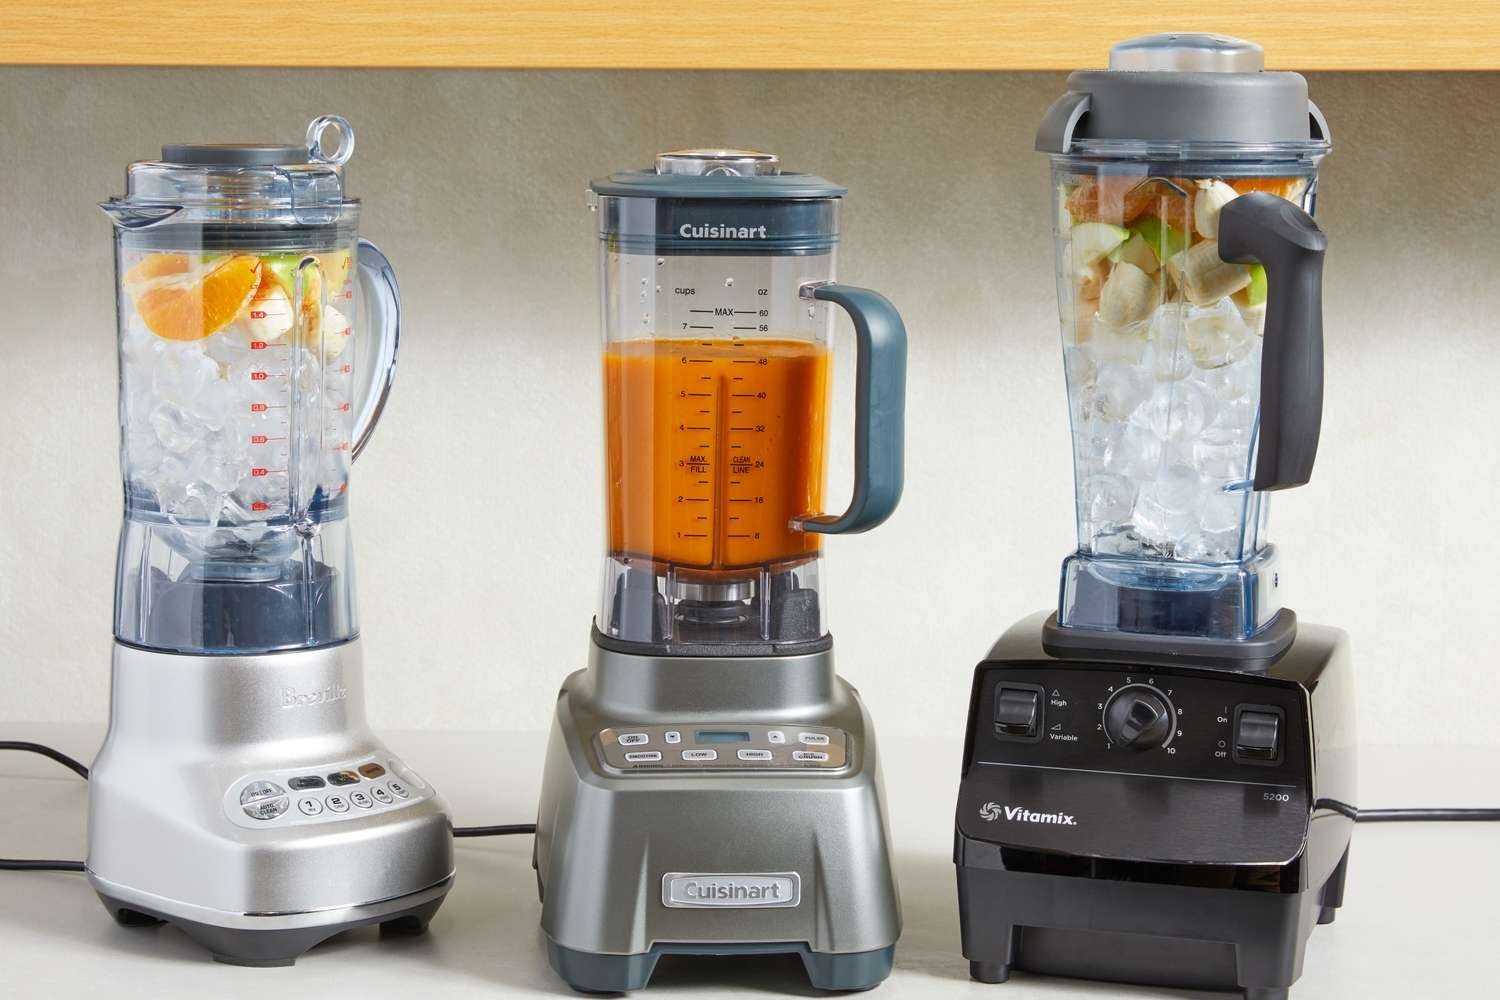
Comparison of popular high-performance blenders
| Brand | Best Feature | Control Style | Noise Level |
|---|---|---|---|
| Vitamix | Motor durability | Manual dial | High |
| Blendtec | Automated cycles | Touchscreen | Very high |
| Ninja | Food processing | Buttons | Moderate |
| KitchenAid | Quiet operation | Lever/dial | Low |
| Breville | Jar design | Digital display | Moderate |
Choose Vitamix if you process heavy loads daily. Their motors are built for commercial longevity, but you must manually adjust speeds to prevent overheating during long blends. If you prioritize set-and-forget convenience, Blendtec’s automated cycles handle everything from smoothies to hot soup without supervision. Just expect significant noise; these machines often exceed 90 decibels.
Ninja models excel at chopping vegetables or making dough because their blade towers reach higher into the jar. However, they struggle with silky-smooth purees compared to high-end alternatives. If you share a kitchen or live in an apartment, KitchenAid offers the best acoustic dampening. You sacrifice some raw torque, but you gain the ability to hold a conversation while blending.
If you’re unsure which to pick, look at your primary ingredient. Use a high-torque motor like Vitamix for fibrous greens. If you mostly crush ice or chop dry items, the Ninja’s blade design provides superior consistency. Avoid the mistake of buying based on peak horsepower; sustained torque matters more for thick mixtures.
Mastering the blending technique
Managing ingredient density
Experienced users know that the order in which you load the jar dictates the success of the blend. Always add liquids first, followed by soft fruits or leafy greens, and finish with frozen items or ice at the top. This weight pushes the hard ingredients down into the vortex, preventing the blades from spinning in an air pocket. Beginners often pack the jar too tightly, which causes the blades to cavitate.
Cleaning and maintenance
Proper care extends the life of your equipment significantly. The National Sanitation Foundation provides guidelines on maintaining food equipment to prevent bacterial growth in hidden crevices. Never submerge the motor base in water, as this will destroy the electronics and void your warranty. Instead, use a drop of dish soap and warm water, run the machine on high for 30 seconds, and rinse the jar thoroughly to ensure no residue remains under the blade assembly.
Troubleshooting common blender issues
| What you notice | What it means | What to do first | How to stop it |
|---|---|---|---|
| Air pocket forms | Not enough liquid | Add 60ml liquid | Load liquids first |
| Burning smell | Motor strain | Turn off power | Reduce batch size |
| Leaking base | Worn seal | Inspect gasket | Hand wash only |
| Uneven chunks | Blade dullness | Increase speed | Use tamper |
| Machine vibrates | Uneven surface | Move to flat counter | Check rubber feet |
If your blender stops mid-cycle, check the overload protection button on the base before assuming the motor is dead. Most units trip this breaker when processing frozen ingredients for longer than sixty seconds.
When a burning smell persists despite smaller batches, check the drive socket for plastic shavings. If you see black dust, the coupling has stripped and requires professional replacement. Continuing to blend in this state will permanently damage the motor housing.
Distinguish between a dull blade and a loose assembly by checking the blade nut. If the blades wiggle slightly when pushed, tighten them with a wrench before blaming the motor’s torque.
Always prioritize liquid volume when blending fibrous greens. If the motor sounds labored, add water in 30ml increments until the vortex pulls ingredients down consistently. Never force the tamper into the blades; if you feel resistance, stop and redistribute the contents manually.
Rules for safe operation
High-performance blenders are powerful tools that require respect for mechanical limits. Most manufacturers set strict safety standards for these appliances to prevent injuries from blade contact or electrical shorts. Always keep the lid on while the motor is running.
Never attempt to remove the blade assembly yourself if the unit is designed for permanent installation; this is a task for factory-authorized technicians only. A technician knows how to replace internal seals or drive sockets without damaging the motor. If you try this yourself, you risk misaligning the drive gear, which can lead to catastrophic motor failure within weeks.
If you notice smoke, frayed cords, or strange grinding noises, stop using the machine immediately. Check the base for signs of overheating or a burnt plastic smell. If the motor smells like ozone, unplug it and contact the manufacturer’s support line. Don’t attempt a restart to see if the issue resolves itself. This error often causes internal wiring to fuse, voiding your warranty.
Total cost of ownership
The cost of a blender goes beyond the initial purchase price. While a machine might retail for a significant amount, you must consider the lifespan of the components. A unit with a 7-year or 10-year warranty represents a lower cost per year than a cheaper model that requires replacement every 18 months.
Most buyers fail to account for the hidden cost of replacement parts. If you use your blender daily, the drive socket and blade assembly will eventually wear down. A machine with a modular design allows you to replace just the blade unit for a modest sum, whereas other brands force you to buy an entire expensive jar.
Energy usage is generally negligible for standard home use, but the convenience of a machine that finishes in 45 seconds versus one that takes 3 minutes adds up in time saved. Compare the cost of replacement jars, as some brands charge significantly more for proprietary containers. Always check the manufacturer’s website for current pricing on accessories, as these fluctuate based on demand and regional availability.
Maintaining your machine
Keeping your blender in top condition requires very little effort if you follow a routine. After every use, rinse the jar immediately to prevent food from drying onto the blades and seals. If you notice that the lid seal is becoming loose or the jar base shows signs of wear, check the manufacturer’s official page to order a replacement part.
Don’t wait for a complete failure, as a leaking jar can damage the motor base electronics.
If you use your blender daily, inspect the drive socket once a month for signs of stripping or melting. If the teeth appear rounded or show dark plastic shavings, replace the socket before it ruins the connection to your jar. Many users ignore these shavings, but they indicate the motor is straining against a failing coupling. Replacing an inexpensive socket now prevents a total motor burnout later.
When this is the wrong choice
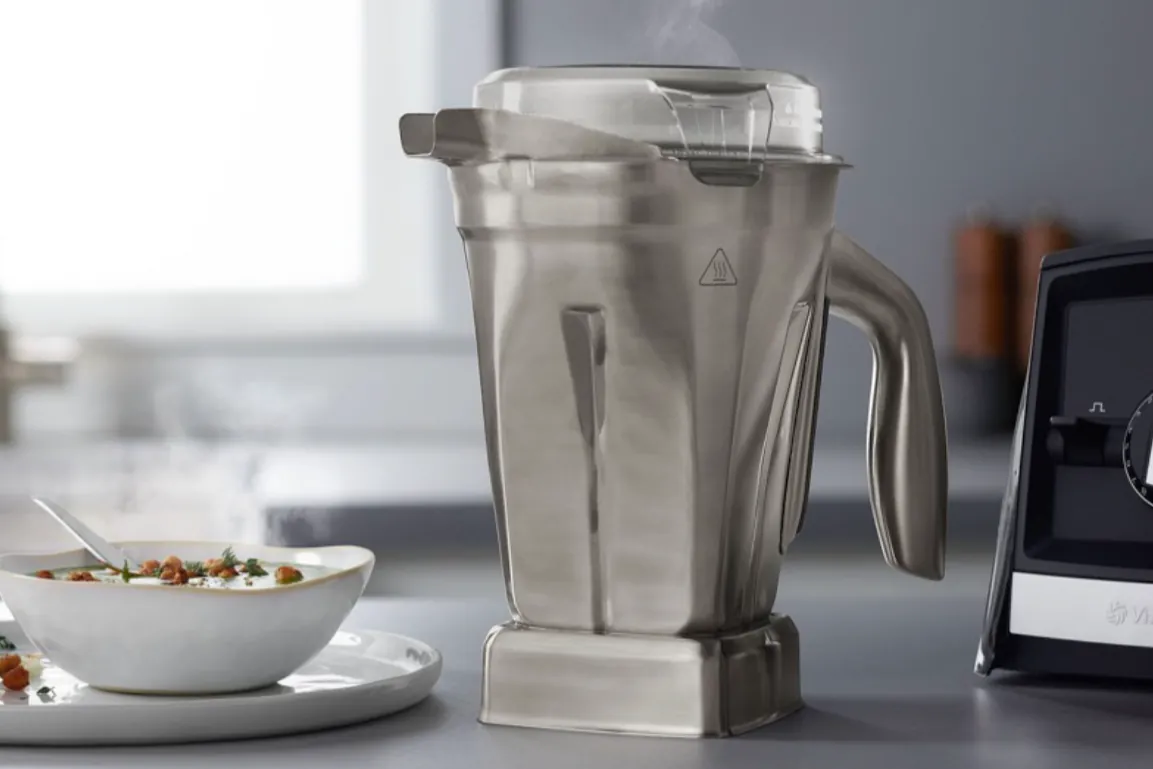
If you only need to make small portions of baby food or single-serve protein shakes, a full-sized high-performance blender is likely the wrong tool. These machines are designed for large volumes and often struggle with very small amounts because the ingredients can’t reach the blades effectively. For these tasks, a personal blender or a small food processor is a much better choice.
If you have limited counter space, the height of a professional blender jar might prevent you from storing it under your kitchen cabinets. Measure your space before buying, as these units are often 18 to 20 inches tall. If you can’t fit the unit on your counter, you’ll be less likely to use it, making your investment a waste of space.
Frequently asked questions
Can I blend hot liquids safely?
Yes, you can blend hot liquids, but you must ensure the lid is vented to allow steam to escape. Most manufacturers recommend filling the jar no more than halfway when processing hot ingredients to prevent pressure buildup.
How long does a high-end blender last?
A well-maintained high-performance blender typically lasts 10 to 15 years in a home kitchen. You can check the specific lifespan of your model by looking at the warranty length provided by the manufacturer in the user manual.
Is it safe to put the jar in the dishwasher?
Most high-performance blender jars are dishwasher safe, but hand washing is better for the life of the seals and blades. Check your specific model’s manual to see if the heat from your dishwasher will degrade the plastic or rubber components.
What happens if I overload the motor?
If you overload the motor, the internal thermal protection switch will trip and shut the machine off automatically. You should wait for the motor to cool down completely, typically 5 to 15 minutes, before you attempt to use it again.
Does a more expensive blender actually blend better?
A more expensive blender generally provides a smoother, more consistent texture because of its higher torque and blade design. You can verify the difference by testing a fibrous green smoothie; a cheaper model will leave noticeable leafy bits, while a high-end one will be completely smooth.
How often should I sharpen the blades?
You should never sharpen the blades of a high-performance blender, as they’re designed to be dull and rely on speed to pulverize food. If the blades become damaged or lose their effectiveness after many years, you should replace the entire jar assembly.
Conclusion
Start by assessing how many times per week you actually use a blender. If you use it daily for smoothies or soups, a premium machine will pay for itself in performance and reliability. If the machine struggles to process your ingredients, stop and check your liquid ratios before you decide that you need a replacement.