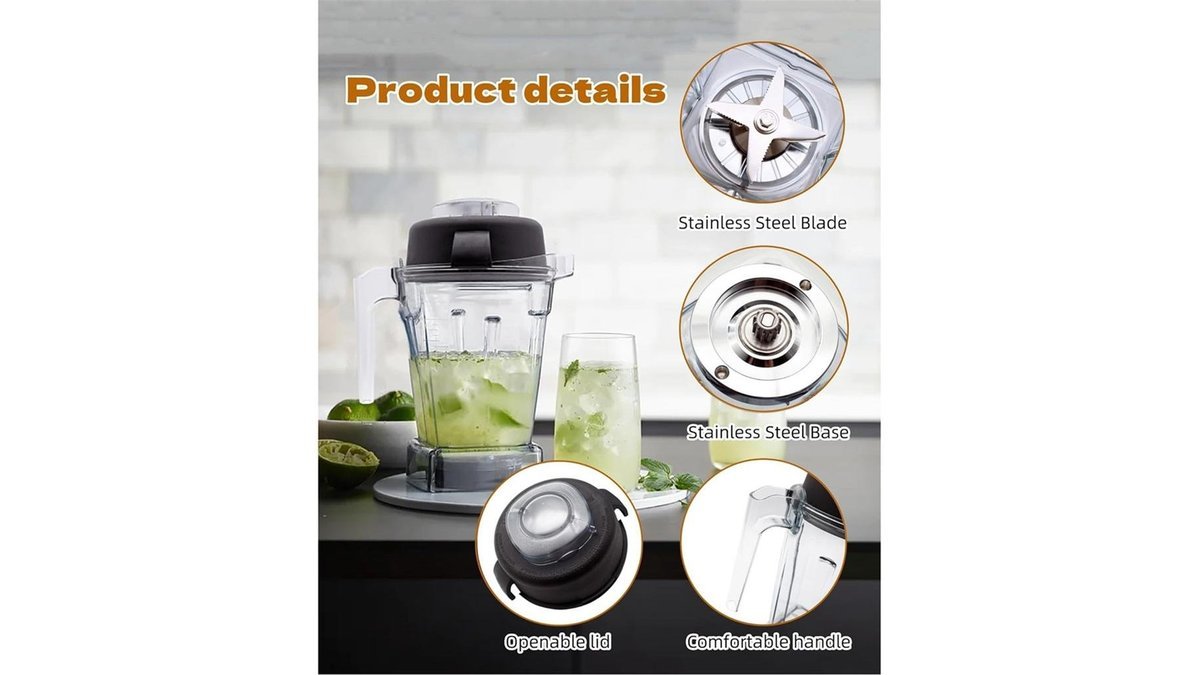
Where To Buy Vitamix Replacement Parts: Official Sources Guide
You can find Vitamix replacement parts directly through the official Vitamix website or from authorized appliance service centers. These sources ensure you receive genuine components that fit your specific blender model. Using authentic parts keeps your machine running safely and prevents damage to the motor or drive socket.
The availability of these parts changes based on your blender’s age and the specific region you live in. You should always check your model number, found on the base of your unit, before you look for a replacement. This ensures the part you buy is compatible with your machine’s exact specifications.
Why you need Vitamix replacement parts
This guide is for people who own a Vitamix blender and need to replace a worn-out component, such as a container, blade assembly, or drive socket. You might be looking for a new part because your current one is leaking, making loud noises, or showing visible signs of wear.
The information here is written for home users who want to perform their own basic repairs. It assumes you’re comfortable using a screwdriver or a specialized wrench if necessary. If you aren’t confident opening your appliance, or if your machine is still under the original manufacturer’s warranty, you should contact the Vitamix customer support team instead of attempting a repair yourself.
They can help you determine if your issue qualifies for a free replacement under their specific warranty terms. This page isn’t for people seeking third-party, non-branded knock-off parts, as those can often cause permanent damage to the blender’s internal drive system.
Factors that change your replacement options
The most important factor is the specific model number of your blender. Vitamix produces different series, such as the Explorian, Ascent, or Legacy models, and they often use non-interchangeable parts. You can find this number printed on the bottom of the motor base or on the product registration card.
Your location also plays a role in where you can buy parts. While the official website serves most customers, some international markets use authorized distributors to handle local sales. If you live outside the United States, check the official Vitamix website’s store locator to find a verified partner in your country.
The age of your machine matters significantly for part availability. If your blender is quite old, some specific plastic housing parts might be discontinued. In these cases, you’ll need to check the official inventory list to see if a modern equivalent exists.
Finally, the type of repair changes the difficulty. Replacing a container or a lid is a simple task that requires no tools. However, replacing a drive socket or a blade assembly requires specific tools. People often make the mistake of using a standard screwdriver when a specialized socket wrench is required; this can strip the screw heads and make the repair impossible to finish safely.
Steps to replace your blender parts
- Unplug the blender from the power outlet to ensure total safety during the process.
- Locate the model number on the bottom of your motor base to confirm the correct part version.
- Visit the official Vitamix website and navigate to the “Parts and Accessories” section to find your specific model.
- Add the required component to your cart and complete the purchase through their secure checkout portal.
- Wait for the delivery, which typically takes 3 to 7 business days depending on your shipping selection.
- Use the provided installation guide or the official video tutorials on the Vitamix site to remove the old part.
- Install the new part, ensuring all screws are tightened to the manufacturer’s suggested resistance.
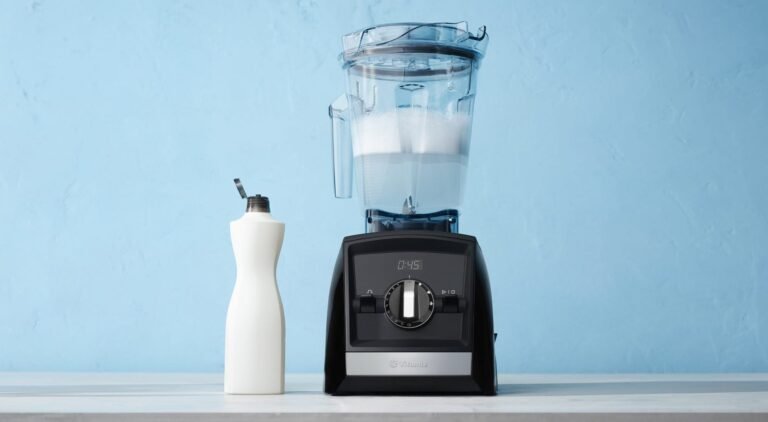
- Test the blender with water on the lowest speed setting to verify the seal and operation.
The key judgment call is knowing when to stop tightening. You want the part to be secure, but you should never force a screw if you feel strong resistance. If it doesn’t sit flush, back it out and realign the threads to avoid cracking the plastic casing.
Comparing your purchase options
| Situation | Where to buy | Effort required | What to watch for |
|---|---|---|---|
| Warranty repair | Official support | Low | Proof of purchase |
| Common wear parts | Website store | Low | Model compatibility |
| Older legacy models | Service centers | Medium | Part discontinuation |
| International orders | Regional distributor | Medium | Shipping costs |
| Bulk accessories | Authorized retailers | Low | Authentic branding |
When seeking warranty repairs, always register your serial number online before contacting support. This simple step often bypasses the need for a physical receipt if the database confirms your coverage.
If you’re sourcing parts for legacy equipment, check the manufacturer’s “End of Life” list first. This saves you from ordering incompatible components that will never fit.
For bulk accessory orders, verify the retailer’s status on the manufacturer’s official “Where to Buy” page. Unauthorized sellers often push counterfeit items that lack safety certifications.
Always calculate the total landed cost for international orders, including import duties. These fees can sometimes double your final price if the distributor doesn’t offer DDP shipping.
Distinguishing quality from poor results
Preparing for a successful repair
Experienced users always clean the base area before removing any parts. Dust and food debris can fall into the motor housing if you don’t wipe the surface first. They also keep a small bowl nearby to hold the tiny screws, as losing one will prevent you from finishing the job. Beginners often skip this step and lose a screw, which forces them to wait for a replacement fastener before they can use their blender again.
Handling the assembly process
A successful repair depends on using the right tool for the specific bolt type. Most Vitamix repairs require a standard Phillips head screwdriver or the specific drive socket wrench provided in their kits. Experienced owners never use pliers, as these can slip and mar the plastic finish of the blender base. They also ensure the power cord remains disconnected until the very last screw is tightened, which eliminates any risk of accidental activation.
Troubleshooting common replacement issues
| What you notice | What it usually means | What to do first | How to stop it happening |
|---|---|---|---|
| Leaking container | Worn blade seal | Inspect blade base | Rinse after every use |
| Loud grinding | Worn drive socket | Check socket teeth | Don’t overload container |
| Blender won’t start | Tripped thermal sensor | Let motor cool | Use recommended speed |
| Part won’t fit | Wrong model version | Re-check serial number | Verify model before order |
| Loose blade | Stripped thread | Tighten bolt carefully | Avoid dishwasher cleaning |
If your container leaks from the bottom, check the rubber gasket for hairline cracks. A seal that feels stiff or brittle has lost its elasticity and will fail under pressure. Replace the entire blade assembly if the seal can’t be removed separately.
Grinding noises often signal that the drive socket teeth have rounded off. If you continue running the motor, you risk permanent damage to the drive shaft. Stop immediately if you see plastic shavings near the base.
When a part fails to fit, verify your serial number against the manufacturer’s database rather than relying on the model name alone. Many brands release internal hardware updates mid-production. Using the wrong part can strip your threads or cause the motor to seize during operation.
Finally, never run plastic components through a high-heat dishwasher cycle. The intense heat warps the housing, which prevents parts from seating flush. Hand wash with mild soap to maintain the integrity of the seals and threads.
Understanding the rules for repair
The primary rule regarding these repairs is that opening the motor base yourself may void your manufacturer’s warranty. According to the standard warranty terms published by Vitamix, unauthorized internal repairs aren’t covered. If your machine is under the manufacturer’s warranty period, you should always contact their support team before you attempt any internal disassembly.
Another critical rule involves the use of non-branded parts. Using components that aren’t manufactured or authorized by Vitamix can cause the drive system to overheat. This is a safety risk, as it can lead to electrical failures or damage to the motor.
If you’re unsure about the legitimacy of a part, only purchase from the official website or a verified service partner listed on their site. If you lack the proper tools or feel unsafe performing the repair, stop immediately and seek a professional technician.
What it costs to replace parts
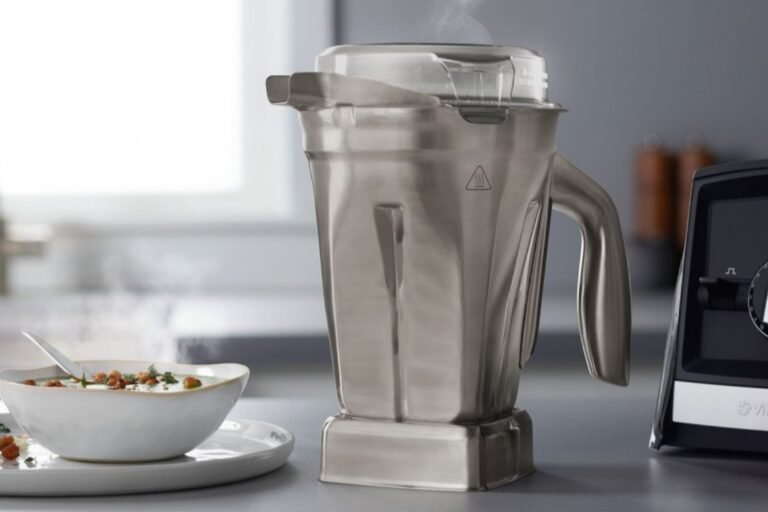
The total cost of your repair varies based on the specific part you need. A simple lid replacement or a tamper is inexpensive compared to replacing the entire unit. More complex items, like a new 64-ounce container or a blade assembly, are also more affordable than buying a new blender.
These prices change based on your location and the current inventory status on the official website. You should check their store page directly to see the live price for your specific model. Shipping fees also add to the final cost, though Vitamix often offers free shipping if your order exceeds a certain dollar amount.
You can see the exact shipping policy on the checkout page before you finalize your payment. Always factor in the time cost as well; while a part might be affordable, the effort required to properly install it’s the real investment you make in your appliance.
Maintaining your blender after repair
Once you have installed your new part, you need to follow the manufacturer’s cleaning guidelines to keep it in good condition. Most Vitamix containers and accessories should be cleaned by adding a drop of dish soap and warm water to the container, then running it on high for 60 seconds. Avoid putting the blade assembly in the dishwasher, as the high heat and harsh detergents can damage the seals over time.
You’ll know your parts need attention again if you notice leaking at the base of the container or if the blender becomes significantly louder than usual. These are the main signs of wear. If you notice these symptoms, inspect the blade assembly for any play or movement. If the blade feels loose, you can often tighten the nut, but if the rubber seal is cracked, you must replace the entire assembly to prevent liquid from entering the motor base.
When this is the wrong approach
If your blender is making a burning smell or if you see smoke coming from the base, this isn’t a simple part replacement issue. These signs indicate a failure of the internal motor or the electrical components. You must stop using the machine immediately and contact the official support team for a professional assessment. Attempting to open the motor housing when you smell burning is dangerous and can lead to electrical shock or further damage.
If you have a very old machine that’s no longer supported with parts, don’t try to force components from other brands to fit. This often results in an unbalanced blade or a stripped drive socket, which can be hazardous during high-speed blending. In these cases, it’s safer to recycle the unit and consider a newer model that has full manufacturer support and available replacement components.
Frequently asked questions
Can I buy parts at a local hardware store?
No, you can’t find genuine Vitamix replacement parts at local hardware stores. These specialized components are proprietary and must be purchased through the official website or an authorized service center to ensure they fit your specific blender model correctly.
How long do the containers usually last?
Most containers last for several years under normal household use, but the lifespan depends on how often you blend and what ingredients you use. If you notice the blades becoming dull or the seal leaking, it’s time to order a replacement.
Is it safe to use third-party blades?
No, it isn’t safe to use third-party blades because they aren’t balanced to the high-speed requirements of the motor. Using non-authorized parts can cause excessive vibration, which may damage the drive socket and the motor bearings inside your blender base.
How do I know if my warranty covers the part?
You can find out if your warranty covers the part by checking your original purchase date and contacting the Vitamix support team. They will ask for your serial number to confirm if your specific issue is covered under their current service policy.
What happens if I use the wrong part?
Using the wrong part can lead to immediate mechanical failure or long-term damage to your blender’s motor. Always verify your model number on the base of the unit before you purchase any replacement to ensure the part is compatible with your machine.
How often should I replace the drive socket?
You should replace the drive socket only when you see the teeth showing significant signs of wear or rounding. There’s no set time schedule, so you should visually inspect the socket every few months to ensure the teeth remain sharp and defined.
Can I fix a motor failure myself?
No, you can’t safely fix a motor failure yourself because it involves complex electrical components that require professional training. If your motor is failing, contact the manufacturer to discuss repair options or a potential trade-in program for a new unit.
Conclusion
Start by checking your model number on the bottom of the motor base to ensure you buy the correct item. Once you install the new part, listen for smooth operation during your first test blend. If you encounter any unusual noise, stop immediately and seek help from the official support team.