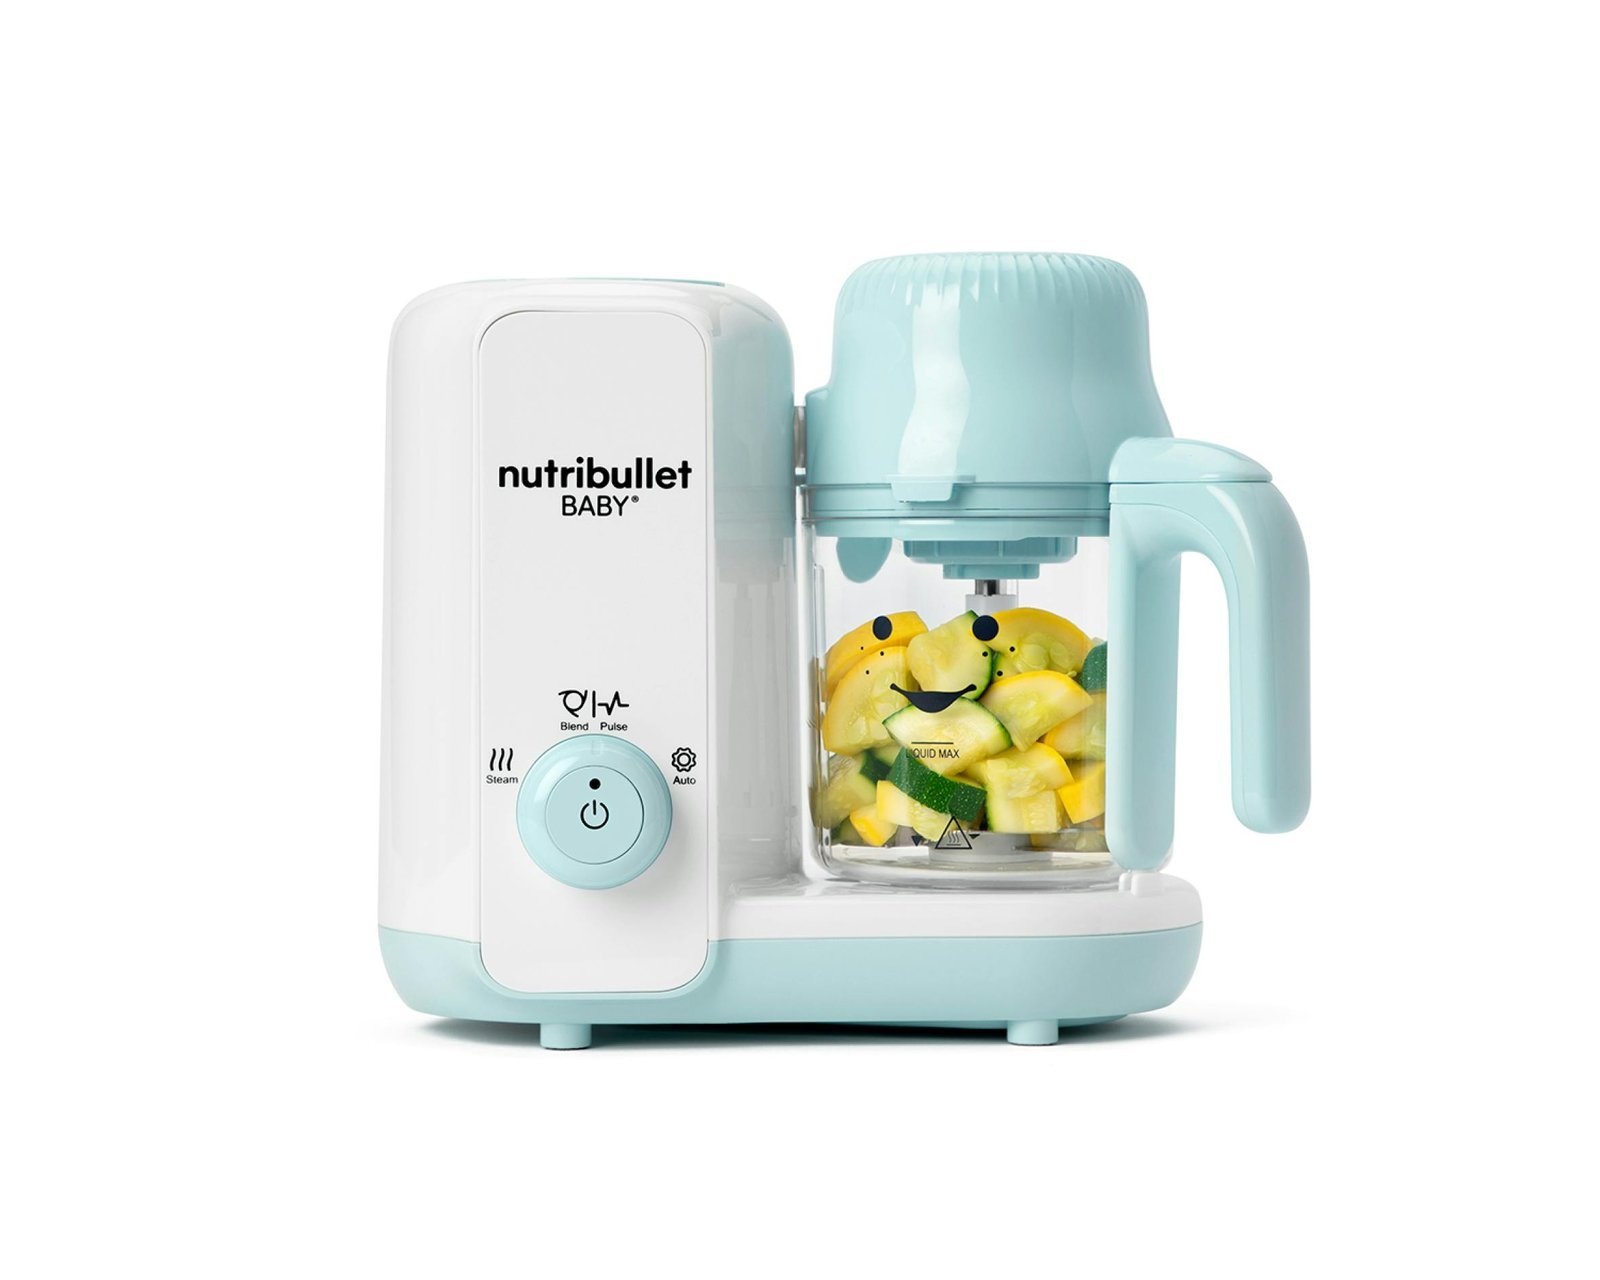
How To Use Nutribullet Baby Steamer And Blender: Step-By-Step
The whole job takes about 20–30 minutes per batch: fill the reservoir to the water line, steam the food until a fork slides through it easily, then move it to the blending cup and pulse until it’s smooth. How long the steaming takes and how thin the purée gets depend on the food, the amount in the cup, and how old your baby is.
Three things change that answer for different readers. Hard vegetables like carrots and sweet potato need more steam time than soft fruit like banana, which you often don’t steam at all. A bigger load in the cup needs longer. And the texture you’re aiming for shifts as your baby moves from first purées at around 6 months to lumpier food later. The rest of this page walks through each of those.
Who this steamer and blender is for
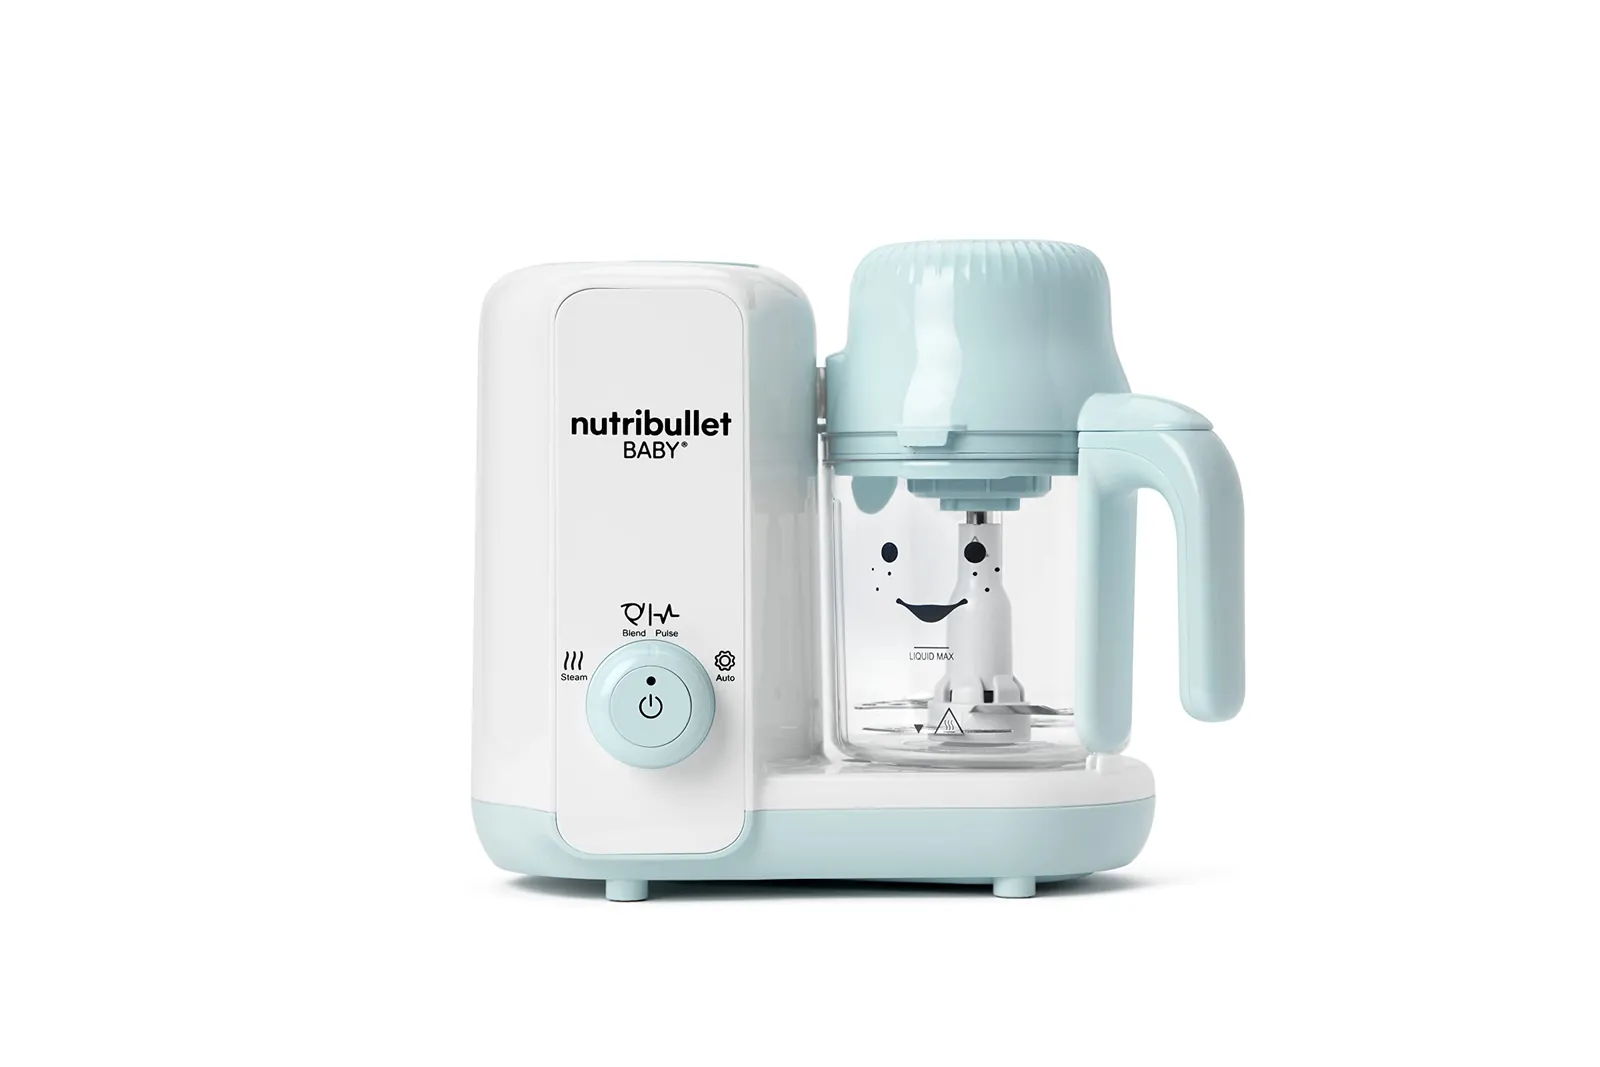
This page is for three kinds of readers, and it serves one of them best. The first is the parent with a new NutriBullet Baby set still in the box who wants to make the first batch of purée today — this page is written for you.
The second is a parent who already blends but has never steamed in the machine and wants to know whether it replaces a stovetop steamer. The third is someone deciding whether to buy the set at all; you’ll get more from a comparison review than from this page.
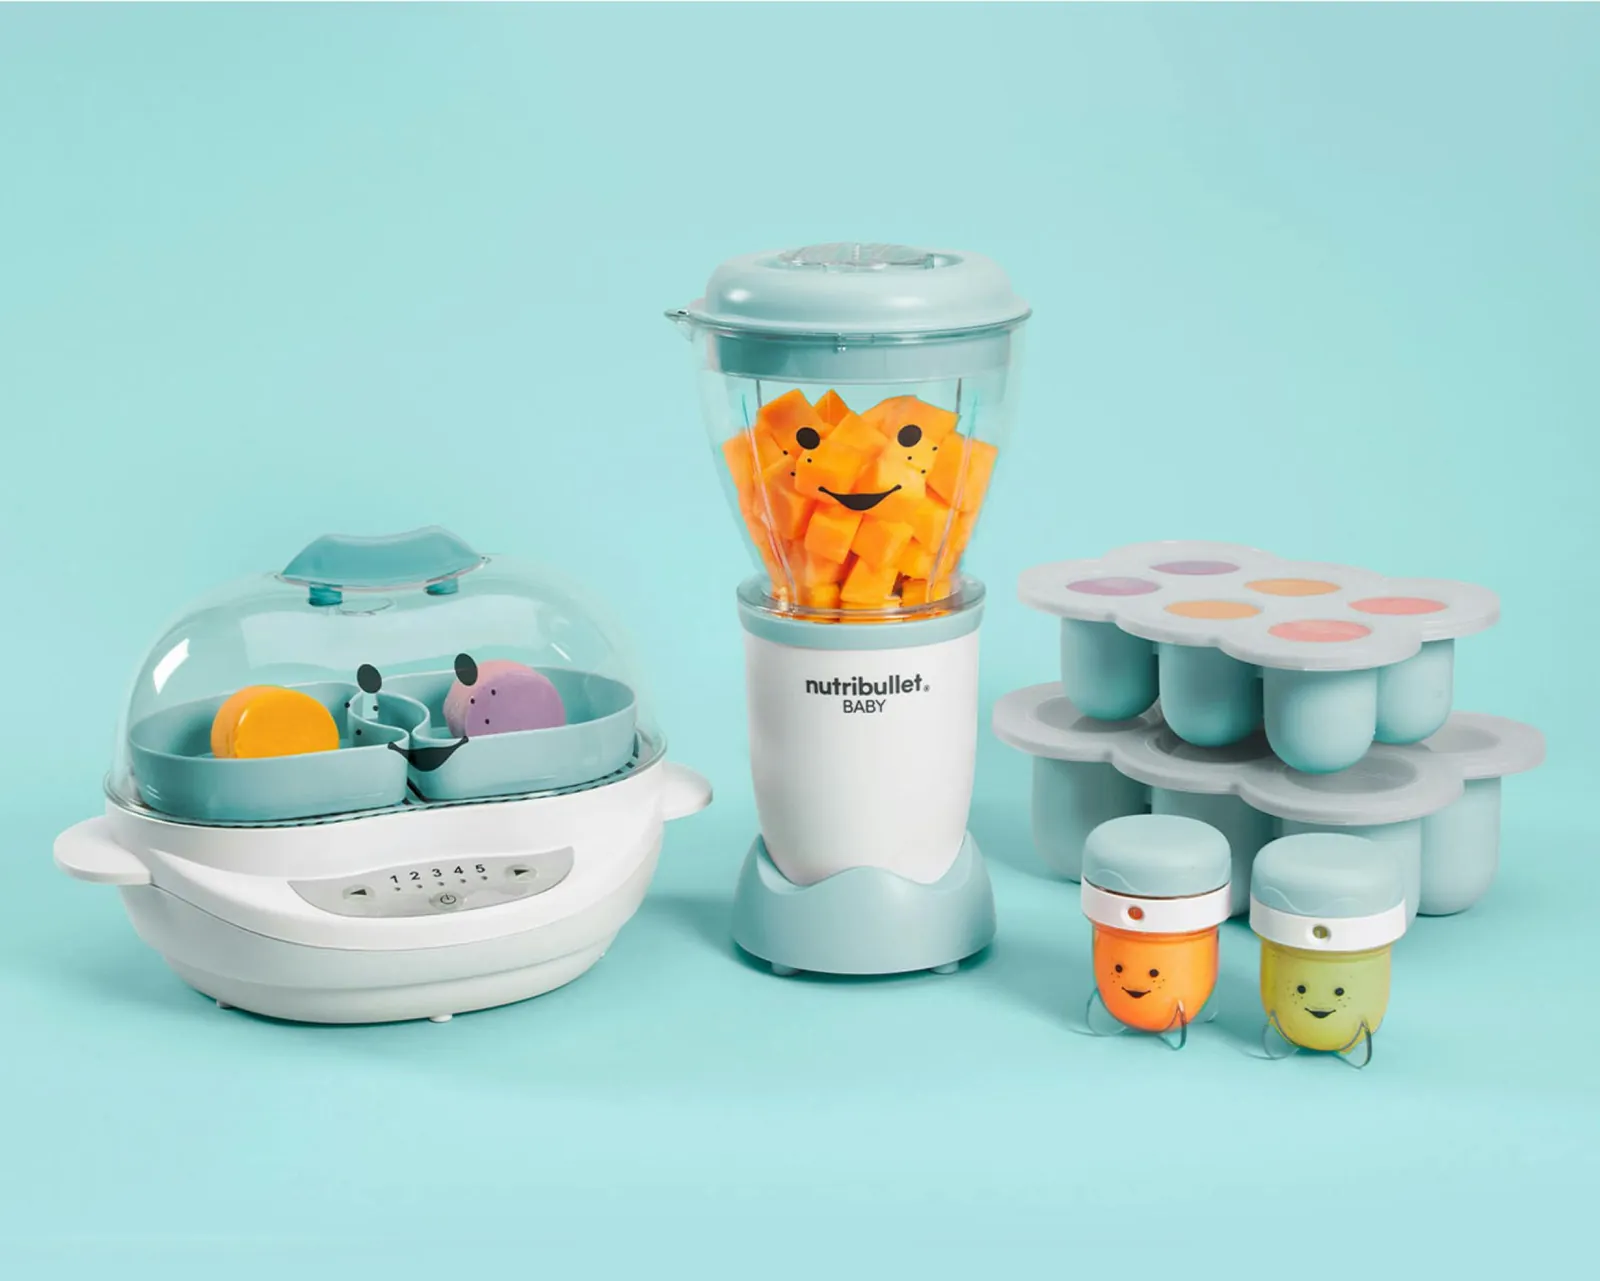
The article assumes you have the full set: the steamer base or steam basket, the blending cup, the power base, and the batch trays or storage cups it came with. If you only have the blender half, the steaming steps won’t apply, and you’ll need to steam on the stove instead.
It also assumes your baby is around 6 months or older, which is when most babies start solid food. If your baby is younger, talk to your pediatrician before starting solids at all — that’s a medical question, not a kitchen one.
What changes your results most
Four things decide whether you get a smooth purée or a lumpy, watery disappointment. They’re listed here in order of how much they matter.
The food itself. This is the one people get wrong most often. Carrot, sweet potato, and butternut squash need the longest steam; apple, pear, and peas need less; banana and avocado need none at all. The check is always the same: poke the food with a fork. If the fork slides in with no resistance, it’s ready to blend. If it doesn’t, steam longer — don’t just add water and hope the blender fixes it.
How much food you load. A cup filled to the max line steams and blends differently from a half-filled one. More food means longer steaming and a thicker blend. If your machine has a fill line on the cup or basket, respect it. Overfilling is the most common cause of uneven purée with hard chunks left in the middle.
The water level in the reservoir. Too little water and the machine may cut out or scorch; too much and you lose nothing but it’s worth knowing the line. Use the line marked on the reservoir, or the measurement in your manual. Never run the steamer dry — running it with an empty reservoir can damage the heating element.
How thin you want it. First purées for a baby around 6 months should be thin enough to drip slowly off a spoon. Older babies can handle thicker textures. You control this with liquid: water, breast milk, or formula added a small splash at a time while blending.
Steps to a batch of baby food in the Nutribullet steamer and blender
Here’s the full process from raw food to stored purée. These steps assume the standard NutriBullet Baby setup with its steam basket and blending cup; if your model differs, your manual’s diagrams win over this list.
- Wash the food. Rinse fruit and vegetables under running water and peel anything with a skin your baby can’t eat, like carrot, sweet potato, or apple. Peeling before steaming saves blending time later. The sign you’re done: no visible dirt or skin left on the cut pieces.
- Cut into even pieces. Chop everything into chunks of roughly 1–2 cm. Even pieces finish steaming at the same time; a mix of sizes means some parts are raw while others are mush.
- Fill the reservoir. Pour clean water into the steamer reservoir up to the marked fill line. Don’t guess — find the line on your machine or the figure in your manual. The sign it worked: the reservoir sits level and doesn’t overflow when you slide the basket in.
- Load the basket and steam. Put the chopped food in the steam basket in a single loose layer, set it on the base, and run a full steaming cycle. Soft foods like apple or pear often need less time than the full cycle; hard root vegetables usually need the full cycle or a second one. The sign it worked: a fork slides through the thickest piece with no resistance. If it doesn’t, run another cycle and check again.
- Let it cool slightly. Give the food 2–3 minutes so you’re not handling boiling-hot chunks. The steam and the food itself are scalding straight after the cycle — this is the step people skip and regret.
- Transfer to the blending cup. Fill the cup, but don’t pack it past the max fill line printed on the cup. Overfilling strains the motor and gives you uneven results.
- Add liquid. Start with 1–2 tablespoons of water, breast milk, or formula. You can always add more; you can’t take it back out.
- Blend in short pulses. Pulse 3–4 times, then run 10–15 seconds at a time until the purée is smooth. Tilt or shake the cup between runs if the food stops moving. The sign it’s done: no visible chunks, and the purée drips slowly off a spoon for a first-foods baby.
- Check the temperature before serving. Stir, then test a small dot on the inside of your wrist. It should feel lukewarm, not warm. Food straight from blending can hold heat in the middle even when the edges feel cool.
- Store what you don’t serve. Spoon the rest into the batch trays or storage cups, label them, and refrigerate or freeze right away — the storage section below covers how long each keeps.
The judgement call that separates a good batch from a bad one is the fork test in step 4. Blending can’t rescue undercooked food; it just makes gritty lumps smaller. Steam until the fork slides through the thickest piece, every time, even if that means running the cycle twice.
Common foods at a glance
Different foods need different handling, and the table below covers the ones parents steam most often. Times are honest ranges for a standard load in the basket — check your manual for your machine’s cycle length, and always confirm with the fork test rather than the clock.
| Situation | What to do | What it takes | What to watch for |
|---|---|---|---|
| Carrot, sweet potato, squash | Peel, chop 1–2 cm, steam full cycle | Longest steam time, often a second cycle | Fork must slide through easily |
| Apple, pear | Peel, core, chop, steam | Shorter than root vegetables | Slightly undercooked is fine to blend |
| Peas, green beans | Steam, no peeling needed | Short steam time | Skins may need extra blending |
| Banana, avocado | Skip the steamer entirely | 2 minutes, blend only | No liquid needed at first; they’re already soft |
| Spinach, leafy greens | Steam briefly, blend with liquid | Very short steam time | Watery result; reduce added liquid |
| Meat, chicken, fish | Steam thoroughly, blend very smooth | Longest of all; check it’s cooked through fully | Blend with extra liquid or it’s pasty |
| Leftover refrigerated purée | Reheat to steaming hot, then cool before serving | 1–2 minutes | Stir and test on your wrist |
The details experienced parents get right
The difference between a smooth batch and a frustrating one is rarely the machine — it’s preparation and patience during the blend. Two habits do most of the work.
Prep before the machine even turns on
Cut everything to the same size before steaming, even if it costs you two extra minutes. Mixed sizes are the main reason a batch comes out with raw bits in the middle. Peel before steaming, not after — hot cooked food with skin on is harder to handle, and the skin of apple or carrot doesn’t blend well anyway.
Group foods by steam time when making more than one batch in a session: do all the hard vegetables first, then the soft ones. You’ll run fewer cycles overall and clean the basket less often.
Blend in stages, not one long run
Run the blender in short bursts instead of one continuous 60-second run. Short pulses let you see the texture and stop before the purée heats up from friction. If the food stalls and spins without blending, stop, add 1 tablespoon of liquid, and shake the cup gently before the next pulse.
Leave the meat and fibrous foods alone until you’re comfortable with vegetables — they need noticeably more liquid and longer blending, and they’re where an underpowered run stalls. And don’t thin the whole batch at once; thin a single serving at a time so the stored portion keeps the texture you want.
When something goes wrong
Most problems with this machine have a simple cause you can fix in under a minute. Find what you’re seeing in the table and start with the first fix before assuming the machine is faulty.
| What you notice | What it usually means | What to do first | How to stop it happening again |
|---|---|---|---|
| Purée has hard chunks | Food was undercooked before blending | Steam the purée’s pieces again or run another cycle | Always pass the fork test first |
| Purée is grainy or gritty | Not enough liquid, or fibrous food | Add liquid 1 tablespoon at a time and re-blend | Blend in stages, not one long run |
| Blender stalls or spins freely | Cup is overfilled or too thick | Remove some food or add liquid | Respect the max fill line on the cup |
| Steamer won’t start | Reservoir empty, or parts not seated | Check water level and reseat basket and lid | Fill to the line every time |
| Steamer cuts out mid-cycle | Ran dry or scaled-up element | Unplug, let cool, refill to the line | Descale per your manual’s instructions |
| Food smells or tastes off after storage | Kept too long or cooled slowly | Throw it out — don’t taste-test | Freeze in small portions right after blending |
| Purée is watery | Food released liquid, or over-thinned | Blend longer; strain if needed | Add liquid in small splashes only |
If the machine itself won’t run even with water in the reservoir and everything seated correctly, stop there. Don’t open the base — that’s a job for the manufacturer’s customer service or a qualified repairer, and opening it yourself can void the warranty.
The safety rules that apply
Two sets of rules matter here: the machine’s own limits and food safety for your baby. Both come from named sources, not guesswork.
The machine’s rules are in the NutriBullet manual that came with your set. It covers the fill lines, which parts are dishwasher-safe, and what must never go in the dishwasher or be submerged. Follow that document over any general advice, including this page, because models differ. If you’ve lost it, the manual is available on NutriBullet’s own website under support.
The food rules come from the American Academy of Pediatrics and the USDA Food Safety and Inspection Service. Their guidance: start solids around 6 months, introduce one new single-ingredient food at a time so you can spot reactions, and skip honey entirely in the first year because of the risk of infant botulism.
The USDA’s guidance for reheating any baby food or leftovers is to heat it until steaming hot throughout, then cool it before serving — never serve food warmed only to lukewarm from the fridge. And plain vegetables, fruit, and grains have no published “safe internal temperature” the way meat does; for those, done means cooked soft and steaming hot, which the fork test and your wrist both confirm.
One line you shouldn’t cross: never improvise a repair on the steamer base or run it with a cracked cup or damaged blade seal. That’s manufacturer or warranty service territory.
What it actually costs you
Your real costs are time, not money — you already own the machine. A single-ingredient vegetable batch takes roughly 20–30 minutes start to finish, including cooling and cleanup, with the machine doing most of it unattended. Batch cooking changes that math: an hour on a Sunday can fill enough storage cups for a week or more, because the steamer cycles and the cleanup happen once instead of daily.
What moves the cost up: fibrous foods, meat, and anything needing peeling all add prep time. What moves it down: soft foods like banana and avocado skip the steamer entirely, and steaming several foods in sequence in one session shares the cleanup.
The money side is just ingredients — a few dollars’ worth of produce makes many servings, which is why batch cooking is the point of the set. For today’s prices on replacement cups, trays, or blades, check the listings on NutriBullet’s own site, since those change and vary by model.
Storing and keeping the food safe
What you do in the ten minutes after blending decides whether the batch is safe for the week. The USDA’s food safety guidance is the standard to follow here: refrigerate promptly, don’t leave purée sitting out, and freeze what you won’t use within a couple of days.
Refrigerated purée in a sealed container keeps for roughly 1–2 days; frozen purée in the batch trays or storage cups keeps for 1–2 months at 0°F with best quality. Label every cup with the food and the date — after two weeks in the freezer, carrot and pear look identical. Thaw portions overnight in the fridge or gently in a warm-water bath, never on the counter.
The sign that a portion needs attention is any change you can see or smell: separation that stirring doesn’t fix, an off smell, or ice crystals mixed through the purée rather than on top. When in doubt, throw it out — a baby’s portion costs pennies to replace. Reheat to steaming hot throughout, then cool before serving, and never refreeze a portion that’s been thawed and warmed.
When this machine is the wrong tool
Three situations call for something other than this set, and it’s worth naming them plainly.
If your baby is under 4 months old, this machine isn’t the issue — solid food is. Don’t start purées yet; talk to your pediatrician first, since the right age to start solids is a medical question with a usual answer around 6 months, not a kitchen one.
If you’re cooking large family quantities rather than baby portions, a full-size blender or food processor handles bigger loads better. The Baby’s cups are small by design, and forcing family-size batches past the fill line strains the motor and gives uneven results.
If your baby has moved past purées — usually somewhere in the 8–12 month range, and your pediatrician can confirm — you don’t need smooth blending anymore. Soft finger foods cut to a safe size are the better path, and the steamer still helps there for softening vegetables, but the blender work drops away. And if the machine itself is damaged or behaving erratically, stop using it and contact NutriBullet’s customer service rather than troubleshooting a broken appliance yourself.
Frequently asked questions
Can I steam and blend in the same machine?
Yes, if your set includes the steamer — that’s the point of the combo. You steam in the basket on the base, then move the cooked food to the blending cup and blend on the power base. On some models the same cup does both jobs; check the diagrams in your manual to see which parts yours uses, because they differ between versions.
How long does it take to steam carrots?
For 1–2 cm carrot chunks in a standard load, expect the full steaming cycle, and sometimes a second cycle for the thickest pieces. The clock is only a guide — the real test is a fork sliding through the chunk with no resistance. If it doesn’t, run another cycle rather than blending it half-cooked.
Do I have to peel fruit and vegetables first?
Yes, for anything with a skin your baby can’t eat — carrot, sweet potato, apple, pear. Peel before steaming, because it’s easier and the skin doesn’t blend smoothly anyway. Peas and green beans are the exception; their skins are fine and just need a bit more blending.
Is it safe to reheat baby food in the microwave?
Yes, with care. Heat it until it’s steaming hot throughout, stir well to remove hot spots, then let it cool and test on the inside of your wrist before serving. Never serve it straight from the microwave — microwaves heat unevenly, and a pocket of very hot purée can burn a baby’s mouth even when the spoonful feels cool.
How long does homemade baby food keep?
Refrigerated, roughly 1–2 days in a sealed container. Frozen at 0°F, 1–2 months for best quality. Label everything with the date, because frozen purées all look alike after a couple of weeks. These are quality-and-safety ranges from USDA food safety guidance; when a portion smells off or looks wrong, throw it out regardless of the date.
Can I put meat in the NutriBullet Baby?
Yes, once your baby is ready for meat, which your pediatrician can confirm. Steam it thoroughly until it’s cooked all the way through with no pink, then blend with noticeably more liquid than vegetables need — 2–3 tablespoons per cup is a fair starting point. Under-blended meat comes out pasty, so expect longer blending runs in stages.
What happens if I overfill the blending cup?
Two things, both bad. The motor strains and the blades stall or spin without gripping the food, and the purée comes out uneven with chunks left in the middle. Repeated overfilling is hard on the motor. Fill to the max line printed on the cup and blend in two batches if you have more food than that.
Does it matter if I use water or breast milk to thin the purée?
Functionally, no — all three thin the purée the same way. Breast milk or formula adds familiar flavor and some nutrition, which helps with a first taste of a new food. The practical difference is storage: purée thinned with breast milk or prepared formula should be served or discarded on the same schedule as the milk itself, so thinned-with-water portions are simpler to store.
Your first batch, today
Start with one food — sweet potato or pear are the easiest wins. Wash it, chop it to even 1–2 cm pieces, fill the reservoir to the line, and steam until a fork slides through. Blend with a splash of water, test on your wrist, and you’ll have a smooth purée in under half an hour. When you’re ready for the next step, try mixing in a second ingredient.