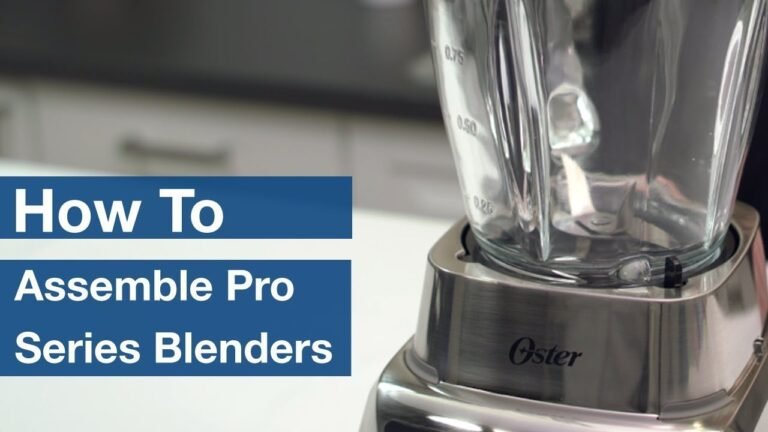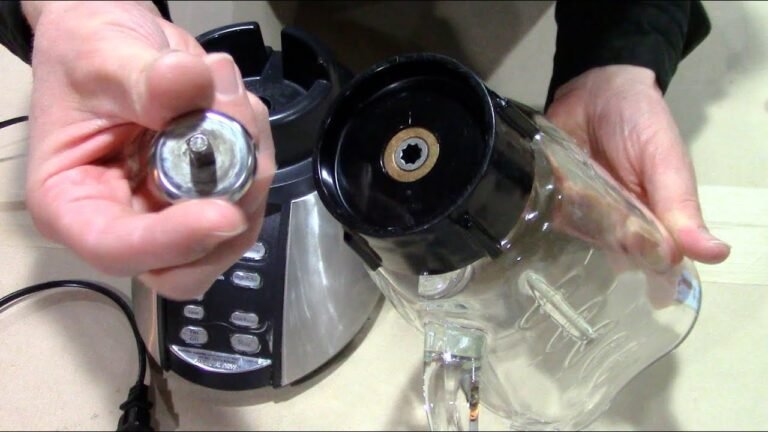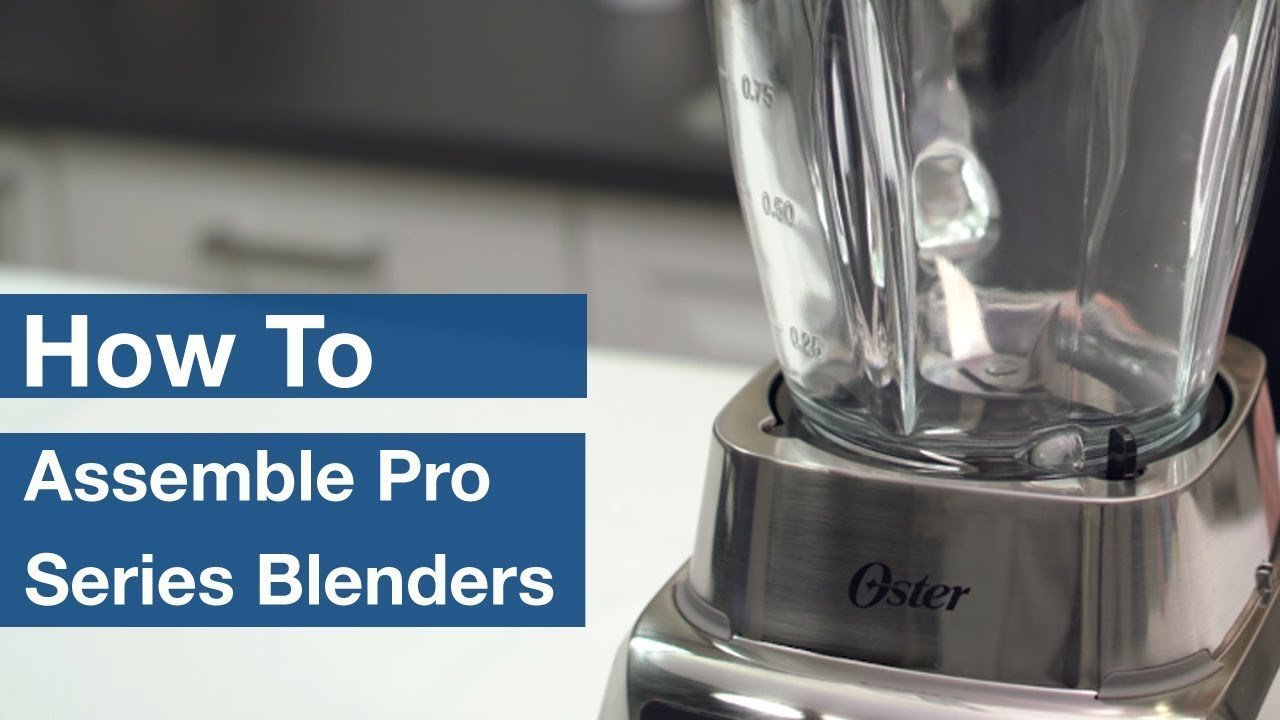
How To Assemble A Oster Blender: Step-By-Step Guide
Assembling an Oster blender comes down to matching your specific model to its jar type, then locking four or five pieces together in the right order: base, jar, blade assembly, lid, and lid cap. Most Oster blenders follow the same basic sequence, but the blade and jar designs differ between the classic push-on models, the threaded Pro and Master series, and the newer touchscreen or personal-cup versions.
Key Takeaways
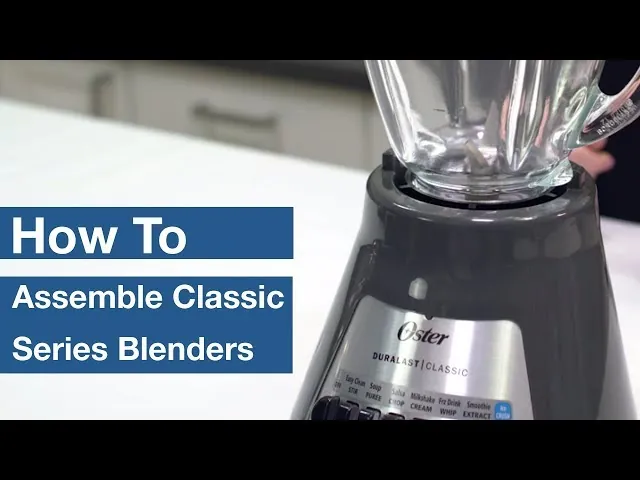
- Identify your jar type first: classic Oster jars use a push-on blade with a rubber gasket, while Pro, Master, and most newer models use a screw-on blade base.
- The universal assembly order is base → jar → blade → lid → cap, and the blade always goes on before the lid, never after.
- A rubber gasket must sit inside the blade base or collar; a missing or flipped gasket is the number one cause of leaking.
- Never fill past the max fill line (usually 5 or 6 cups on a standard jar) before blending, and add liquids before solids.
- If the jar won’t seat, the base won’t start, or the blade spins loose, the problem is almost always alignment, not a broken machine.
- Unplug the base before assembly, and hand-wash the blade assembly separately — it’s the sharpest part in the box.
Identify Your Oster Blender Type First
Oster has sold blenders under the same brand name for decades, and the parts aren’t interchangeable across every generation. Before you assemble anything, figure out which of the three main families you own, because the blade attachment method changes everything.
The Classic Push-On Jar (Osterizer and older Beehive models)
These are the blenders with the square-ish glass or plastic jar and a metal or plastic blade unit that presses into the jar collar and twists slightly to lock. The blade sits on a rubber gasket that seals against the jar’s bottom opening. You’ll recognize these by the threaded collar ring that screws onto the jar, with the blade sandwiched between the collar and the jar.
The Threaded Screw-On Blade (Pro, Master, and most current models)
Modern Oster blenders like the Pro 1200, Master Series, and most Oster Blender with Glass Jar models use a blade base that screws directly onto the bottom of the jar with visible threads. There’s no separate collar — the blade assembly itself is the collar. These are the easiest to assemble and the easiest to get wrong, because the gasket can fall out without you noticing.
Personal Cups and Smoothie Cups
Oster’s MyBlend and similar personal blender lines use a blade base that screws onto a travel cup rather than a full-size jar. The blade goes on the cup, the cup flips onto the base, and you press down to blend. These have no lid during blending — the blade base is the lid.
| Blender Family | Blade Attachment | Gasket Location | Typical Models |
|---|---|---|---|
| Classic Osterizer | Push-on with collar ring | Inside collar, under blade | Osterizer 10-speed, Beehive |
| Pro / Master Series | Screw-on blade base | Inside blade base rim | Pro 1200, Master Series |
| Personal / MyBlend | Screw-on to cup | Inside blade base rim | MyBlend, Blend-N-Go |
| Touchscreen / Digital | Screw-on blade base | Inside blade base rim | Oster Touchscreen Blender |
Gather Your Parts Before You Start
Lay everything out on a clean counter before you begin. Missing a single gasket is the most common reason a newly assembled blender leaks on the first run.
- Motor base — the heavy unit with the dial or buttons.
- Blender jar — glass or plastic, with a max fill line printed on the side.
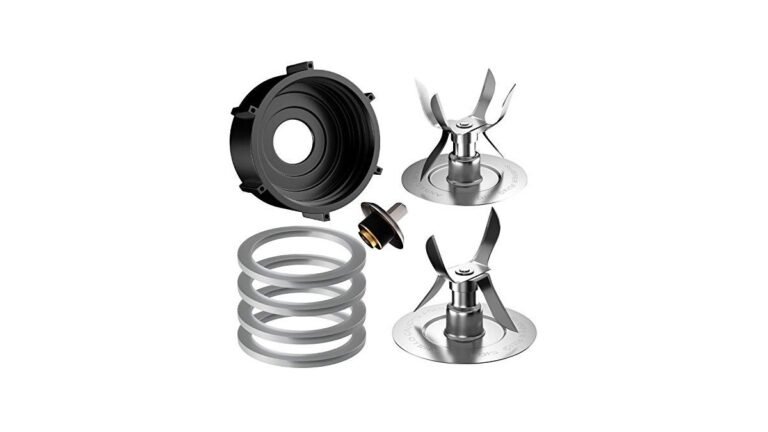
- Blade assembly — the metal blade unit, either push-on or screw-on.
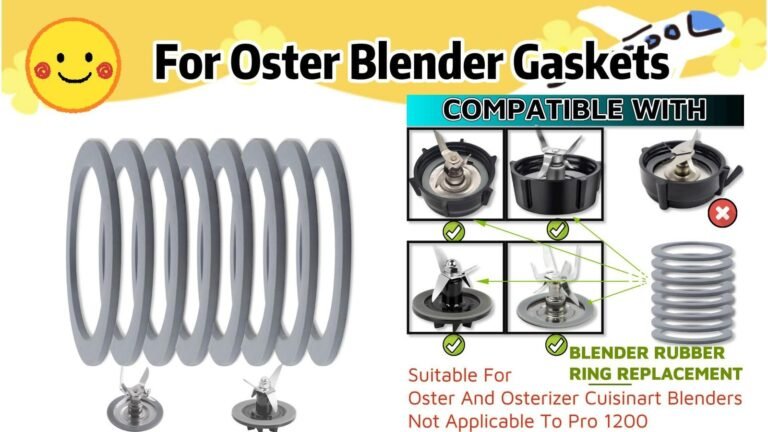
- Rubber gasket — a thin ring, sometimes already seated in the blade base.
- Lid — the main cover that presses or twists onto the jar.
- Lid cap — the small center piece that fits into the lid.
- Collar ring (classic models only) — the threaded ring that holds the blade to the jar.
Pro Tip: Photograph your parts as you unpack them. Oster blade assemblies look nearly identical across models, and a photo makes it obvious which gasket belongs where when you reassemble after washing.
Step-by-Step: Assembling a Classic Oster Blender
This is the sequence for Osterizer-style blenders with the collar ring and push-on blade. If your blender has visible threads on the blade base, skip to the next section.
Step 1: Place the Gasket in the Collar
Set the collar ring on the counter with the threaded side facing up. Drop the rubber gasket into the recess at the bottom of the collar. It should sit flat and fill the groove completely. If it’s twisted or folded, it will leak.
Step 2: Seat the Blade in the Collar
Lower the blade assembly into the collar, blades pointing up and away from you. The blade’s flat base should rest on the gasket. Line up the small tabs on the blade base with the notches in the collar.
Step 3: Screw the Collar onto the Jar
Turn the jar upside down and hold it over the collar. Thread the collar onto the jar’s bottom opening and turn clockwise until snug. Don’t overtighten — hand-tight is enough. Overtightening can crack plastic collars and compress the gasket past the point where it seals.
Step 4: Flip and Check the Seal
Turn the assembled jar upright. Look at the bottom where the collar meets the jar. The gasket should be invisible — no rubber peeking out, no gap. If you see either, unscrew and reseat.
Step 5: Set the Jar on the Base
Lower the jar onto the motor base. Classic Oster bases have a drive stud or coupling in the center that mates with the blade’s bottom shaft. The jar should drop into place and sit flush. If it wobbles, rotate the jar a quarter turn until the coupling engages.
Step 6: Add Ingredients, Then the Lid
Add liquid ingredients first, then soft items, then hard items like ice. Never fill past the max fill line. Place the lid on the jar and press or twist it down until it’s fully seated. Insert the lid cap into the center opening and press until it clicks or seats firmly.
Step-by-Step: Assembling a Screw-On Blade Oster
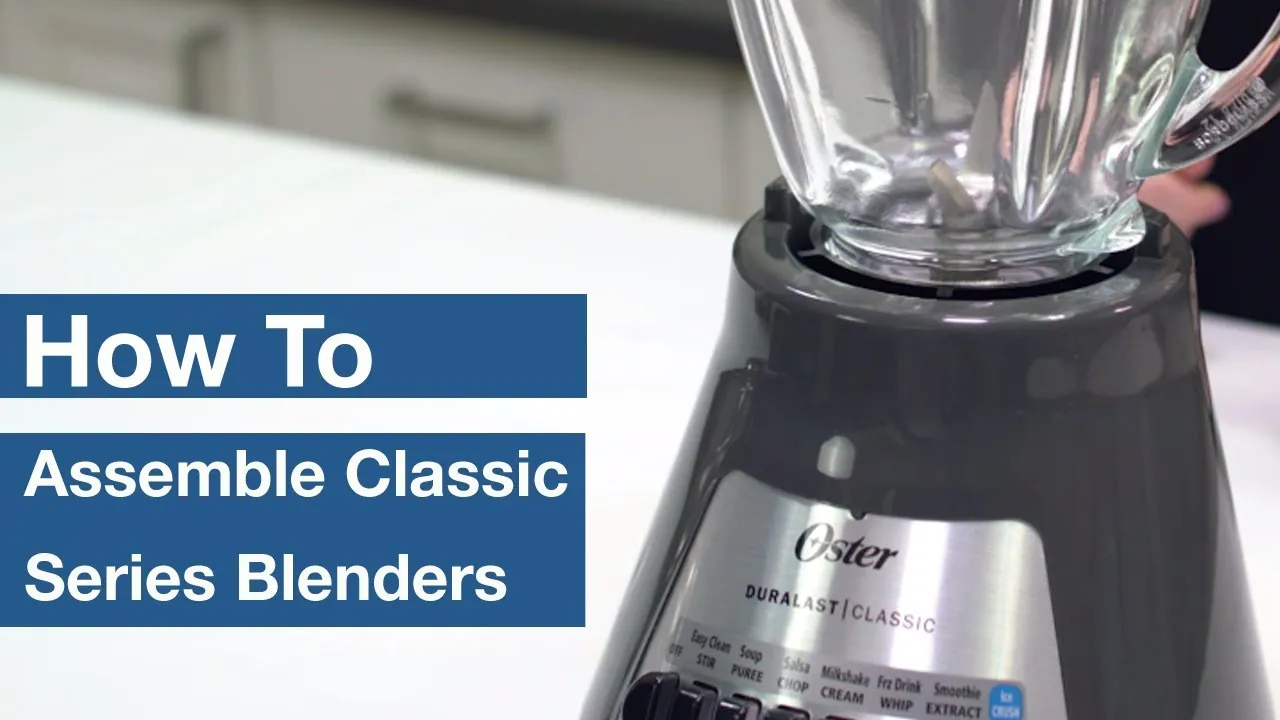
This covers the Pro, Master Series, and most current Oster models. It’s faster than the classic method because there’s no separate collar.
Step 1: Check the Gasket Inside the Blade Base
Turn the blade base upside down. The rubber gasket should be seated in the groove around the inner rim. If it’s missing, the blender will leak through the bottom. Replacement gaskets are sold in multi-packs and are model-specific, so check your manual or the base’s model number.
Step 2: Screw the Blade Base onto the Jar
Hold the jar upside down. Align the threads on the blade base with the threads on the jar’s bottom opening. Turn clockwise until the base is snug against the jar. Hand-tight only — this is a plastic-to-glass or plastic-to-plastic connection.
Step 3: Verify the Seal
Turn the jar upright and fill it with water to the max line. If water drips from the blade base within a minute, the gasket is missing, pinched, or seated upside down. Fix it before you blend anything.
Step 4: Seat the Jar on the Base
Set the jar on the motor base. On most Pro and Master models, the jar drops straight down onto a coupling and needs a slight turn to lock. You’ll feel it settle. Some models have a safety interlock — the blender won’t power on unless the jar is fully seated.
Step 5: Fit the Lid and Cap
Press the lid onto the jar until the rim seats all the way around. Insert the lid cap and press down until it’s flush. On models with a filler cap that doubles as a measuring cup, the cap twists to lock.
Warning: Never run the blender with the lid off, even for a second. The lid is what keeps the blade from throwing contents up the sides of the jar, and on some models the lid also depresses a safety switch that lets the motor run at all.
Assembling a Personal Cup or Smoothie Blender
Oster personal blenders invert the usual order: the blade goes on the cup, then the cup goes on the base.
- Fill the personal cup with ingredients, staying below the max line.
- Screw the blade base onto the cup, gasket side in, until snug.
- Flip the cup over and align the blade base with the motor base coupling.
- Press down or twist to lock, depending on your model — most Oster personal blenders use a press-and-twist motion.
- Blend, then unscrew the blade base and replace it with a travel lid if your set includes one.
| Step | Classic Osterizer | Screw-On Pro/Master | Personal Cup |
|---|---|---|---|
| 1 | Gasket into collar | Check gasket in blade base | Fill cup |
| 2 | Blade into collar | Screw blade base onto jar | Screw blade onto cup |
| 3 | Collar onto jar | Check seal with water | Flip and lock onto base |
| 4 | Jar onto base | Jar onto base | Blend |
| 5 | Lid and cap | Lid and cap | Swap to travel lid |
How to Avoid the Most Common Assembly Mistakes
Most “broken” Oster blenders aren’t broken. They’re assembled wrong in one of five predictable ways. Here’s what to check.
- Gasket missing or flipped. The gasket has a flat side and sometimes a beveled side. The flat side faces the jar opening. A flipped gasket leaks every time.
- Blade base cross-threaded. If the blade base goes on hard, stop and back it off. Forcing it strips the plastic threads and the jar becomes unusable.
- Jar not fully seated. On models with an interlock, a jar that’s 90 percent seated looks fine but won’t start. Push down and twist until you feel it click.
- Lid cap left out. Some Oster lids need the cap in place to seal properly. Blending without it sends contents straight up and out.
- Overfilled jar. The max fill line exists because blending expands volume. Six cups of ingredients can become eight cups of froth.
Pro Tip: If your blender hums but the blades don’t spin, the coupling — the rubber or plastic piece on the motor base that grips the blade shaft — has likely worn out. It’s a cheap replacement part and a common failure point on older Oster models.
Cleaning and Reassembly After Use
How you take the blender apart matters as much as how you put it together, because the gasket and blade base are where residue hides.
- Unplug the base before disassembling anything.
- Remove the lid and cap and set them aside.
- Unscrew or unseat the blade assembly from the jar.
- Pop the gasket out of its groove with a butter knife or your fingernail.
- Wash the jar, lid, cap, blade, collar, and gasket in warm soapy water. The blade assembly is dishwasher-safe on the top rack on most models, but check your manual — some Oster blades are hand-wash only.
- Wipe the motor base with a damp cloth. Never submerge it.
- Let everything air-dry completely before reassembling. A wet gasket can slip out of its groove during assembly.
| Part | Dishwasher Safe? | Hand Wash? | Notes |
|---|---|---|---|
| Glass jar | Yes, top rack | Yes | Avoid thermal shock |
| Plastic jar | Yes, top rack | Yes | Can cloud over time |
| Blade assembly | Usually top rack | Yes | Check manual |
| Gasket | Yes, top rack | Yes | Dry fully before reuse |
| Lid and cap | Yes, top rack | Yes | Cap can warp in hot dry cycles |
| Motor base | No | Wipe only | Never submerge |
Troubleshooting Assembly Problems
If something doesn’t fit or the blender won’t run after assembly, work through this list before assuming the machine is dead.
The jar won’t screw onto the blade base
You’re probably using a blade base from a different model. Oster thread pitches vary between generations, and a base that looks right can be a quarter-turn off. Match the model number stamped on the bottom of the motor base to the part number on the blade base.
The blender leaks from the bottom
Nine times out of ten this is the gasket. Check that it’s present, not cracked, seated flat in the groove, and not doubled up (two gaskets stacked will leak worse than one). If the gasket is intact and seated and it still leaks, the blade base or jar rim may be cracked.
The blender won’t turn on
Check the safety interlock. On many Oster models, the motor only runs when the jar is fully seated and, on some, when the lid is on. Try reseating the jar with a firm downward push and a twist. Also confirm the base is plugged in and the dial isn’t sitting between speed settings.
The blade spins but nothing blends
You’ve likely overloaded the jar or added ingredients in the wrong order. Stop the blender, unplug it, remove the lid, and use a spatula to push contents down toward the blade. Add liquid if the mixture is too thick.
The blade wobbles or rattles
The blade assembly may not be fully seated in the collar, or the coupling on the motor base may be worn. Reseat the blade first. If the rattle continues, inspect the coupling — a cracked or rounded coupling is a replaceable part on most Oster models.
Frequently Asked Questions
Does the blade go in before or after the lid on an Oster blender?
The blade always goes on before the lid. On a classic Osterizer, the blade sits in the collar under the jar; on a screw-on model, the blade base threads onto the jar’s bottom. The lid is the last piece to go on, and the lid cap goes in after the lid is seated.
Why is my Oster blender leaking where the blade meets the jar?
A missing, pinched, or flipped rubber gasket is the cause in almost every case. The gasket sits in a groove inside the blade base or collar and seals against the jar rim. Pop it out, check for cracks, reseat it flat side toward the jar, and screw the base on hand-tight.
Can I use an Oster blender without the lid cap?
No. The lid cap seals the center opening in the lid. Without it, ingredients — especially hot liquids and fine powders like flour — escape through the top during blending. On some Oster models the cap also helps hold the lid in place.
How do I know which blade assembly fits my Oster blender?
Match the model number on the bottom of the motor base to the part number on the blade assembly. Oster blade bases aren’t universal across generations. If you don’t have the manual, search the model number plus “blade assembly” to find the correct replacement.
Why won’t my Oster blender start after I put it together?
The most likely cause is the safety interlock. Many Oster models require the jar to be fully seated on the base, and some require the lid to be on, before the motor will run. Reseat the jar with a firm push and twist, confirm the lid is down, and check that the speed dial isn’t between settings.
Can I put the blade assembly in the dishwasher?
On most current Oster models, yes — top rack only. Some older blade assemblies and certain gaskets are hand-wash only, and hot dishwasher cycles can warp the lid cap. Check your model’s manual, and when in doubt, hand wash the blade and gasket.
Conclusion
Once your blender is assembled and sealed, the next step is to run a quick test: fill the jar with two cups of water, blend on low for ten seconds, and watch the base of the jar for drips. If it stays dry, you’re ready to blend for real. If it leaks, stop and reseat the gasket before you add anything else.