How To Lock An Oster Blender Jar And Lid
Most Oster blenders lock in one of two places: the jar-to-base collar that twists on, or the lid that presses and turns into the jar. If your blender won’t lock, it’s almost always because the jar isn’t seated all the way down on the base, the lid tabs aren’t aligned with the jar’s slots, or a safety interlock on the base isn’t being tripped. Fix the alignment and the lock engages — usually in under a minute, with no tools.
Key Takeaways
- Two locks, two motions: the jar collar twists clockwise onto the base, and the lid presses down and turns clockwise into the jar. They’re separate mechanisms and fail for different reasons.
- Most “won’t lock” problems are alignment problems, not broken parts. Reseat the jar, rotate until you feel the collar drop into its channel, then twist.
- Never force a lock. If it needs real pressure, something is misaligned, and forcing it cracks collars and strips the base’s locking lugs.
- Oster made dozens of models — Beehive, Heritage, Pro, Versa, Easy Blend, and the classic 2-speed push-button base — and the locking method differs by generation. Match your method to your model.
- Clean the mating surfaces. Dried smoothie residue and flour paste in the collar threads and lid grooves cause more lock failures than any mechanical fault.
- A cracked collar or missing lid tab isn’t repairable — those are replaceable parts, and Oster sells them separately for most current models.
Which Oster Blender Do You Have?
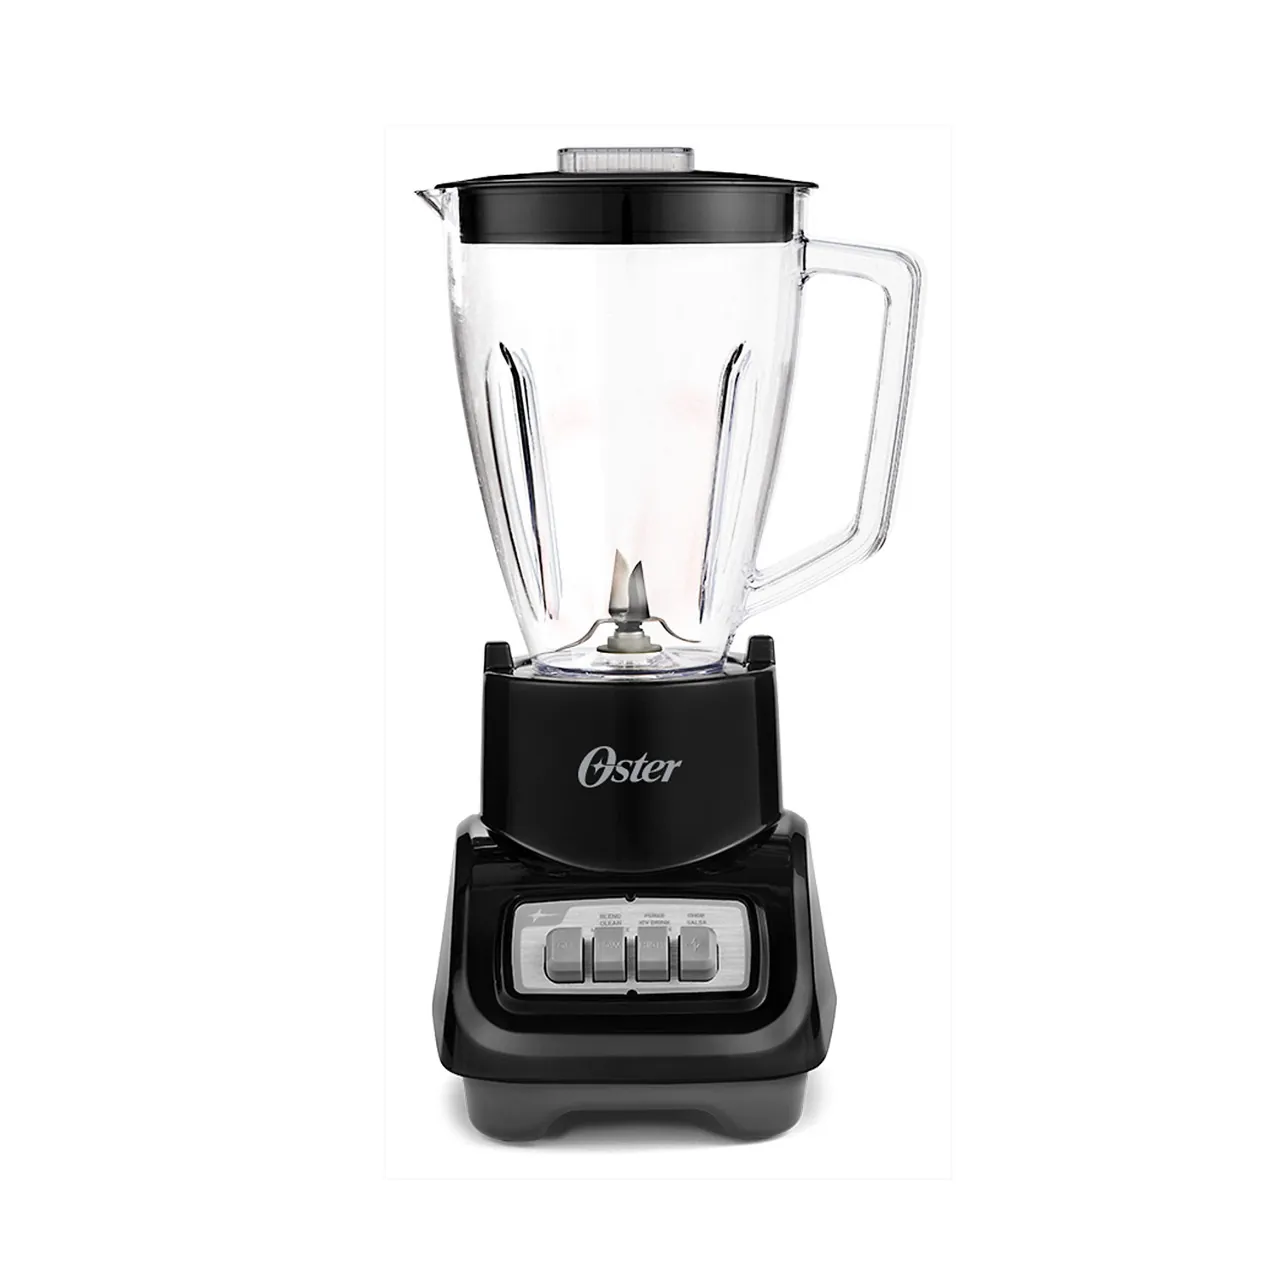
Before you can lock anything, you need to know which locking system you’re dealing with. Oster has sold blenders under the same brand name since the 1940s, and the design changed repeatedly. The table below covers the families you’re most likely to own.
| Blender family | Jar type | How the jar locks | How the lid locks |
|---|---|---|---|
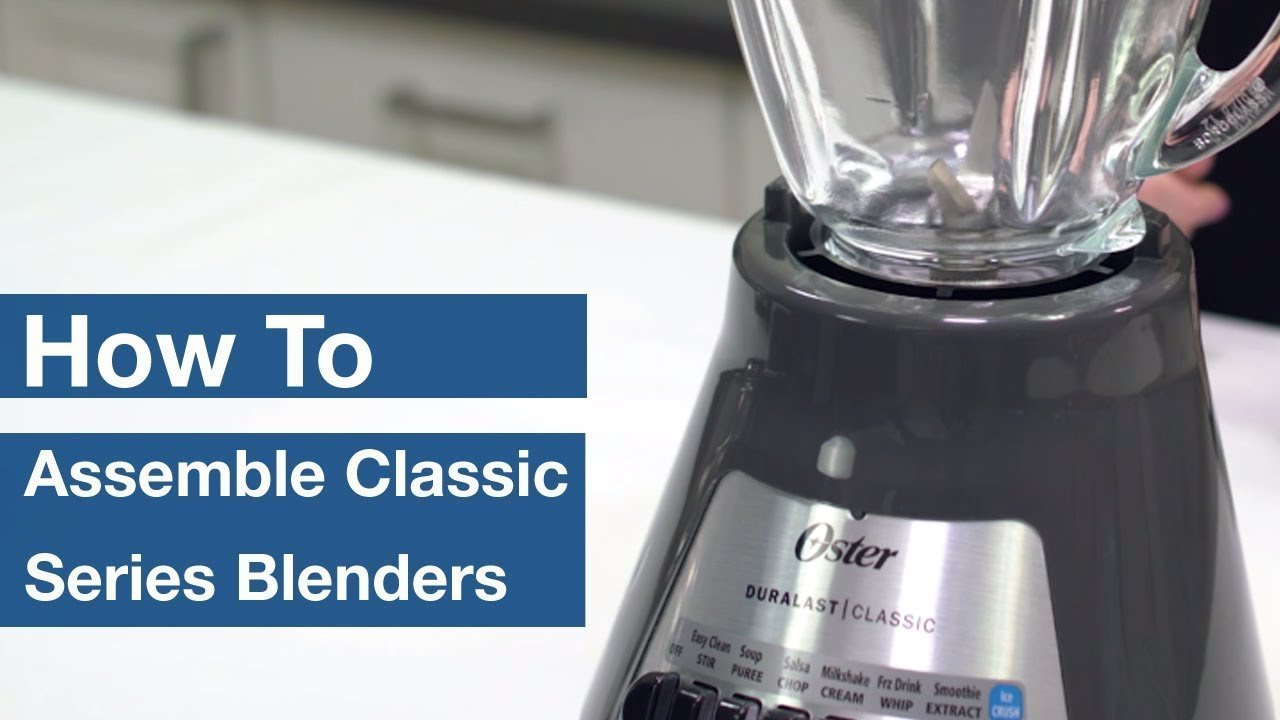
| Oster Classic / Beehive (push-button base) | Glass or plastic, square or round collar | Collar drops into base socket, twist clockwise | Lid presses into jar mouth, twist clockwise to seat tabs |
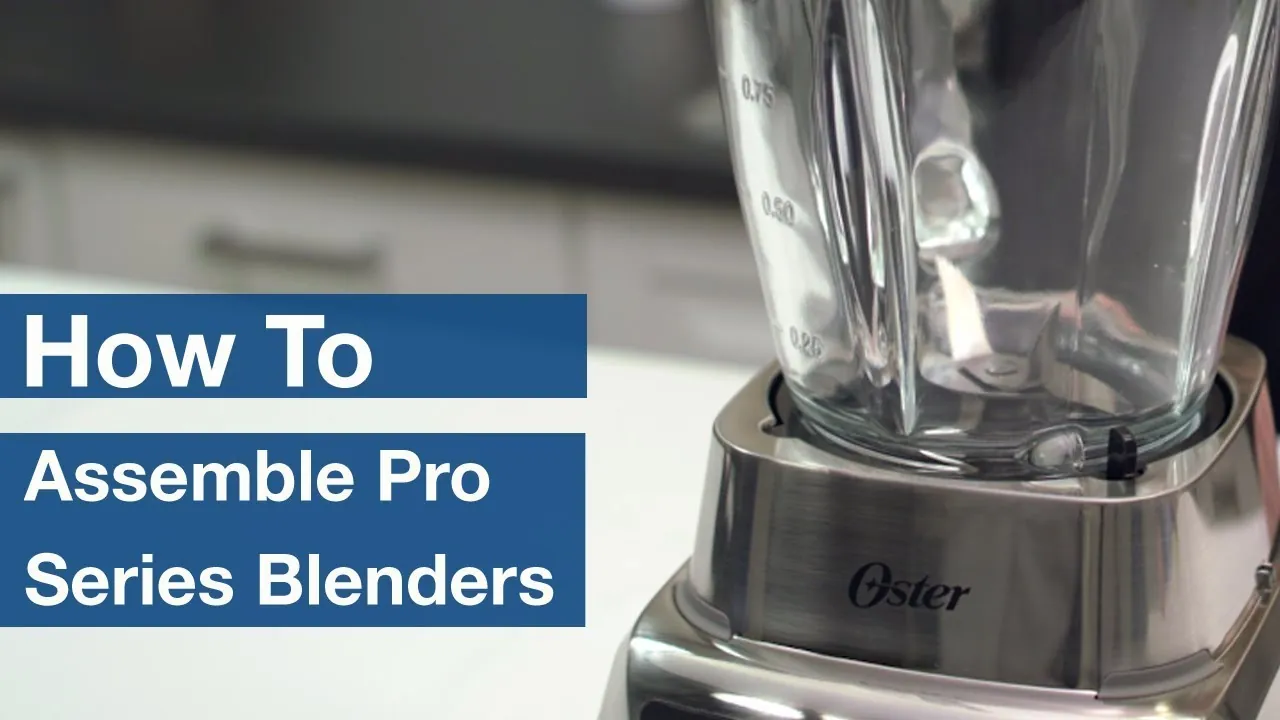
| Oster Heritage / Pro (metal drive) | Glass, 5–6 cup | Collar threads onto base ring, twist clockwise | Two-piece or one-piece lid, press and twist |
| Oster Versa / Pro 1200 | Tritan or glass, 6–8 cup | Jar seats straight down, quarter-turn clockwise | Lid with locking tabs, press and twist, plus removable cap |
| Oster Easy Blend / MyBlend | Plastic personal jar | Jar threads onto blade base, then inverts onto motor | Flip-top drinking lid, twist to seal (no interlock) |
| Oster blender with food processor attachment | Bowl + adapter | Adapter locks to base, bowl locks to adapter | Bowl lid locks to bowl with feed tube |
Pro Tip: Flip your blender base over and look for the model number on the rating label. It’s usually a four- to six-character code starting with letters like BLST, BVCB, or 6811. Searching that code tells you exactly which jar and lid you need if yours is missing.
How to Lock the Jar Onto the Base
This is the lock people mean most of the time. The jar assembly — jar plus blade collar — has to seat into the base before it will turn.
Step 1: Set the base on a stable surface
Put the motor base on a flat counter, not on a towel or a silicone mat. Soft surfaces let the base rock, and a rocking base makes the collar feel like it’s binding when it isn’t.
Step 2: Check the collar is tight on the jar
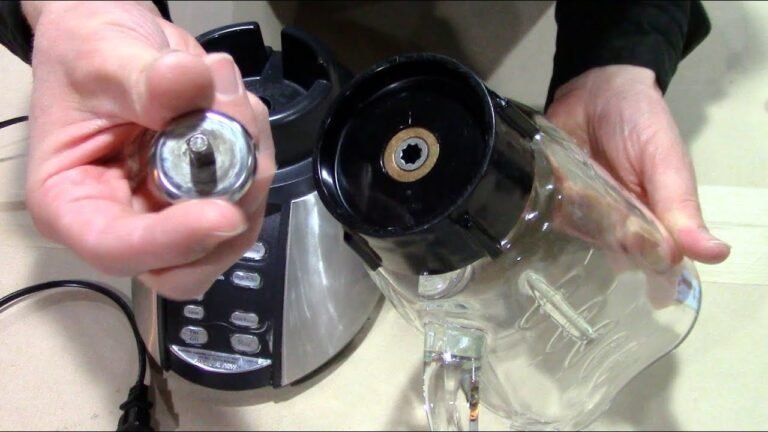
Hold the jar upside down and grip the collar. It should be screwed on firmly — hand-tight, not gorilla-tight. If the collar is loose on the jar, the whole assembly will spin when you try to lock it to the base, and you’ll never feel the click.
Step 3: Line up the collar lugs with the base slots
Look at the bottom of the collar. You’ll see two or three raised tabs or lugs. Look at the top of the base and you’ll see matching notches or a raised ring with gaps. Set the collar so the lugs sit over the gaps.
Step 4: Drop it straight down
Lower the jar straight down. Don’t angle it. If it doesn’t drop flush, rotate the jar a few degrees and try again — the lugs only fit one way.
Step 5: Twist clockwise until it stops
Turn the jar clockwise (to the right, as you look down at it). You should feel it travel a short distance — roughly a quarter turn — and then stop firmly. On most Oster bases there’s an audible or tactile detent, a little bump you feel through your hand.
Step 6: Confirm the lock
Grip the jar and try to lift it straight up. It shouldn’t come off. If it lifts, you’re not in the locked position — go back to Step 3.
Warning: Never run an Oster blender with the jar only partially turned. The base’s interlock is designed to cut power when the jar isn’t seated, but on older units that interlock can be worn, and a loose jar will throw the blade assembly and spray contents.
How to Lock the Lid
The lid is the second lock, and on many models it’s the one that actually trips the safety switch.
One-piece lids
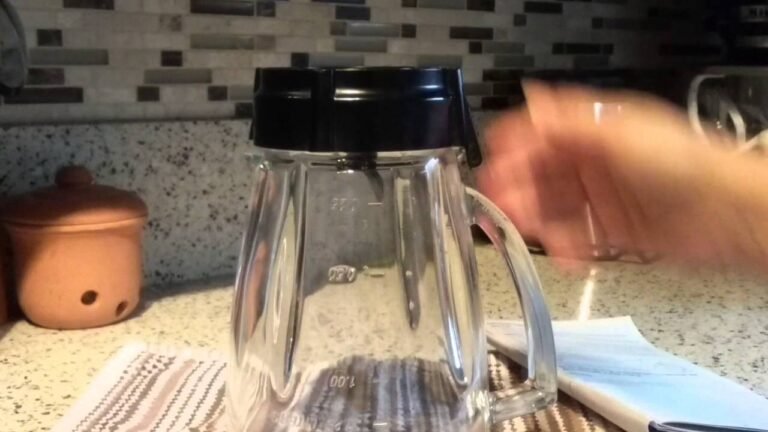
Most current Oster lids have two or three tabs around the rim. The jar mouth has matching slots or a stepped rim. Set the lid on the jar with the tabs over the slots, press down lightly, and turn clockwise until the tabs slide under the jar’s lip. You’ll feel it stop.
Two-piece lids (center cap)
Older Oster and many current models use a two-part lid: an outer ring that locks to the jar and a removable center cap that lets you add ingredients while blending. Lock the outer ring first, then press the center cap in until it seats. The center cap usually has its own small tabs — line them up and twist a few degrees.
Lids with a locking lever or clip
Some Oster food-processor-style attachments and a few blender lids use a lever or clip on the side. Press the lever down or snap the clip over the jar rim. These are the most secure design and the least likely to pop off mid-blend.
Lids with a pour spout or vent
If your lid has a flip-up spout or a vented cap, the vent must be closed or in its seated position for the lid to lock on some models. An open vent can hold the lid up by a few millimeters, which is enough to prevent the tabs from engaging.
| Lid symptom | Likely cause | Fix |
|---|---|---|
| Lid spins but won’t catch | Tabs not over slots | Lift lid, rotate 30°, press down, twist again |
| Lid sits high on one side | Warped lid or debris on rim | Clean rim, check lid for warping in warm water |
| Lid pops off during blending | Tabs worn or jar rim chipped | Replace lid; inspect jar rim for chips |
| Lid locks but blender won’t start | Center cap or vent not seated | Press cap fully in, close vent |
| Lid won’t come off after blending | Vacuum seal from hot contents | Let it cool 5 minutes, then twist |
Why Your Blender Won’t Lock: 8 Causes
If you’ve followed the steps and it still won’t lock, work through this list. These are the causes that actually show up in practice.
- Residue in the collar threads. Dried smoothie, nut butter, or flour paste hardens in the threads and adds a millimeter of material that stops the collar short. Soak the collar in warm soapy water and scrub the threads with a bottle brush.
- A cracked collar. Plastic collars crack at the lugs. Once a lug is broken, the collar can’t grip the base. Hold the collar up to a light and look for hairline cracks radiating from the lugs.
- A worn base interlock. The base has a plastic or metal tab that the collar presses. If it’s snapped off, the jar will lock mechanically but the motor won’t run — or the jar won’t lock at all.
- A warped lid. Dishwasher heat warps lids. Set the lid on a flat counter and press the rim. If it rocks, it’s warped.
- A chipped jar rim. Glass jars chip. A chip on the rim stops the lid tabs from sliding under the lip.
- The wrong jar for the base. Oster jars and bases aren’t universally interchangeable across generations. A jar from a different series may sit on the base but never lock.
- A swollen gasket. The rubber gasket between the jar and collar absorbs liquid and swells. A swollen gasket holds the collar off the jar, which changes the geometry at the base.
- Debris in the base socket. Crumbs and dried liquid collect in the base’s socket. Vacuum it out with a crevice tool or wipe it with a damp cloth.
Pro Tip: If you’ve cleaned everything and it still won’t lock, try the jar on the base with the jar empty and the lid off. If it locks empty but not full, the problem is weight and technique, not the mechanism — you’re likely tilting the jar as you lower it.
Locking Personal and Travel Jars
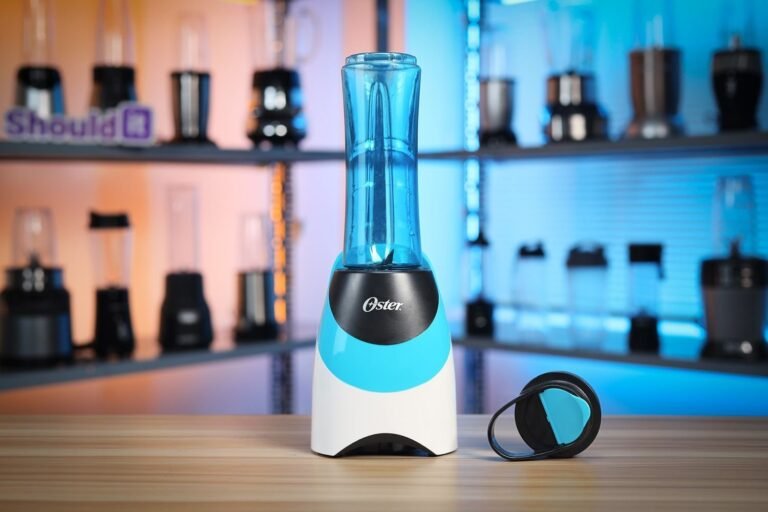
Oster’s personal blender line — sold under names like MyBlend and Easy Blend — works differently. There’s no separate collar. The blade assembly screws directly onto the cup, and the whole inverted cup then locks to the motor base.
The sequence is:
- Fill the cup no more than two-thirds full.
- Screw the blade base onto the cup, clockwise, until firm.
- Flip the cup upside down.
- Align the blade base’s tabs with the motor base’s slots.
- Press down and twist clockwise until it stops.
- Blend, then twist counterclockwise to release.
The most common failure here is overfilling. A cup filled past two-thirds pressurizes and can bind the threads, making the blade base feel stuck. If yours won’t release, let it sit for five minutes, then wrap the blade base in a towel and twist.
Locking Food Processor Attachments
If you have an Oster blender with a food processor attachment, there are three locks in sequence, and all three must engage.
| Lock | What engages | Motion |
|---|---|---|
| Adapter to base | Adapter’s lugs into base slots | Drop down, twist clockwise |
| Bowl to adapter | Bowl’s tabs into adapter’s slots | Set bowl, twist clockwise |
| Lid to bowl | Lid’s tabs into bowl’s slots, feed tube aligned | Press down, twist clockwise |
If the processor won’t start, check the feed tube. On most Oster processor lids, the pusher must be inserted in the feed tube for the interlock to close. A missing pusher is a dead machine.
Locking the Base Itself (Storage and Safety)
Some people searching for how to lock an Oster blender mean something else entirely: keeping it from moving, or keeping it out of reach. There are three practical answers.
Non-slip feet
Most Oster bases have four rubber feet. If they’ve hardened or fallen off, the blender walks across the counter during blending. Replacement feet are cheap and push into the existing holes.
Cord wrap
Many Oster bases have a cord wrap or a cord storage slot on the underside. Winding the cord keeps it from snagging and pulling the blender off the counter.
Cabinet or appliance lock
If your concern is a child or a roommate using the blender, there’s no built-in lock on any Oster consumer blender. The practical options are a cabinet safety latch, an appliance cord lock box, or simply storing the blade collar separately from the base — the blender can’t run without it.
Cleaning So Your Locks Keep Working
Almost every locking problem that isn’t a broken part is a cleaning problem. Here’s the routine that prevents it.
- After every use: Fill the jar one-third with warm water, add a drop of dish soap, lock the lid, and run on low for 10 seconds. Unlock, rinse, and dry the collar threads with a towel.
- Weekly: Unscrew the collar from the jar. Remove the gasket. Wash all three parts separately in warm soapy water. Dry completely before reassembling.
- Monthly: Wipe the base’s socket and the outside of the collar with a damp cloth. Vacuum crumbs out of the base vents.
- Never: Put the motor base in water, put the collar in the dishwasher on a heated dry cycle, or store the jar locked onto the base with liquid inside.
Warning: Dishwasher heat is the single biggest killer of Oster lids and collars. If your model’s manual says top-rack only, believe it. Heated dry cycles routinely hit 150°F and above, which is enough to warp the plastic.
Replacement Parts That Fix Locking
If a part is genuinely broken, replacement is usually cheaper than a new blender.
| Part | Typical price range | Where to look |
|---|---|---|
| Blade collar (jar base) | $10–$25 | Oster’s own parts site, appliance parts retailers, general marketplaces |
| Gasket (sealing ring) | $5–$12 | Same, often sold in multi-packs |
| One-piece lid | $8–$20 | Same |
| Two-piece lid with center cap | $12–$25 | Same |
| Glass jar (5–6 cup) | $20–$40 | Same |
| Personal blender cup + blade base | $15–$30 | Same |
| Motor base (whole unit) | $35–$80 | Retailers; often cheaper than repairing an older base |
Match the part to your model number, not to a photo. Oster has made visually similar jars with different thread pitches, and a jar that looks right can fail to lock.
When to Stop and Replace
Some failures aren’t worth fixing.
- Cracked motor base housing — structural, not repairable.
- Burnt smell or sparking — the motor is failing; replace the unit.
- A base interlock that’s snapped off — on most models this is molded into the housing and can’t be replaced separately.
- A discontinued model with no parts available — if you can’t find a collar or lid for it, you’re done.
If your blender is a basic two-speed model that cost under $40 and the motor base has failed, replacing the whole unit is usually cheaper than sourcing a base.
Frequently Asked Questions
Why won’t my Oster blender jar lock into the base?
Nine times out of ten, the collar lugs aren’t lined up with the base slots. Lift the jar straight up, rotate it 30 to 45 degrees, set it down again, and twist clockwise until you feel it stop. If that doesn’t work, clean the collar threads and the base socket — dried residue adds enough thickness to block the lock.
How do I know when the jar is fully locked?
If it comes off, it isn’t locked. If it holds, it is. On most Oster bases you’ll also feel a distinct bump or detent through your hand at the end of the twist, and the jar will stop turning firmly rather than continuing to rotate.
Can I run my Oster blender with the lid off?
On most models, yes — the lid isn’t part of the safety interlock. The jar-to-base connection is what matters. That said, running without a lid on a full jar throws contents, and on models with a lid-activated interlock, the motor won’t start at all. Check your manual before assuming.
Why does my Oster lid pop off while blending?
Either the lid tabs are worn, the jar rim is chipped, or you’re overfilling. Fill the jar no more than two-thirds full for thick mixtures and never above the maximum fill line for liquids. If the lid rocks when you press it on a flat counter, it’s warped and needs replacing.
Is it safe to force a blender jar to lock?
No. If it needs real force, something is misaligned or a part is damaged. Forcing it cracks collars, strips the base’s locking lugs, and can shatter a glass jar rim. The correct amount of force is light downward pressure plus a quarter turn — nothing more.
Are Oster blender jars interchangeable between models?
Not reliably. Oster has produced many jar generations with different collar thread pitches and different lug patterns. A jar from a different series may sit on your base without locking, or lock without tripping the interlock. Match parts to your model number rather than to appearance.
Locking It Down for Good
The lock on an Oster blender is a simple mechanical system, and it fails for simple reasons: misalignment, residue, or a worn part. Start by reseating the jar with the lugs over the slots and twisting clockwise until it stops, then do the same with the lid.
If it still won’t engage, clean the collar threads and base socket, inspect for cracks and chips, and replace the collar, gasket, or lid if one is damaged. Write your model number on a piece of tape inside a cabinet door so you can order the right part the first time.