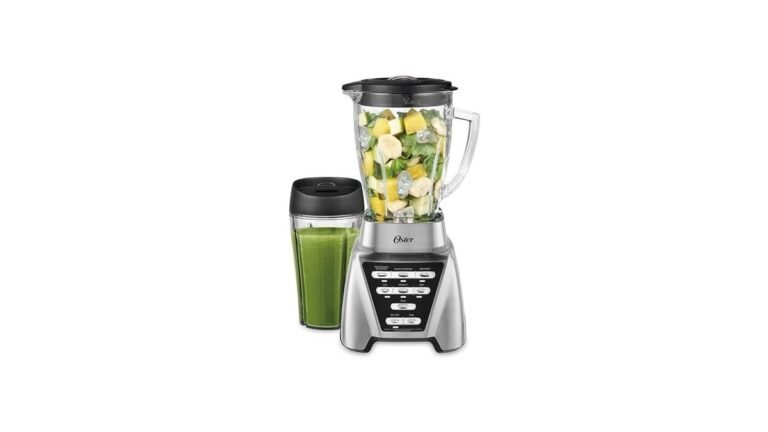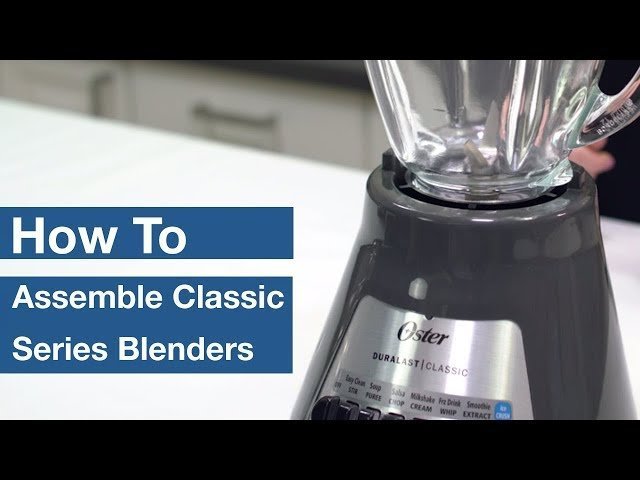
How To Set Up an Oster Blender in 5 Minutes
Setting up an Oster blender takes about 5 minutes: unwrap the jar, base and lid, wash the jar and blade in warm soapy water, dry them, seat the blade assembly on the jar, twist the jar onto the base, and lock the lid. Push the cord fully into the base socket, then plug into a grounded outlet.
Three things change this for you: your model (the classic Oster with a metal drive or a newer plastic collar), whether your jar is glass or plastic, and whether your blade is a fixed or removable one. Each one changes how the parts fit, so check your own jar and base before you start.
Which Oster blender owner this page is for
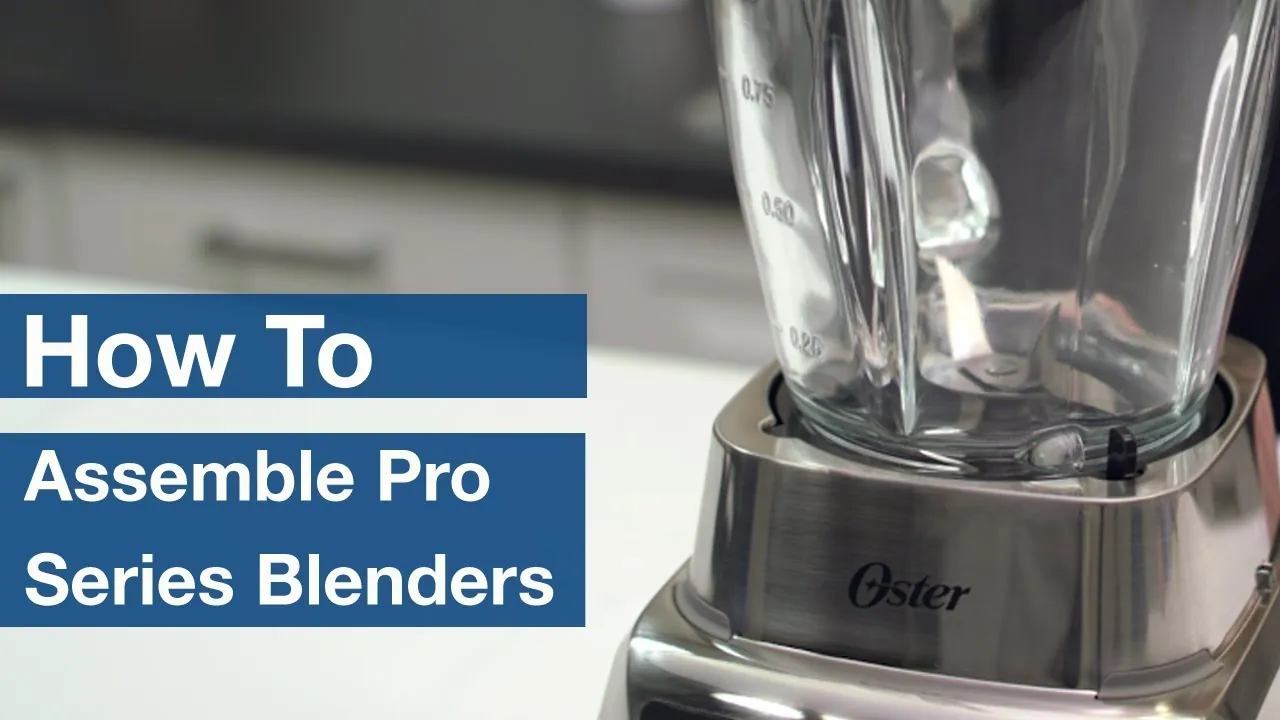
You just unboxed a new Oster blender and the parts don’t look like the picture on the box. You have the jar, a blade, a lid, sometimes a small filler cap, and a base with buttons. You need someone to tell you which piece goes where, in what order, and how tight is tight enough — without a 20-minute video.
Another reader has an older Oster that’s been in a cupboard for years. The jar is there, but the gasket is missing or stretched, and the blade wobbles. You need to know which part to replace and where to buy it, not how to assemble a brand-new unit.
A third reader has a specific job in mind: crushing ice, blending hot soup, or making nut butter. You want to know if your model can do it and what setting to use. You’re not really asking about setup at all — you’re asking about limits.
This page serves the first reader best: someone with a new or newly unpacked Oster blender who wants it assembled and running today. If your unit is old and a part is broken, this page still helps — but you’ll spend more time on the parts section than the setup steps. If you’re blending hot liquids or crushing ice for a living, the FAQ answers cover it, but a commercial machine is a different conversation.
The four things that decide how your setup goes
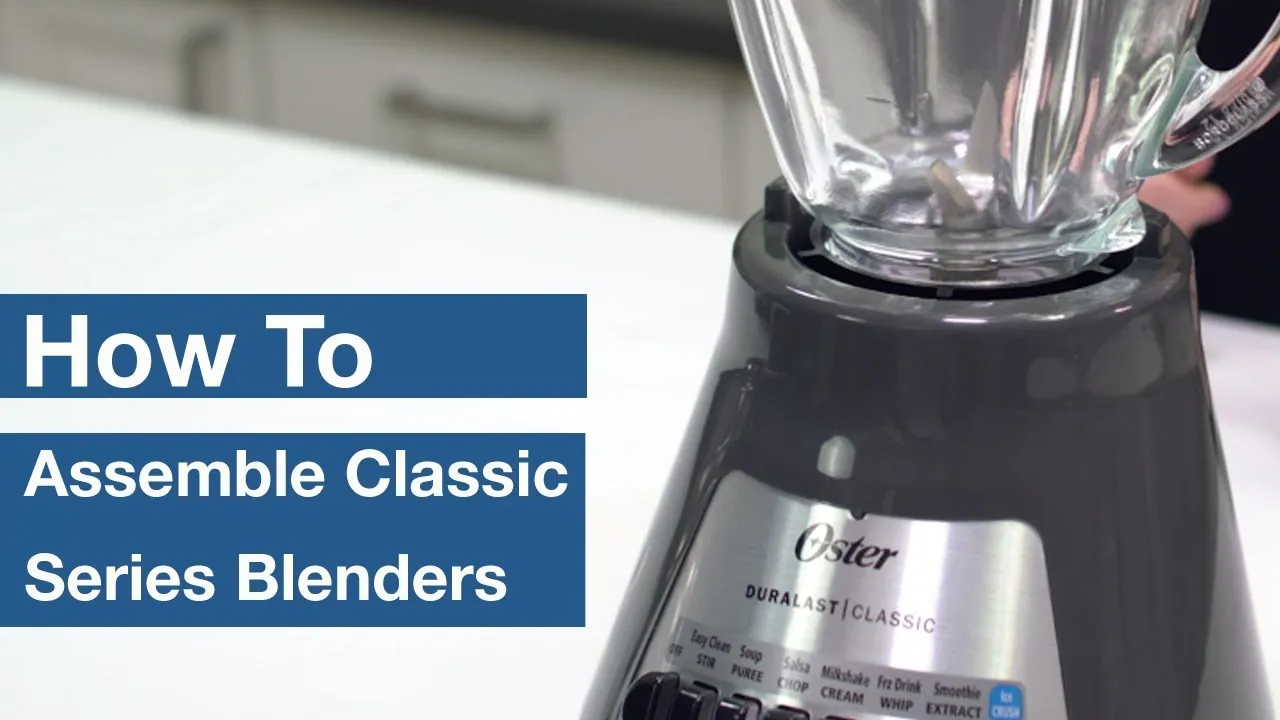
Which Oster you actually own. Oster makes several lines, and the jar-to-base connection differs. The classic Osterizer uses a metal coupling on the base that the jar’s blade collar threads onto. Some newer models use a plastic collar with a different thread pitch. Look at the top of your base: if you see a raised metal stud with a cross shape, it’s the classic drive. If you see a flat plastic ring, it’s the newer style. Your manual names your model — that page is the only place that tells you for certain.
Glass jar or plastic jar. Glass jars are heavier and hold heat better; plastic jars are lighter and can stain with turmeric or tomato. The blade assembly fits both, but the gasket size can differ between jar types. Check that the gasket sits flush in its groove before you thread the collar on.
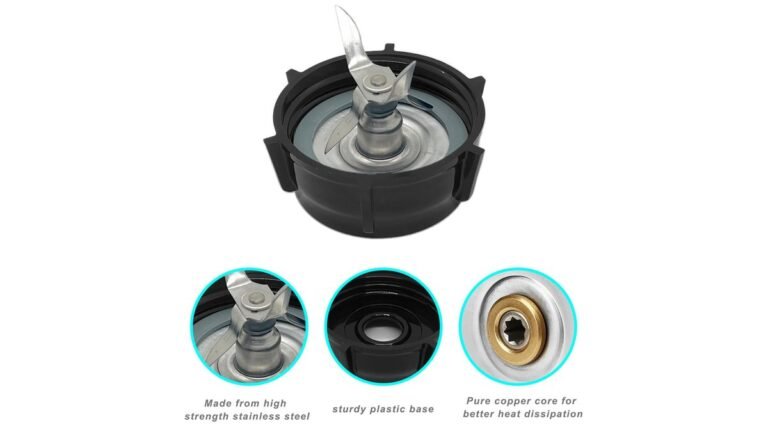
Fixed blade or removable blade. On most Oster jars, the blade is permanently riveted into the collar — you can’t take it out, and you shouldn’t try. On a few models, the blade unscrews for deeper cleaning. If yours doesn’t unscrew with a firm twist, it’s fixed, and that’s normal.
Whether the gasket is present and seated. This is the one people get wrong most often. A missing or twisted gasket causes leaks at the base of the jar, and the leak looks like a crack. Before you assemble anything, hold the collar upside down and check that the rubber ring sits flat in its channel with no folds.
How to set up your Oster blender, step by step
Unpack everything and count the parts. You should have the base, the jar, the blade-and-collar assembly, the lid, and the filler cap (a small removable center piece). If the filler cap is missing, the lid still works — but the opening will splash on fast speeds. Check the box lining before you throw it out.
Wash the jar, lid, filler cap and blade collar in warm soapy water. Use a soft sponge, not steel wool — steel wool scratches glass and clouds plastic. Rinse under running water and set everything on a towel to air-dry for 10 to 15 minutes. Don’t wash the base; wipe it with a damp cloth only.
Check the gasket in the blade collar. Hold the collar with the blade pointing down. The rubber ring should sit flat in its groove, with no twists and no gaps. If it’s folded, lift it out with a fingernail, straighten it, and press it back in.
Screw the blade collar onto the jar. Turn the jar upside down and set the collar on the open end. Twist clockwise until it stops — hand-tight only. You’ll feel it seat, and the blade should sit level, not tilted. Don’t force it past the stop; the threads are plastic on some models and will strip.
Turn the jar upright and set it on the base. The jar’s collar should drop onto the base’s drive stud and engage. Push down gently and twist clockwise about a quarter turn. You’ll feel it lock. If it doesn’t lock, the collar isn’t fully seated on the jar — go back to step 4.
Fill the jar no more than two-thirds full for your first test. Pour in 1 cup (240 ml) of water. Overfilling on a first run is how people end up with a wet counter. The jar usually has a max-fill line — respect it, and stay below it for anything foamy.
Press the lid down firmly and insert the filler cap. The lid should sit flat with its edges tucked under the jar’s rim. Push the filler cap into the center until it clicks or seats flush. If the lid rocks, it isn’t seated — lift and try again.
Push the cord fully into the socket on the base, then plug into a grounded outlet. A partly inserted cord is the most common reason a new blender seems dead. Push until you feel it stop, then plug in. Don’t use an extension cord if you can avoid it.
Run the lowest speed for 5 seconds, then stop. You’re checking two things: that the blade spins freely and that nothing leaks at the collar. If you see water at the base of the jar, unplug, remove the jar, and check the gasket again.
Run each speed for 2 seconds, then switch off. This confirms every button works before you commit to a real recipe. If one speed does nothing, unplug and re-seat the jar on the base — a loose jar can prevent the drive from engaging on some models.
The judgement call that separates a properly set-up blender from one that just looks ready is the gasket check. A twisted gasket passes a quick glance and fails on the first full jar. Take the extra 20 seconds in step 3 — it’s the difference between a clean counter and a cleanup.
If your base shows any sign of damage — a cracked housing, a burning smell, a cord with exposed wire — stop and don’t plug it in. Take it to a qualified appliance technician or contact Oster support. Mains-powered appliances aren’t a do-it-yourself repair for anyone without electrical training.
Setup differences by model and jar
| Your situation | What to do | Time it takes | What to watch for |
|---|---|---|---|
| New Oster, sealed box | Full wash, then assemble | About 5 minutes | Missing filler cap in packaging |
| Classic Osterizer, metal drive | Thread jar onto base stud | About 2 minutes | Cross-threading the metal stud |
| Plastic jar, newer model | Same steps, lighter handling | About 5 minutes | Staining from tomato or turmeric |
| Second-hand unit, no manual | Check Oster’s site by model number | 10 to 15 minutes | Missing or stretched gasket |
| Fixed-blade jar | Wash in place, don’t unscrew | About 5 minutes | Forcing a blade that won’t move |
| Removable-blade jar | Unscrew blade for deep clean | About 8 minutes | Losing the small gasket ring |
What experienced Oster owners do differently
They check the gasket before every use
A gasket that sits flat today can fold after a hot wash or a tight screw-on. Experienced users hold the collar up to the light and look for a continuous rubber ring with no gap. That one check takes 5 seconds and prevents most leaks.
They also replace the gasket the moment it feels stiff or shows a crack — a stretched gasket lets liquid past the blade and into the base. Oster sells replacement gaskets and blade assemblies separately, and the part number is on your model’s page on Oster’s site.
They never overfill and never run dry
The max-fill line on the jar isn’t decorative. Foamy liquids like milk and soapy water expand to roughly double their starting volume, so filling to the line with milk means a cleanup. Experienced users stay at two-thirds for anything that foams and never run the motor with an empty jar — the blade needs liquid or soft solids to move against.
They also pulse instead of holding a speed. Short bursts keep the motor cooler and give more control, especially with ice and frozen fruit. If a recipe stalls the blade, they stop, unplug, and stir with a spatula — never with their hand or a knife while it’s plugged in.
What usually goes wrong, and how to fix it
| What you notice | What it usually means | What to do first | How to stop it happening again |
|---|---|---|---|
| Blade doesn’t spin | Jar not locked on base | Twist jar a quarter turn | Feel the lock click each time |
| Water leaks at jar base | Gasket twisted or missing | Unplug, remove jar, reseat gasket | Check gasket before every use |
| Motor hums, nothing moves | Jar too full or too thick | Unplug, remove half the contents | Stay under two-thirds full |
| Blender won’t turn on | Cord not fully in socket | Push cord in until it stops | Check the cord before plugging in |
| Lid pops off mid-blend | Lid not seated or overfilled | Stop, unplug, reseat lid | Fill below the max line |
| Burning smell from base | Motor overloaded or blocked vent | Unplug and let it cool | Run in short bursts, keep vents clear |
| Jar won’t screw onto base | Cross-threaded collar | Lift, realign, twist gently | Set the jar straight before twisting |
The rules and limits that apply here
Oster’s own manual for your model is the authority on setup, capacity and which parts are dishwasher-safe. It’s included in the box and available as a PDF on Oster’s site under your model number. Follow it over any general guide, including this one.
In the US, blenders sold for household use carry a UL or ETL listing mark on the base or cord tag. That mark means the appliance passed a safety test for its electrical design. If your unit has no listing mark and you bought it new, that’s worth questioning with the seller.
The FDA doesn’t regulate blender setup, but it does publish food-safety guidance on cross-contamination. If you blend raw meat or eggs, wash the jar, lid and blade collar in hot soapy water before the next use — the same rule as any cutting board that touched raw protein.
Some Oster models are sold with a warranty that’s voided by disassembling the base. Opening the housing also exposes a capacitor that can hold a lethal charge even when unplugged. Base repairs belong with a qualified technician or Oster’s service network — not a home fix.
What setup actually costs you
The setup itself costs nothing beyond what you paid for the blender. Your real costs come later, in three places.
Replacement parts are the first. Gaskets, blade assemblies and lids are sold separately by Oster and by third-party sellers. Prices change, so check Oster’s site or a retailer for today’s number rather than trusting a figure you read here. A gasket is the cheapest part and the one you’ll replace most often.
Time is the second. First-time setup is about 5 minutes, including the wash and dry. If you skip the wash, you save 3 minutes and risk a plastic-tasting first smoothie — the manufacturing residue on new jars is real.
Electricity is the third, and it’s small. A household blender draws a few hundred watts, and you’ll run it for seconds at a time. Your utility bill won’t notice it. The bigger hidden cost is food: overfilling, running the wrong speed, or blending something your model can’t handle means throwing out ingredients and starting again.
Keeping your Oster running after setup
Rinse the jar with warm water the moment you finish blending — before residue dries. Dried smoothie and nut butter set like cement, and scrubbing them out is how jars get scratched.
Wash the jar, lid, filler cap and blade collar in warm soapy water after every use that involved raw meat, eggs, or anything sticky. Let them air-dry fully before reassembling; trapped moisture under the gasket encourages mildew.
Check the gasket each time you screw the collar on. The sign it needs replacing is simple: it feels stiff instead of rubbery, or you can see a crack or a flattened section. A new gasket costs little and takes seconds to fit — no need to replace the whole jar.
Wipe the base with a damp cloth and keep the vents clear of flour and dust. If the motor starts smelling hot or sounding rougher than it did, stop using it and have it checked. Don’t open the base yourself.
When an Oster blender setup isn’t the right answer
If your goal is crushing ice all day or blending large batches for a café, a household Oster isn’t built for that duty cycle. Look at a commercial blender rated for continuous use instead — the motor and coupling are designed for it, and the price reflects that.
If your base is dead, buzzing without spinning, or tripping your breaker, this page won’t fix it. Those are electrical faults. Take the unit to a qualified appliance technician or contact Oster support for your model’s service options. Don’t open the housing.
If you need to blend hot soup in volume, a blender with a vented lid and a hot-fill rating is the right tool. A standard Oster jar with a sealed lid traps steam and can blow the lid off. If your model’s manual doesn’t cover hot liquids, don’t put them in it.
Frequently asked questions
How long does it take to set up an Oster blender?
About 5 minutes from opening the box, assuming you wash and dry the jar first. If you skip the wash, you can assemble it in under 2 minutes. The 5-minute figure includes a 10 to 15 minute air-dry, which you can overlap with reading the manual.
Can I use my Oster blender right out of the box?
No — wash the jar, lid and blade collar first. New jars carry manufacturing residue and dust from shipping. A quick warm soapy wash takes 2 minutes and prevents a plastic or chemical taste in your first blend.
Why won’t my Oster blender turn on after setup?
The cord isn’t fully pushed into the socket on the base, or the jar isn’t locked onto the drive. Push the cord in until it stops, then twist the jar a quarter turn until you feel it click. If both are set and it’s still dead, the outlet or the unit itself is the problem.
Is it safe to put hot liquids in an Oster blender?
Only if your model’s manual says it’s rated for hot foods. A sealed lid traps steam, and pressure can blow the lid off. If your manual doesn’t cover hot liquids, let them cool to room temperature first, or use a blender designed for hot fill.
How full should I fill an Oster blender jar?
Two-thirds full for most blends, and never above the max-fill line printed on the jar. Foamy liquids like milk and cream expand to roughly double their starting volume. For hot liquids, fill to about half and vent the filler cap.
Does it matter which way the blade goes on?
The blade assembly only fits one way — the collar threads onto the jar and the blade points down into the jar. If it doesn’t seat flat, you’ve got it cross-threaded. Lift it, realign, and twist gently until it stops.
What happens if I run the blender without the lid?
You’ll get splatter on the walls, the counter and yourself. The lid also holds the filler cap, which lets you add ingredients and vent steam without removing the whole lid. Always run with the lid on and the filler cap seated, unless your manual says otherwise for a specific task.
Do I need to register my Oster blender for the warranty?
Registration isn’t required for warranty coverage in the US under the Magnuson-Moss Warranty Act, but it makes claims faster. Keep your receipt — proof of purchase date is what the warranty actually runs from. Oster’s site has a registration page for your model.
What to do first with your new Oster blender
Wash the jar, lid and blade collar in warm soapy water, dry them, check the gasket sits flat, then assemble and run a 5-second test with 1 cup of water. You’ll know it’s right when the blade spins smoothly, nothing leaks at the collar, and every speed button responds. If the base hums without spinning, smells hot, or trips your breaker, stop and take it to a qualified technician or contact Oster support.