How To Open An Oster Hand Blender: Two Designs
Opening an Oster hand blender is mostly about knowing which of the two common designs you own, because the release method is completely different on each. If your blender has a twist-lock connection, you grip the motor body and the blending shaft and rotate them in opposite directions until they separate. If it has a push-button release, you press the button on the motor body and pull the shaft straight off. That’s the whole answer in two sentences — the rest of this article covers how to tell which one you have, what to do when a shaft is stuck, how to open the motor housing itself for repair, and how to get everything back together again.
Key Takeaways
- Two release designs exist: twist-lock shafts unscrew counterclockwise; push-button shafts release with a single button press.
- Never twist a push-button model. Forcing rotation on a button-release blender can crack the plastic collar and void your warranty.
- Unplug the blender first. Every disassembly step in this guide assumes the cord is out of the wall.
- Stuck shafts usually free up with warm soapy water, a rubber grip, and a firm counterclockwise twist — not with pliers.
- Opening the motor housing requires a Phillips screwdriver and, on some models, a Torx T10 or T15 bit.
- Most “won’t open” problems are dried food in the collar threads, not a broken mechanism.
How To Open an Oster Hand Blender
The phrase “open” means three different things to three different people, so let’s separate them before anything else.
Detaching the blending shaft
This is what most people want. You’ve finished blending soup, and you need the shaft off so you can wash it. The method depends entirely on which generation of Oster hand blender you own.
Opening the motor housing for repair
This is a full teardown. You’re removing screws to get at a switch, a cord, or a motor. It’s a different procedure entirely and carries real risk of damaging the unit.
Opening a jammed or stuck attachment
Sometimes the shaft won’t budge no matter how hard you twist. That’s a third problem with its own fixes, covered further down.
Identify Your Oster Model First
Before you twist or press anything, look at the joint where the stainless steel shaft meets the black or white plastic motor body. That joint tells you everything.
| What You See at the Joint | Release Type | How to Open It |
|---|---|---|
| Smooth collar, no button, visible seam line | Twist-lock | Rotate shaft counterclockwise while holding motor |
| Raised button or sliding tab on the motor body | Push-button | Press button, pull shaft straight down |
| Two small arrows or a padlock icon printed on the collar | Twist-lock | Align arrows, then twist counterclockwise |
| Recessed latch on the side of the collar | Latch release | Depress latch with thumb, pull apart |
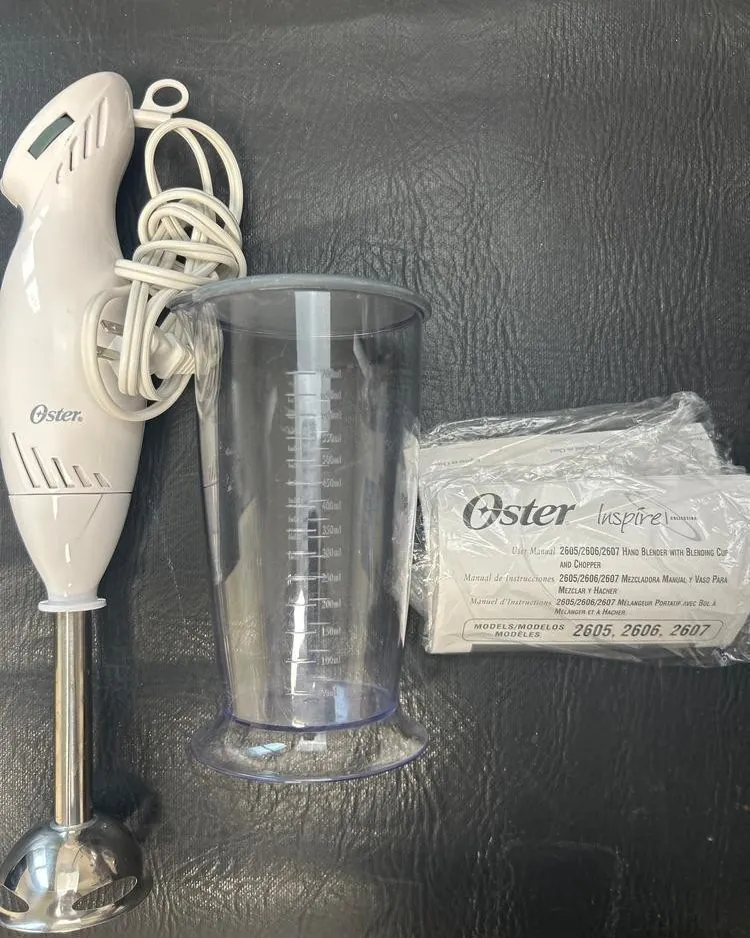
Oster has sold hand blenders under several families over the years, including the Oster Hand Blender with Whisk, the Oster 2-Speed Hand Blender, and the Oster Immersion Blender line. Most current retail models use a twist-lock, while several older and some cordless units use a push-button. If you still have the box or manual, the model number is printed on a sticker on the motor body — usually a combination like FPSTHB followed by digits.
Pro Tip: Take a photo of the joint with your phone before you twist anything. If you strip the collar, that photo is what a parts representative will ask you to describe over the phone.
How to Detach a Twist-Lock Shaft
This is the most common Oster design, and it’s genuinely simple once you know the direction.
- Unplug the blender. Pull the cord from the outlet, not from the cord itself.
- Hold the motor body in your non-dominant hand, with the cord end pointing away from you.
- Grip the stainless shaft near the top, just below the collar, with your dominant hand.
- Rotate the shaft counterclockwise — to the left, as if loosening a jar lid — while keeping the motor body still.
- Continue about a quarter turn. You’ll feel a soft click and the shaft will drop free.
- Pull straight down to separate the two halves. Don’t wiggle side to side; the drive coupling is a plastic or metal spline that prefers a straight pull.
If the shaft spins but doesn’t release, you’re gripping the wrong part. Hold the metal collar itself, not the bell housing at the bottom.
How to Detach a Push-Button Shaft
Push-button models are even easier, but people break them by twisting out of habit.
- Unplug the blender.
- Lay the unit on its side on a towel so the button faces up and you can see it.
- Press and hold the release button with your thumb. On some models it’s a sliding tab you push toward the shaft.
- Pull the shaft straight down while holding the button. It should slide off with light resistance.
- Release the button once the shaft is clear.
Warning: Never twist a push-button shaft to “help” it release. The button mechanism uses a small plastic tang that snaps cleanly if you apply rotational force. Replacements for that tang usually mean buying a whole new shaft assembly.
When the Shaft Won’t Come Off
A stuck shaft is the single most common reason people search for this topic. Work through these in order — each one is gentler than the next.
Soak the collar in warm soapy water
Dried soup, smoothie, and nut butter all set like cement in the collar threads. Fill a bowl with warm water and a few drops of dish soap, stand the blender shaft-down in it so only the collar is submerged, and wait 15 to 20 minutes. Then try the twist again. Don’t submerge the motor body.
Use a rubber grip
A silicone jar opener, a rubber band wrapped several times around the collar, or a clean rubber dish glove all multiply your grip without scratching the finish. Bare hands on smooth stainless steel slip long before the threads give.
Warm the collar with a hair dryer
Plastic expands faster than metal. Run a hair dryer on low over the plastic collar for 30 to 45 seconds, then twist immediately while it’s warm. Keep the dryer moving; you don’t want to soften or warp the housing.
Tap the seam gently
Hold the unit vertically and tap the seam between collar and motor body with the handle of a wooden spoon — light taps, rotating the unit a few degrees between each one. This breaks the vacuum seal that forms when food cools inside the joint.
What not to do
- Don’t use pliers or a pipe wrench. You’ll crush the collar and gouge the stainless.
- Don’t run it under boiling water. Thermal shock can crack the plastic.
- Don’t put the whole unit in the dishwasher hoping the heat frees it. That kills the motor.
- Don’t pry the seam with a flathead screwdriver. The plastic chips, and then the shaft never seats properly again.
If none of these work, the collar threads may be cross-threaded from a previous assembly. In that case, contact Oster customer support with your model number — replacement shafts are sold separately for many models.
Opening the Motor Housing for Repair
This is the deep end. Only go here if you’re comfortable with small appliances, and understand that opening the housing voids any remaining warranty.
Tools you’ll need
| Tool | Size / Type | What It’s For |
|---|---|---|
| Phillips screwdriver | #1 and #2 | Most housing screws |
| Torx driver | T10 or T15 | Some models use security Torx |
| Plastic spudger or old credit card | — | Prying housing halves without gouging |
| Small bowl or magnetic tray | — | Holding screws so they don’t vanish |
| Phone camera | — | Photographing each stage before you proceed |
Step-by-step teardown
- Unplug the blender and let it sit for a few minutes. Capacitors in the speed control can hold a small charge.
- Remove the blending shaft using the method for your model.
- Locate the housing screws. On most Oster hand blenders these are on the underside of the motor body, sometimes hidden under a rubber foot or a small adhesive plug.
- Pry off any rubber plugs with the spudger to expose the screws underneath. Keep the plugs — you’ll need them for reassembly.
- Remove all screws and drop them into your tray. Count them. If you find four holes and have three screws, one is still in place.
- Gently separate the housing halves. Start at the seam near the cord and work forward. There may be internal plastic clips; a light twist of the spudger will pop them.
- Photograph everything before pulling any wires. The switch, speed dial, and cord strain relief all have specific positions.
- Lift the motor assembly out if you need to. On most models it sits in rubber mounts that pull free.
Warning: If you see a burnt smell, blackened wiring, or melted insulation, stop. That’s a fire risk, and the unit should be replaced rather than repaired.
What you can realistically fix inside
- A sticky speed dial — usually crumbs or dried liquid on the potentiometer. Clean with isopropyl alcohol on a cotton swab.
- A loose cord — the strain relief may have pulled free of its channel. Reseat it.
- A dead switch — replaceable on some models if you can source the part.
- A worn drive coupling — the plastic spline that engages the shaft. This is a common failure point and often the real reason a shaft “won’t stay on.”
What you generally can’t fix: a burnt-out motor winding or a failed control board. At that point, replacement is the sensible call.
Reassembling Without Breaking Anything
Reassembly is where most DIY repairs go wrong, so slow down.
- Confirm the shaft is off and the housing is clean and dry.
- Seat the motor assembly back into its rubber mounts, checking that no wires are pinched.
- Align the housing halves at the cord end first, then press the seam closed working toward the front.
- Listen for the clips to click. If the seam won’t close flush, something is misaligned — open it and check.
- Reinstall screws in a cross pattern, snug but not cranked down. Over-tightening cracks the plastic bosses.
- Replace rubber plugs and press them flat.
- Reattach the shaft using the correct method for your model.
- Test with water only in a deep cup before blending anything that stains.
Pro Tip: If the shaft wobbles after reassembly, it isn’t seated fully. Twist or press it until you feel the detent, then tug gently upward to confirm it’s locked.
Cleaning Rules That Prevent Stuck Shafts
Almost every stuck-shaft problem traces back to cleaning habits. These rules keep the joint free.
- Detach the shaft before washing it. Always. Every time.
- Rinse the collar immediately after blending anything thick — nut butter, hummus, protein shakes, and mashed potatoes are the worst offenders.
- Hand wash the shaft in warm soapy water. Most Oster shafts are dishwasher-safe on the top rack, but hand washing preserves the finish and the collar threads.
- Never submerge the motor body. Wipe it with a damp cloth only.
- Dry the collar threads before reattaching so you’re not trapping moisture against the plastic.
- Store the blender assembled but not over-tightened. A light twist-lock is enough; cranking it down just makes the next removal harder.
Common Mistakes People Make
| Mistake | What Happens | Do This Instead |
|---|---|---|
| Twisting a push-button model | Snapped release tang | Press the button, pull straight |
| Twisting clockwise to loosen | Threads tighten further | Counterclockwise, like a jar lid |
| Submerging the motor body | Motor shorts, unit dies | Wipe with a damp cloth only |
| Using pliers on a stuck collar | Crushed collar, gouged steel | Rubber grip plus warm water soak |
| Reassembling with wet threads | Mildew smell, corrosion | Dry both halves first |
| Over-tightening on reassembly | Cracked plastic collar | Snug only, quarter turn |
| Running the motor with no shaft attached | Exposed spinning coupling | Never run it bare |
Corded vs. Cordless: Different Open Procedures
Oster sells both corded and cordless hand blenders, and the cordless units change the procedure in one important way.
| Feature | Corded Oster Hand Blender | Cordless Oster Hand Blender |
|---|---|---|
| Power source | AC cord | Rechargeable battery |
| Shaft release | Twist-lock or push-button | Usually twist-lock |
| Extra step before opening | Unplug from outlet | Remove battery pack if removable |
| Motor housing access | Phillips screws | Phillips plus hidden screws under the battery door |
| Safe to submerge any part? | No | No — battery contacts corrode instantly |
On cordless models, remove the battery before any teardown. Even with the unit switched off, the battery terminals are live, and a dropped screw across them can short the pack.
Safety Before You Start
Read these once. They matter more than any step above.
- Unplug or remove the battery. This is non-negotiable.
- Never put your fingers near the blades inside the bell housing. They’re sharp, and they’re angled to catch.
- Don’t open the housing if the unit is under warranty. Call Oster first; they may replace it outright.
- Work on a towel so dropped parts don’t bounce under the fridge.
- Keep water away from the motor during every step.
- If you smell burning at any point, stop and unplug. Don’t test it “one more time.”
When to Stop and Buy a New One
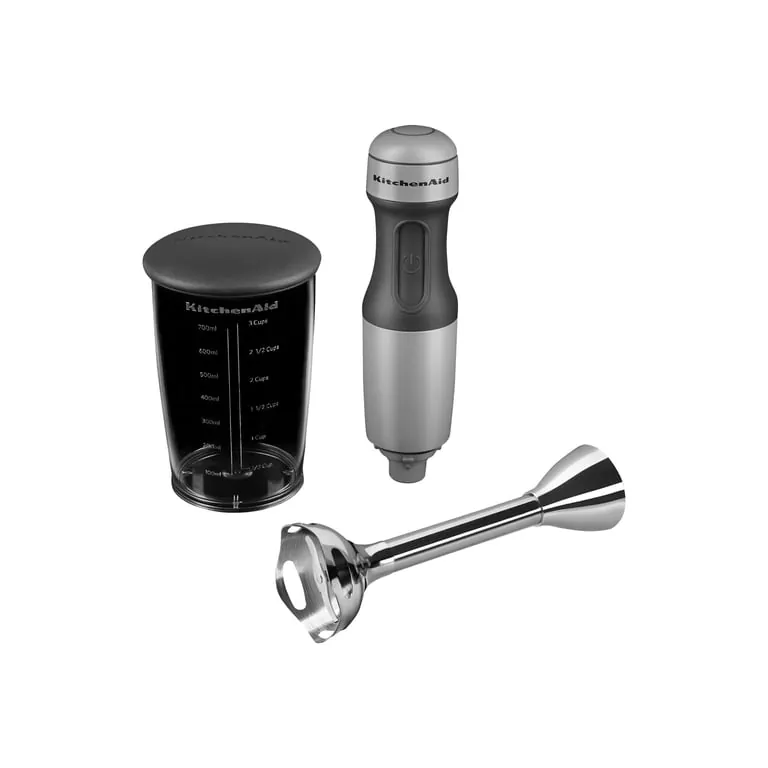
Not every blender is worth opening. Consider replacing rather than repairing if:
- The motor smells burnt or the housing is discolored near the vents.
- The unit is more than five or six years old and parts are discontinued.
- The drive coupling is stripped and no replacement is available for your model number.
- You’ve opened it once and it still won’t run after reassembly.
- The cord insulation is cracked anywhere along its length.
Oster hand blenders are inexpensive enough that a repair involving a new motor assembly often costs more than a replacement unit. Use your judgment — and if the repair is purely about a stuck shaft, that’s almost always fixable at the sink.
Frequently Asked Questions
How do I open an Oster hand blender to change the attachment?
Unplug it, grip the motor body in one hand and the stainless shaft in the other, then twist the shaft counterclockwise about a quarter turn until it clicks and drops free. If your model has a release button on the motor body, press and hold that button and pull the shaft straight down instead of twisting.
Why won’t my Oster hand blender shaft come off?
Dried food in the collar threads is the usual culprit. Soak just the collar in warm soapy water for 15 to 20 minutes, wrap a rubber band or silicone gripper around it for traction, and twist counterclockwise. A hair dryer on low for 30 to 45 seconds can also help by expanding the plastic slightly.
Can I put the whole Oster hand blender in the dishwasher?
No. Only the blending shaft and any detachable whisk or chopper attachment are dishwasher-safe, and even those do better on the top rack. The motor body contains electrical components and must be wiped clean with a damp cloth only. Submerging it will short the motor.
How do I open the motor housing on an Oster hand blender?
Remove the shaft, then look for Phillips screws on the underside of the motor body, sometimes hidden under rubber plugs or adhesive feet. Some models also use Torx T10 or T15 screws. Remove them all, then gently pry the housing halves apart starting at the cord end. Photograph the internals before pulling any wires.
Is it worth repairing an Oster hand blender?
For a stuck shaft, a sticky speed dial, or a loose cord, yes — those are easy fixes. For a burnt motor, a failed control board, or cracked cord insulation, no. Replacement units are inexpensive, and a motor assembly repair often costs more than a new blender.
Does opening my Oster hand blender void the warranty?
Yes, opening the motor housing voids the warranty on virtually every Oster hand blender. Detaching the blending shaft for cleaning does not — that’s normal use. If your unit is still under warranty and malfunctioning, contact Oster customer support before reaching for a screwdriver.
A Quick Word on Model Numbers
If you need a replacement shaft, a new drive coupling, or warranty help, you’ll need your model number. It’s on a sticker on the motor body, usually near the cord exit or on the underside. Write it down and keep it in your phone. Oster’s support line and their parts listings both key off that number, and without it you’ll be guessing at compatibility.
Detaching the shaft is a five-second job once you know whether your model twists or clicks, so start there — unplug the blender, look at the joint, and try the matching method before assuming anything is broken.