How To Operate an Oster Blender: 4 Habits for Smooth Results
Operating an Oster blender comes down to four habits: lock the jar onto the base, load ingredients in the right order, start on a low speed and ramp up, and stop to scrape rather than running it nonstop. Everything else — which button does what, when to use the pulse function, how to clean the blade without cutting yourself — follows from those four. This guide covers the full routine for the most common Oster models, from the classic Beehive and Heritage series to the Pro and Master lines, plus what to do when the machine suddenly stops mid-smoothie.
Key Takeaways
- Load liquids first. Pour liquid in before ice, frozen fruit, or powders — it keeps the blades from cavitating and stalling.
- Start low, then increase. Begin at the lowest speed or on Pulse, then move to medium or high once ingredients are moving.
- Fill to about two-thirds. Overfilling is the single most common cause of leaks and stalling.
- Pulse for control. Short bursts handle ice, nuts, and thick mixtures better than leaving the motor running.
- Unplug before touching the blade. The blade assembly is sharp and stays sharp; remove the jar from the base first.
- Most jars and lids are dishwasher-safe. The motor base never is — wipe it with a damp cloth only.
The Parts of an Oster Blender
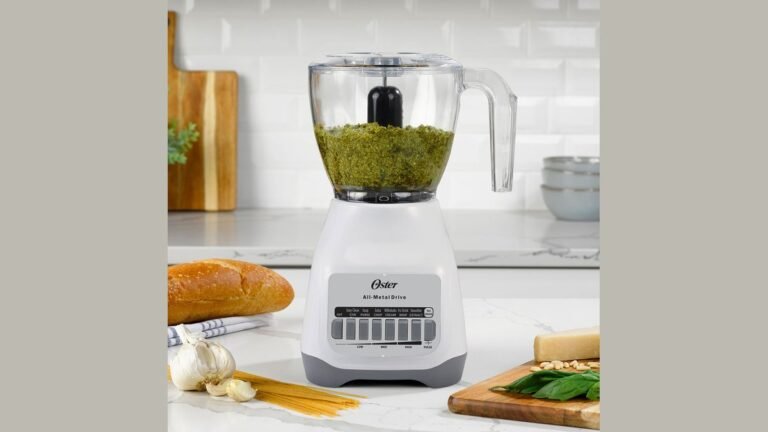
Before you press anything, it helps to know what you’re looking at. Nearly every Oster blender sold in the last several decades uses the same basic architecture, even when the styling changes.
The motor base houses the motor and the controls. On most models it’s a heavy, weighted unit with rubber feet that keep it from walking across the counter. It should never be submerged in water.
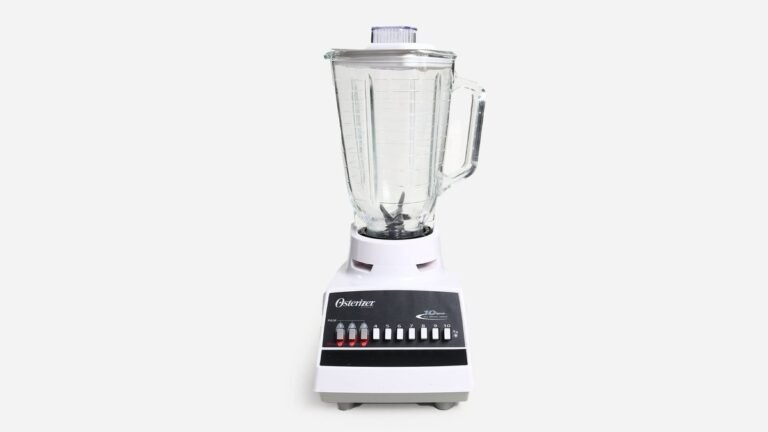
The jar is usually glass on the classic Oster models and plastic or Tritan on lighter, newer ones. Oster’s signature glass jar has a square-ish shape with a threaded bottom that accepts the blade assembly.
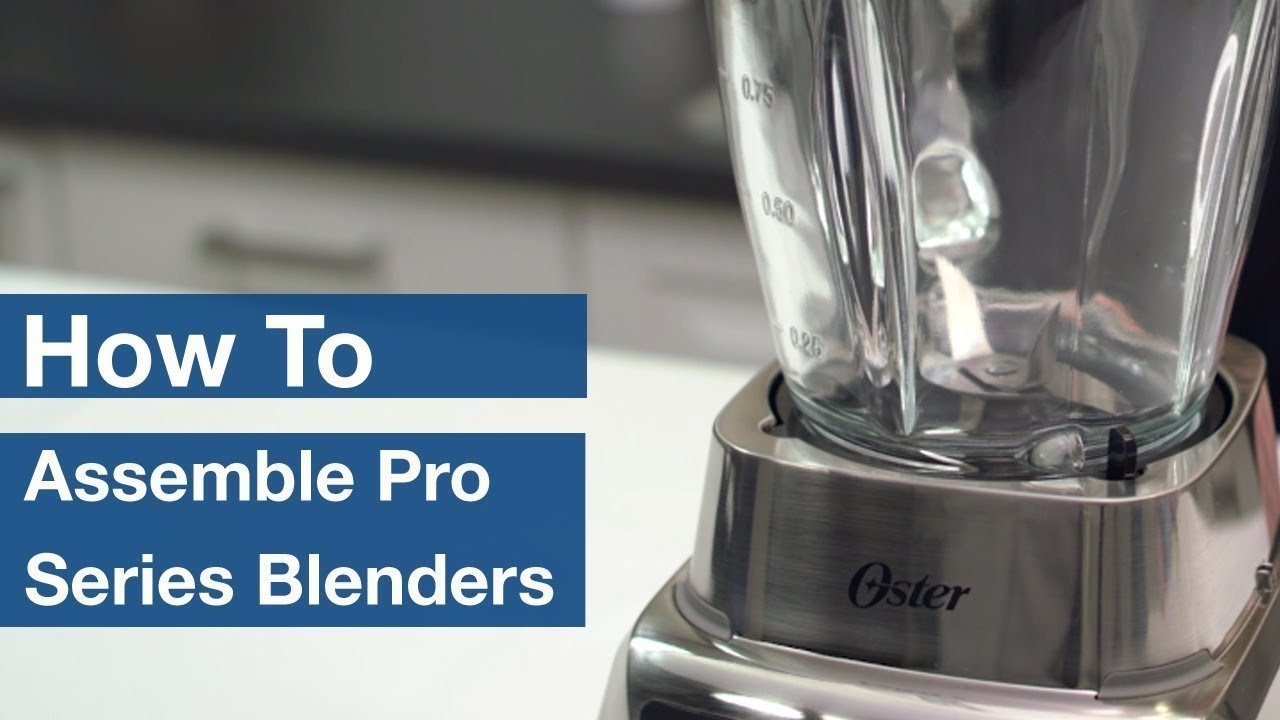
The blade assembly is a separate piece that screws onto the bottom of the jar. It holds a four-point stainless steel blade. On most Oster blenders this piece unscrews by hand — no tools.
The collar or jar base is the plastic ring that holds the blade assembly and threads onto the jar. On some models the blade and collar come apart; on others they’re one sealed unit.
The lid is a two-piece design on many models: a main lid plus a removable center cap. The center cap is what lets you add oil, water, or honey while the blender runs.
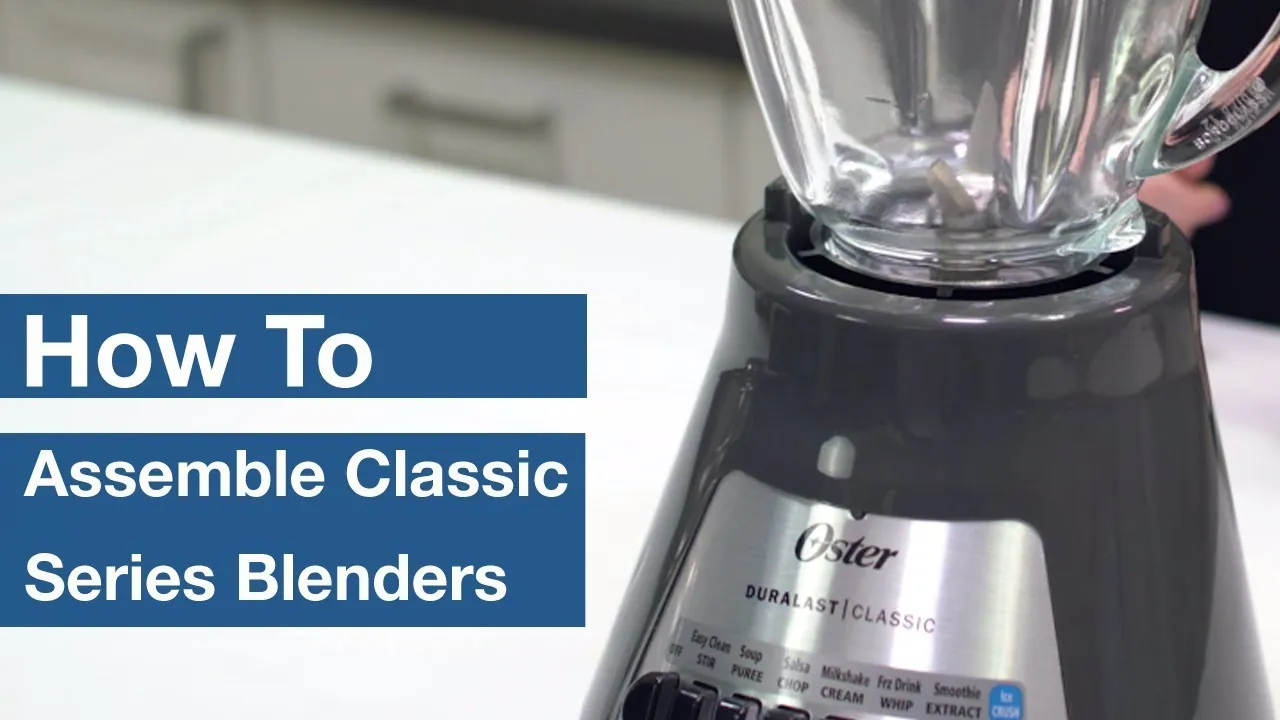
The control panel varies by model. Entry-level Oster blenders have a simple dial with speeds plus a Pulse or Ice Crush button. Mid-range models add preset buttons. Higher-end models add a digital timer and program buttons.
Common Oster Model Families
| Model family | Typical controls | Jar type | Best for |
|---|---|---|---|
| Beehive / Classic | 2-speed dial + Pulse | 5-cup glass | Simple smoothies, shakes |
| Heritage | 3-speed dial + Pulse | 6-cup glass | Everyday blending, soups |
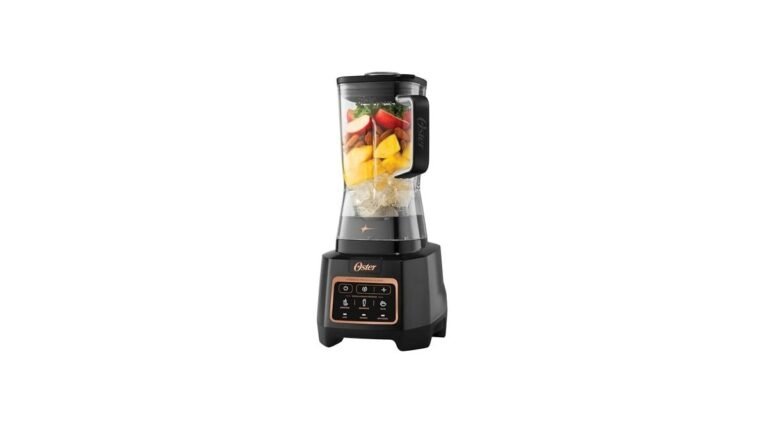
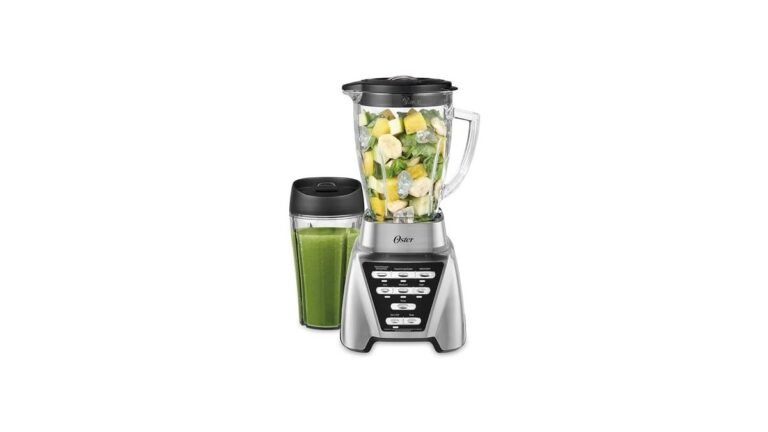
| Pro / Pro 1200 | Push buttons + presets | 6–8 cup glass or Tritan | Ice, frozen fruit, nut butters |
| Master / Reverse Crush | Digital pad + programs | 6-cup+ | Heavy-duty daily use |
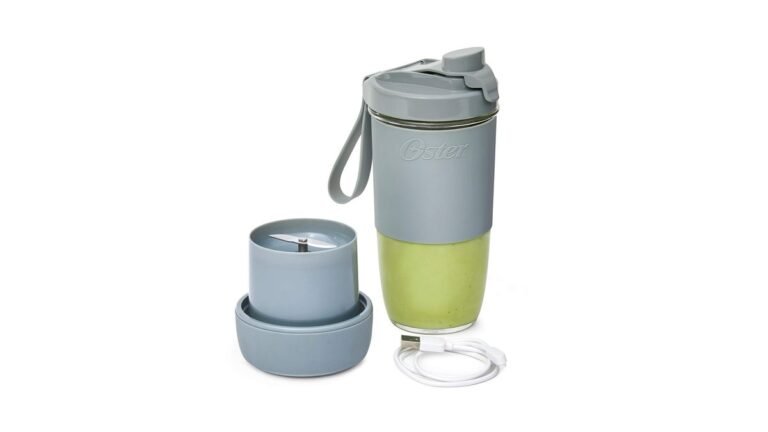
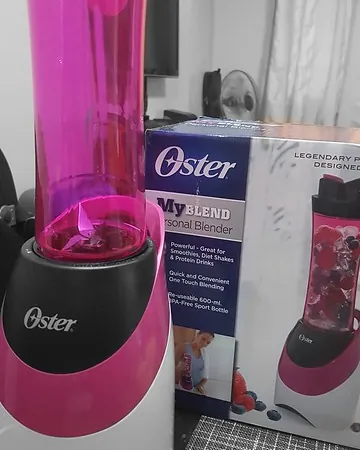
| Personal / MyBlend | Single button or twist | 20–24 oz cup | Single servings, protein shakes |
Exact cup sizes and wattages vary by year and region, so check the label on the bottom of your base if you need the precise figure.
How To Operate an Oster Blender Step by Step
This is the core routine. Follow it in order and you’ll avoid almost every problem people run into.
Step 1: Set Up on a Stable Surface
Place the motor base on a flat, dry counter. Press down gently to seat the rubber feet. Leave clearance above the blender — at least a foot — so you can lift the jar off without hitting a cabinet.
Plug the power cord into a grounded outlet. Don’t use an adapter or an extension cord with a heavy-draw blender if you can avoid it.
Step 2: Assemble the Jar and Blade
Set the jar upside down on the counter, or hold it steady. Take the blade assembly and screw it onto the threaded bottom of the jar, turning clockwise until it’s snug.
Don’t overtighten. Hand-tight is enough. Overtightening can crack a plastic collar and make the jar hard to remove later.
If your model has a separate collar, place the blade inside the collar first, then thread the collar onto the jar.
Step 3: Load Ingredients in the Right Order
This is where most blending failures begin. Add ingredients in this order:
- Liquids — water, milk, juice, broth, yogurt
- Soft solids — fresh fruit, cooked vegetables, leafy greens
- Powders — protein powder, cocoa, spices, flour
- Hard or frozen items — ice cubes, frozen fruit, nuts, hard cheese
Putting liquids in first lets the blade create a vortex that pulls everything down. If you dump ice in first and pour liquid on top, the blade spins in an air pocket and the motor strains.
Fill the jar no more than about two-thirds full. If you’re blending hot liquids, fill only halfway.
Step 4: Lock the Jar Onto the Base
Set the assembled jar onto the motor base. On most Oster models the jar simply drops into place and seats on the drive coupling. On a few models you twist it slightly to lock.
Give the jar a gentle press down. You should feel it settle. If it wobbles, reseat it.
Step 5: Put the Lid On
Press the lid firmly onto the jar. If your lid has a removable center cap, make sure it’s seated — a loose cap will spray contents across your kitchen.
Warning: Never blend without the lid, even for a second. The vortex inside a running blender can throw liquid several feet.
Step 6: Start Low, Then Increase
Turn the dial to the lowest speed, or press Pulse once or twice. Let the ingredients break up for five to ten seconds.
Once you see movement, move up to medium, then high if the recipe calls for it. Starting on high with a full jar of ice is the fastest way to stall the motor or wear the coupling.
Step 7: Use Pulse for Tough Jobs
Pulse is a momentary switch — it runs only while you hold it. Use Pulse for:
- Crushing ice into snow
- Chopping nuts coarsely
- Mixing thick batters
- Breaking up frozen fruit before a long blend
Short bursts give you control and let the motor cool between runs.
Step 8: Add Ingredients Through the Lid Cap
If the mixture is too thick, remove the center cap and drizzle liquid in while the blender runs on low. Add a tablespoon at a time. You’ll usually need far less than you think.
Step 9: Stop and Scrape
For thick mixtures, stop every 20–30 seconds, remove the lid, and push ingredients down with a spatula. Turn the blender off and unplug it first if you’re reaching anywhere near the blade.
Step 10: Turn Off and Remove the Jar
Turn the dial to Off or press Stop. Wait for the blade to come to a complete stop — this takes a second or two. Then lift the jar straight up off the base.
Speed Settings and When To Use Them
Most Oster dials run from 1 (slowest) to 3, 5, or higher. Here is how to think about each range.
| Speed range | Typical use | Examples |
|---|---|---|
| Low (1–2) | Gentle mixing, folding | Pancake batter, scrambled eggs, sauces |
| Medium (3–5) | Everyday blending | Smoothies, soups, milkshakes, dressings |
| High (6+) | Smooth results, hard items | Ice, frozen fruit, nut butters, purees |
| Pulse | Short controlled bursts | Ice crush, chopping, thick mixes |
Low Speed
Use low for anything you want to keep chunky or anything that would splash. It’s also the right starting speed for every blend, regardless of what you’re making.
Medium Speed
This is your default for smoothies, protein shakes, and blended soups. It moves ingredients well without overheating.
High Speed
Reserve high for the end of a blend, when you want a silky texture, or for hard items like ice and frozen fruit. Running on high from the start with a full jar is hard on the motor.
Pulse
Pulse isn’t a speed — it’s a control. Think of it as tapping the gas pedal rather than holding it down.
Blending Specific Things
Different ingredients need different handling. Here is the short version for the most common jobs.
Smoothies and Protein Shakes
Liquid first, then fresh fruit, then powder, then frozen fruit and ice on top. Start on low, move to medium, finish on high for 20–30 seconds. If it stalls, add liquid one tablespoon at a time.
Ice
Use Pulse in short bursts, about one second each. Let the blender rest between bursts. If your model has an Ice Crush button, that button is simply a pre-programmed pulse sequence.
Pro Tip: For snow-like ice, add one or two tablespoons of liquid per cup of ice. A tiny bit of water gives the blade something to grab.
Frozen Fruit
Frozen fruit is harder on the motor than ice because it’s fibrous. Let it sit at room temperature for five minutes if you can, or blend it with liquid and fresh fruit to give the blade an easier path.
Nut Butters
This is the hardest job you can give a standard blender. Use a small amount of nuts, start on low, and pulse repeatedly, scraping down often. Expect it to take several minutes. Add a little oil if the mixture stays crumbly.
Hot Soups
Warning: Never fill a blender more than halfway with hot liquid, and always vent the lid cap. Steam expands fast and can blow the lid off.
Let hot soup cool for a few minutes first. Blend in batches if needed.
Baby Food and Purees
Cook the food until soft, add liquid, and blend on high until smooth. Test the temperature before serving.
Cleaning Your Oster Blender
Cleaning is where a lot of blenders get ruined — usually by putting the base in water.
The Quick Rinse Method
Fill the jar one-third with warm water and add a drop of dish soap. Put the lid on, run on low for 10–15 seconds, then dump and rinse. This handles most everyday messes.
The Full Wash
Disassemble the jar, lid, and blade assembly. Wash the jar, lid, and blade in warm soapy water, or put them on the top rack of the dishwasher if your model’s manual allows it.
Never put the motor base in water. Wipe it with a damp cloth and dry it immediately.
Cleaning the Blade Safely
Hold the blade assembly by its plastic or metal hub — never by the blade edges. Wash it with a long-handled brush. If you use a sponge, keep your hand well away from the points.
Warning: Oster blades stay sharp for years. A cut from a blender blade is a common kitchen injury, and it usually happens while washing, not while blending.
Removing Stuck-on Residue
For dried-on smoothie or nut butter, soak the jar and blade in warm soapy water for 15 minutes before washing. Don’t use abrasive pads on glass jars with printed measurements — it wears the markings off.
Troubleshooting Common Problems
| Problem | Likely cause | Fix |
|---|---|---|
| Blender won’t start | Jar not seated, lid not on, or not plugged in | Reseat jar, check lid, check outlet |
| Motor hums but blade doesn’t spin | Coupling stripped or jar not locked | Inspect the drive coupling for wear |
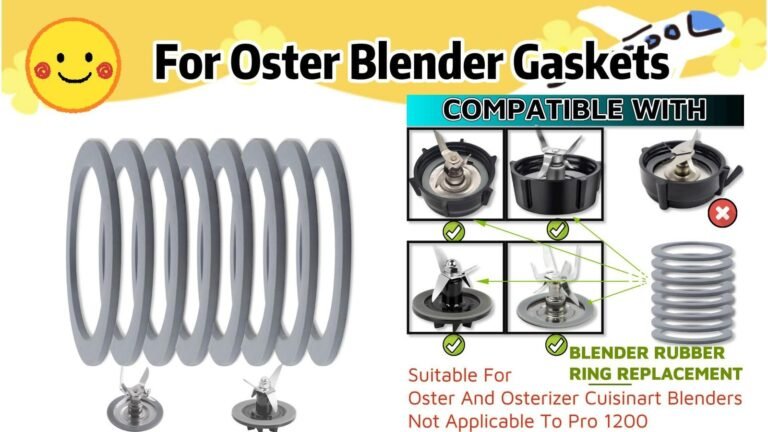
| Leaking from the bottom | Blade assembly loose or gasket missing | Tighten by hand; check the rubber gasket |
| Ingredients stuck on top | Wrong loading order | Stop, scrape down, restart on low |
| Burning smell | Motor overheating from long runs | Stop, unplug, let cool 15–30 minutes |
| Blender stops mid-blend | Thermal overload protection | Cool down; blend in smaller batches |
| Loud rattling | Jar loose or ice jammed | Turn off, reseat jar, break up the jam |
| Uneven blend | Overfilled jar | Remove half, blend in two batches |
The Blender Won’t Turn On
Check the obvious things first: is it plugged in, is the jar fully seated, is the lid on. Many Oster models have a safety interlock that prevents the motor from running if the jar isn’t properly in place.
The Motor Is Running but the Blade Isn’t
This usually means the drive coupling — the rubber or plastic piece that connects the motor to the blade — has stripped. It’s a wear part and is replaceable on most models.
It Smells Like Burning
Stop immediately and unplug it. That smell is usually the motor overheating. Let it cool for at least 15 to 30 minutes before trying again. If it happens repeatedly on short blends, the motor may be failing.
It’s Leaking
Nine times out of ten, the blade assembly isn’t tight enough or the rubber gasket is missing, cracked, or misaligned. Remove the blade, check the gasket, reseat it, and tighten by hand.
Safety Rules Worth Remembering
- Unplug before touching the blade. Always.
- Never put your hand in the jar while the blender is plugged in, even if it’s off.
- Never use a spatula while the motor is running.
- Vent hot liquids. Remove the center cap and cover the opening with a folded towel.
- Keep the cord away from the edge of the counter and away from water.
- Don’t run the blender empty for more than a few seconds.
- Give the motor breaks. Most home blenders aren’t designed for continuous runs longer than a minute or two.
Maintenance That Extends Lifespan
A few small habits will keep an Oster blender running for years.
Check the gasket every few weeks. It’s a small rubber ring inside the blade assembly, and it’s the number one cause of leaks.
Inspect the drive coupling for cracks or rounding. Replace it when it starts to slip.
Don’t overload. Two-thirds full is the practical ceiling for most recipes.
Let it cool. If you’re making multiple batches, pause between them.
Store it assembled but loose. Leave the blade assembly hand-tight, not cranked down.
Keep the base dry. Wipe up spills immediately, especially around the dial or buttons.
Frequently Asked Questions
How do I turn on an Oster blender?
Plug it in, seat the jar on the base, put the lid on, then turn the dial from Off to your chosen speed or press a preset button. Some models require the jar to be fully seated before the motor will engage.
Why does my Oster blender stop working after a few seconds?
Most likely the thermal overload protector has tripped. The motor has a built-in safety switch that cuts power when it gets too hot. Unplug it, let it cool for 15 to 30 minutes, and blend in smaller batches next time.
Can I put Oster blender parts in the dishwasher?
The glass or plastic jar, lid, and blade assembly are dishwasher-safe on the top rack for most models. The motor base is never dishwasher-safe. Check your specific model’s manual, because a few older models specify hand-washing only.
What is the Pulse button for?
Pulse runs the motor only while you hold the button. Use it for ice, nuts, thick batters, and any job where you want short, controlled bursts instead of continuous blending.
How full should I fill an Oster blender?
About two-thirds full for cold ingredients. Half full or less for hot liquids, since steam expands. Overfilling is the most common cause of leaks, stalling, and uneven blends.
Why is my Oster blender leaking from the bottom?
The blade assembly is probably loose, or the rubber gasket inside it’s missing, cracked, or misaligned. Remove the blade assembly, check the gasket, reseat it, and tighten the assembly by hand until snug.
Conclusion
Once you have run through the loading order and speed sequence a few times, operating an Oster blender becomes second nature — liquid first, start low, pulse for hard items, and unplug before you reach for the blade. Pick one recipe you make often, like a morning smoothie, and practice the routine until it’s automatic before moving on to tougher jobs like nut butters or crushed ice.