How To Use an Oster Portable Blender: Step-by-Step Guide
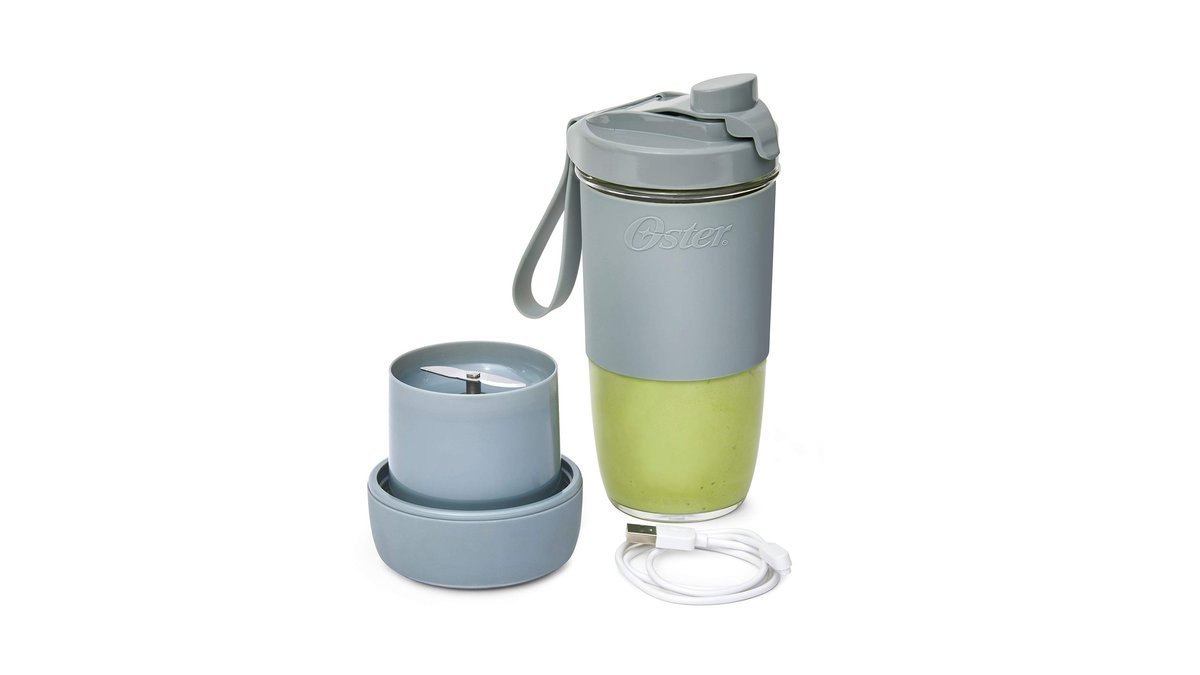
To use an Oster portable blender, charge it fully first, then add liquid before fruit, twist the cup on tight, and press the power button for 30-60 seconds. The blender runs on a rechargeable battery, so it works without a cord. Most models hold 16 to 20 ounces.
Three things change how this goes for you: how full you fill the cup, how hard your ingredients are, and how much charge is left in the battery. Each one decides whether you get a smooth drink or a stalled blade.
Who’s Actually Reading This
Three kinds of people search for this. They need the basic order of steps and nothing else. The second has used it a few times and keeps getting chunks or a dead battery halfway through. They need the fill limits and the charging facts.
This page serves the first two best. If you’ve got the blender in your hand and it’s not doing what you want, everything here applies to you. If you’re still shopping and want specs, model numbers, and battery comparisons across brands, the Oster product page and its owner’s manual will answer that faster than any guide can.
One assumption runs through all of this: your blender is a rechargeable cordless model with a button on the base, not a plug-in countertop machine. Those work differently and the steps below won’t match.
What Decides Your Result
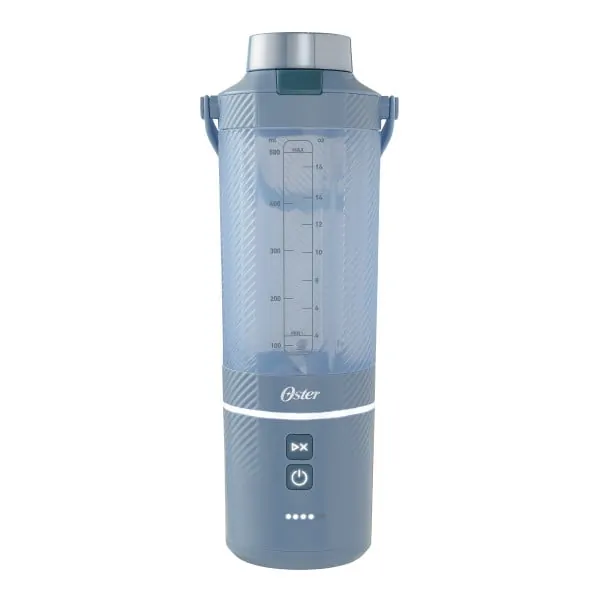
Fill level matters more than anything else. Every Oster portable blender has a maximum fill line printed on the cup, and going past it’s the single most common reason a blend fails. The blade can’t move through an overfilled cup, so it spins without cutting. Check your cup for the line before you add anything.
Ingredient hardness comes second. Frozen strawberries, ice cubes, and raw carrot need more time and more liquid than banana or soft berries. Hard items also need to sit lower in the cup, near the blade, not packed on top. If you’re blending ice, use small cubes, not large ones.
Battery charge is third. A low battery spins the blade slower, which turns a 40-second blend into a two-minute one that still has lumps. Charge until the indicator shows full before you start something tough. The light on the base tells you where you stand.
Liquid amount is fourth, and it’s the one people get wrong most often. You need enough liquid for the blade to pull ingredients down, but not so much that the cup overflows when you twist the lid on. Start with liquid covering the blade by about an inch.
Cup assembly is last. If the blade base isn’t twisted on tight, the safety lock stops the motor from running at all. That’s not a fault. It’s the blender protecting you.
Step-by-Step: Blending Your First Drink
Charge the blender until the indicator light shows full. Plug the USB cable into the base port and a wall adapter. A full charge on most Oster portable models takes about 2 to 4 hours from empty. Check your manual for your model’s exact time. You’ll know it’s done when the light stops blinking and stays steady.
Add liquid first, about 1 inch above the blade. Pour in milk, water, juice, or yogurt. This is the layer that lets the blade move. If you add solid food first, the blade can jam against it and stall.
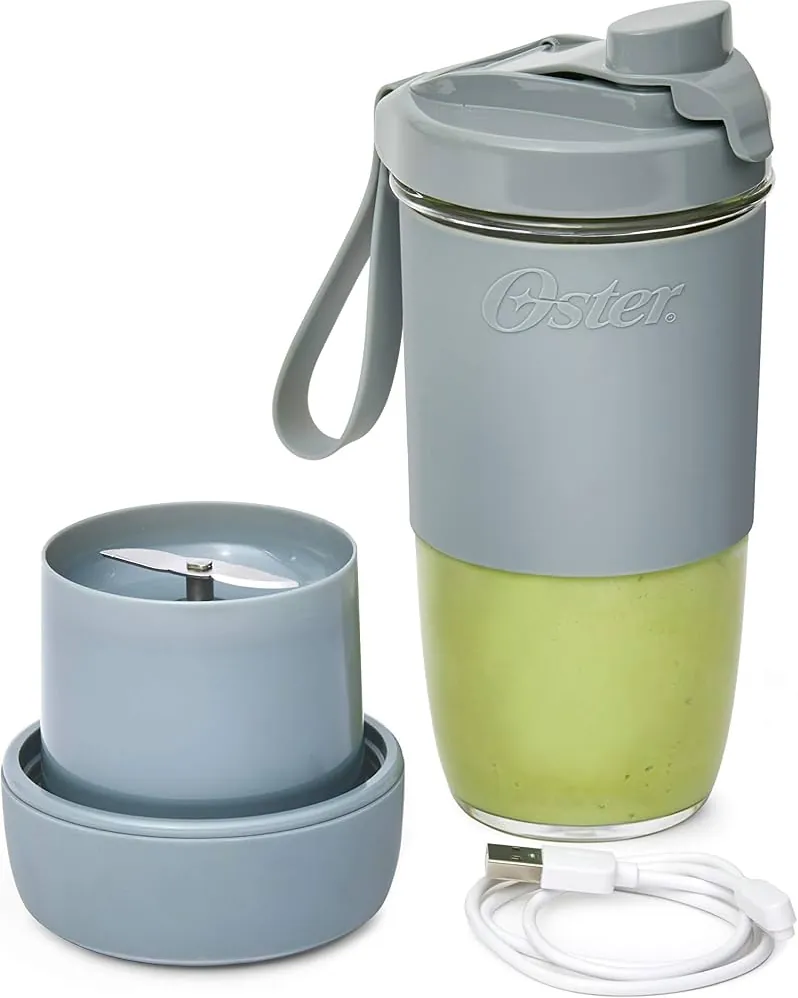
Add soft ingredients next, then hard ones on top. Banana, berries, and spinach go in after the liquid. Ice and frozen fruit go in last, closest to the lid. Keep everything below the max fill line printed on the cup.
Leave about 1 inch of empty space at the top. Blending whips air into the contents and they rise up the cup. A cup filled to the brim will push the lid off or leak. Stop below the line, not at it.
Twist the blade base onto the cup until it stops. Turn firmly. If the base isn’t fully seated, the safety interlock cuts the power and the button does nothing.
Flip the cup so the blade base sits on the bottom, then press and hold the power button. Hold for 30 to 60 seconds for soft ingredients. For ice or frozen fruit, run it in 20-second bursts and shake between bursts.
Stop and shake if the blend stalls. Release the button, lift the cup, and shake it side to side for a few seconds. This moves ingredients back down to the blade. Then run another 20-second burst.
Check the texture before you pour. Tip the cup and look for chunks near the bottom. If you see any, run one more 15-second burst. Don’t add more liquid unless the blend is genuinely stuck.
Unscrew the blade base and swap it for the drinking lid. Twist the lid on the same way. The cup is now a bottle you can carry.
Rinse the blade base and cup within 15 minutes of finishing. Add warm water and a drop of dish soap to the cup, twist the base back on, and run the blender for 10 seconds. Rinse clean and let both parts air dry.
The judgement call that separates a good blend from a bad one is knowing when to add liquid and when to shake. If the blade spins freely but nothing moves, you need more liquid. If the blade sounds strained and the cup won’t move, you need to shake. Adding liquid to a stalled thick blend makes it watery. Shaking a thin blend does nothing.
Matching the Method to Your Ingredients
Different ingredients need different handling. The table below covers what most people actually blend.
| What you’re blending | What to do | What it takes | What to watch for |
|---|---|---|---|
| Soft fruit and yogurt | Liquid first, then fruit, one 40-second run | About 1 minute total | Don’t overfill past the line |
| Frozen berries | Liquid first, berries on top, two 20-second bursts | About 1 minute | Shake between bursts |
| Ice cubes | Small cubes only, plenty of liquid, 20-second bursts | 1 to 2 minutes | Large cubes stall the blade |
| Leafy greens | Chop first, pack loosely, blend with liquid | About 1 minute | Whole leaves wrap the blade |
| Protein powder | Liquid first, powder last, 30-second run | About 45 seconds | Powder clumps if added first |
| Nut butter or dates | Soften first, add liquid, blend in bursts | 2 to 3 minutes | Sticky foods need scraping |
| Thick smoothie bowls | Less liquid, scrape sides twice | 2 to 3 minutes | Motor strains if too thick |
What Experienced Users Do Differently
They load the cup in the right order
Liquid goes in first, every time. Soft items follow, then hard items sit on top near the lid. This order keeps the hardest items away from the blade until the softer food and liquid have broken down. Load it the other way and the blade sits in a pocket of air, spinning without cutting anything. It’s the fastest way to burn out a motor on a small blender.
They work in short bursts, not one long run
A single 60-second press heats the motor more than three 20-second bursts with shakes between. The pause lets ingredients settle back onto the blade. It also gives the motor a rest. If your blender gets warm on the outside, you’ve been running it too long without a break. Let it cool for a few minutes before the next burst.
They stop before it looks perfect
A portable blender won’t make the texture of a $400 countertop machine. Chasing that texture means running the motor longer than it’s built for. Stop when the drink is smooth enough to sip through a straw. Small flecks of berry skin or seed are normal and not a sign of failure.
When Something Goes Wrong
Most problems with a portable blender come down to four causes: too little liquid, too much food, a loose base, or a low battery. Match what you’re seeing to the table below.
| What you notice | What it usually means | What to do first | How to stop it happening again |
|---|---|---|---|
| Button does nothing | Base not twisted on tight | Twist base until it stops | Check the seal every time |
| Blade spins, nothing moves | Not enough liquid | Add 2 to 3 ounces of liquid | Start with liquid first |
| Loud grinding sound | Hard item jammed the blade | Stop, shake, restart in bursts | Cut hard items smaller |
| Blend stops mid-run | Battery ran low | Charge until light is steady | Charge before tough blends |
| Liquid leaks from base | Seal misaligned or overfilled | Empty, reseat the seal, refill lower | Stay below the max line |
| Warm base after blending | Motor ran too long | Let it cool a few minutes | Use 20-second bursts |
| Chunks left at the bottom | Blend too short or too thick | Run one more 15-second burst | Add liquid before blending |
The Rules That Apply to These Blenders
Oster publishes the fill limits and care instructions for each model in its owner’s manual, and those limits are what keep the warranty valid. Going past the max fill line or running the motor continuously for minutes at a time can void coverage. Check the manual that came in your box or the Oster website for your exact model’s guidance.
Most of these blenders are built for short bursts, not long grinding sessions. If a recipe needs more than about a minute of continuous blending, run it in pulses and give the motor a rest between them. Overheating is the most common way people damage a motor that was working fine.
The USB charging port and battery are sealed units. Don’t open the base housing or try to replace the battery yourself. That work belongs with Oster support or a qualified repair shop. A damaged lithium battery can swell, overheat, or catch fire, and it isn’t a home repair.
If you’re outside the US, the charging plug and voltage rules differ. Use the adapter Oster ships with your region and check the manual for the voltage your model accepts before plugging it into a wall outlet.
One more thing worth knowing: the warranty covers defects, not wear. A dull blade or a cracked jar from dropping it’s on you, and replacement parts are sold separately. Register your blender when you buy it, keep the receipt, and you’ll have far less trouble if something does fail early.
What This Really Costs You
The blender itself is a one-time cost, and prices vary by model and by where you buy. Check the Oster site or the retailer’s current listing for today’s number rather than trusting a figure from an older review.
The ongoing cost is mostly your time. A full charge takes roughly 2 to 4 hours depending on your model, and one charge gives you several blends. That means charging overnight if you use it daily.
Replacement parts are the other cost. Cups, lids, and blade bases wear out or get lost, and Oster sells them separately for some models. Check whether your model has parts available before you buy, because a blender with no replacement cup becomes useless the day the original cracks.
Fresh fruit and yogurt cost more than a bottled smoothie per serving in most cases. If cost is your main reason for blending at home, compare your grocery total against what you’d pay ready-made over a month.
Keeping It Working
Rinse the cup and blade base within 15 minutes of every use. Dried fruit and protein powder set like cement and take real scrubbing to remove later. A 10-second blend with warm water and a drop of soap handles most of it.
Let both parts air dry fully before you twist them back together. Trapped moisture between the cup threads and the base seal is what causes a musty smell after a few weeks.
Watch for three signs that your blender needs attention: the battery holds less charge than it used to, the blade feels loose or wobbly when you touch it, or the seal looks cracked or stretched. A loose blade or a worn seal means a replacement part, not a repair. Order it from Oster directly so it matches your model.
Store the blender with the cup and base separate, not screwed together. That keeps the seal from compressing over months of sitting in a cabinet.
When a Portable Blender Isn’t the Right Tool
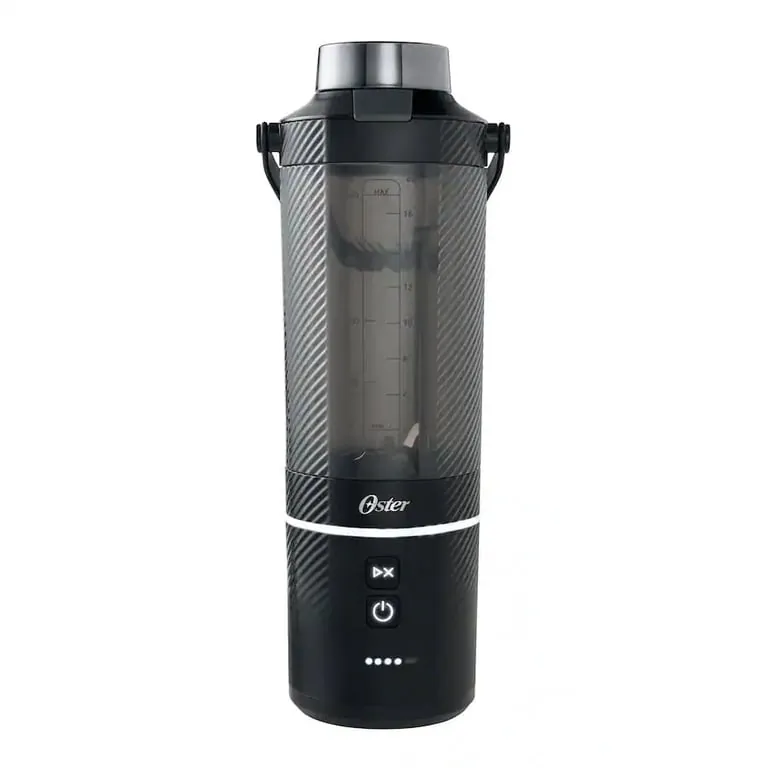
A battery blender is the wrong choice if you’re blending for more than one person at a time. A 16 to 20 ounce cup makes one serving. For a family of four, you’d run it four times, and that’s slower than a countertop machine.
Skip it if you mainly blend ice or frozen blocks. Small portable motors aren’t built for crushing large ice cubes, and doing it repeatedly shortens the motor’s life. A countertop blender with a glass jar handles ice properly.
Don’t rely on it for hot liquids. Hot liquid gives off steam that can force the lid off and scald you. Let hot soup cool first, or use a blender designed for hot food. If your blender shows any sign of a swollen battery, a burning smell, or a base that’s too hot to touch, stop using it and contact Oster support. Battery problems aren’t a do-it-yourself fix.
Frequently asked questions
How long does an Oster portable blender take to charge?
About 2 to 4 hours from empty, depending on your model and the adapter you use. A higher-output USB adapter charges faster than a laptop port. The indicator light stops blinking and stays steady when it’s full. Check your manual for your model’s exact time.
Can you put ice in an Oster portable blender?
Yes, but use small cubes and plenty of liquid. Large cubes can jam the blade and stall the motor. Run it in 20-second bursts with shakes between, not one long press. If the blade stops moving, release the button and shake the cup.
Why does my Oster portable blender stop working?
The most common cause is a low battery. Charge it until the light is steady and try again. If it still won’t run, check that the blade base is twisted on tight, because the safety lock cuts power when it isn’t fully seated.
Is it safe to blend hot liquids in a portable blender?
No. Sealed cups trap steam, and pressure builds until the lid pops off. Let hot food cool to room temperature first, or use a blender built for hot liquids. Hot contents can also warp the cup and damage the seal.
How much can you put in an Oster portable blender?
Fill to the max line printed on the cup, and leave about 1 inch of space at the top. Going past the line is the main reason blends stall or leak. The spinning contents climb the walls and foam up, so a full cup overflows.
What happens if you overfill a portable blender?
The blade can’t pull ingredients down, so it spins without cutting and the motor strains. Liquid may also push past the seal and leak. If it happens, pour some out, reseat the base, and restart in short bursts.
Does it matter what order you add ingredients?
Yes. Liquid goes in first, then soft items, then hard items on top near the lid. This order lets the blade work through the liquid and soft food before it reaches the hard items. Reverse it and the hard items sit against the blade first, so it stalls instead of cutting.
How often should you clean a portable blender?
Rinse the cup and blade base right after every use, ideally within 15 minutes. Run a 10-second blend with warm water and a drop of soap, then rinse and air dry. Waiting lets residue dry hard and makes cleaning much harder.
Conclusion
Start by charging the blender fully and making one simple drink with liquid, banana, and a few berries. You’ll get a smooth result in under a minute, and the steady indicator light plus an even texture tells you it worked. If the base gets hot, the battery swells, or you smell burning, stop and contact Oster support instead of pushing on.