How To Use An Oster Hand Blender: Steps and Tips
To use an Oster hand blender, attach the blending shaft to the motor body until it clicks, plug in, lower the shaft into the food, and press the button. Keep the blade fully covered and the shaft tilted slightly. Blend in short bursts of 5 to 10 seconds, not one long press.
Three things change what that looks like for you. The model decides which buttons you have and whether a whisk or chopper comes in the box. What you’re blending decides the speed and the container. And how much you’re making decides whether a tall cup or a deep pot is the right vessel.
Who this page is for
Someone who just unboxed a new Oster hand blender and wants to make soup tonight is the main reader here. You’ve got the box open, the parts on the counter, and no clear idea which piece goes where. What you need is the order of assembly, the right speed, and the moment to stop. You don’t need a recipe book.
A second reader has owned one for a year and uses it only for smoothies. You’re wondering why it splatters, why the motor smells hot, or why the shaft won’t come off for cleaning. You need troubleshooting more than basics, and the later sections here cover that.
A third reader is cooking for a household and wants to know if this tool can replace a countertop blender. It can for some jobs and not others, and the variations table below shows which.
This page assumes your blender is a standard corded Oster hand blender with a detachable shaft. If yours is cordless, or if it’s a different brand, the steps are close but the button layout and the charging rules differ. Read your own manual for those. If you’re shopping and haven’t bought yet, this page won’t help you choose a model.
What decides how well it works
The single biggest factor is whether the blade is fully submerged before you press anything. A hand blender pulled up too high throws food up the sides of the pot and across your counter. The fix is simple: keep the bell-shaped guard at least an inch under the surface. If you’re blending in a shallow bowl, tilt the bowl or switch to a deeper one.
Speed matters more than people expect. Start on the low setting and move up. High speed on a thick mixture like mashed potato or cold butter pulls the food up around the shaft and stalls the motor. Low speed with a slow up-and-down motion gives you a smoother result in the same time.
The container shape decides how much you can do at once. A tall narrow beaker keeps the food around the blade. A wide pot lets it spread out and stay chunky. For a smooth soup in a wide pot, you’ll get there faster by moving the blender in slow circles rather than holding it in one spot.
The amount you’re blending is the one people get wrong most often. Fill a beaker no more than two-thirds full. Hot liquid expands and foams, and an overfilled beaker spills over the top before you’ve finished. For soup in a pot, blend in batches rather than filling the pot to the rim.
Finally, the food itself sets the limit. Soft cooked vegetables, fruit, and thin batters blend in seconds. Hard raw items like ice cubes, whole nuts, and frozen fruit need the chopper attachment, not the blending shaft. Your manual lists what the shaft is rated for.
Step-by-step: blending with an Oster hand blender
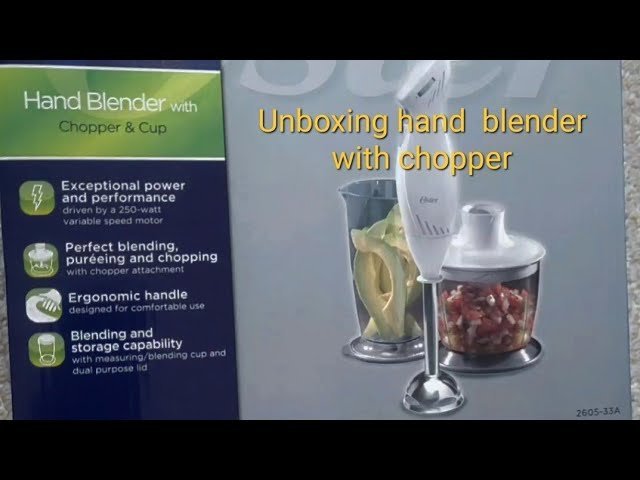
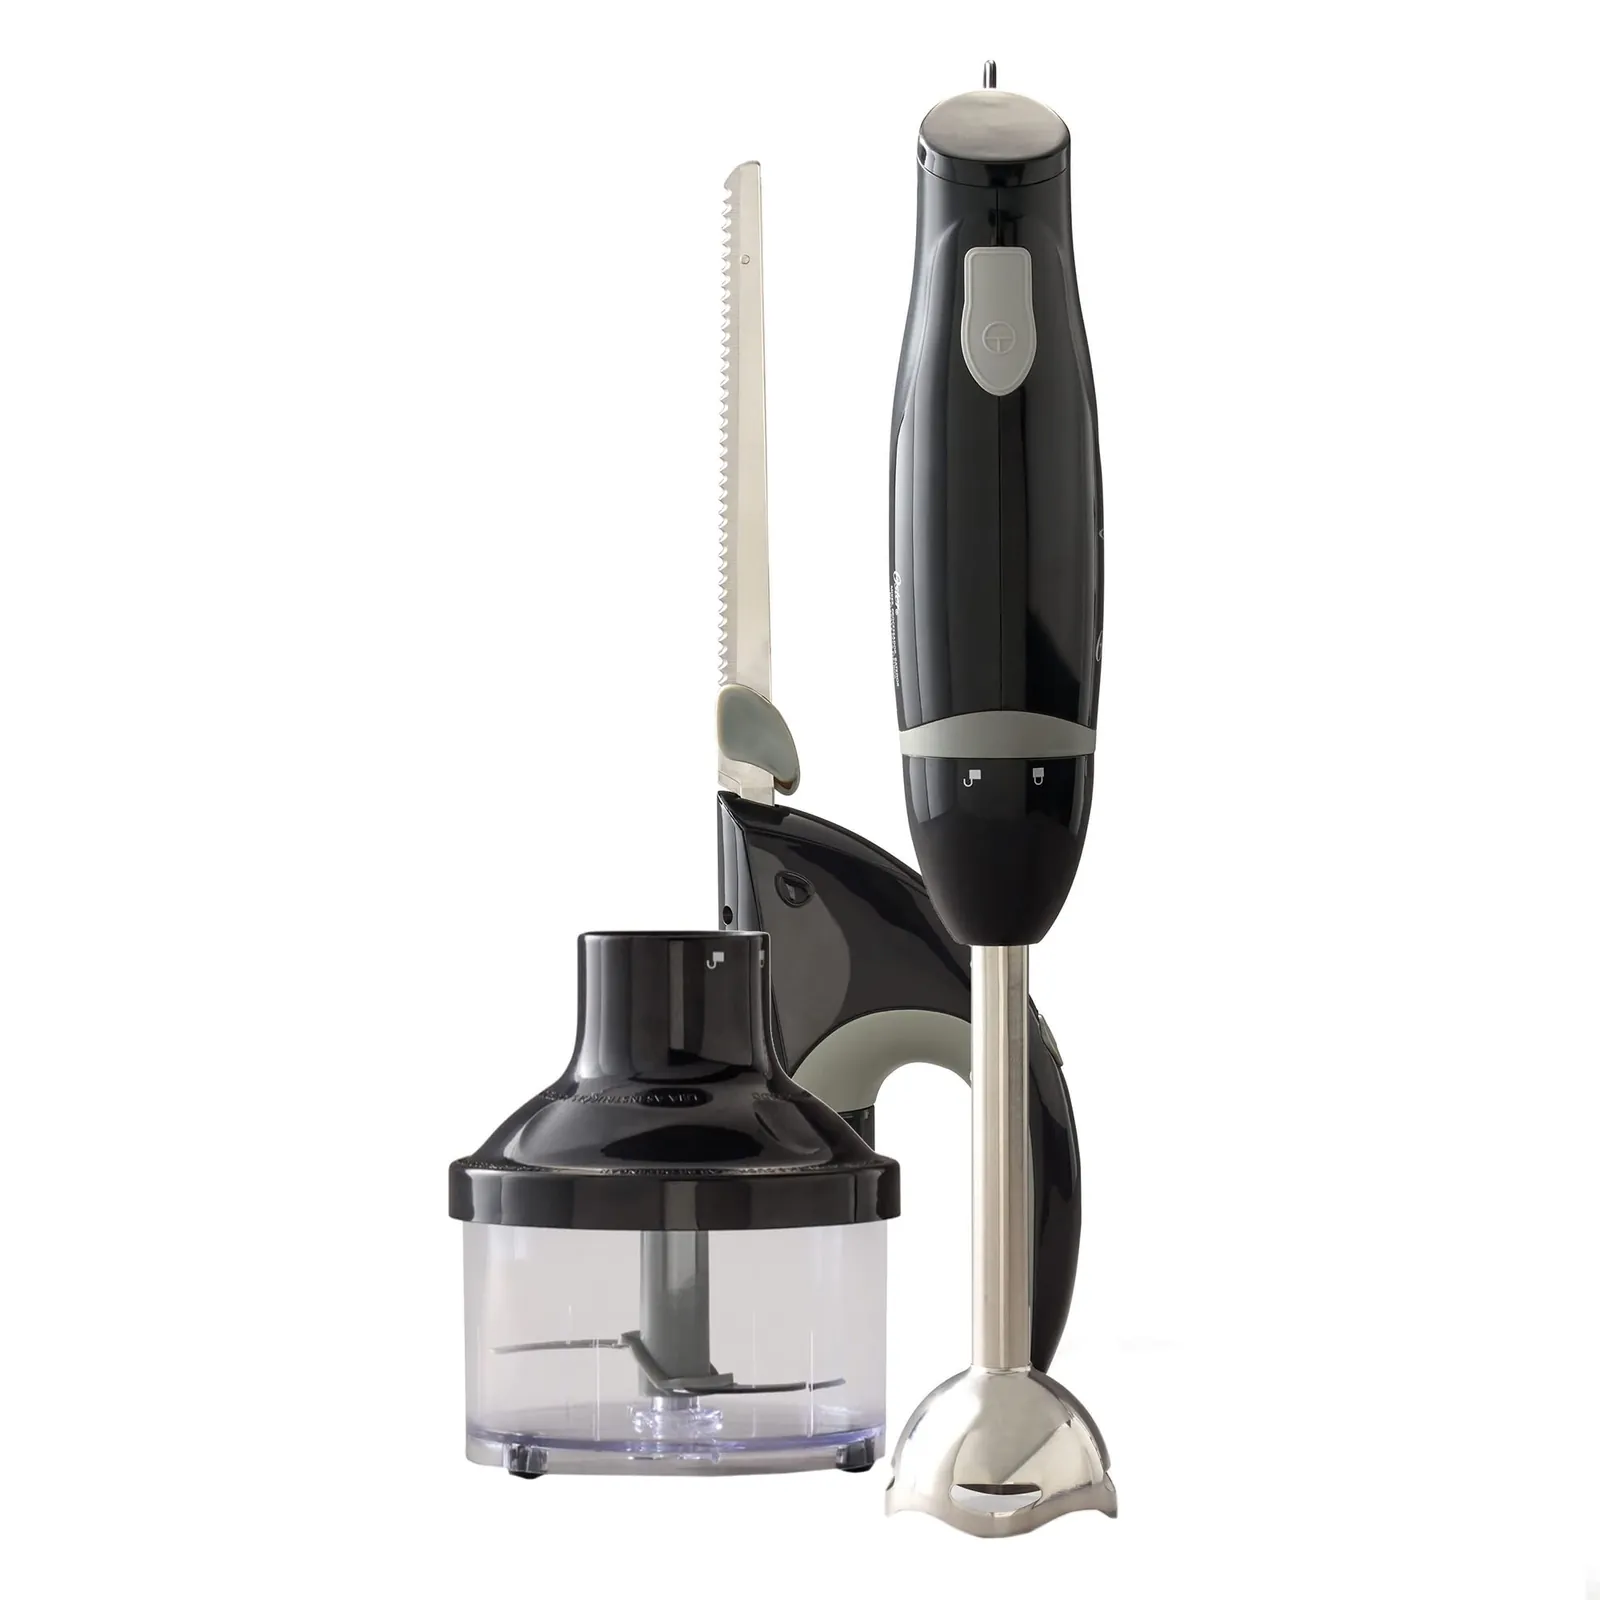
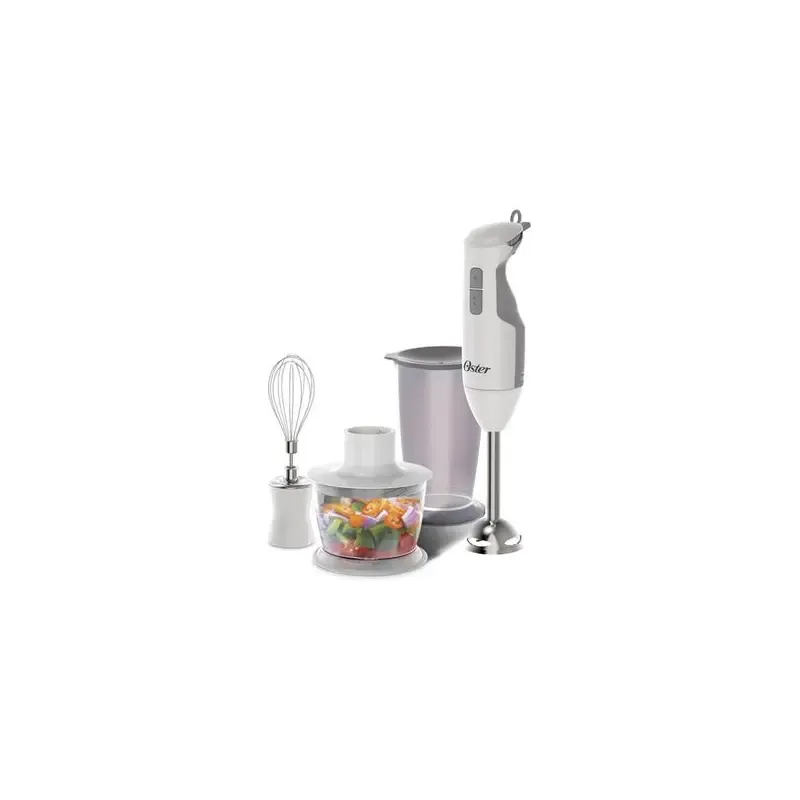
- Check the parts against your manual. You should have a motor body, a blending shaft with a fixed blade, and often a beaker, whisk, or chopper. If a piece is missing, stop and contact Oster before using it.
- Attach the shaft to the motor body. Line up the marks and push until it clicks or twists into place. Tug it gently — if it moves, it isn’t locked and it can come off mid-blend.
- Put the food in the right container. Use the beaker that came in the box, or a deep pot. Fill it no more than two-thirds full so there’s room for the food to move.
- Cut food into roughly 1-inch pieces first. Smaller pieces blend faster and put less strain on the motor. This matters most for root vegetables and any firm fruit.
- Plug in and keep the cord away from the pot. Run the cord back from the work surface, not across the stove. Never let it sit near a hot burner or in a puddle.
- Lower the shaft in before pressing any button. The bell guard should be at least 1 inch under the surface. Pressing the button in the air just sprays whatever’s on the blade.
- Press and hold for 5 to 10 seconds, then release. Short bursts give you control. For a long blend, release every 10 seconds and let the motor rest for a few seconds between bursts.
- Move the blender slowly up and down and in circles. This pulls food into the blade. Holding it still leaves chunks at the bottom while the top turns to puree.
- Check the texture and stop when it’s right. For soup, that’s when no pieces are left and the surface is even. Over-blending potatoes and other starchy foods turns them gluey, so stop early and stir.
- Unplug before you take the shaft off. Twist or press the release, then wash the shaft in warm soapy water. The motor body never goes in water — wipe it with a damp cloth only.
The judgement call that separates a good result from a rushed one is the moment you decide to stop. A blend that looks slightly chunky now will even out when you stir it. A blend you push 30 seconds longer to be safe is the one that turns soup grey or potatoes sticky. Stop at the texture you want, not at the texture you think you should want.
One limit worth naming: never put your hand, a spoon, or a spatula into the pot while the blade is running or still spinning down. Unplug first if you need to move food around. The blade is sharp and it doesn’t stop the instant you release the button.
Different foods, different handling
The same tool behaves differently depending on what’s in the container, so match your method to the job rather than using one setting for everything. The table below covers the cases most people run into.
| What you’re blending | What to do | What it takes | What to watch for |
|---|---|---|---|
| Hot soup in a pot | Blend in batches, shaft fully under | 30-60 seconds per batch | Steam burns; keep face back |
| Smoothie in a beaker | Fill two-thirds, start low, move up | 20-40 seconds | Overfilling spills over the top |
| Baby food | Cook soft first, blend smooth | 1-2 minutes | Check for lumps before serving |
| Whipped cream | Use the whisk, keep it cold | 1-2 minutes | Over-whipping turns it to butter |
| Chopped nuts or ice | Use the chopper, not the shaft | Short pulses only | Shaft blade isn’t rated for this |
| Pancake batter | Low speed, short bursts | 15-30 seconds | Over-mixing makes it tough |
| Mashed potato | Low speed, stop while lumpy | 20-30 seconds | High speed makes it gluey |
The rule behind the table: the shaft is for soft and liquid foods, the whisk is for anything you’re adding air to, and the chopper is for hard or dry items. Using the shaft on ice or nuts is the mistake that dulls the blade and strains the motor.
What experienced users do differently
They set up before they plug in
Everything is in place before the cord goes anywhere near the outlet. The container is the right size, the food is cut down, and the shaft is locked on. That’s the whole difference — no mid-blend scrambling for a bigger pot while the blade spins.
They also keep the beaker or pot on a folded towel. It stops the container sliding across the counter when the blade catches, which is the small thing that turns a smooth blend into a spill.
They work in bursts and listen to the motor
A steady, even sound means the motor is happy. A straining, dropping pitch means the mixture is too thick or too much is in the container. The answer is to stop, add a splash of liquid, and start again on low.
They also never run the motor for more than about a minute without a rest. The motor body will feel warm after use — that’s normal. If it smells hot or the housing is too hot to hold, stop and let it cool for 10 minutes before the next batch.
What they leave alone: they don’t scrape the blade with a knife or a finger to clean it. They unplug, remove the shaft, and let warm soapy water do the work.
What goes wrong, and what to do
Most problems with a hand blender come down to one of a handful of causes, and each has a fix you can try before you think about repair.
| What you notice | What it usually means | What to do first | How to stop it happening again |
|---|---|---|---|
| Food sprays up the sides | Shaft lifted above the surface | Lower it an inch deeper | Keep the guard fully submerged |
| Motor strains or stalls | Mixture too thick or too much | Stop, add liquid, blend less | Work in smaller batches |
| Motor smells hot | Running too long without rest | Stop and cool for 10 minutes | Blend in 10-second bursts |
| Shaft won’t click on | Not lined up, or food in the joint | Unplug, clean the joint, retry | Rinse the joint after each use |
| Blade won’t cut cleanly | Dull blade or hard food | Switch to the chopper | Keep ice and nuts out of the shaft |
| Liquid leaks from the shaft | Seal worn or shaft not locked | Check the lock, then the seal | Don’t overfill past two-thirds |
| Nothing happens when pressed | No power at the outlet | Check the outlet and the breaker | Test the outlet before you start |
If the blender still won’t run after you’ve checked the outlet and the shaft lock, stop there. Don’t open the motor body. Any repair inside the housing is a job for Oster service or a qualified technician, not a home fix.
The rules that apply
Hand blenders sold in the US fall under the electrical safety rules the U.S. Consumer Product Safety Commission enforces, and Oster’s own manual carries the warnings that matter day to day. The manual states the motor body must never be immersed in water or any other liquid, and that the blender shouldn’t be used by children or anyone who hasn’t read the instructions.
Your manual also lists which attachments are rated for which jobs. If a job isn’t in that list, the shaft isn’t designed for it — that’s the rule to follow, not what a video shows someone else doing.
Rules differ by country. In the UK and EU, the same class of appliance carries different plug and voltage requirements, and the manual for your region states them. Check the manual that came in your box, or the product page on Oster’s own site for your country, rather than following instructions written for another market.
One more limit: if your blender came with a damaged cord or plug, don’t use it. A frayed cord on a wet kitchen counter is a shock risk, and replacing it’s a job for a qualified technician or Oster service, not a DIY repair.
What it costs you
The blender itself is the smallest cost here. What adds up is the food you throw away while you learn the settings, and the time you spend cleaning when something spills. A batch of soup that goes over the counter costs you the soup plus 10 minutes of wiping.
Money-wise, the running cost is electricity, and a hand blender draws very little — it runs for seconds at a time, not hours. If you want a real figure for your model, the wattage is printed on the rating label on the motor body, and your electricity bill shows your rate per kilowatt-hour. Multiply the two and you’ll see it’s cents per use.
The bigger variable is replacement. Blades dull, seals wear, and shafts get dropped. What you pay for a replacement shaft or beaker depends on your model and where you buy it, and prices change — check Oster’s own site or the retailer for today’s number rather than trusting a figure written months ago.
What moves the cost down: cutting food smaller before blending, working in batches, and never running the shaft on ice or nuts. Each of those protects the blade and the motor, which is where the real money sits.
Keeping it right afterwards
Rinse the shaft under warm water as soon as you finish, before food dries in the blade housing. Dried-on food is what makes the joint stiff and the shaft hard to click back on next time.
For a deeper clean, unplug the blender, remove the shaft, and wash it in warm soapy water with a bottle brush. Most Oster shafts are top-rack dishwasher safe, but check your manual — some models aren’t, and the heat can warp the seal. The motor body gets a wipe with a damp cloth only, never a soak.
The sign it needs attention again is a change in sound or a wobble in the shaft. A blade that used to cut through soup in 20 seconds and now takes 40 is telling you it’s dull or the food is too thick. Store the blender with the shaft off, in a drawer or on a hook, so the cord isn’t bent sharply and the blade isn’t knocked.
If the shaft seal starts leaking liquid into the joint, stop using that shaft and order a replacement. A leaking seal lets liquid reach the motor, and that’s the point where a cheap part becomes an expensive repair.
When a hand blender is the wrong tool
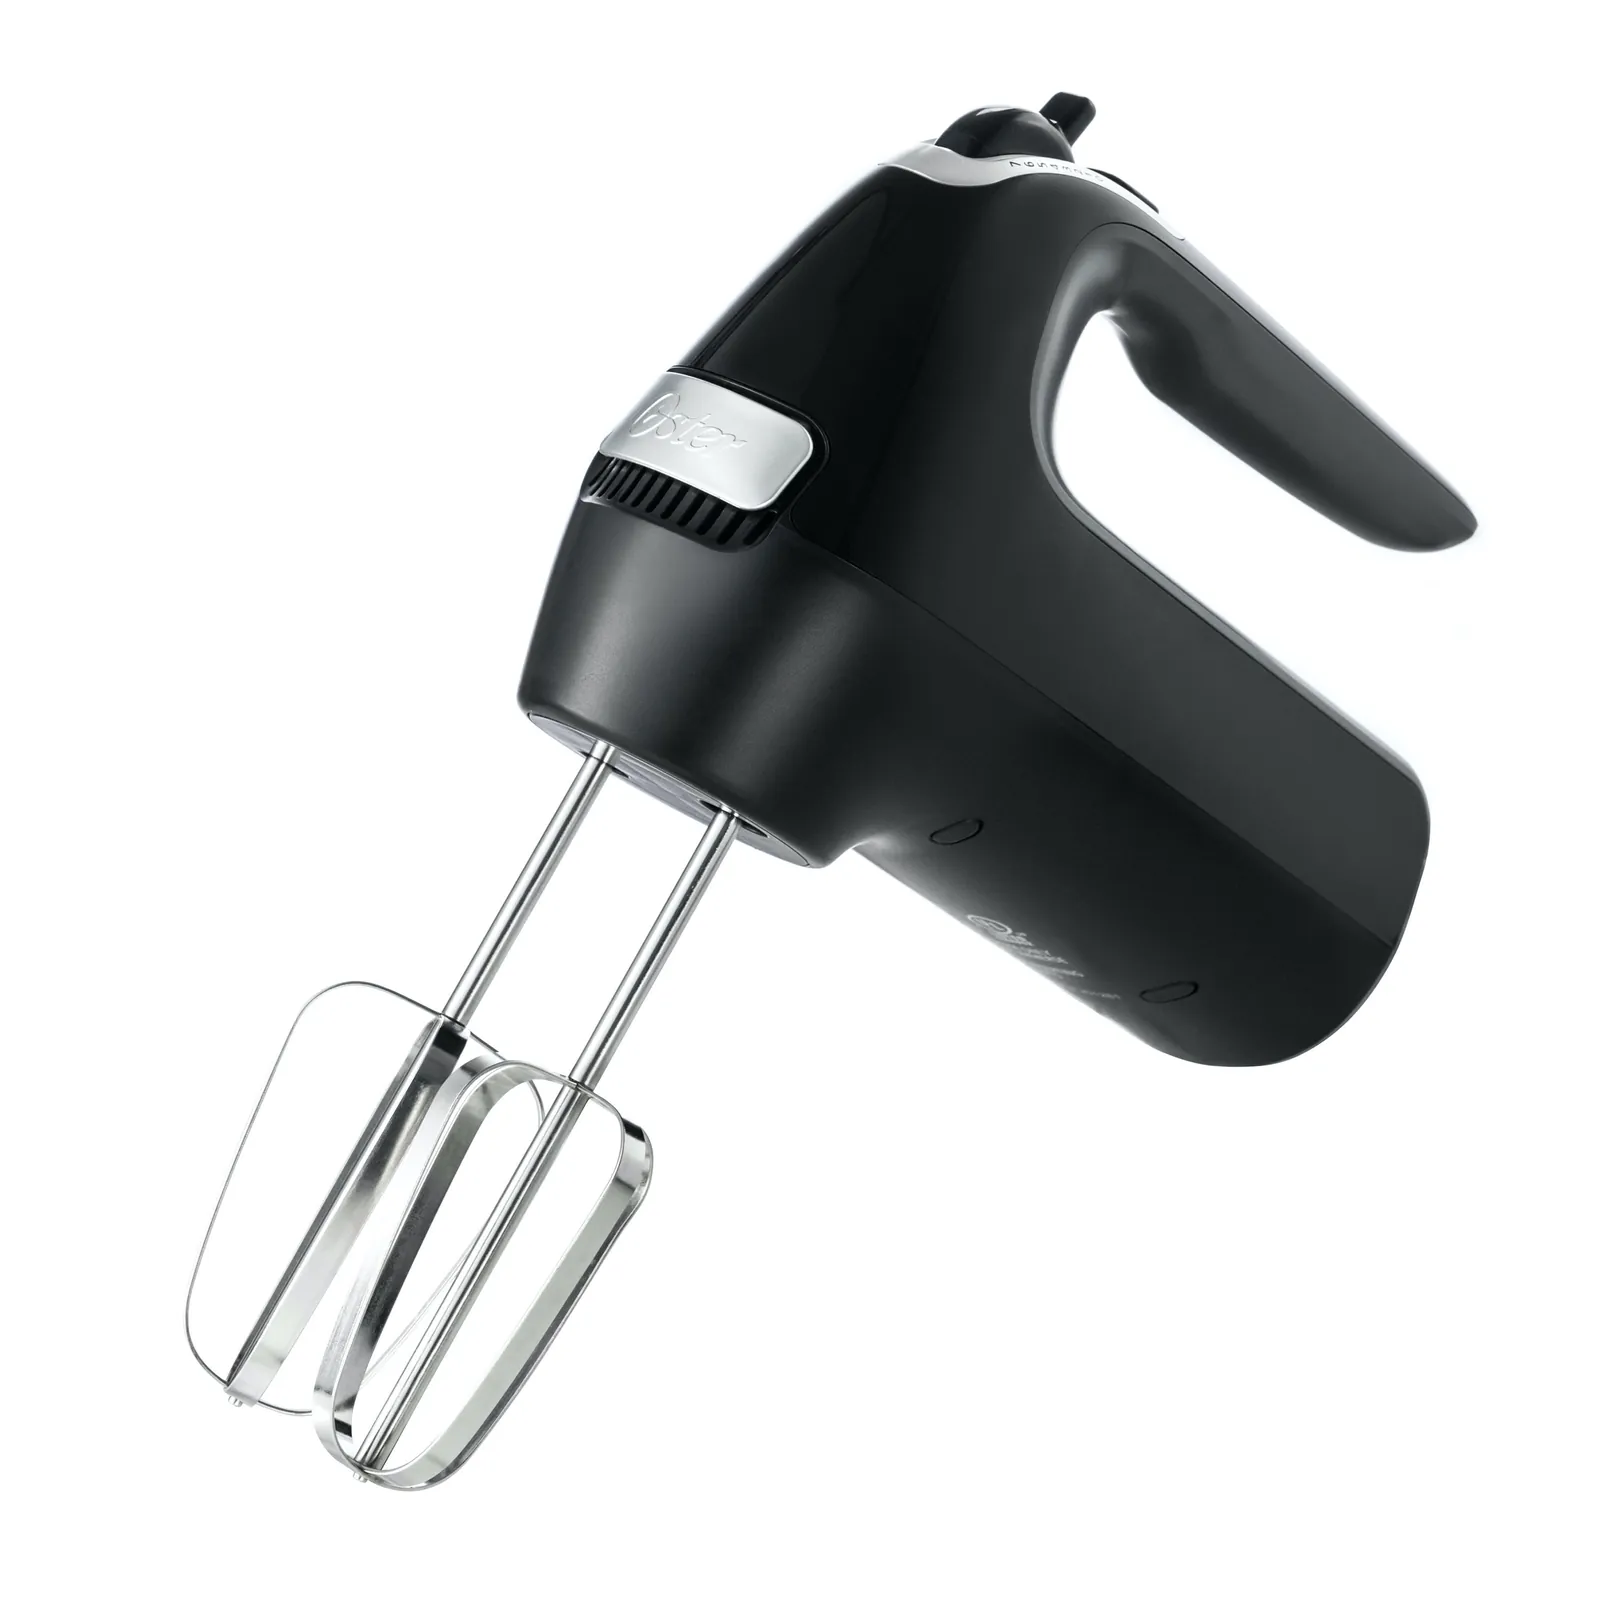
A hand blender is the wrong choice for large batches. If you’re blending more than about 4 cups of soup at once, a countertop blender does it in one go, with a lid, and without you standing over a hot pot. Use the countertop machine and keep the hand blender for small jobs.
It’s also wrong for anything hard and dry. Ice, whole nuts, coffee beans, and frozen fruit will dull the shaft blade or stall the motor. A food processor or a dedicated chopper handles those properly. If your Oster set came with a chopper attachment, that’s the piece for those jobs — the shaft isn’t.
And it’s wrong if the blender is damaged. A cracked shaft, a frayed cord, or a motor that sparks or trips the breaker isn’t a repair you should attempt at home. Contact Oster service or a qualified appliance technician. Anything inside the motor housing is a job for Oster service or a qualified technician, not a home fix.
Frequently asked questions
Can you put an Oster hand blender in the dishwasher?
The blending shaft usually can, on the top rack, but not all models. Check your manual’s cleaning section for your exact model. The motor body never goes in the dishwasher or in water — wipe it with a damp cloth only. If your manual doesn’t say the shaft is dishwasher safe, hand wash it.
Why is my Oster hand blender not turning on?
Check the outlet first with another appliance, then the breaker. Next, make sure the shaft is clicked fully into the motor body — most models won’t run unless it’s locked. If the outlet works and the shaft is locked and it still won’t run, stop and contact Oster service rather than opening the housing.
How long can you run a hand blender without stopping?
Run it in bursts of about 10 seconds, with a few seconds of rest between them, and give the motor a longer rest after about a minute of total use. That keeps the motor from overheating. If the housing feels too hot to hold or you smell hot plastic, stop and let it cool for 10 minutes.
Is it safe to blend hot soup with a hand blender?
Yes, if you keep the shaft fully submerged and your face back from the steam. Hot liquid can spit when the blade breaks the surface. Blend in batches, fill the pot no more than two-thirds, and never lean over the pot while the blade is running. Let the soup cool slightly first if you can.
What’s the difference between the blending shaft and the chopper?
The shaft is for soft and liquid foods — soup, smoothies, batter, baby food. The chopper is for hard or dry items like nuts, ice, and garlic. Using the shaft on hard foods dulls the blade and strains the motor. If your set came with both, match the attachment to the food before you start.
How do you stop a hand blender from splashing?
Keep the bell guard at least 1 inch under the surface before you press the button, and start on the low speed. Splashing almost always means the blade is too close to the top of the liquid. Use a deeper container or blend a smaller batch if the level keeps dropping below the guard.
Does the wattage matter for what you can blend?
Higher wattage handles thicker mixtures with less strain, but the attachment matters more than the number. Even a high-wattage motor shouldn’t run the shaft on ice or whole nuts. Your model’s wattage is printed on the rating label on the motor body — check that label rather than a listing online.
What happens if you blend with the shaft not fully locked on?
The shaft can come free mid-blend, and the blade keeps spinning. That’s a cut risk and a spill. Always tug the shaft gently after attaching it — if it moves, it isn’t locked. Unplug before you reattach it, and never press the button while you’re checking the joint.
Start with one batch of soup
Pick one easy job first — a pot of cooked vegetables and stock — and blend it in 10-second bursts until it’s smooth. You’ll get a feel for the speed and the right depth in about a minute, and you’ll see the texture change as you go. If the motor starts straining, smells hot, or the shaft won’t lock, stop and contact Oster service instead of pushing on.