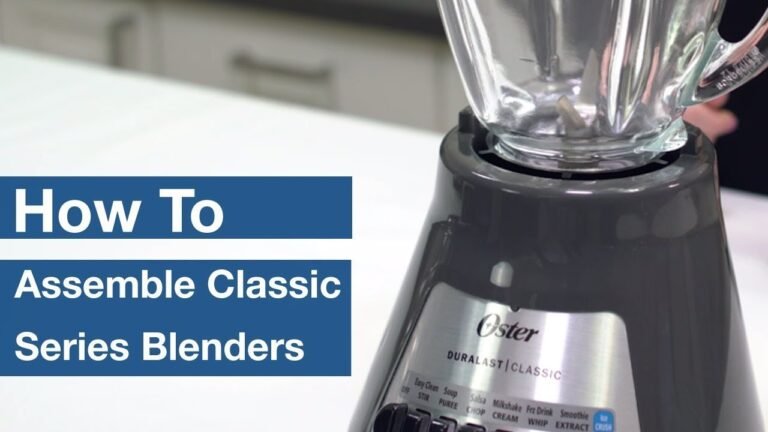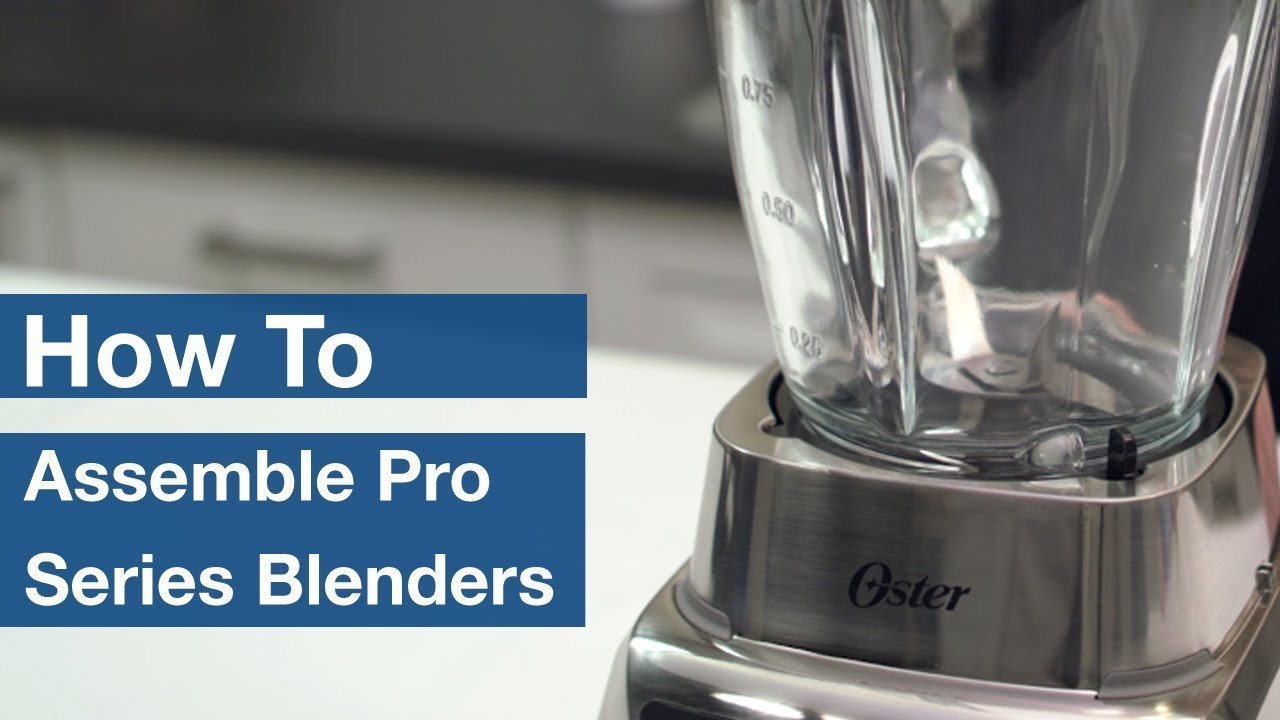
How To Put An Oster Blender Back Together
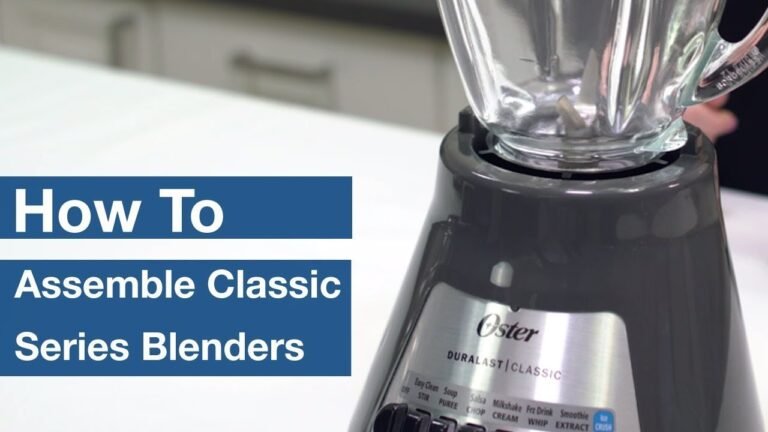
Reassembling an Oster blender comes down to matching the right parts to the right stack order: base first, then the blade assembly, then the jar, then the lid and filler cap. Most Oster blenders sold in the US follow one of three designs — the classic push-on jar (also called a friction-fit or “beehive” model), the threaded collar model, and the newer twist-lock or Pro/Blender One style — and each one goes back together slightly differently. The good news is that none of them require tools, and once you know which design you own, reassembly takes under a minute.
Key Takeaways
- Identify your model type first: push-on, threaded collar, or twist-lock. The assembly order changes depending on which one you have.
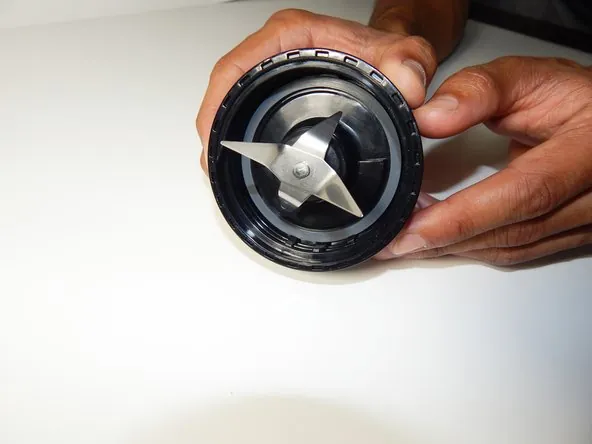
- The blade assembly always goes on the bottom of the jar, never inside the base.
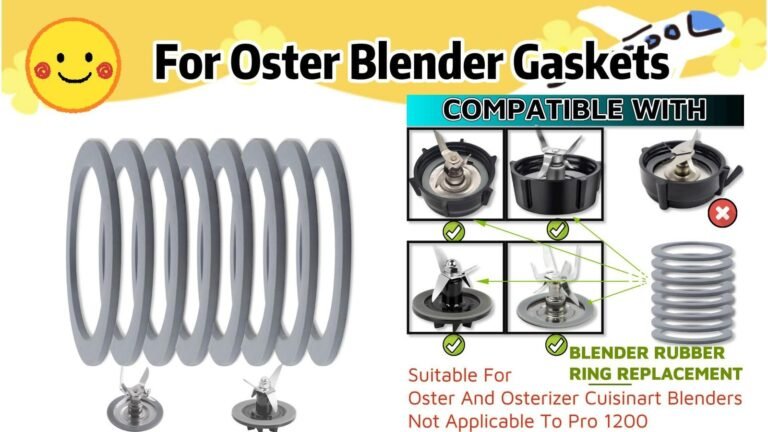
- The rubber gasket (sealing ring) sits between the blade base and the jar rim — a missing or flipped gasket is the number one cause of leaks.
- Never run the motor with the jar off. The interlock tab on the jar or collar is what tells the base it’s safe to spin.
- If the jar won’t seat, check for a misaligned gasket, a bent drive stud, or debris in the coupling — don’t force it.
- Replacement parts are widely available from Oster directly, plus retailers like Walmart, Target, and Amazon, typically for $8–$25 depending on the part.
Which Oster Blender Do You Have?
Before you assemble anything, figure out which generation you’re working with. Oster has sold essentially the same motor base for decades under names like Osterizer, Oster Classic Series, Oster Beehive, and Oster Pro 1200. The difference that matters for reassembly is how the jar attaches to the base.
| Model Type | How It Attaches | Common Names | Jar Type |
|---|---|---|---|
| Push-on / friction fit | Jar + blade base press straight down onto base | Osterizer, Beehive, Classic Series | Glass or plastic, no collar |
| Threaded collar | A screw-on collar locks the blade into the jar, then jar sits on base | Oster 4093, 4094, many 5-cup models | Glass jar with threaded bottom |
| Twist-lock / Pro | Jar twists clockwise into a locking ring on the base | Oster Pro 1200, Blender One, Master Series | Plastic or Tritan jar with locking tabs |
If you aren’t sure, look at the bottom of your jar. A threaded collar model has visible screw threads. A push-on model has a flat or slightly tapered rim. A twist-lock model has two or more molded tabs or lugs that engage slots in the base.
The Three Main Assembly Methods
Method 1: Push-On (Friction-Fit) Models
This is the classic Osterizer design and the one most people mean when they say “old Oster blender.”
- Set the motor base on a flat, dry counter. Make sure the drive stud (the small metal or plastic nub in the center) is clean and spins freely by hand.
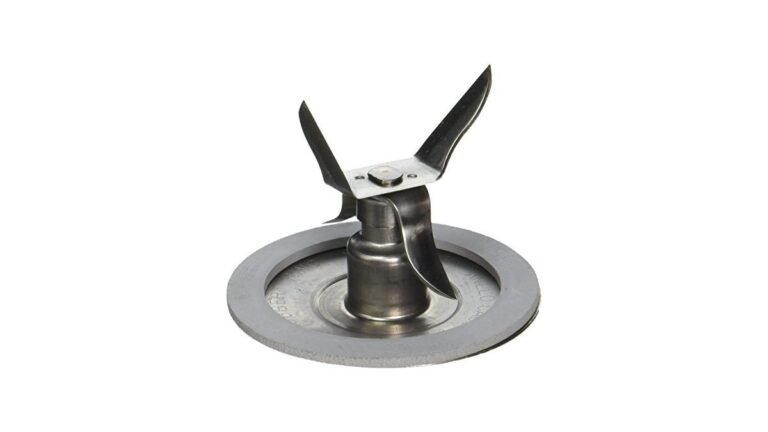
- Place the gasket into the groove on the underside of the blade assembly. It should sit flat, not twisted.
- Screw or press the blade assembly onto the bottom of the jar. On most push-on models, the blade base simply threads onto the jar. Turn counterclockwise until snug — hand-tight only.
- Invert the jar so the blade base points down.
- Lower the jar straight down onto the base. The jar’s bottom rim rests on the base’s rubber cushion, and the blade’s drive socket engages the drive stud.
- Press down firmly until the jar seats. You should feel it settle, not grind.
- Add the lid, then the filler cap in the center hole.
Pro Tip: If the jar wobbles after seating, the gasket is probably pinched. Lift the jar, reseat the gasket, and try again. A wobble will wear out the drive stud fast.
Method 2: Threaded Collar Models
These are the ones where the blade is held in by a separate plastic or metal ring.
- Lay the jar upside down on a towel so the opening faces up.
- Drop the gasket onto the jar rim. It should sit inside the lip, not on top of it.
- Place the blade assembly on top of the gasket, cutting blades facing down into the jar.
- Thread the collar over the blade base and onto the jar. Turn clockwise until it stops. Don’t overtighten — plastic collars crack.
- Flip the jar upright and check that the blade spins freely when you turn it by hand.
- Set the jar onto the base. The collar’s bottom edge rests on the base, and the blade’s drive coupling drops onto the motor stud.
- Twist or press depending on your model until it locks. Most threaded-collar Osters just sit on the base without locking.
- Add lid and filler cap.
Warning: A cracked collar is the most common failure on these models. If yours has a hairline crack, replace it before use — a collar that lets go mid-blend sends the jar off the base.
Method 3: Twist-Lock and Pro Models
Newer Oster Pro and Blender One models use a locking ring built into the base.
- Confirm the locking ring on the base is in the unlocked position. On most models this means the arrow on the ring points to the open padlock icon.
- Assemble the jar: gasket first, then blade assembly, then screw the blade base onto the jar (these models usually have an integrated blade base rather than a separate collar).
- Lower the jar onto the base so the tabs on the jar bottom line up with the slots in the locking ring.
- Twist the jar clockwise until it stops. You should feel and hear a click on most models.
- Tug gently upward on the jar to confirm it’s locked. If it lifts off, it isn’t seated.
- Add the lid, pressing down evenly around the rim, then the filler cap.
Step-by-Step: Full Reassembly From a Deep Clean
If you fully disassembled the blender for cleaning — or you just bought one at a thrift store in a bag of parts — work in this order.
| Step | Part | What To Check |
|---|---|---|
| 1 | Motor base | Cord intact, no cracks, drive stud spins freely |
| 2 | Rubber cushion / base ring | Present, not hardened or torn |
| 3 | Gasket (sealing ring) | Not stretched, not cracked, seated flat in groove |
| 4 | Blade assembly | Blades tight, no wobble, bearing spins smoothly |
| 5 | Jar | No chips at the rim, no cracks near the handle |
| 6 | Collar (if applicable) | Threads clean, no cracks |
| 7 | Lid | Fits snugly, no warping |
| 8 | Filler cap | Sits flush in the lid opening |
Work top-down or bottom-up, but never skip the gasket check. It takes ten seconds and prevents a countertop full of smoothie.
Where the Gasket Actually Goes
This trips up almost everyone. The gasket — a thin rubber or silicone ring — goes between the blade assembly and the jar rim, not between the blade and the base, and not inside the motor base.
On most Oster models, the gasket sits in a groove molded into the underside of the blade base. You stretch it slightly to seat it, and it should lie flat with no twists.
If your blender leaks from the bottom of the jar even when the blade is tight, the gasket is either:
- Missing entirely
- Flipped (some gaskets are directional)
- Stretched from years of hot washes
- Cracked or hardened
Replacement gaskets are cheap — usually $5–$10 for a two-pack from Oster or a retailer like Walmart or Amazon. Buy two so you have a spare.
Common Reassembly Mistakes
- Putting the blade in the base first. The blade belongs on the jar, always. Dropping it into the base won’t work and can damage the drive stud.
- Forgetting the gasket. Guaranteed leak.
- Overtightening the collar. Hand-tight is enough. Cracks come from gorilla torque.
- Forcing a jar that won’t seat. Stop and inspect. Something is misaligned.
- Running the motor with no jar. On most Oster models the jar’s presence is what depresses the interlock, but on older push-on models the motor will spin freely — and the exposed drive stud is a hazard.
- Using the wrong lid. Lids are model-specific. A lid from a 5-cup jar won’t fit a 6-cup jar.
- Skipping the filler cap. Blending without it sends contents out the top.
Pro Tip: Photograph your blender fully assembled before you take it apart next time. Reassembly goes twice as fast with a reference photo on your phone.
Troubleshooting: When the Oster Blender Will Not Go Back Together
| Symptom | Likely Cause | Fix |
|---|---|---|
| Jar won’t seat on base | Gasket misaligned or blade base not fully threaded | Remove jar, reseat gasket, rethread blade base |
| Jar seats but blade won’t spin | Drive stud stripped or blade coupling worn | Inspect both; replace the worn part |
| Leaks from bottom of jar | Missing, flipped, or cracked gasket | Replace gasket |
| Leaks from lid | Lid warped or filler cap missing | Replace lid or cap |
| Motor runs but blade doesn’t turn | Blade assembly not engaged with drive stud | Lift jar and reseat |
| Motor won’t start | Interlock not depressed (twist-lock models) | Twist jar clockwise until it clicks |
| Jar wobbles during blending | Gasket pinched or jar rim chipped | Reseat gasket; replace jar if chipped |
| Collar won’t thread | Cross-threaded or cracked | Back off, restart by hand; replace if cracked |
If the blade assembly itself is seized — you can’t turn the blades by hand — don’t force it. The bearing is shot. Replace the blade assembly. They run about $12–$20 for most Oster models.
Parts You Might Need to Replace
| Part | Typical Price | Where To Buy |
|---|---|---|
| Gasket / sealing ring | $5–$10 (2-pack) | Oster.com, Walmart, Amazon |
| Blade assembly | $12–$20 | Oster.com, Amazon, Walmart |
| Threaded collar | $8–$15 | Oster.com, Amazon |
| Replacement jar (glass) | $20–$35 | Oster.com, Amazon, Target |
| Replacement jar (plastic/Tritan) | $15–$25 | Oster.com, Amazon |
| Lid + filler cap set | $10–$18 | Oster.com, Amazon |
| Rubber base cushion | $6–$12 | Oster.com, Amazon |
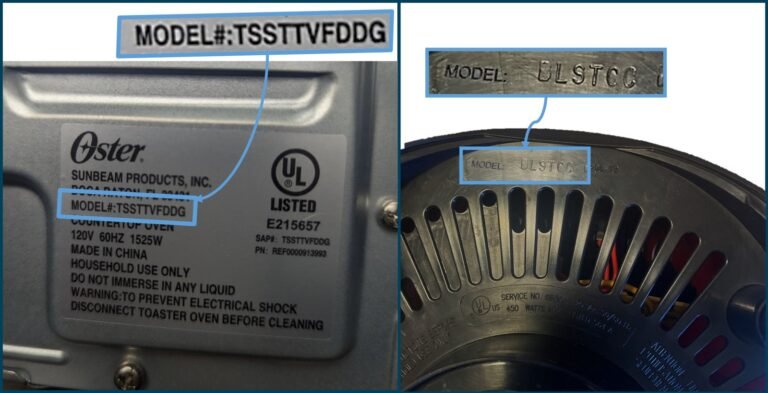
Prices vary by model and are typical US retail ranges, not quotes. Oster’s own site is the most reliable source for exact part numbers — search your model number, which is usually printed on the bottom of the motor base.
Reassembly After Specific Situations
After Replacing the Blade Assembly
The new blade usually ships with a gasket already seated. Confirm it’s there, thread the blade base onto the jar, then seat the jar on the base as normal. Run a test blend with water only for five seconds before committing to a real recipe.
After Replacing the Jar
New jars sometimes have a slightly tighter rim. Thread the blade base on by hand, and if it binds, back off a quarter turn and restart. Don’t use pliers.
After a Full Disassembly for Moving
Pack the base, jar, blade assembly, gasket, collar, lid, and filler cap separately, then reassemble in the order listed above. The gasket is the part most often lost in a move — tape it to the blade assembly.
After Buying a Used Oster at a Thrift Store
Assume the gasket is missing or dead. Buy a replacement before you try to blend anything. Also check the drive stud for wear — a rounded-off stud means the base is near the end of its life.
How To Test It Safely
Once assembled, don’t go straight to frozen fruit. Run this sequence:
- Fill the jar halfway with water.
- Seat the jar and lid.
- Pulse twice for one second each.
- Check for leaks at the blade base and lid.
- Run continuously for 10 seconds.
- Check again for leaks and for wobble.
- Empty, dry, and proceed with real ingredients.
If it passes all seven steps, you’re done. If it leaks, go back to the gasket. If it wobbles, go back to the seating.
Warning: Never put your hand into the jar to check the blade while the blender is plugged in. Unplug it first, every time.
Cleaning Before You Reassemble
A blender that goes back together dirty will taste like last week’s salsa. Before reassembly:
- Wash the jar, lid, filler cap, gasket, and blade assembly in warm soapy water. The blade assembly is dishwasher-safe on most Oster models — check your manual.
- Wipe the motor base with a damp cloth only. Never submerge it.
- Clean the drive stud with a dry toothbrush to remove dried residue.
- Dry everything fully before reassembly, especially the gasket groove. Moisture there encourages mold.
Frequently Asked Questions
Does the gasket go above or below the blade?
The gasket sits between the blade assembly and the jar rim. On most Oster models it nests in a groove on the underside of the blade base, so when you flip the blade over, the gasket is the outermost ring. If you can see the gasket from inside the jar, it’s in the wrong place.
Why will my Oster blender jar not lock onto the base?
On twist-lock models, the locking ring on the base must be in the open position before the jar goes on. On push-on models, a misaligned gasket or an incompletely threaded blade base prevents seating. Lift the jar, reseat the gasket, rethread the blade base by hand, and try again.
Can I run my Oster blender without the jar?
No. Even on older models where the motor will spin, running it without the jar exposes the drive stud and risks injury. Always have the jar, blade, and lid in place before pressing any button.
How tight should the blade collar be?
Hand-tight. Turn it clockwise until it stops with light pressure, then stop. Overtightening cracks plastic collars and flattens gaskets, which causes leaks. If it leaks when hand-tight, the gasket is the problem, not the torque.
What if I lost the gasket?
Buy a replacement. Oster sells gaskets by model number on their website, and generic two-packs are widely available at Walmart and Amazon for under $10. Don’t substitute plastic wrap, silicone tape, or anything else — it won’t seal and may jam the blade.
How do I know which model I have?
Look at the bottom of the motor base for a model number, usually on a sticker or molded into the plastic. Then check the bottom of the jar: threads mean threaded collar, tabs mean twist-lock, and a plain rim means push-on.
One Last Check Before You Blend
Once everything is together, do a slow visual pass: jar seated flat, no gap between jar and base, lid pressed down evenly all the way around, filler cap in place, cord clear of the blade area. That ten-second check catches almost every reassembly error before it becomes a cleanup job. If anything looks off, take it apart and start again — the whole process takes less than a minute, and doing it right beats mopping up a countertop.