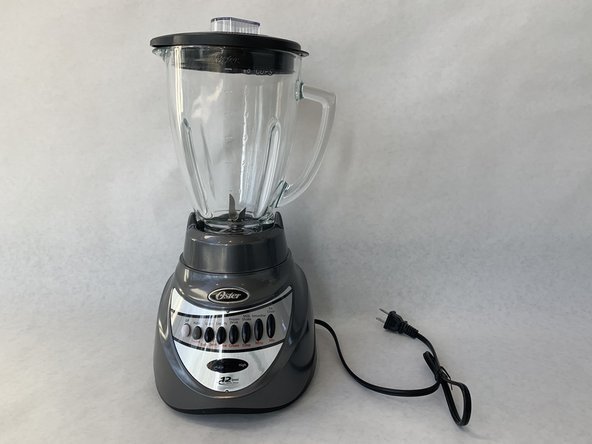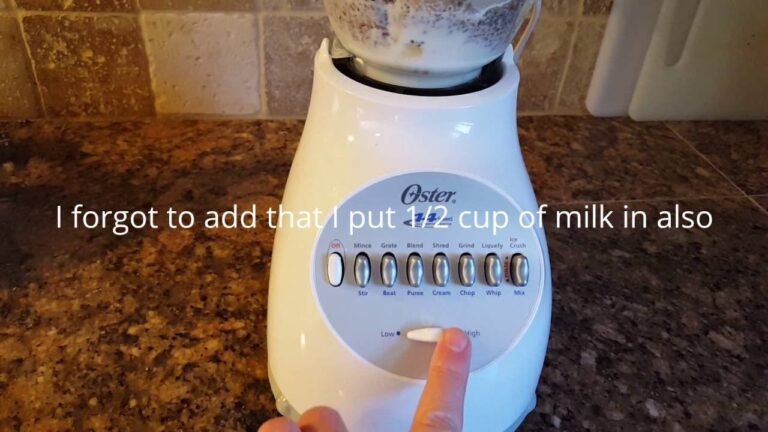
How To Use an Osterizer Blender: Step-by-Step Guide
To use an Osterizer blender, put the liquid in first, then soft foods, then ice or frozen items last — never fill past ¾ of the jar. Lock the lid, press the speed you need, and run hard jobs in short pulses. Most blends take 30 to 60 seconds.
Three things change that answer. Your model decides which buttons you have — the classic Oster has a single dial, not preset programs. What you’re blending decides the order and the time. And the jar size decides how much you can load at once.
If your Osterizer has one dial, start it low and turn up rather than starting at the top speed. Starting high throws the top layer against the lid before the blades reach it, and you end up stopping to scrape down the sides.
For anything thick — nut butters, frozen fruit with little liquid — stop every few seconds and push the food down with a spatula, with the blender off and unplugged. Running it continuously just spins a hollow pocket around the blades while the rest sits still.
Leafy greens and protein shakes need the opposite treatment: run them long enough to break the fibers down, not just until the leaves disappear from view.
What kind of Osterizer user are you?
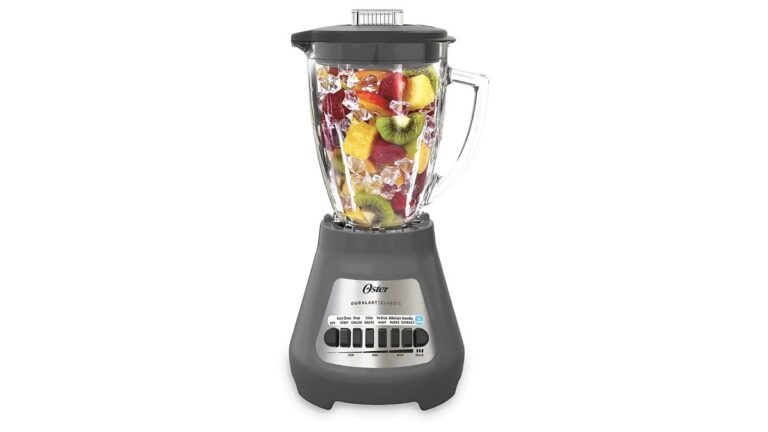
Three people type this title, and they don’t need the same page. The first just unboxed a chrome Oster with one dial and a glass jar, and wants to know which way to turn it without wrecking the blades. The third inherited a base from a relative, has no manual, and is trying to work out whether the thing even runs.
This page serves the first two best. It assumes your Osterizer has a working motor, a jar that fits its base, and a lid with a removable center cap. If you have no manual, that’s fine — the controls are on the base itself. If your machine is dead, sparking, or tripping the breaker, this isn’t the right page. That’s an electrical fault, and it goes to a technician, not a how-to.
What actually decides your result
Jar size and fill level. Osterizer jars come in 5-cup and 6-cup sizes, and some older models are smaller. The ¾ rule holds across all of them because the blender needs headroom for the vortex. Fill to the top and the blades just spin in a pocket of air. Check your jar’s capacity printed near the handle.
The order you load in. Liquid goes in first, always. It’s what lets the blades pull food down. Dry or thick ingredients packed at the bottom sit there while the motor strains.
Speed versus pulse. Continuous high speed heats the food and can wear the motor over time. Short pulses give you control and keep texture. This is the one people get wrong most often — they hold the button down and wonder why the result is soup.
Blade assembly condition. A worn or loose blade assembly won’t cut, no matter what speed you pick. Wiggle it before you start. If it moves independently of the jar base, stop.
What you’re actually blending. Ice, frozen fruit, and nuts need pulses. Thin liquids and batters can run continuously. Treating these the same way is how jars crack.
Step-by-step: blending in an Osterizer
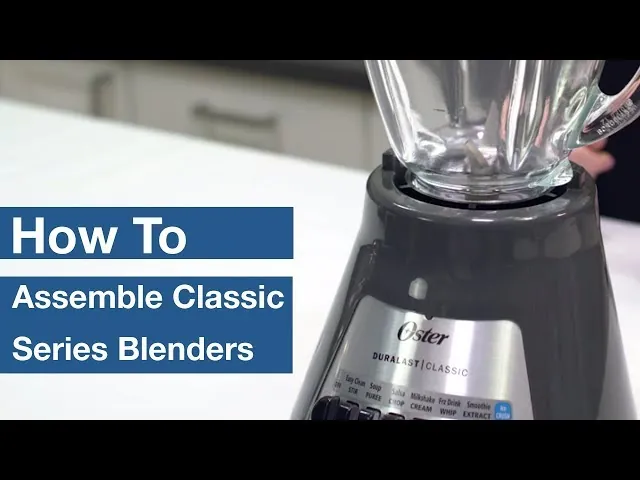
Check the blade assembly is seated. Twist it onto the jar base until it stops. Tug gently upward — it shouldn’t lift. If it lifts, re-seat it before anything goes in.
Pour liquid in first. Use at least 1 cup of liquid for any blend with ice or frozen fruit. For a smoothie, that’s your milk, juice, or water. For a sauce, it’s your oil or stock.
Add soft ingredients next. Fresh fruit, yogurt, cooked vegetables, leafy greens. Push them down with a spatula — motor off — so they sit level.
Add ice, frozen fruit, or nuts last. No more than 1 cup of ice per blend in a 5-cup jar. More than that and you’re asking the motor to do work it wasn’t built for.
Fill no higher than ¾ of the jar. For a 5-cup jar, that’s about 3¾ cups total. For a 6-cup jar, about 4½ cups. Leave the rest as air.
Lock the lid and press the center cap in. The cap should snap or twist into place. If it’s loose, it’ll pop off mid-blend and you’ll be cleaning the ceiling.
Start on the lowest speed. On a dial model, that’s usually the “Stir” or “1” position. Let it run 5 to 10 seconds. You should see the mixture start to move in a circle.
Move up one speed at a time. Give each speed 5 to 10 seconds. Don’t jump from low to high — the sudden torque is what strips the drive coupling.
Pulse for ice and frozen items. Press for 2 seconds, release for 2 seconds. Repeat 8 to 12 times. You’ll hear the ice break up rather than grind.
Stop when the texture is right, not the clock. A smoothie takes 30 to 60 seconds total. A thick puree can take 90 seconds with scraping in between. If it’s not moving, stop and scrape — don’t add speed.
The judgement call is knowing when to stop and scrape versus when to keep blending. If the mixture is circulating, leave it alone. If it’s sitting still with the blades spinning underneath, stop, take the lid off, and push everything down with a spatula. Running a stalled blend burns the motor and gets you nowhere.
One limit worth naming: never put your hand, a spoon, or any metal tool into the jar while the base is plugged in. Unplug it first, every time.
Variations at a glance
Different jobs need different handling. Here’s how the common ones break down.
| Situation | What to do | What it takes | What to watch for |
|---|---|---|---|
| Smoothie with ice | Liquid first, ice last, pulse 8-12 times | 45-60 seconds | Ice chunks stuck under blades |
| Hot soup | Blend in 2 batches, vent the cap | 60-90 seconds | Steam pressure popping the lid |
| Nut butter | 2 cups nuts max, scrape every 30 seconds | 5-8 minutes | Motor smell, overheating |
| Frozen fruit | Thaw 5 minutes first, 1 cup liquid minimum | 60 seconds | Stalled blades, cracked jar |
| Baby food | Cook fully first, blend until smooth | 90 seconds | Uneven texture, hot spots |
| Breadcrumbs | Dry bread only, pulse 10-15 times | 30 seconds | Fine dust clogging the jar |
| Protein shake | Liquid, powder, ice in that order | 30 seconds | Powder stuck to jar walls |
What experienced users do differently
They load in the right order, every time
Order isn’t a suggestion — it’s the mechanism. Liquid at the bottom creates the vortex that pulls everything down into the blades. When you put ice in first, the blades hit it with nothing to carry it, and the ice just bounces.
Experienced users pour the liquid, then the soft stuff, then the hard stuff, in that exact sequence. They also check the jar’s capacity line before they start, because “¾ full” on a 5-cup jar is a different amount than on a 6-cup jar.
They pulse hard ingredients and never rush the motor
Holding the button down on ice is the fastest way to burn out a motor. Short pulses — 2 seconds on, 2 seconds off — let the blades reset between hits. Experienced users also stop the moment they smell hot plastic or the motor note changes. That smell means the windings are cooking. Give it 10 minutes off before you try again, and if it repeats, the motor is on its way out.
When things go wrong
Here’s what the common problems usually mean, and what to try first.
| What you notice | What it usually means | What to do first | How to stop it happening again |
|---|---|---|---|
| Motor hums, blades don’t spin | Jar not seated on the drive | Lift jar, re-seat, twist down | Check seating before every use |
| Loud grinding noise | Ice jammed under blades | Stop, unplug, break up ice with a spoon | Add more liquid next time |
| Smoke or burning smell | Motor overheating | Stop immediately, unplug, rest 10 minutes | Pulse instead of continuous runs |
| Lid pops off mid-blend | Jar overfilled or cap loose | Stop, unplug, reduce to ¾ full | Never fill past the ¾ line |
| Liquid leaks from base | Jar base not tight or gasket worn | Tighten base, check gasket | Replace gasket when it hardens |
| Uneven blend, chunks left | Food packed too tight | Stop, scrape down, resume | Load in the right order |
| Base won’t turn on | Outlet, cord, or thermal cutout | Check outlet, wait 15 minutes for reset | Don’t run long continuous blends |
The rules that apply
Osterizer blenders sold in the US carry a UL or ETL listing mark on the base or the cord tag. That mark means the appliance passed independent electrical safety testing. If your machine has no such mark, treat it as unverified and don’t run it unattended.
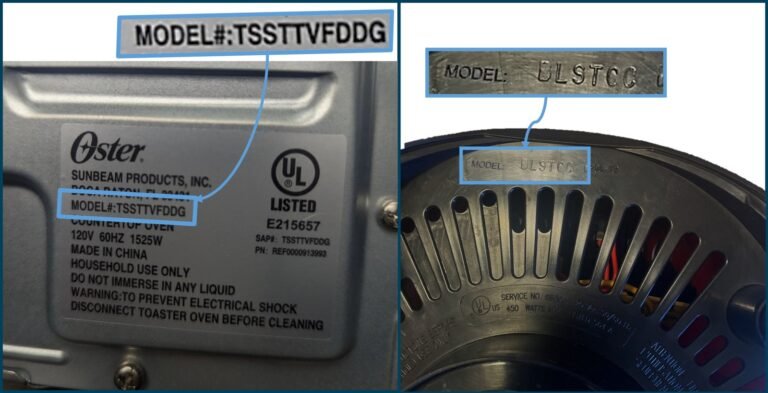
Oster’s own manuals state the jar and blade assembly are dishwasher-safe on the top rack, but the base is wipe-only. Never submerge the base — the motor and wiring sit inside it. For older models where you have no manual, check the Oster website’s product support section for your model number, printed on the bottom of the base.
One hard limit: if the cord is frayed, the plug is scorched, or the base trips your breaker, stop using it. That’s an electrical fault, and it goes to a qualified appliance technician — not a DIY fix.
What it costs you
The real cost here is time, not money. A smoothie takes under a minute of blending plus a minute of cleanup. Nut butter takes 5 to 8 minutes of blending plus scraping, and that’s the job that eats your afternoon.
Where costs climb: replacing parts. Blade assemblies, gaskets, and jars are sold separately, and prices vary by model and by retailer — check the Oster website or your retailer’s listing for today’s price on your specific model. A worn gasket is a few dollars. A cracked jar is more. A burnt-out motor usually means a new base, and at that point you’re comparing repair against replacement.
Where costs drop: using the right speed and pulsing. A motor that’s never run hot lasts years longer than one that’s been pushed. Cleaning right after each use — warm water, a drop of dish soap, a 10-second blend — saves you scrubbing later and keeps residue out of the blade assembly.
Keeping it running
Rinse the jar with warm water and a drop of dish soap, then blend on low for 10 seconds. That’s the whole cleaning job for most days. Take the blade assembly off weekly and scrub the gasket by hand — food traps there and smells after a few days.
If you blend anything oily — nut butters, pesto, salad dressing — add the soap and warm water and run it twice. Oil coats the walls and the first pass just moves it around.
The sign it needs attention again is simple: if the blade assembly wobbles when you wiggle it, or the gasket feels hard instead of rubbery, replace that part before your next blend. A loose blade is what cracks jars.
Store the jar off the base with the lid off, so air can circulate. If you leave the lid sealed on a damp jar, you’ll get a musty smell within a week.
Never put the base in water. Wipe it with a damp cloth and dry it right away, because water that reaches the motor is the one mistake that ends the machine.
When an Osterizer isn’t the right tool
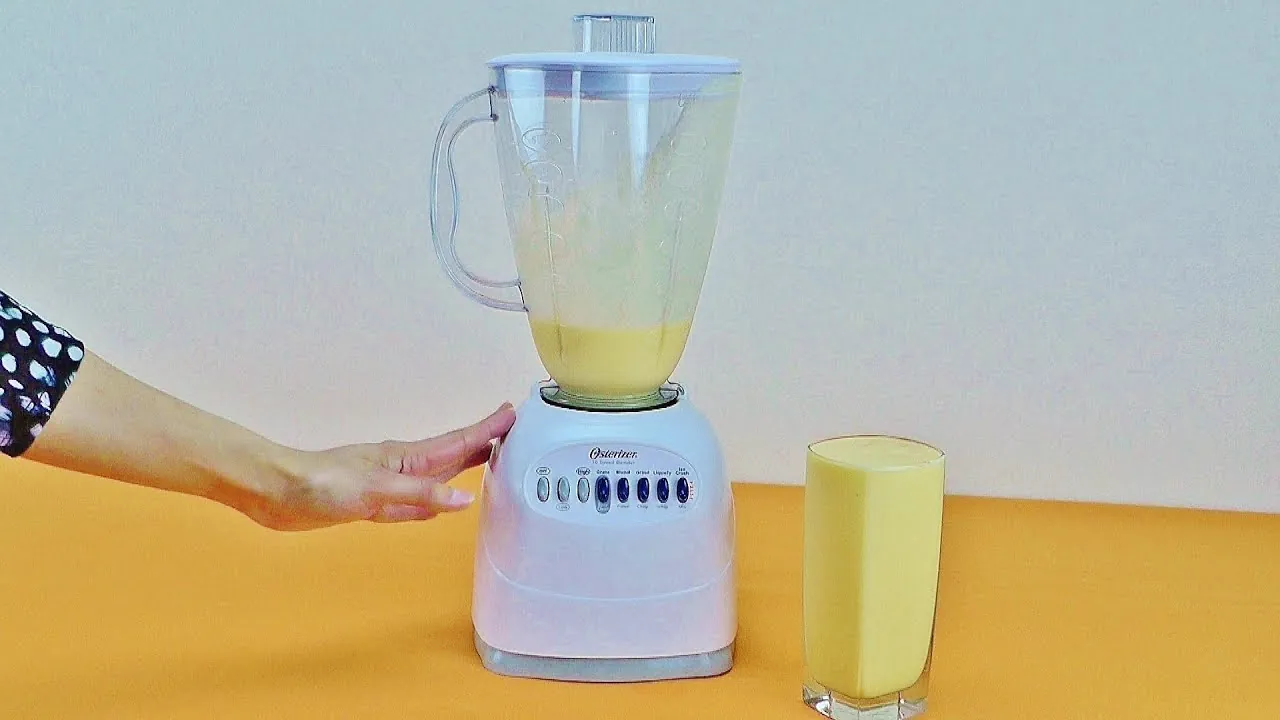
If you’re blending more than 6 cups at once, an Osterizer jar won’t hold it. Do it in two batches, or use a countertop blender with a larger jar. Overfilling is how jars crack. The motor also strains when the jar is packed, and that heat shortens its life.
If you need to blend hot liquid above about 2 cups, a blender is the wrong tool entirely. An immersion blender lets you work directly in the pot with no steam pressure build-up. Blending large volumes of hot soup in a sealed jar is how people get burned.
If your base is dead, sparking, or tripping the breaker, don’t try to fix it yourself. The motor, wiring, and switches sit inside a sealed housing, and opening it’s technician work. Take it to a qualified appliance repair shop or replace the base.
One more case worth knowing: if the blades spin but nothing in the jar moves, the problem is usually the coupling, not the motor. That part is cheap and made to be replaced. If the base hums and the blades don’t turn at all, stop pressing buttons and unplug it.
Frequently asked questions
How long does an Osterizer blender take to blend a smoothie?
About 45 to 60 seconds for a standard smoothie with 1 cup of ice and 1 cup of liquid in a 5-cup jar. Add 15 to 30 seconds if you’re using frozen fruit instead of fresh, because frozen fruit needs more pulses to break down evenly.
Can you put ice in an Osterizer blender?
Yes, up to about 1 cup per blend in a 5-cup jar. Add at least 1 cup of liquid first, then pulse 8 to 12 times at 2 seconds each. More ice than that stalls the blades and strains the motor.
Why is my Osterizer blender not spinning?
The jar probably isn’t seated on the drive. Lift it off, line up the base with the motor coupling, and twist down until it stops. If it still won’t spin, check the outlet and wait 15 minutes for the thermal cutout to reset.
Is it safe to blend hot soup in an Osterizer?
Only in small batches — about 2 cups at a time — and only with the center cap removed or vented so steam can escape. A sealed jar of hot liquid builds pressure and can blow the lid off. For larger amounts, use an immersion blender in the pot instead.
What’s the maximum fill level for an Osterizer jar?
Three-quarters full. On a 5-cup jar that’s about 3¾ cups; on a 6-cup jar about 4½ cups. The remaining space lets the mixture circulate, which is what actually pulls food into the blades.
How do you clean an Osterizer blender jar?
Fill it one-third with warm water, add a drop of dish soap, and blend on low for 10 seconds. Rinse. The jar and blade assembly are top-rack dishwasher-safe on most models — check your manual. The base is wipe-only, never submerged.
Does the speed setting matter for thick mixtures?
Yes. Thick mixtures like nut butter or hummus need low speed with frequent scraping. High speed on a thick mixture just spins the blades in a pocket and heats the motor without moving the food.
What happens if you overfill an Osterizer?
The lid pops off and hot or sticky contents spray out. Overfilling also stops the vortex, so the blades spin without pulling food down. Keep to ¾ full and blend in batches if you need more.
What to do first with your Osterizer
Start with a simple test: 1 cup of water, 1 cup of ice, 30 seconds of pulsing. That tells you whether the jar seats right, the blades cut, and the motor runs clean. If it does, you’re ready for real blends.
If you smell burning, hear grinding, or see smoke, unplug it and take it to a qualified appliance technician.
A shriek that stays constant is not, and running it out usually costs you the motor instead of a cheap blade assembly.