How To Clean Cloudy Ninja Blender: Quick and Easy Solutions
If your Ninja blender looks cloudy, it’s not just about appearance. Cloudy blender jars can hide germs, affect food taste, and even cause bad odors. Many people believe a quick rinse is enough, but cloudy stains are stubborn. They need a deeper cleaning. With the right approach, your Ninja blender can look crystal clear again—and stay safe for your family’s food.
Cloudiness comes from hard water, leftover smoothies, oils, or even scratches. Sometimes, cloudiness means mineral build-up. Sometimes, it’s just old food stains. Most people miss the real cause and use random cleaning hacks that don’t work. Let’s break down how to clean a cloudy Ninja blender, step by step.
You’ll learn practical methods, mistakes to avoid, and how to keep your blender clear for good.
Why Does Your Ninja Blender Get Cloudy?
It’s easy to blame dirty water or sticky smoothies, but cloudiness is more complex. Here are the main causes:
- Hard water stains: Tap water with minerals like calcium and magnesium leaves white film on plastic.
- Food residue: Oils, proteins, and fruit sugars stick to the jar, especially in corners.
- Soap build-up: Too much soap or not rinsing well can leave a dull, cloudy look.
- Micro-scratches: Over time, the jar’s surface gets tiny scratches that trap dirt and stains.
- Improper cleaning: Quick rinses or skipping deep cleaning lets stains build up.
These factors often combine, making cloudiness hard to remove. Many users try regular dish soap, but it rarely solves the problem because it doesn’t tackle minerals or tough stains.
Types Of Cloudiness: Identifying The Problem
Before you clean, check what kind of cloudiness you’re dealing with. Each type needs a specific approach.
| Cloudiness Type | Appearance | Main Cause | Best Solution |
|---|---|---|---|
| Hard Water Film | White, chalky spots | Minerals in tap water | Vinegar soak |
| Food Residue | Greasy or colored stains | Sticky smoothies, oils | Baking soda scrub |
| Soap Build-up | Hazy, dull finish | Excess detergent | Rinse with hot water |
| Micro-scratches | Foggy surface, hard to clean | Blender wear | Polishing paste |
Non-obvious tip: Most cloudiness is a mix of these types. For best results, combine cleaning methods—don’t rely on just one.
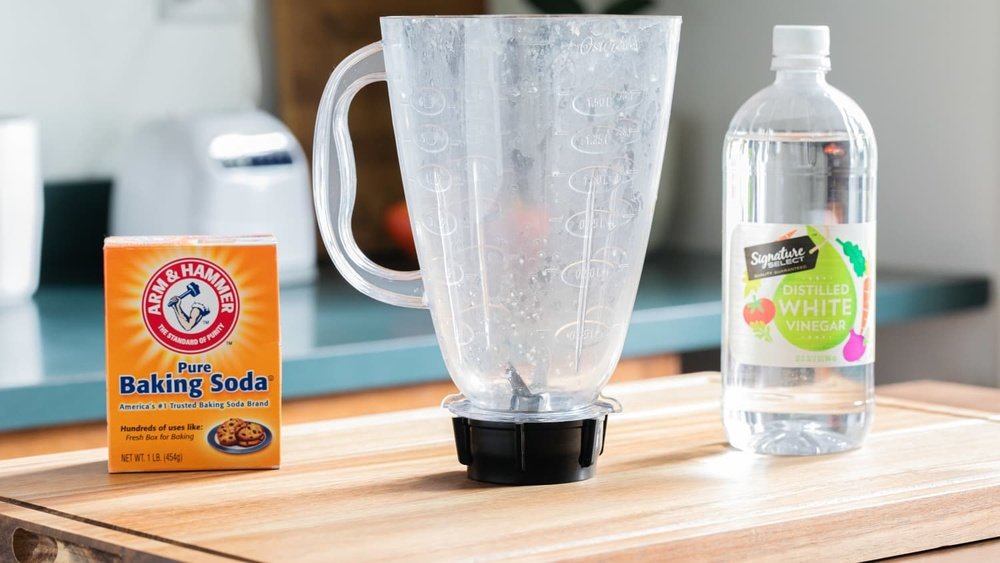
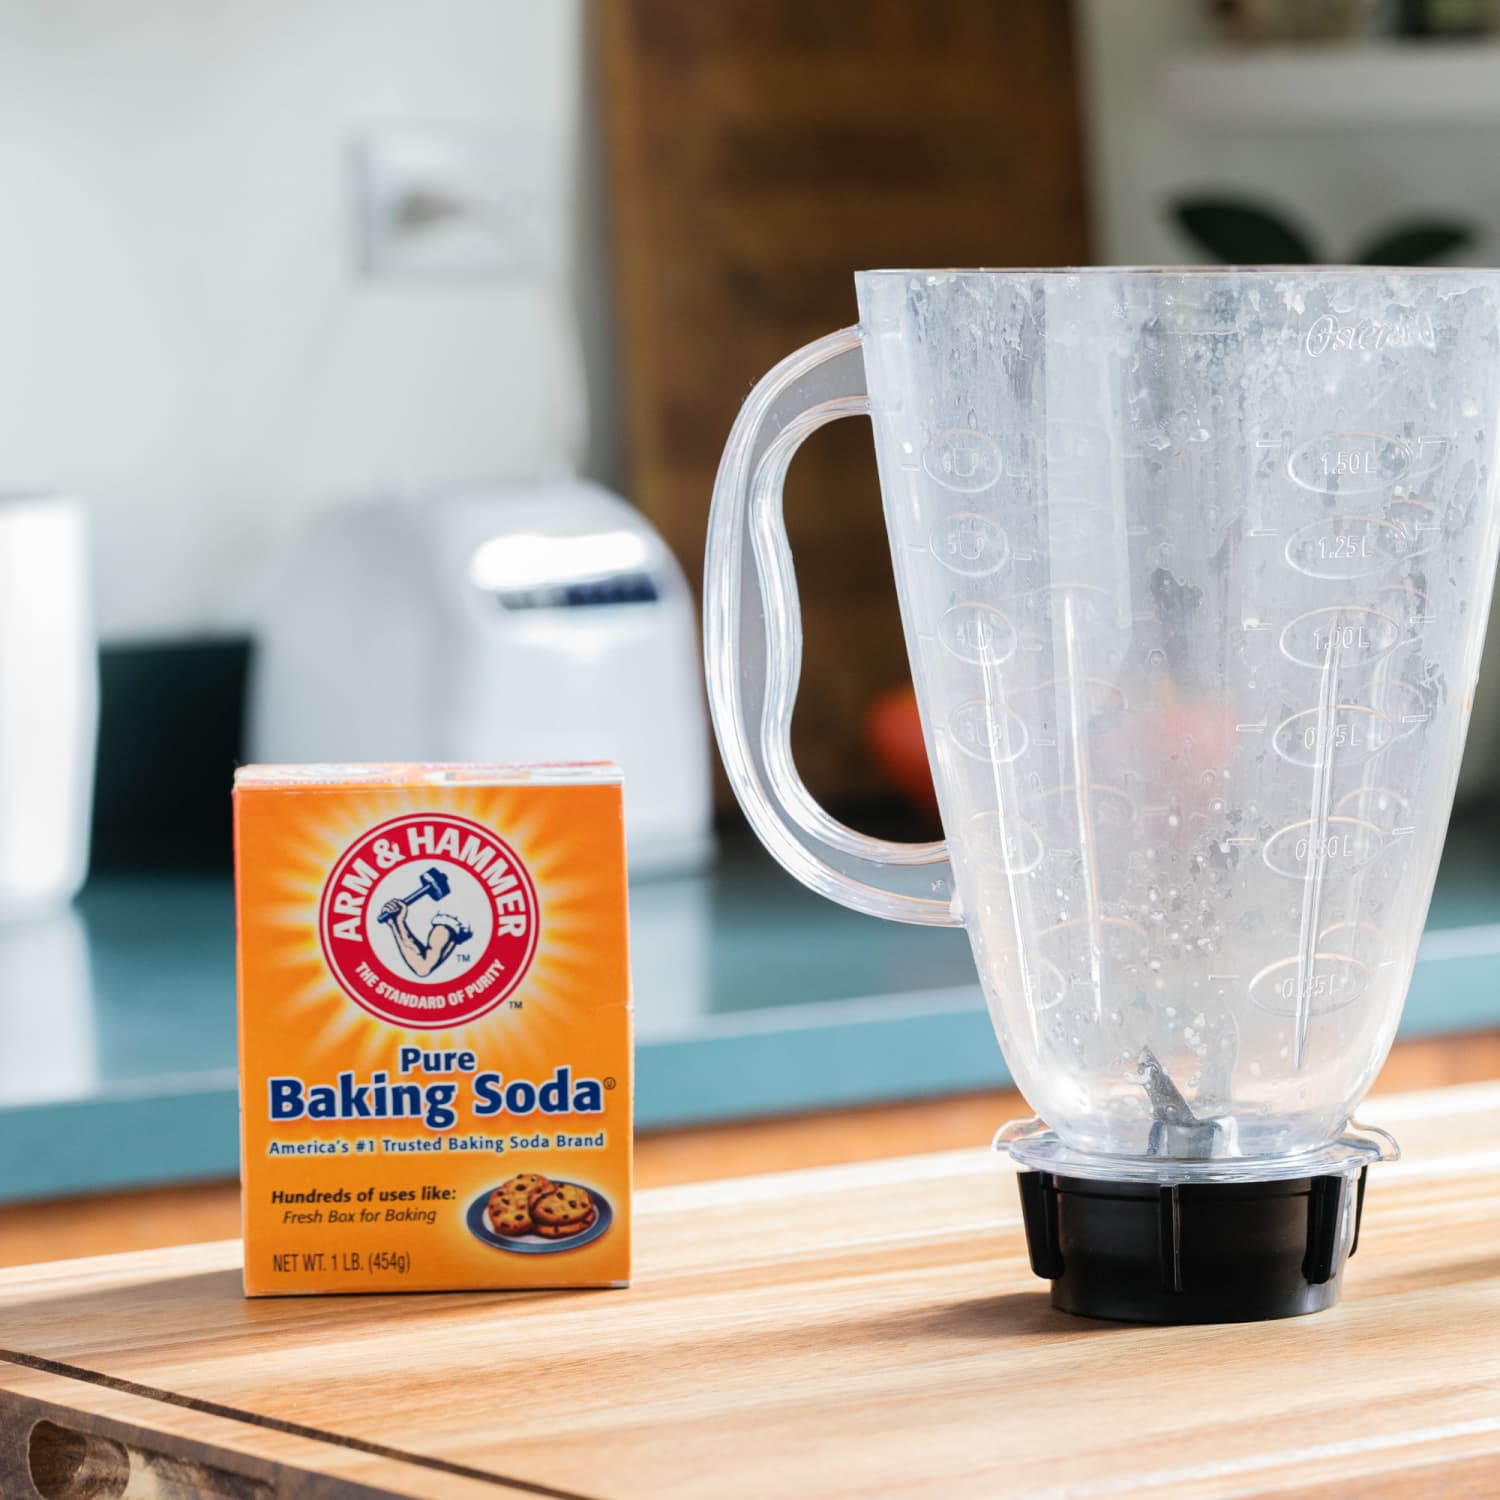
Essential Tools And Ingredients For Cleaning
You don’t need expensive products. Most supplies are common in kitchens:
- White vinegar: Removes mineral stains
- Baking soda: Lifts food residue and odors
- Dish soap: Basic cleaning
- Lemon juice: Natural acid for tough stains
- Soft sponge: Won’t scratch plastic
- Bottle brush: Reaches deep corners
- Microfiber cloth: For polishing
- Warm water: Helps dissolve stains
Never use rough scrubbers or metal brushes—they cause more scratches and cloudiness.
Step-by-step Guide: Deep Cleaning A Cloudy Ninja Blender
Let’s go through each step. This routine works for most cloudiness problems. If your jar is extremely stained, repeat the process or use extra soaking.
Step 1: Disassemble Your Blender
Unplug your Ninja blender. Remove the jar, lid, blade assembly, and gaskets (if possible). This prevents water from reaching electrical parts and lets you clean every piece.
Step 2: Rinse Off Loose Debris
Rinse all parts with warm water. Get rid of leftover smoothie bits, seeds, or pulp. Don’t use cold water; warm water loosens sticky stains.
Step 3: Vinegar Soak For Hard Water Stains
If you see white, chalky spots:
- Fill the jar halfway with white vinegar.
- Add an equal amount of warm water.
- Let it soak for 30–60 minutes.
Vinegar breaks down mineral deposits. If stains are tough, soak overnight.
Step 4: Baking Soda Scrub For Food Stains
After soaking, drain the vinegar mix.
- Sprinkle baking soda inside the jar.
- Use a damp sponge or bottle brush to scrub in circles.
- Focus on corners, blades, and lid grooves.
Baking soda is gentle but effective. It lifts grease and removes odors.
Step 5: Dish Soap Wash
Add a drop of dish soap to the jar and parts. Wash with a soft sponge. Scrub every surface, including under the blade and gasket rings.
Step 6: Rinse Thoroughly
Rinse all parts with hot water. Make sure no soap or baking soda remains. Leftover cleaning agents can cause new cloudiness.
Step 7: Lemon Juice For Extra Shine
If your blender still looks dull, use lemon juice:
- Rub lemon juice inside the jar and on plastic parts.
- Let it sit for 10–15 minutes.
- Rinse again with hot water.
Lemon’s natural acid helps polish and deodorize.
Step 8: Dry And Polish
Dry all parts with a microfiber cloth. Air-dry upside down. This prevents water spots and streaks.
Step 9: Reassemble And Test
Put your blender back together. Run a test blend with water and a drop of lemon juice. Check for any leftover cloudiness or odors.
Non-obvious insight: Most people skip drying with a microfiber cloth. Air-drying alone can leave water spots and streaks, especially if you have hard water.
How Often Should You Deep Clean Your Ninja Blender?
Regular cleaning prevents cloudy build-up. Here’s a practical schedule:
- Everyday use: Rinse and wash after each blend.
- Weekly: Deep clean with baking soda and vinegar.
- Monthly: Inspect for scratches, replace gaskets if needed.
If you blend sticky smoothies, protein shakes, or nut butters often, increase deep cleaning. Cloudiness builds faster with oily or sugary ingredients.
Quick Cleaning Hacks: When You’re Short On Time
Sometimes you need a fast fix. Here are quick methods:
- Self-clean cycle: Fill jar with warm water and a drop of dish soap. Run the blender for 30 seconds. Rinse well.
- Vinegar spray: Spray vinegar on cloudy areas, wipe with a soft cloth.
- Baking soda paste: Mix baking soda with water, apply to stains, scrub, and rinse.
These hacks work for mild cloudiness, but deep stains need full cleaning.
Credit: www.thekitchn.com
Comparison: Ninja Blender Vs Other Brands—cloudiness Issues
Some blenders get cloudy faster than others. Here’s a comparison of Ninja vs other popular brands.
| Brand | Material | Cloudiness Frequency | Ease of Cleaning |
|---|---|---|---|
| Ninja | BPA-free plastic | Medium | Easy |
| Vitamix | High-grade plastic | Low | Medium |
| NutriBullet | Plastic | High | Easy |
| Blendtec | Polycarbonate | Medium | Medium |
| Glass Blenders | Glass | Low | Easy |
Key insight: Ninja’s plastic jars are durable but prone to micro-scratches if cleaned with rough tools. Glass jars stay clearer but are heavier and can break.
Preventing Cloudiness: Proactive Maintenance Tips
Cleaning is important, but prevention is better. Here’s how to stop cloudiness before it starts:
- Rinse immediately: Don’t let blended food dry inside the jar.
- Use filtered water: Reduces mineral build-up.
- Avoid harsh scrubbers: Use only soft sponges or brushes.
- Dry with microfiber cloth: Prevents water spots.
- Don’t overload blender: Less stress means fewer scratches.
- Store dry: Keep the jar and parts dry after washing.
- Replace worn gaskets: Old gaskets trap food and cause stains.
Practical tip: Invest in a bottle brush with soft bristles. It reaches under the blade and into corners where cloudiness starts.
Common Mistakes That Make Cloudiness Worse
Many owners accidentally make their blenders cloudier. Avoid these pitfalls:
- Using abrasive cleaners: Products like scouring powder scratch plastic.
- Ignoring rinsing: Soap left behind creates new cloudiness.
- Soaking too long: Overnight soaks in vinegar can damage seals.
- Dishwasher misuse: High heat can warp plastic and cause fogging.
- Mixing cleaning agents: Combining vinegar and baking soda wastes their effect.
Non-obvious insight: Some people use bleach for tough stains. This damages plastic and makes cloudiness permanent. Stick to natural, gentle products.
What If Cloudiness Won’t Go Away?
If you’ve tried every cleaning method but your Ninja blender is still cloudy, consider these options:
- Jar replacement: Ninja offers replacement jars. It’s often cheaper than buying a new blender.
- Polishing paste: Specialty pastes for plastic (like car headlight polish) can remove micro-scratches. Test on a small area first.
- Professional cleaning: Some appliance repair shops offer deep cleaning services.
Tip: If the jar is deeply scratched, cleaning won’t help. Replace it for food safety.
How Cloudiness Affects Your Blender And Food
Cloudiness isn’t just cosmetic. It can:
- Trap bacteria: Stains and scratches hold germs.
- Change taste: Old residues can mix with new blends.
- Cause smells: Food stuck in corners leads to odors.
- Reduce resale value: Cloudy blenders look used and unattractive.
If you want your blender to last and your smoothies to taste fresh, regular cleaning is essential.
Diy Cleaning Solutions: Recipes And Ratios
If you prefer homemade cleaners, here are safe, effective recipes:
Vinegar Solution
- 1 part white vinegar
- 1 part warm water
Soak for 30–60 minutes, then scrub and rinse.
Baking Soda Paste
- 2 tablespoons baking soda
- Enough water to make a thick paste
Apply, scrub gently, rinse off.
Lemon Cleaner
- Juice of 1 lemon
- 1 cup warm water
Rub on stains, let sit, rinse well.
These formulas cost pennies and are safe for Ninja blender jars.
Is Your Water Making Your Blender Cloudy?
Hard water is a hidden cause. If your tap water has high minerals, cloudiness returns fast. Signs of hard water:
- White streaks on dishes and appliances
- Soap doesn’t lather easily
- Cloudy film after washing
If you notice these, use filtered water for blending and cleaning. This simple change can cut cloudiness by half.
Ninja Blender Jar Materials: What You Need To Know
Ninja blender jars are made from BPA-free plastic. This is lightweight and shatter-proof. However, plastic scratches easier than glass. Over time, scratches trap stains, making cloudiness worse.
Some newer Ninja models offer Tritan plastic. Tritan resists stains better, but still needs gentle cleaning.
| Material | Pros | Cons |
|---|---|---|
| BPA-free Plastic | Lightweight, safe, easy to clean | Prone to scratches, cloudiness |
| Tritan Plastic | Stain-resistant, clear finish | More expensive, still scratches |
| Glass | Stays clear, easy to clean | Heavy, can break |
Choose cleaning methods based on your jar’s material. Never use harsh chemicals or scrubbers on plastic.
Cleaning The Ninja Blender Blades And Gaskets
Cloudiness isn’t just about the jar. Blades and gaskets collect stains too.
- Blade cleaning: Soak blades in vinegar-water for 15 minutes. Use a bottle brush. Rinse and dry.
- Gasket cleaning: Remove the rubber gasket. Wash with dish soap and warm water. Scrub gently with a toothbrush.
Tip: If the gasket is worn or smells, buy a replacement. Old gaskets cause leaks and stains.
Cleaning Ninja Blender Lids And Accessories
Lids, cups, and accessories get cloudy too. Here’s how:
- Wash with dish soap and warm water.
- Soak in vinegar-water for tough stains.
- Scrub grooves and corners with a small brush.
- Rinse well and dry.
Don’t put lids in the dishwasher if they have rubber parts—they can warp or crack.

Credit: werttreuhand.de
Eco-friendly Cleaning: Safe For Your Health And The Planet
Many store-bought cleaners use harsh chemicals. For a safer, greener approach:
- Stick to vinegar, baking soda, and lemon juice
- Use reusable sponges and brushes
- Air-dry instead of paper towels
Eco-friendly cleaning saves money and avoids toxic residue.
For more tips, visit EPA Safer Choice.
Troubleshooting: If Your Blender Smells Bad After Cleaning
Cloudiness and odors often go together. If your blender smells after cleaning:
- Wash again with baking soda and vinegar.
- Rub lemon juice inside the jar.
- Leave the jar open to air-dry.
- Replace the gasket if smell persists.
Odors often mean food is trapped in scratches or seals. Deep cleaning solves most issues.
Should You Use The Dishwasher For Ninja Blender Cleaning?
Ninja jars are usually top-rack dishwasher safe. But dishwashers can cause cloudiness:
- High heat warps plastic
- Strong detergents cause haze
- Water spots leave streaks
If you use the dishwasher, always place jars top-rack. Air-dry with a microfiber cloth to prevent water spots.
Non-obvious tip: Hand washing is safer for clarity and jar life.
When To Replace Your Ninja Blender Jar
Blender jars don’t last forever. Replace if:
- Cloudiness won’t clean away
- Deep scratches inside jar
- Cracks or leaks
- Persistent smells
Replacement jars are available from Ninja and online stores. This keeps your blender safe and clear.
Credit: lifetips.alibaba.com
Frequently Asked Questions
How Can I Prevent My Ninja Blender From Getting Cloudy?
Rinse and wash after every use. Use filtered water and soft sponges. Dry with a microfiber cloth. Avoid abrasive cleaners and overloading the blender.
Is It Safe To Use Vinegar On My Ninja Blender Jar?
Yes, white vinegar is safe for Ninja jars. It removes mineral stains. Don’t soak overnight—30–60 minutes is enough. Rinse well after soaking.
Can I Use Bleach To Clean My Blender?
No, bleach damages plastic and causes permanent cloudiness. Stick to natural cleaners like vinegar, baking soda, and lemon juice.
Will The Dishwasher Make My Ninja Blender Cloudy?
Dishwashers can cause cloudiness. Use top-rack only and air-dry with a microfiber cloth. Hand washing is best for keeping jars clear.
What Should I Do If My Blender Still Looks Cloudy After Cleaning?
Try a polishing paste for plastic. If cloudiness remains, replace the jar. Deep scratches and stains can’t always be fixed.
Cleaning a cloudy Ninja blender is simple when you know the causes and methods. With the right tools and routine, your blender will stay clear, safe, and ready for delicious smoothies. Remember: prevention is easier than cure. Clean gently, dry well, and use natural solutions. Your Ninja blender will look—and work—like new for years.