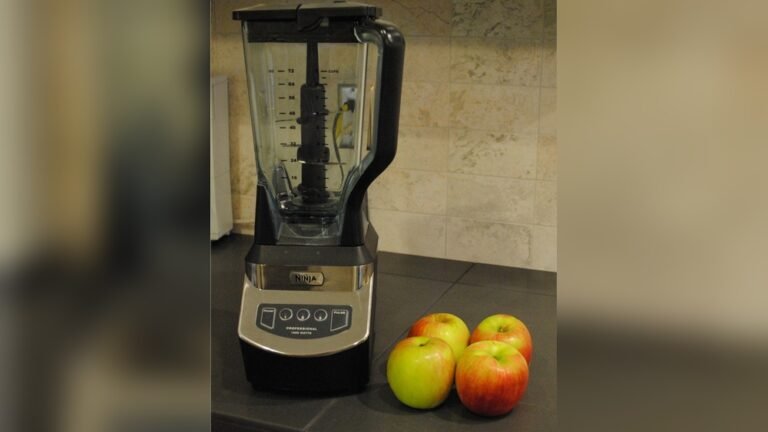
How To Open Ninja Blender Top Easily: Quick Step-by-Step Guide
Opening your Ninja blender top might seem simple, but many users find it tricky, especially with newer safety locks and unique lid designs. If you’ve ever stood in your kitchen struggling with a stuck Ninja blender lid, you’re not alone. Whether you just bought your first Ninja, or you’ve used one for years, understanding the right method saves time, protects your blender, and keeps you safe from spills or damage. Let’s explore everything you need to know about opening a Ninja blender top — from basic steps, common issues, and model differences, to expert tips that even experienced owners sometimes miss. By the end, you’ll handle your Ninja blender with confidence and ease.
Why The Ninja Blender Top Can Be Hard To Open
Many people expect blender lids to lift off easily, but Ninja blenders use special locking mechanisms. These features make the blender safer, but can also make opening the lid confusing or frustrating. Ninja blenders are designed to create a strong seal, which keeps liquids inside during high-speed blending. However, this seal sometimes forms a vacuum, especially after blending hot or thick mixtures. The safety lock system also prevents the blender from working unless the lid is correctly in place.
There are several reasons why your Ninja blender top might be hard to open:
- Vacuum seal: The pressure inside the blender can hold the lid tightly.
- Safety lock system: The lid won’t move until the locking tabs are released.
- Lid gasket: The rubber ring inside the lid may stick to the pitcher rim.
- Food residue: Sticky or thick ingredients can glue the lid to the jar.
- Wrong technique: Pulling or twisting the wrong way can make it harder.
Understanding these factors helps you use the right method for your blender model.
Types Of Ninja Blenders And Their Lids
Not all Ninja blenders have the same lid mechanism. Here’s a look at the main types you might have at home:
| Blender Series | Lid Type | Locking Mechanism | Release Method |
|---|---|---|---|
| Professional Series | Square Lock Lid | Button & Handle Lock | Press button, lift handle |
| Auto-iQ Series | Round Flip-Top Lid | Snap Lock Tab | Press tab, twist lid |
| Nutri Ninja (Personal) | Screw-On Lid | Threaded Seal | Twist counterclockwise |
| Foodi Power Pitcher | Multi-Function Lid | Button, Safety Tabs | Press button, release tabs |
Knowing your Ninja blender series helps you follow the correct opening steps.
Step-by-step Guide: How To Open Ninja Blender Top
Different Ninja models require different steps. Here’s how to safely open each type.
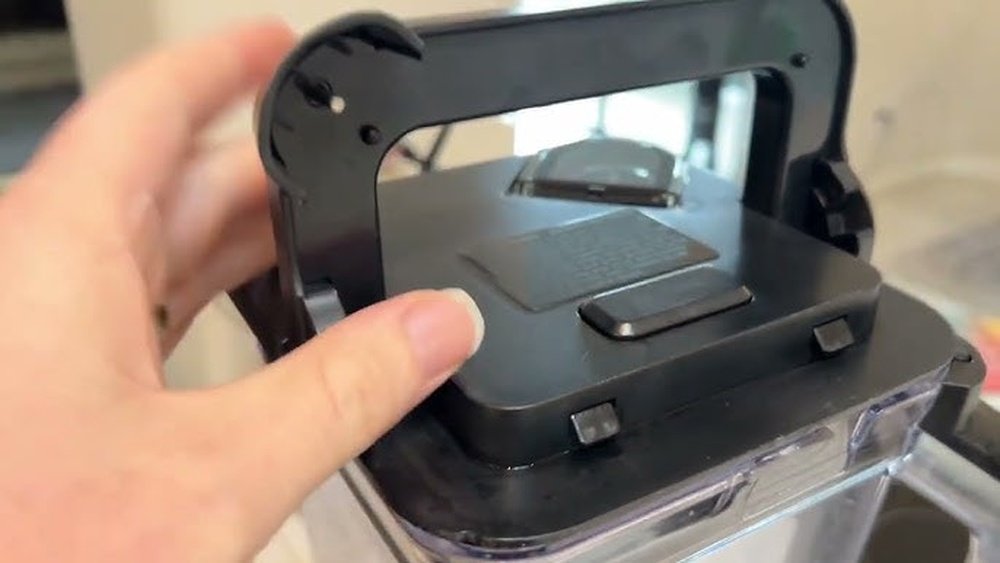
For Professional Series (square Lid)
- Unplug the blender: Always unplug before opening.
- Check the handle: Most Ninja Professional lids have a handle with a release button or tab.
- Press the button: Find the button at the front or side of the handle.
- Lift the handle: While holding the button, pull the handle up until you hear a click.
- Remove the lid: Once the handle is up, lift the lid straight off.
Pro Tip: If the lid is stuck, gently wiggle the handle side to side while lifting.
For Auto-iq And Foodi Power Pitcher
- Unplug first: Always ensure safety.
- Locate the release tab: This is usually a small button or tab on the lid edge.
- Press the tab: Firm pressure is needed for the safety lock to disengage.
- Twist and lift: After pressing, twist the lid counterclockwise and lift.
- Wipe before opening: If the lid seems stuck, wipe around the edge to remove food residue.
Non-Obvious Insight: If you blend hot liquids, wait a minute before opening. Steam can create a vacuum that holds the lid tight.
For Nutri Ninja (personal Blenders)
- Unplug the unit: Safety first.
- Hold the cup securely: Grip the cup, not the base.
- Twist the lid: Turn counterclockwise (to the left).
- Lift the lid: Once loosened, lift straight off.
Important: If the lid is stuck, run warm water around the edge to loosen it.
For Ninja Blender With Flip-top Lids
- Check for pressure: Flip-tops can be held by air pressure.
- Press the flip button: Most flip-top lids have a small button to release.
- Open gently: Open slowly to avoid spills from built-up pressure.
Tip: Never force the flip-top lid. If stuck, release pressure by opening the pour spout first.
Common Problems And How To Fix Them
Even if you follow instructions, sometimes the Ninja blender top gets stuck. Here are solutions for common issues:
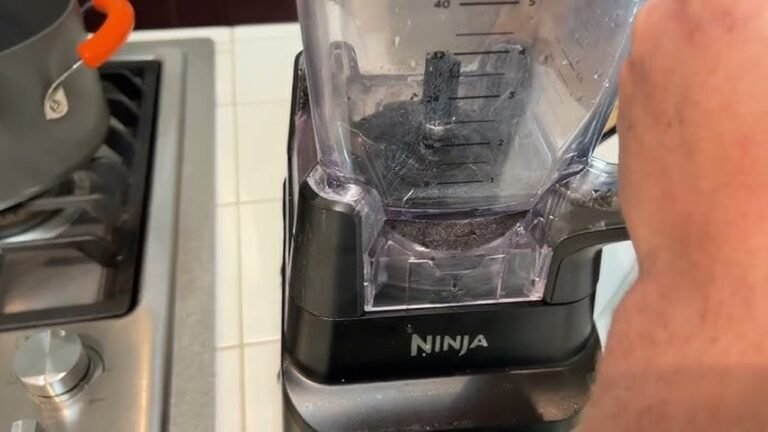
1. Vacuum Seal
After blending hot soups or thick smoothies, a vacuum can form inside. To fix:
- Wait 1-2 minutes for pressure to drop.
- Tap the lid gently with the palm of your hand.
- Wiggle the handle or lid side to side as you lift.
2. Sticky Gasket
The rubber gasket can create a seal that’s hard to break.
- Run warm (not boiling) water around the rim of the lid.
- Use a plastic knife to gently loosen the gasket if needed.
- Dry the gasket after washing to prevent sticking next time.
3. Food Residue
Dried-on food can glue the lid to the jar.
- Soak the entire lid and jar in warm, soapy water for 10 minutes.
- Use a soft brush to clean around the edge.
- Avoid sharp objects—they can damage the lid.
4. Misaligned Lock
If the locking tabs aren’t lined up, the lid won’t open.
- Rotate the lid slightly in both directions while lifting.
- Check for any visible obstructions.
5. Broken Or Worn Parts
If the release button or handle feels loose or doesn’t work:
- Stop using force—this can break the lid permanently.
- Check your warranty. Many Ninja lids are covered for at least 1 year.
- Order replacement parts from the official Ninja website.
Credit: www.reddit.com
Safety Tips When Opening A Ninja Blender Top
Opening a blender lid the wrong way can cause spills, burns, or even break the jar. Here’s how to stay safe:
- Always unplug before opening.
- Never open while blades are moving.
- Do not force a stuck lid—try loosening first.
- Wait for pressure to drop when blending hot liquids.
- Keep fingers away from blade assembly when opening.
- Clean the lid and gasket after every use to prevent buildup.
- Inspect for cracks before each use—damaged lids can break under pressure.
Accidents are rare when you follow these simple rules, but they’re important for every user.
Differences Between Ninja Blender Tops And Other Brands
Many blenders have simple lids, but Ninja’s safety features set them apart. Here’s how Ninja compares to other popular brands:
| Brand | Lid Mechanism | Ease of Opening | Safety Features |
|---|---|---|---|
| Ninja | Locking tabs, safety buttons | Moderate (requires steps) | Strong (prevents use without lid) |
| Vitamix | Push-on, pull-off | Easy | Basic (no blend without lid) |
| Oster | Screw-on, rubber gasket | Easy to moderate | Some models have safety locks |
| Blendtec | Snap-on, vented | Easy | Venting for hot blending |
Ninja blenders are more secure, but that means opening the top takes a bit more effort and the right technique.
How To Prevent Your Ninja Blender Top From Getting Stuck
A little care goes a long way. Here’s how to make sure your Ninja blender top always opens smoothly:
- Clean after every use: Rinse the lid and gasket with warm, soapy water.
- Dry gasket thoroughly: Moisture can make the gasket swell and stick.
- Avoid overfilling: Too much food or liquid can create extra pressure.
- Let hot mixtures cool: Steam can create a vacuum seal.
- Lubricate the gasket: Occasionally rub a drop of food-safe oil on the gasket.
- Align lid and jar: Make sure the locking tabs line up before closing.
- Store with lid off: This prevents the gasket from sticking to the jar rim.
Non-Obvious Insight: Many people forget to clean under the gasket. Food can collect here, causing the lid to stick even if the visible parts look clean. Remove and clean the gasket at least once a week.
What To Do If Your Ninja Blender Lid Is Damaged
Lids can crack, warp, or lose their seal. If you notice any damage:
- Stop using the blender: A cracked lid can break under pressure.
- Check your warranty: Most Ninja blenders come with a 1-year warranty.
- Order a replacement: Use only official Ninja parts for the best fit and safety.
- Do not glue or tape: Repairs can fail during blending and are unsafe.
A damaged lid can cause leaks or even let blades run with the lid off. Always replace, never repair, a broken blender top.
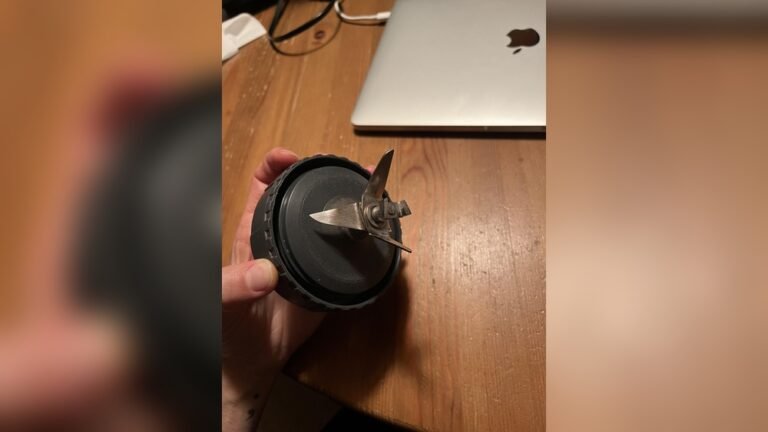
Step-by-step: Deep Cleaning Your Ninja Blender Lid
A clean lid is easier to open and lasts longer. Here’s how to deep clean:
- Remove the lid and gasket: Most Ninja lids have a removable rubber gasket.
- Soak in warm, soapy water: Let both parts soak for 10 minutes.
- Scrub gently: Use a soft brush or sponge to clean all crevices.
- Clean under the gasket: Lift the gasket out carefully and scrub underneath.
- Rinse thoroughly: Remove all soap residue.
- Dry completely: Let both parts air dry before reassembling.
Tip: Avoid dishwashers unless the manual says it’s safe. High heat can warp plastic lids.
Ninja Blender Top Opening Techniques For People With Limited Hand Strength
If you have arthritis, carpal tunnel, or other hand issues, opening a tight blender lid can be painful. Here are techniques to help:
- Use a jar opener: Rubber jar openers provide extra grip.
- Run hot water around the lid: Heat makes plastic expand slightly, loosening the seal.
- Ask for help: Don’t risk injury—ask someone else to open if it’s too tight.
- Choose models with larger handles: Some Ninja models have bigger, easier-to-grip handles.
- Lubricate the gasket regularly: A slippery gasket reduces friction.
Manufacturers are starting to design more accessible lids, but for now, these tips can make everyday use easier.
How Often Should You Replace Your Ninja Blender Lid And Gasket?
Lids and gaskets don’t last forever. Over time, rubber can wear out and plastic can crack. Here’s what to watch for:
- Gasket feels loose or hard: Replace if it doesn’t seal tightly.
- Lid is cracked or warped: Replace immediately to avoid leaks or breakage.
- Odor won’t go away: Deep stains or smells mean it’s time for a new lid.
- Lid doesn’t lock securely: The safety lock should snap in place. If not, replace.
Average replacement timeline:
- Gasket: Every 1-2 years with regular use.
- Lid: Every 2-3 years, depending on condition.
Check the official Ninja website or user manual for specific part numbers.
Why It’s Important To Open The Ninja Blender Top Correctly
Improper opening can cause more than just frustration. Here’s why the right technique matters:
- Prevents spills: Opening under pressure can cause hot or thick mixtures to spill.
- Protects the lid: Forcing the lid can crack plastic or damage locking tabs.
- Keeps you safe: Ninja blenders have strong motors. Opening while blades move is dangerous.
- Prolongs blender life: Correct opening and closing prevent wear on seals and locks.
Take a few extra seconds to open the lid the right way—your blender (and your kitchen) will thank you.
Troubleshooting: When Your Ninja Blender Lid Won’t Budge
If your Ninja blender top is completely stuck, try these advanced fixes:
- Release vacuum pressure: Insert a thin, non-metallic tool (like a plastic spatula) under the lid edge to break the seal.
- Apply heat: Wrap a towel soaked in hot water around the lid for a minute.
- Use a rubber grip: Jar opener pads or thick rubber bands add grip.
- Alternate twisting: Gently twist the lid back and forth to loosen.
- Soak in water: Place the jar and lid upside down in warm water for 10 minutes.
Warning: Never use a knife or metal tool—this can crack the lid or cause injury.
If nothing works, it’s better to replace the lid than risk breaking the blender or hurting yourself.
How To Open A Ninja Blender Top For Cleaning
Proper cleaning requires removing the lid and gasket. Here’s how:
- Unplug the blender.
- Release the lid: Use the correct method for your model.
- Remove the gasket: Use a butter knife or your fingers to gently lift the rubber ring.
- Wash both parts: Soak, scrub, rinse, and dry as detailed earlier.
- Reassemble: Make sure the gasket fits snugly before replacing the lid.
Cleaning every part regularly prevents odors, mold, and sticky residue.
How To Close And Lock The Ninja Blender Top Securely
Just as important as opening is closing the lid correctly. This ensures safe blending and prevents leaks.
- Align the lid: Line up the locking tabs with the pitcher notches.
- Press down firmly: Push the lid until it clicks into place.
- Engage safety lock: Some models require pressing a button or moving a lever.
- Test before blending: Gently tug the lid to ensure it’s locked.
- Check the handle: If your model has a handle lock, make sure it’s fully down.
Never operate your Ninja blender unless the lid is fully closed and locked.
Comparing Ninja Blender Lids: Which Is Easiest To Open?
Not all Ninja blender tops are created equal. Here’s a quick look at which models are easiest to open, based on user reviews:
| Model | User Rating (Ease of Opening, 1-5) | Notes |
|---|---|---|
| Ninja Professional 1000 | 4 | Sturdy handle, clear release button |
| Ninja Auto-iQ | 3 | Tab can be stiff, strong seal |
| Nutri Ninja Personal | 5 | Simple twist-off lid |
| Foodi Power Pitcher | 3 | Multiple safety tabs, secure but harder to open |
If easy opening is your top priority, Nutri Ninja personal blenders are the most user-friendly.

Credit: www.reddit.com
Ninja Blender Top Opening: Mistakes To Avoid
Many people damage their blenders by making these common mistakes:
- Forcing the lid: This can crack the plastic or break the safety lock.
- Opening while plugged in: Always unplug to avoid accidental starts.
- Ignoring food buildup: Not cleaning the lid and gasket causes sticking.
- Mixing hot liquids: Always let hot mixtures cool and release steam before opening.
- Using tools: Never use metal or sharp objects to pry open the lid.
- Overfilling: Too much liquid increases pressure and makes the lid harder to remove.
Following the correct steps every time keeps your blender working well for years.
How The Ninja Blender Safety Lock Works
The Ninja blender safety lock is designed to prevent accidents, but it also means you must open and close the lid in a specific way. Here’s how it works:
- Mechanical interlock: The blender checks if the lid is fully closed and the handle is locked before allowing the motor to start.
- Release button or tab: You must press or move this to unlock the lid.
- Multiple contact points: Some models require the pitcher, lid, and handle to all be aligned.
- Auto-stop feature: If the lid is removed during blending, the motor stops immediately.
Tip: If your blender won’t start, check that the lid is on and the safety lock is engaged.
Ninja Blender Top Maintenance And Care
Regular maintenance keeps your lid opening smoothly:
- Clean after every use: Prevents buildup.
- Remove and wash the gasket weekly: Stops odors and sticking.
- Check for cracks monthly: Replace parts if needed.
- Store with the lid off: Reduces gasket sticking.
- Lubricate the gasket occasionally: Use a drop of food-safe oil.
Good care means your Ninja blender lid will last for years and always be easy to open.
Ninja Blender Top Opening For Travel Mugs And Cups
Many Ninja blenders come with travel mugs or personal cups. Opening these tops is different:
- Twist-off design: Most travel lids unscrew counterclockwise.
- Flip-top or snap lid: Press the button or tab to open the drink spout.
- Check for pressure: Hot drinks can build up steam, so open slowly.
- Clean the seal: Travel lids have small gaskets that can stick—clean these often.
If the lid is hard to open, soak it in warm water and try again.
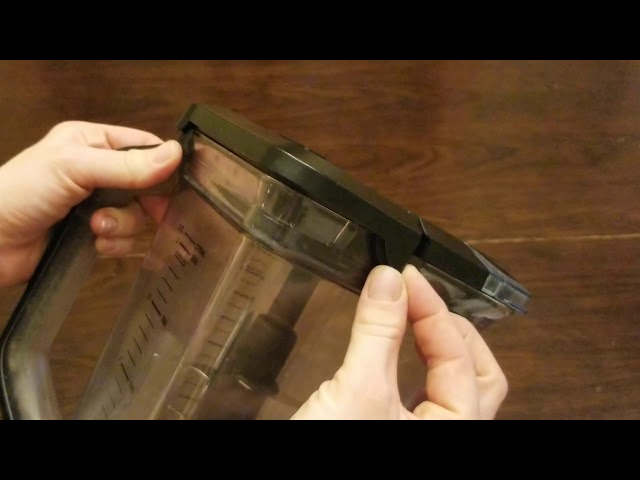
Credit: www.youtube.com
When To Contact Ninja Customer Support
If you’ve tried every trick and your Ninja blender top still won’t open or is damaged, it’s time to reach out to the experts:
- Warranty claims: Most new blenders come with at least a 1-year warranty.
- Replacement parts: Order the right lid, gasket, or handle for your model.
- Technical support: Customer service can walk you through tricky issues.
Find contact information on the official Ninja website or your user manual. Using genuine Ninja parts ensures safety and performance.
Expert Tips For Opening Ninja Blender Tops
Experienced owners share these tips for easier lid removal:
- Let the blender rest: After blending, wait 30 seconds before opening to release pressure.
- Wipe the rim: Before closing the lid, wipe any food from the jar rim.
- Keep the gasket clean: Remove and wash weekly.
- Store with lid off: Prevents sticking.
- Use two hands: Hold the pitcher with one hand and lift the lid with the other for better control.
- Lubricate the gasket: Very lightly, once a month.
These small habits make a big difference over time.
Frequently Asked Questions
Why Is My Ninja Blender Lid So Hard To Open After Blending Hot Liquids?
Blending hot liquids creates steam, which can form a strong vacuum seal under the lid. This pressure holds the lid tightly. Wait a minute after blending, then gently wiggle and lift the lid. For extra-stuck lids, run warm water around the edge or open the pour spout first to release steam.
Can I Put My Ninja Blender Lid In The Dishwasher?
Most Ninja blender lids are top-rack dishwasher safe, but always check your user manual. High heat can warp some plastics or damage gaskets. Hand washing with warm, soapy water usually keeps lids in the best condition.
What Should I Do If The Safety Lock Won’t Release?
First, ensure the blender is unplugged. Double-check that the handle and lid are fully aligned. Press the release button or tab firmly—sometimes food residue can make it stiff. If it still won’t release, soak the lid in warm water and try again.
If the lock is broken, contact Ninja customer support.
How Do I Know If My Ninja Blender Lid Needs Replacing?
Replace your lid if you see cracks, warping, or if the seal is loose. If the gasket is stretched, hardened, or smells bad after cleaning, it’s time for a new one. Always use official Ninja replacement parts for safety.
Where Can I Find Official Ninja Blender Replacement Parts?
Order directly from the official Ninja website or trusted retailers. Avoid generic lids—they may not fit or work with safety locks. For more product information, visit the Ninja Kitchen official website.
Opening your Ninja blender top gets easier with the right method and regular care. With these tips, you’ll spend less time struggling with lids and more time enjoying delicious smoothies, soups, and sauces. Remember, a little patience and the right technique keep your blender working safely and smoothly for years to come.