How To Make Almond Milk In Ninja Blender: Easy Step-by-Step Guide
Making almond milk at home is easier than most people think. Many people spend years buying store-bought almond milk, not realizing how simple it is to create a fresher, tastier version themselves. With the help of a Ninja blender, you can make almond milk in minutes, using just a few ingredients. Homemade almond milk is free from additives and preservatives. It lets you control the flavor, sweetness, and even texture. If you’re tired of watery or overly sweet almond milk from the supermarket, this guide will show you how to make your own creamy, delicious almond milk using your Ninja blender.
You’ll also learn how to troubleshoot common issues, customize your milk for special diets, and make the process smooth even if you’re new to homemade plant milks. Whether you want almond milk for coffee, cereal, baking, or just to drink, you’ll find practical advice and step-by-step instructions.
Let’s get started on making almond milk that’s fresh, healthy, and perfectly suited to your taste.
Why Make Almond Milk At Home?
Store-bought almond milk is convenient, but it often contains added sugars, preservatives, and thickeners. Many brands use fewer almonds than you might expect, sometimes just 2% almonds and the rest water and additives. Homemade almond milk is richer, creamier, and more nutritious.
Here are some reasons to make almond milk at home:
- Control Ingredients: You know exactly what goes into your milk. No hidden chemicals or sweeteners.
- Better Taste: Fresh almond milk tastes nuttier and smoother.
- Cost Savings: Making your own can be cheaper, especially if you buy almonds in bulk.
- Customizable: Adjust sweetness, flavor, and thickness to your liking.
- Eco-Friendly: Less packaging waste compared to store-bought cartons.
A homemade batch lasts up to five days in the fridge, giving you plenty of time to enjoy it. If you want almond milk with real flavor and nutrition, making it yourself is the best choice. You also avoid the environmental impact of transporting packaged milk and reduce your carbon footprint.
If you have dietary restrictions, homemade milk is easy to adapt for vegan, paleo, or keto diets. For example, you can use honey, maple syrup, or dates for sweetness, or skip sweeteners entirely. Many people don’t realize how flexible homemade almond milk is—you can make it thick for recipes or thin for drinking.
With store-bought options, you get what’s available, but with homemade milk, you get exactly what you want.
What You Need: Ingredients & Equipment
Making almond milk in a Ninja blender doesn’t require fancy tools or rare ingredients. Here’s what you need:
Ingredients
- Raw almonds: 1 cup (unsalted, unroasted)
- Filtered water: 4 cups for blending, extra for soaking
- Sweetener (optional): 1-2 tablespoons maple syrup, honey, or sugar
- Salt (optional): Pinch
- Vanilla extract (optional): 1 teaspoon for flavor
If you want your almond milk extra creamy, you can add a tablespoon of coconut cream or a few soaked cashews during blending. For flavored milk, try adding cocoa powder, cinnamon, or even a splash of almond extract for a stronger nutty taste.
Equipment
- Ninja blender: Any model works, but higher wattage (1000+ watts) blends smoother
- Nut milk bag, cheesecloth, or fine mesh strainer: For filtering
- Large bowl: To catch the milk
- Measuring cups: For accuracy
- Storage container: Glass jar or bottle for the finished milk
If you don’t have a nut milk bag, a clean kitchen towel or a fine mesh sieve can work. A few people use coffee filters for small batches, but it’s slower. For storing, glass containers are best because they don’t hold odors, but BPA-free plastic bottles are fine if you’re careful with cleaning.
Step-by-step: Making Almond Milk In A Ninja Blender
Let’s walk through the process, from soaking to storage. These steps are simple but important for the best results.
1. Soak The Almonds
Soaking almonds softens them, making them easier to blend and improving texture.
- Place 1 cup raw almonds in a bowl.
- Add enough water to cover them.
- Let soak overnight (8-12 hours) at room temperature.
- If short on time, soak for at least 4 hours.
Soaking also removes some phytic acid, making the nuts easier to digest. If you forget to soak, you can use hot water and soak for 1 hour, but overnight is best. The water will turn cloudy as it pulls out tannins and residues from the almonds.
This is normal and shows the soaking is working. For a simple upgrade, add a pinch of salt to the soaking water—this helps break down the skins and makes blending easier.
2. Drain & Rinse
After soaking, drain the almonds and rinse them well under cold water. This removes any residue and helps the milk taste fresh. Some people peel the almonds after soaking for a smoother texture, but this step is optional. If you want pure white milk, rub the skins off with your fingers.
3. Blend
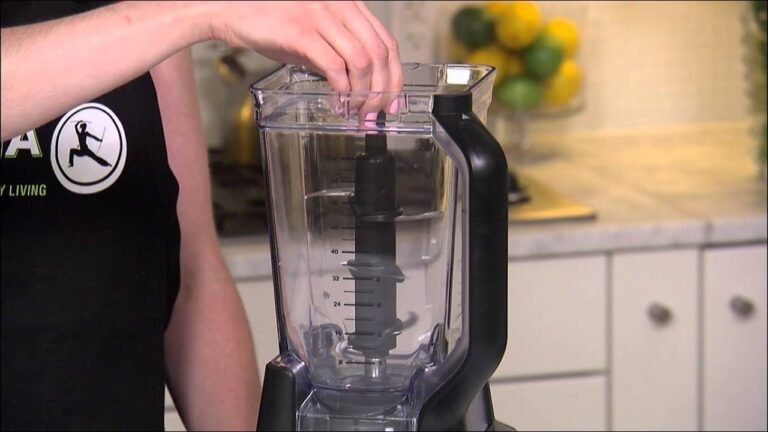
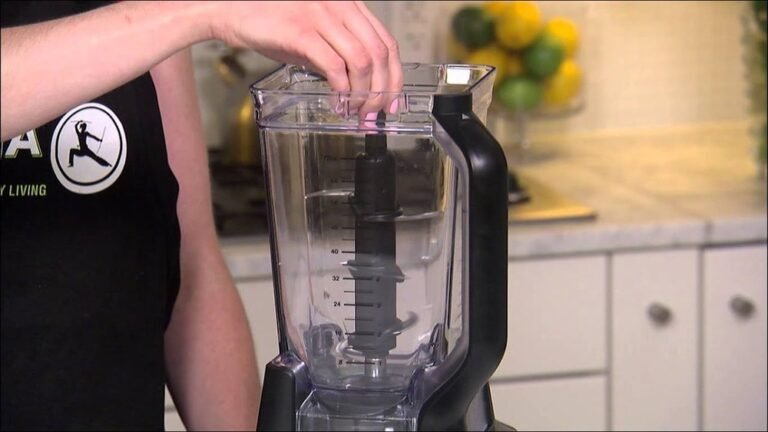
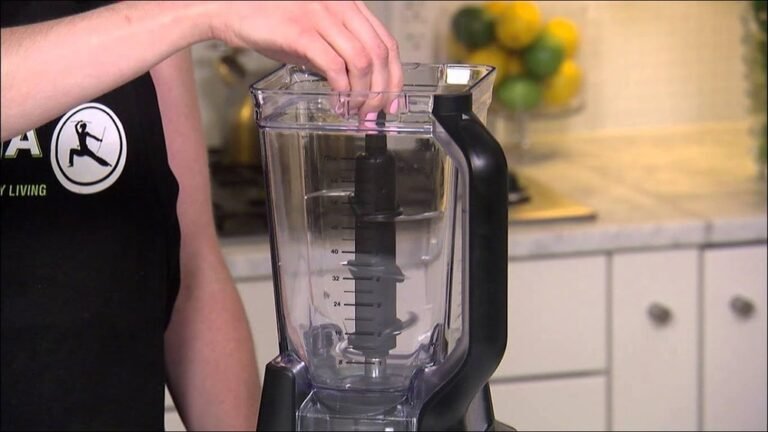
Add soaked almonds and 4 cups filtered water to your Ninja blender. Secure the lid.
- Blend on high for 60-90 seconds.
- Pause and check texture. If it looks gritty, blend for another 30 seconds.
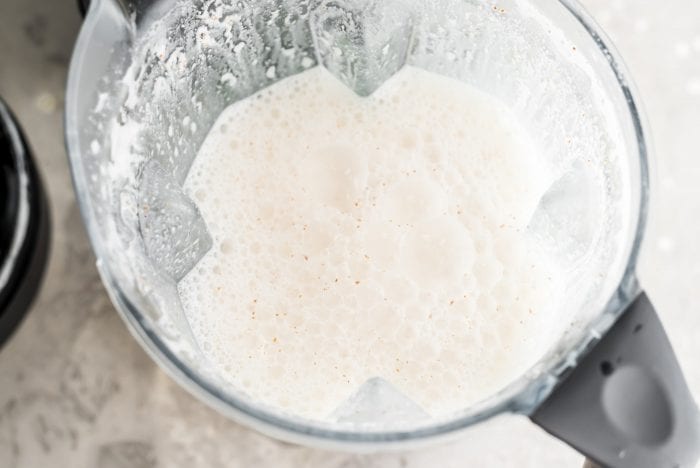
The goal is a fine, milky mixture. Ninja blenders, especially those above 1000 watts, do a great job breaking down almonds. If you’re using a lower wattage model, blend for 2 minutes and pause halfway to scrape down the sides.
For extra creaminess, throw in 2 soaked dates or 1 tablespoon hemp seeds with the almonds.
4. Strain
Pour the almond mixture into a nut milk bag, cheesecloth, or fine mesh strainer over a large bowl.
- Squeeze gently to extract as much milk as possible.
- Don’t rush this step. The more you squeeze, the creamier your milk.
You’ll be left with almond pulp in the bag. Save this for recipes like smoothies, oatmeal, or baking. If you want ultra-smooth milk, strain a second time through a clean bag or sieve. Some people use a potato ricer for extra squeezing, but hands work fine.
5. Flavor & Sweeten (optional)
Pour the strained milk back into the blender. Add sweetener, salt, and vanilla if desired.
- Blend briefly (10 seconds) to mix.
- Taste and adjust sweetness.
Some people skip sweeteners for unsweetened milk. Others add dates, honey, or maple syrup for a subtle flavor. If you want chocolate milk, add 2 tablespoons cocoa powder and blend again. For a chai flavor, add cinnamon, nutmeg, and cardamom.
6. Store
Pour finished almond milk into a glass jar or bottle. Store in the refrigerator.
- Keeps for 3-5 days.
- Shake before each use; separation is natural.
If you want to make a larger batch, double the ingredients. Just be sure your Ninja blender can handle the volume. For best freshness, fill jars to the top to reduce air exposure. If you want to freeze, leave space at the top for expansion.
Almond Milk Vs Store-bought: Nutrition & Cost
Many people wonder how homemade almond milk compares to store brands. Here’s a quick look:
| Type | Almond Content | Additives | Calories (per cup) | Cost (per cup) |
|---|---|---|---|---|
| Homemade | 10-15% | None (unless added) | 40-60 | $0.60-$0.80 |
| Store-Bought | 2-3% | Stabilizers, sugar, gums | 30-50 | $1.00-$1.50 |
Homemade almond milk is richer and more flavorful. Store versions often have more water and less almond content, plus additives like carrageenan or guar gum. You also get more protein and healthy fats per cup with homemade milk. One insight people miss is that store-bought almond milk is often fortified with calcium and vitamins, but it’s not always needed—if you eat a balanced diet, homemade milk is a better choice for avoiding extra chemicals.
Tips For Creamier Almond Milk
If you want your almond milk to be extra creamy, try these tips:
- Use more almonds: Increase to 1.5 cups per 4 cups water.
- Blend longer: 2 minutes produces a smoother texture.
- Double strain: Run the milk through the bag twice.
- Add a little coconut cream: For richness, add 2 tablespoons coconut cream during blending.
- Use cold water: Cold water helps preserve flavor and texture.
For even more creaminess, try soaking the almonds in the refrigerator instead of at room temperature—cold soaking keeps the fats intact. Another trick is to add a small handful of cashews or macadamia nuts to the blender. These nuts are softer and add thickness without changing the flavor much.
Creamy almond milk is great for coffee, lattes, and smoothies. If your milk still feels thin, let it sit in the fridge for a few hours—sometimes it thickens naturally.
Customizing Almond Milk For Special Diets
Homemade almond milk can be adjusted for different needs:
- Sugar-free: Skip sweeteners entirely.
- Low-calorie: Use less almonds, more water.
- High-protein: Add 1 tablespoon hemp seeds or pea protein powder.
- Keto-friendly: Add MCT oil or coconut oil for healthy fats.
- Nut-free: Use sunflower seeds or oats instead of almonds.
If you’re vegan, all ingredients listed are plant-based. For paleo diets, use honey as a sweetener. If you have allergies, try making seed milk with pumpkin or sunflower seeds. For extra nutrition, blend in spinach or spirulina, but start with small amounts.
Many people don’t realize you can make savory almond milk—add garlic powder, onion powder, or herbs for a milk that’s good in soups and sauces.

Credit: www.youtube.com
Common Mistakes & How To Avoid Them
Making almond milk seems easy, but beginners often make mistakes that affect taste or texture.
1. Not Soaking Long Enough
Soaking for less than 4 hours results in gritty milk. Overnight is best. For best results, change the soaking water once halfway through.
2. Using Tap Water
Chlorinated tap water can give a strange taste. Use filtered or spring water. If you have hard water, it can leave a mineral taste—always use the cleanest water you have.
3. Over-blending
Blending for more than 3 minutes can heat the milk, causing bitterness. Stick to 60-90 seconds. If your blender gets warm, pause and let it cool down.
4. Not Straining Well
Leaving pulp in the milk makes it grainy. Squeeze the bag thoroughly. If you see tiny particles, strain again or use a finer mesh.
5. Forgetting To Shake
Almond milk separates in the fridge. Shake well before using. Use wide-mouth jars for easy shaking.
Many beginners skip these steps, but following them makes a big difference. Another mistake is storing in containers that aren’t airtight—this can cause spoilage faster. Always clean containers well before filling.
Making Flavored Almond Milk
One of the best parts of homemade almond milk is customizing the flavor. Here are some ideas:
- Chocolate: Add 2 tablespoons cocoa powder and sweetener.
- Strawberry: Blend in ½ cup fresh strawberries.
- Matcha: Add 1 teaspoon matcha powder.
- Spiced: Add cinnamon, nutmeg, or cardamom.
For vanilla milk, use real vanilla bean seeds for a strong flavor. If you like tropical flavors, blend in pineapple or mango. Flavored almond milk can be used for desserts, smoothies, and breakfast dishes. For savory uses, try blending in roasted garlic or sun-dried tomatoes.
Storing & Using Almond Milk
Homemade almond milk has no preservatives, so it doesn’t last as long as store-bought.
- Refrigerate immediately after making.
- Use within 3-5 days for best taste.
- Freeze in ice cube trays for smoothies or recipes.
If your milk smells sour or tastes strange, discard it. Always use clean containers to avoid contamination. For longer storage, freeze in small portions—ice cubes are perfect for adding to coffee or smoothies. If thawed milk separates, just shake or blend again.
Storage Comparison Table
Here’s a quick look at almond milk storage options:
| Storage Method | Duration | Best Use |
|---|---|---|
| Refrigerator | 3-5 days | Drinking, cooking |
| Freezer | 3 months | Smoothies, baking |
| Room Temperature | Not recommended | — |
Always label jars with the date made. If freezing, thaw overnight in the fridge for best texture. Don’t refreeze thawed milk—it can affect flavor and texture.
Cleaning Your Ninja Blender
After making almond milk, cleaning your Ninja blender is important. Almond residue can stick and cause odor.
- Rinse immediately after blending.
- Fill the blender halfway with warm water and a drop of dish soap.
- Run on blend for 30 seconds.
- Rinse and air dry.
If you forget to clean right away, soak the jar in hot water to loosen stuck almond bits. For deep cleaning, blend water with a tablespoon of baking soda and lemon juice.
Using Almond Pulp: Reduce Waste
Don’t throw away the almond pulp left after straining. It’s nutritious and can be used in many ways.
- Smoothies: Add 2 tablespoons to any smoothie.
- Baking: Use as flour in muffins or pancakes.
- Granola: Mix with oats and bake.
- Energy balls: Combine with dates and roll.
Dry the pulp in the oven at low temperature if you want to store it longer. Many people miss this step, but it’s a great way to reduce waste and add nutrition. For savory uses, mix pulp with herbs and spices for veggie burgers or dips.
You can also freeze pulp for later use—just label and date.
Almond Milk For Different Recipes
Homemade almond milk works well in many recipes:
- Coffee & tea: Adds creaminess without dairy.
- Cereal & oatmeal: Pairs well with breakfast grains.
- Baking: Substitute for dairy milk in cakes, muffins, and pancakes.
- Smoothies: Makes drinks richer and smoother.
- Sauces: Use as a base for creamy dressings.
For baking, unsweetened milk is best. For drinks, flavored or sweetened milk works well. Almond milk can replace cow’s milk in almost any recipe. For soups, use as a light cream substitute—just add slowly and stir well.
:max_bytes(150000):strip_icc()/faw-tier-3-primary-best-nut-milk-maker-nsimpson-702-1-e3313a38f90346f69ed729aa844e3eda.jpeg)
Credit: www.foodandwine.com
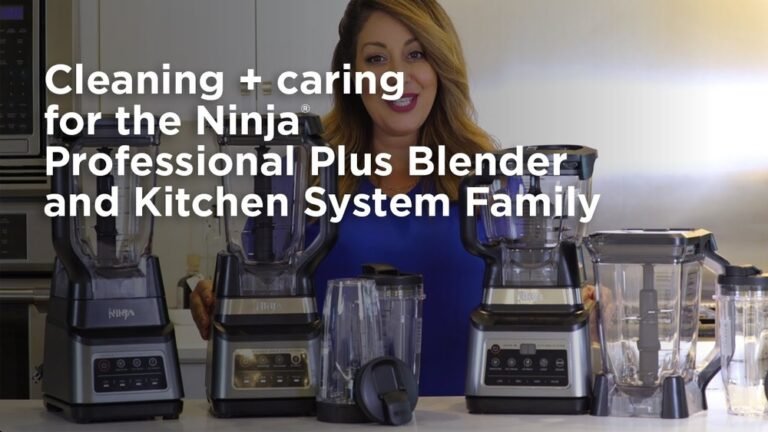
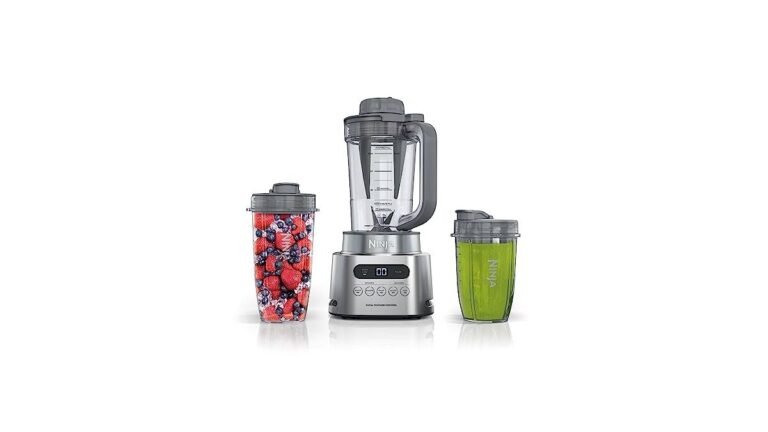
Ninja Blender Models: Which Is Best For Almond Milk?
Not all Ninja blenders are the same. Here’s a quick comparison:
| Model | Wattage | Best Feature | Almond Milk Quality |
|---|---|---|---|
| Ninja Professional | 1100 | Large jar | Smooth |
| Ninja Mega Kitchen | 1500 | Multiple attachments | Very smooth |
| Ninja Nutri-Blender | 1000 | Compact size | Smooth |
| Ninja Foodi Power Blender | 1400 | Variable speed | Extra smooth |
Higher wattage models produce finer milk. Even basic models work well, but with more time and smaller batches. If you want to make large batches, choose models with bigger jars. For travel or small kitchens, Nutri-Blender is good, but blend in smaller amounts.
Practical Tips For Perfect Almond Milk
- Use fresh almonds. Old or rancid almonds ruin flavor.
- Don’t skip soaking. Makes blending easier and milk smoother.
- Strain well. Use the best bag you can find for smooth milk.
- Taste before storing. Adjust sweetness or flavor before refrigerating.
- Label jars. Helps track freshness.
If you notice oily separation, it’s normal—just shake before using. For best results, use almonds from a trusted source. Many people overlook the importance of soaking and straining. These steps matter if you want creamy, delicious almond milk. Always work with clean hands and tools for best food safety.
Environmental Impact: Homemade Vs Store-bought
Homemade almond milk produces less packaging waste and carbon footprint. Store-bought cartons are often not recyclable, and transportation adds emissions.
According to the Environmental Working Group, almond milk production uses less energy and packaging per cup when made at home. Buying almonds in bulk reduces waste even more. If you reuse storage jars and bags, you cut down on waste. Most people don’t realize how much packaging from store-bought milk ends up in landfills.
If you care about sustainability, making almond milk at home is a smart choice.
Nutritional Profile Of Homemade Almond Milk
Homemade almond milk is lower in calories and sugar than cow’s milk. Here’s an example nutritional profile per 1 cup (unsweetened):
- Calories: 40-60
- Protein: 1-2g
- Fat: 2-3g
- Carbs: 1-2g
- Sugar: 0g (unless sweetened)
- Calcium: 2% Daily Value (not fortified)
Store-bought almond milk is often fortified with calcium and vitamins. If you need more calcium, add a supplement or use fortified almond milk. Many people miss the fact that homemade milk can be made richer by using more almonds, which increases protein and healthy fat content.
If you want your milk thicker, use less water per batch.
Is Homemade Almond Milk Safe?
Yes, homemade almond milk is safe if made with clean equipment and fresh ingredients. Always refrigerate promptly and avoid leaving milk out at room temperature.
If you have nut allergies, do not consume almond milk. Use alternatives like oat or rice milk. If you’re serving children or older adults, use extra care with hygiene and freshness.
For more food safety tips, see FDA Food Safety.
Frequently Asked Questions
How Long Does Homemade Almond Milk Last?
Homemade almond milk usually lasts 3-5 days in the refrigerator. Always store in a clean, airtight container and shake before using. If it smells sour or tastes strange, discard it. For longer shelf life, freeze in small portions.
Can I Make Almond Milk Without Soaking The Almonds?
Soaking is recommended for the best texture and flavor. If you’re short on time, you can use hot water and soak for 1 hour, but overnight soaking is ideal. Without soaking, milk will be gritty. Peeling soaked almonds makes the milk even smoother.
What Can I Do With Leftover Almond Pulp?
Use almond pulp in smoothies, baking, or as a thickener in oatmeal. You can also dry it in the oven and use as almond flour. Avoid throwing it away—it’s nutritious and adds fiber. For savory dishes, mix pulp with herbs for veggie burgers or falafel.
Is Homemade Almond Milk Healthier Than Store-bought?
Homemade almond milk has more almonds, fewer additives, and no preservatives. You control the sweetness and ingredients. Store-bought versions are often diluted and may contain stabilizers. If you need extra vitamins, supplement as needed.
Can I Use Roasted Almonds For Almond Milk?
Raw almonds are best for almond milk. Roasted almonds can change the flavor and may result in a bitter taste. Always use unsalted, unroasted almonds for smooth, mild milk.
Making almond milk with your Ninja blender is simple, fast, and rewarding. You get better taste, nutrition, and control over ingredients. With just a few steps, you can create fresh almond milk at home, customize it for your needs, and reduce waste.
Once you try it, you may never go back to store-bought again.
Credit: runningonrealfood.com