Best Blender Ninja Or Vitamix: How To Choose The Right One
A vitamix is the better blender for professional-grade texture and daily heavy-duty use, while a ninja is the superior choice for occasional use and lower-budget convenience. Deciding on the best blender ninja or vitamix depends entirely on how often you process tough ingredients and the specific texture you require for your finished recipes.
You should choose based on your daily volume and the texture quality you expect. A high-performance motor makes the difference for daily green smoothies, whereas a simpler blade system works fine for frozen drinks on the weekend.
Choosing between Ninja and Vitamix
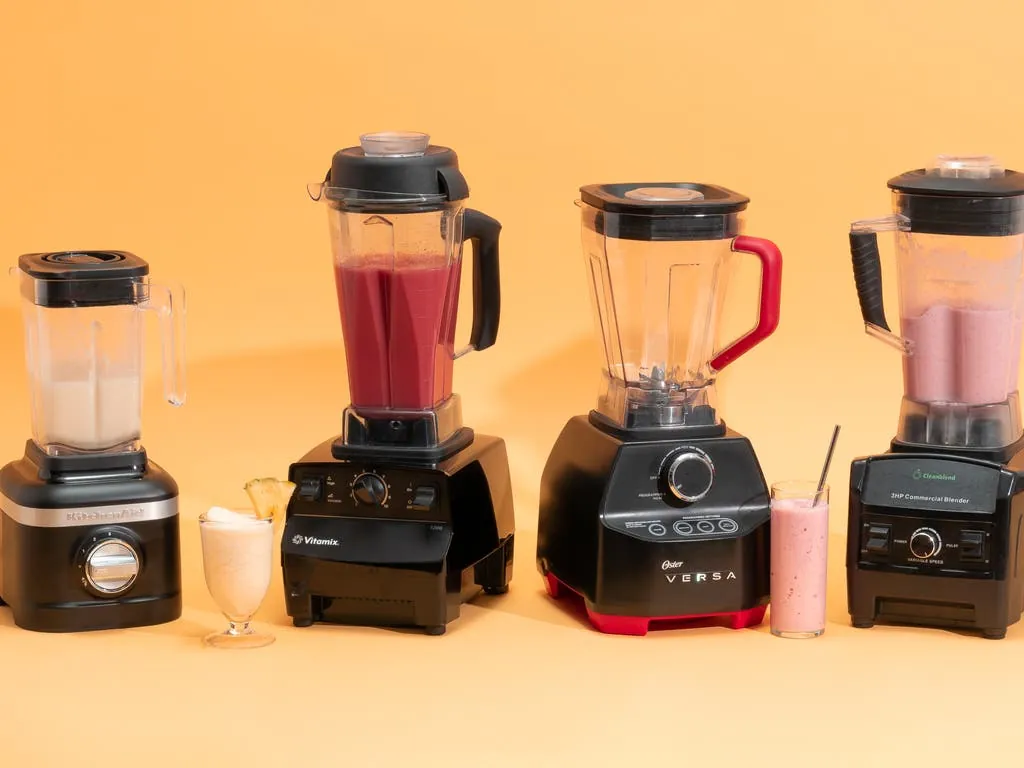
People who prioritize smooth, fiber-free textures in their daily smoothies are the primary audience for Vitamix machines. If you process kale, frozen fruit, or nuts every morning, you need the power of a commercial-grade motor that doesn’t struggle under a heavy load. These users usually have a higher budget and are willing to pay for a machine that lasts for many years of daily use.
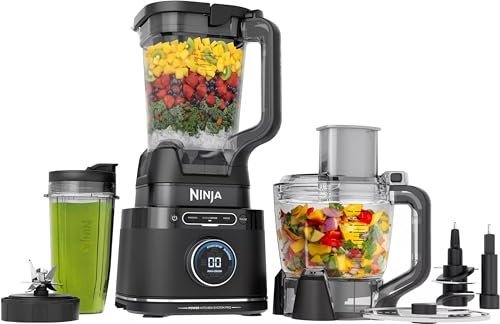
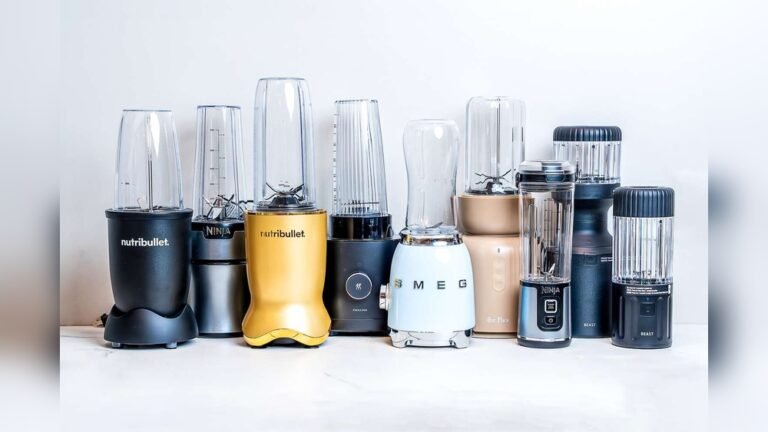
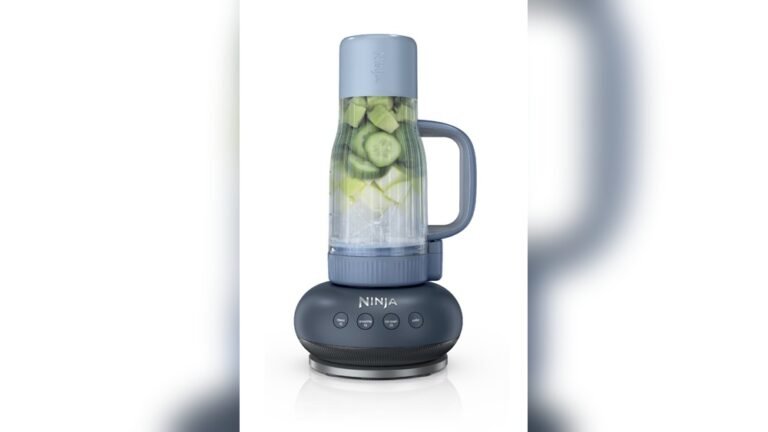
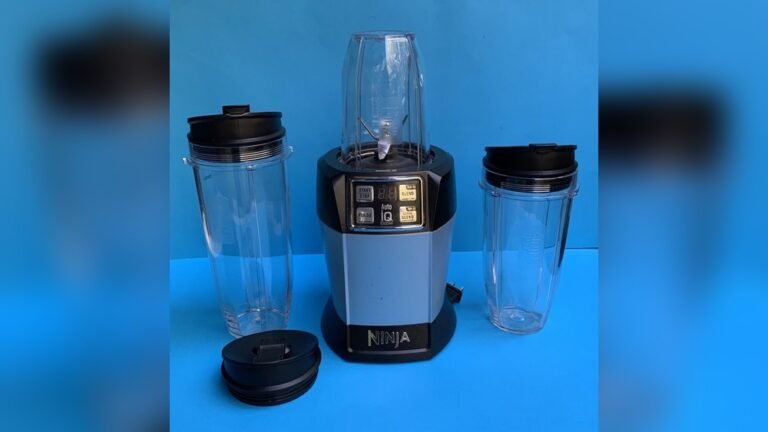
On the other hand, the Ninja brand serves the casual user who makes smoothies or frozen drinks only a few times a week. These owners typically prefer a machine that’s easy to assemble, lightweight, and capable of chopping ice for weekend gatherings without a high price tag. The Ninja is also ideal for those who value specialized containers for single-serve blending over a single, large-capacity jar.
This guide assumes you’re choosing between a full-sized countertop blender from either brand. If you’re looking for a professional-grade tool for a commercial kitchen or a specialized machine for heavy industrial use, you should consult the specific performance guidelines provided by the manufacturer for their commercial series. We focus here on the models found in typical home kitchens.
What determines your choice
Motor torque is the most significant factor in how well your ingredients break down. Vitamix blenders use high-torque motors that maintain speed under heavy friction, which is why they produce a finer, creamier texture. You can check the motor rating in the user manual; a machine under 1,000 watts often struggles with dense, frozen ingredients.
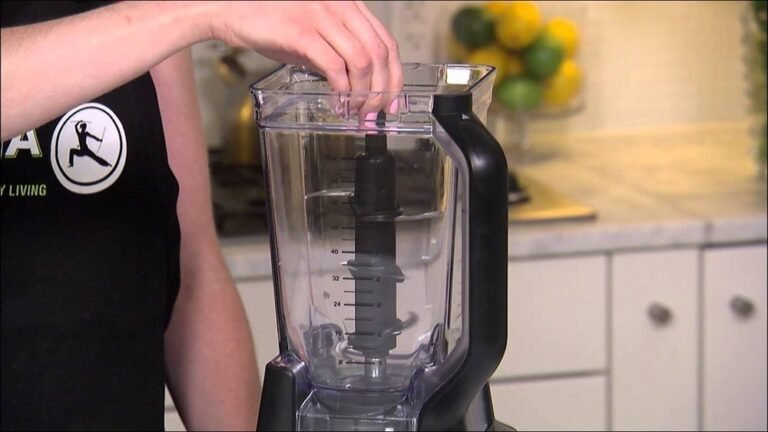
Blade design changes the result of your blending task. Ninja blenders often use a multi-tiered blade tower that sits in the middle of the jar to pull ingredients down. This design is excellent for chopping ice and making salsa, but it can leave larger chunks in a smoothie. Vitamix uses a single, dull blade assembly that relies on high-speed vortex action to pulverize food.
The jar material and shape move the ingredients differently. A narrow, tapered jar helps force contents into the blades, resulting in a smooth blend. If you’re comparing models, look at the bottom of the container; a wider base requires more liquid to keep the vortex moving, which can dilute your recipe. People often forget this detail, leading to a watery result.
Your cleaning time is a trade-off between power and convenience. A Vitamix jar is generally simpler to clean because it has no blade tower in the center. A Ninja jar has a removable blade assembly that needs careful handling to avoid cuts, but it does allow you to scrape out thick mixtures like nut butter more easily.
Using a high-performance blender
- Add your liquids first to help initiate the vortex.
- Place soft ingredients like yogurt or greens next.
- Add frozen fruit or ice cubes last to provide weight.
- Secure the lid tightly before you turn the power on.
- Start at the lowest speed setting to prevent splashing.
- Increase the speed to the maximum setting within 10 seconds.
- Use the tamper to push ingredients into the blades if the mixture stalls.
- Blend for 45 to 60 seconds until the mixture is uniform.
- Turn the speed back to the lowest setting before switching the machine off.
The single judgement call that separates a perfect blend from a poor one is the timing of the speed increase. If you jump to high speed too quickly without a solid vortex, air bubbles form around the blades and stop the process. Always ensure the ingredients are moving in a circular motion before you hit the top speed.
Blender performance comparison
| Situation | Best Choice | Why | What to watch |
|---|---|---|---|
| Daily smoothies | Vitamix | Superior motor power | Jar capacity limits |
| Frozen drinks | Ninja | Ice-crushing speed | Blade assembly safety |
| Nut butters | Vitamix | High-torque endurance | Motor heat buildup |
| Small batches | Ninja | Single-serve cups | Plastic container wear |
| Occasional use | Ninja | Lower entry cost | Motor noise level |
Choose a Vitamix if you process fibrous ingredients like kale or ginger daily. Its motor maintains high torque under load, preventing the “burnt rubber” smell common in cheaper units. If your smoothie contains frozen fruit, ensure the total volume stays 20% below the max fill line to prevent cavitation.
Select a Ninja for frozen drinks, such as margaritas or slushies. Its stacked blade design pulverizes ice in seconds rather than blending it into a watery slurry. However, these blades are razor-sharp and require careful handling during cleaning. Never reach into the pitcher without unplugging the base first.
Use a Vitamix for nut butters, but monitor the motor heat. If the machine begins to labor or the pitch of the motor drops, stop immediately. Let the unit rest for ten minutes before finishing. Ignoring this warning often triggers an automatic thermal shutdown, which can shorten the motor’s lifespan over time.
Opt for a Ninja when preparing small batches or protein shakes for a single person. Its dedicated single-serve cups reduce cleanup time significantly. Be aware that the plastic threads on these cups wear down after roughly 18 months of daily use. If the cup feels loose on the base, replace it to prevent leaks.
Pick a Ninja for occasional use if you blend less than three times per week. The lower entry price saves you money compared to professional-grade models. Keep in mind that these machines operate at a higher decibel level than premium blenders. If you live in a small apartment, the noise may disrupt neighbors during early morning hours.
If you’re unsure which category fits your lifestyle, check your current blender’s base. If it shows signs of leaking or struggles with frozen fruit, you’re likely ready for a high-torque Vitamix. If you simply need a faster way to make single servings, the Ninja is the more efficient investment.
Details that define quality
Preparing your ingredients
Experienced users know that cutting large items into uniform pieces improves the final texture. While some high-powered blenders claim to handle whole fruits, cutting an apple or a carrot into 1-inch chunks reduces the strain on the motor. This simple habit extends the life of your drive socket and keeps your blend consistent every time.
Monitoring the blend process
Successful blending happens by watching the vortex inside the jar rather than just setting a timer. A healthy vortex looks like a funnel that pulls contents down into the center of the blades. If the ingredients stop moving, you should stop the machine and add 30 to 60 milliliters of liquid, such as water or juice, to help the flow.
Common issues and fixes
| What you notice | What it usually means | What to do first | How to stop it |
|---|---|---|---|
| Burning smell | Motor overload | Turn off immediately | Use more liquid |
| Large chunks | Improper loading | Stir and restart | Cut food smaller |
| Leaking lid | Damaged seal | Check the gasket | Clean the rim |
| Stuck blades | Food buildup | Soak in hot water | Rinse after use |
| Loud rattling | Loose base | Tighten the jar | Check for debris |
If you detect a burning smell, stop the motor instantly. This scent usually indicates the internal coils are overheating due to excessive friction. You can prevent this by ensuring your liquid-to-solid ratio is at least 1:2. If the mixture is too thick, the blades create a vacuum pocket that strains the motor.
When you encounter large chunks, don’t force the machine to cycle longer. This habit burns out the motor’s start capacitor. Instead, cut ingredients into one-inch cubes before adding them to the jar. Always add liquids first to create a vortex that pulls solids toward the blades.
A leaking lid often stems from a compromised rubber gasket. Remove the seal and inspect it for hairline cracks or mineral buildup. If the seal is intact, clean the rim of the jar with a stiff brush to remove dried residue. Debris prevents the lid from seating flush, causing pressure to force liquid out.
Stuck blades are rarely a mechanical failure. They usually result from protein or sugar buildup hardening around the shaft. If the blades fail to spin, soak the jar in hot, soapy water for ten minutes. Never use a metal tool to pry them loose, as this can chip the blade edge and ruin the seal.
Loud rattling suggests the jar isn’t locked into the base correctly. Check the rubber coupling at the bottom for missing teeth or wear. If the coupling is intact, tighten the jar by rotating it clockwise until you hear a distinct click. If the noise persists, check the motor base for loose screws or trapped debris that might be vibrating against the housing.
Legal and safety standards
Safety standards for electrical kitchen appliances are regulated by the Underwriters Laboratories in the United States. These standards ensure that motors have thermal protection to prevent overheating during normal operation. You can find the specific safety certification on the bottom of your blender base. Look for the UL or ETL mark; if this stamp is missing, the device hasn’t undergone rigorous stress testing for fire or electrical shock hazards.
Never attempt to bypass the safety interlock switches on your blender. These switches prevent the motor from starting if the jar isn’t properly locked into the base. The most common mistake users make is forcing a misaligned jar into place, which can snap the plastic actuator pins. If you feel resistance while twisting the jar, stop immediately. Forcing the connection costs you the integrity of the safety system and often voids your warranty.
If your machine fails to start even when the jar is seated correctly, you should contact the manufacturer’s customer service department for a repair assessment. Don’t open the housing, as internal components can hold a lethal charge.
Follow this decision rule: if the blender smells like burning ozone or emits smoke, unplug it immediately and don’t attempt to use it again. If the blender simply fails to engage the motor, check the reset button often located on the bottom of the unit.
If the reset button doesn’t restore power after ten minutes of cooling, the internal thermal fuse has likely blown. This is a permanent safety failure that requires professional servicing. Never attempt to bridge or replace a thermal fuse with a standard wire, as this removes the final line of defense against motor fires. Always prioritize manufacturer-certified parts to maintain the safety rating of your appliance.
Understanding the real cost
The cost of a blender isn’t just the sticker price you pay today. A high-end machine often has a longer warranty, sometimes covering 7 to 10 years of use, which lowers your cost per year significantly. Compare the warranty terms on the official product page before you buy to see if the brand covers parts, labor, and shipping.
A cheaper model might cost less upfront, but frequent replacements due to motor failure or broken jars will increase your total spending. If you only use your blender once a month, the lower-priced model is a smart financial decision. If you plan to use it daily, the higher initial investment in a durable motor is usually the more economical path over time.
Most budget blenders fail because of thermal overload. When you blend frozen fruit or thick nut butters, the motor draws high amperage and heats up rapidly. Professional-grade models include internal cooling fans and automatic thermal shut-offs that prevent the windings from melting. If you smell ozone or burning plastic, your motor is already dying.
The decision rule is simple: count your weekly cycles. If you blend fewer than three times per week, an inexpensive unit will likely last you a long time. You’re paying a low amount per use. However, if you blend daily, that same inexpensive unit will likely burn out in six months. Your cost per use remains low, but you also face the hidden expense of shipping, replacement time, and landfill waste.
Don’t ignore the cost of replacement parts. A high-end manufacturer often sells individual gaskets, blades, and drive sockets separately. Budget brands rarely offer these parts. If a small plastic coupling snaps on a generic model, you’re forced to throw the entire machine away.
Check the weight of the base before purchasing. A heavier base usually signals a larger motor with more copper windings.
Keeping your machine in shape
To maintain your blender, rinse the jar with warm water and a drop of dish soap immediately after every use. Never leave food residue to dry inside, as it can harden around the blade seals and cause leaks. If your jar becomes cloudy, a mixture of water and vinegar can help remove mineral deposits without damaging the plastic.
Check the drive socket on the base of the blender once every few months. If you see black dust or plastic shavings, it indicates that the jar isn’t seating correctly or the motor is being pushed too hard. A small amount of wear is normal, but excessive debris suggests that you should reduce the volume of ingredients you process in one batch.
When to choose another method
If you rarely make smoothies or frozen drinks, a full-sized blender is likely a waste of counter space. For simple tasks like mixing protein powder or light dressings, a handheld immersion blender is a more efficient tool. These occupy much less space and are easier to clean for small, liquid-based jobs.
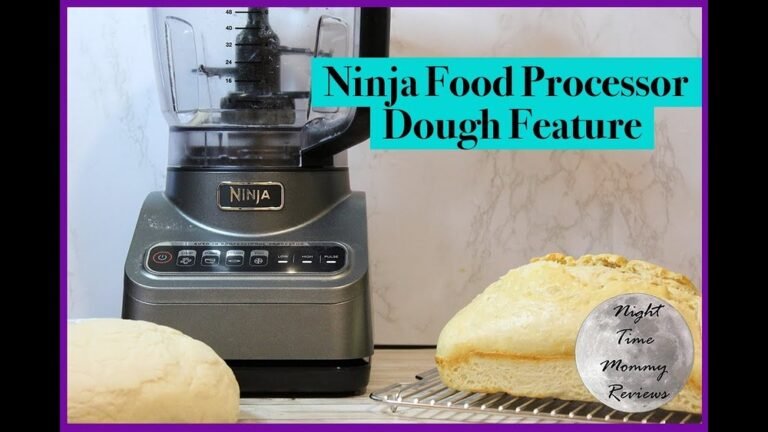
If you’re a professional baker or need to process large quantities of dough, a dedicated stand mixer is the appropriate tool. Blenders are designed for high-speed pulverization and aren’t built to handle the heavy, elastic load of bread dough. Using a blender for dough can void your warranty and cause the motor to burn out rapidly.
The decision rule is simple: if the ingredient has a high water content, use a blender. If the mixture requires aeration or kneading, use a stand mixer. A common mistake is attempting to use a blender to whip heavy cream or butter. Because blenders rely on high-speed blades rather than folding mechanisms, they will often turn cream into butter or liquid rather than the desired stiff peaks.
You should also look at your volume requirements. If you consistently process fewer than two cups of ingredients, a standard blender jar will fail to engage the blades effectively. The mixture will simply spin above the blades, leaving you with uneven chunks. In this case, a food processor or a dedicated personal blender cup is the superior choice.
Finally, consider the texture you need. If your goal is to maintain the integrity of ingredients, such as chopping nuts or making a coarse salsa, avoid the blender entirely. Blenders are high-shear tools that turn everything into a uniform puree within seconds. If you want distinct pieces, use a food processor with a pulse setting. This prevents the “mush” factor that occurs when a blender’s blades run for even a few seconds too long.
Frequently asked questions
Can a blender replace a food processor?
No, a blender is designed for liquids and smooth textures, while a food processor is built for chopping and slicing solid foods. If you try to use a blender for dry ingredients or thick dough, you’ll likely end up with an uneven mess or a damaged motor.
Is it safe to put hot liquids in my blender?
Yes, but you must ensure the lid is vented to allow steam to escape. Always fill the jar no more than halfway when processing hot ingredients to prevent pressure buildup. Check your specific manual, as some plastic jars have a lower temperature tolerance than others for boiling liquids.
How long should a high-performance blender last?
A well-maintained high-performance blender can last a long time with regular home use. The duration depends on how often you process heavy loads like ice or frozen fruit. If you notice a change in the motor sound or a burning smell, it’s time to contact the manufacturer for a professional service check.
Does the wattage of the motor matter?
Yes, higher wattage generally indicates a stronger motor capable of handling dense ingredients without stalling. However, the quality of the blade and the shape of the jar are just as important for the final texture. A machine with 1,200 watts may still underperform if the jar design doesn’t create a proper vortex.
What happens if I blend for too long?
Blending for too long can cause the motor to overheat and the ingredients to warm up due to friction. Most recipes only require 45 to 60 seconds of high-speed processing to reach a smooth consistency. If you need a colder result, add more ice or use pre-frozen ingredients rather than running the machine longer.
Does it matter if I use a glass or plastic jar?
Yes, plastic jars are lighter and less prone to shattering, while glass jars are more resistant to scratches and odors. Most modern, high-performance blenders use durable, BPA-free plastic because it withstands the high-speed impact of ice better than glass. Check your model documentation to see which material is used for your specific container.
Conclusion
Start by assessing your weekly usage habits to determine which motor power you actually require for your recipes. A machine that creates a consistent, smooth vortex without stalling is the sign of a successful purchase. If your blender begins to smoke or makes an unusually loud grinding noise during a normal cycle, stop the operation immediately and reach out to the manufacturer for support.