Best Wattage For Immersion Blender: The Ideal Range
The best wattage for immersion blender use depends on your kitchen tasks, but 500 to 600 watts handles most home cooking needs. This range crushes ice, blends soups, and mixes batters without stalling. For heavy doughs or large batches, aim for 700 watts or more. Power alone doesn’t guarantee quality, but it prevents motor burnout during tough jobs.
How much wattage your immersion blender needs
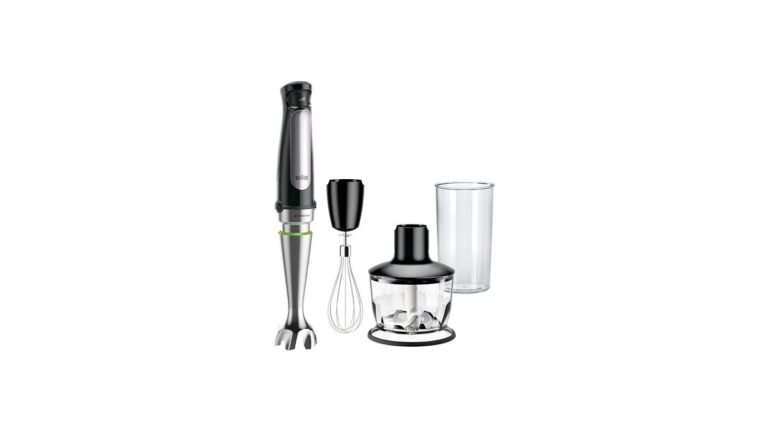
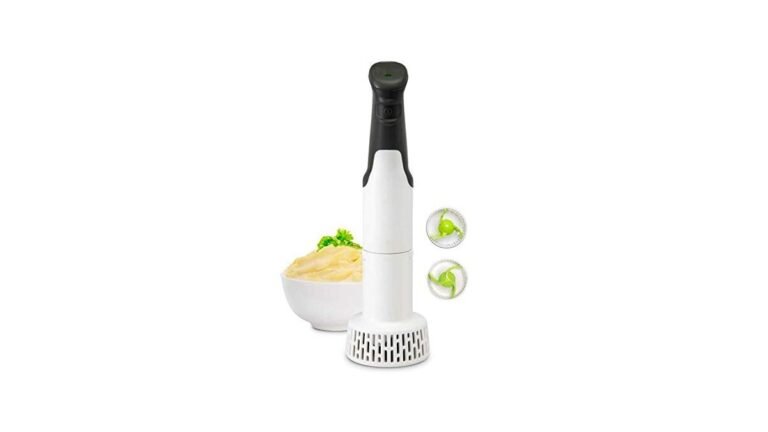
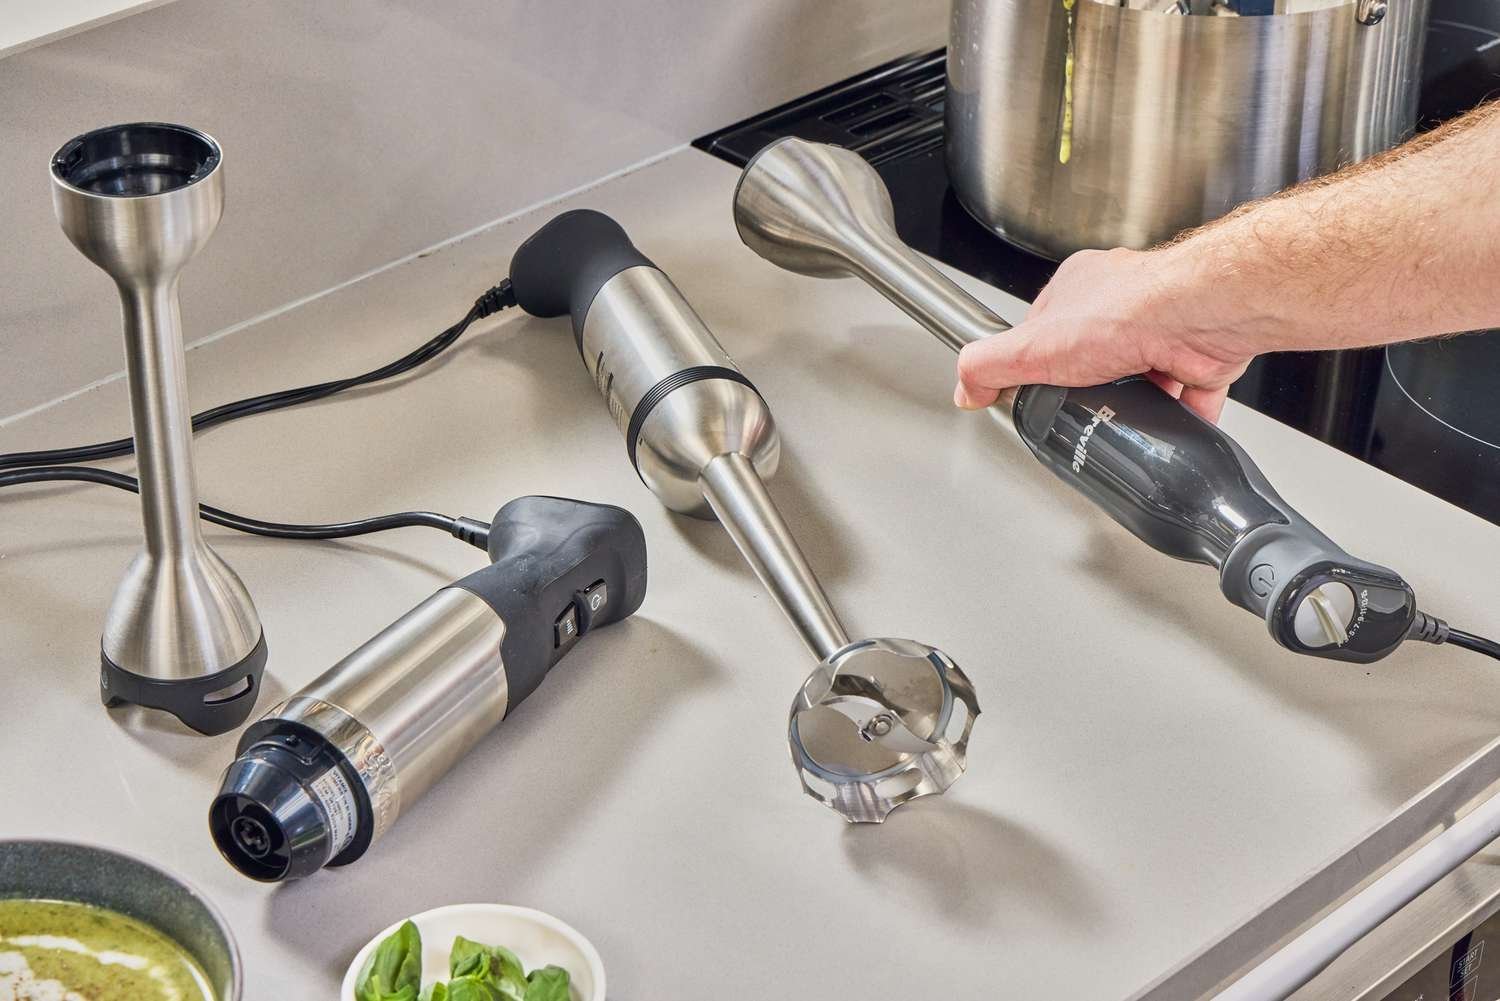
An immersion blender is a handheld stick with blades at the bottom. You push it into a pot or cup to mix food. The motor sits in the handle. Wattage measures how much electrical power the motor uses.
Higher watts mean the motor can work harder without overheating. Many people think more watts always mean better blending. This is a myth. A cheap 800-watt motor may fail faster than a well-built 400-watt one. The gear system and blade design matter just as much.
Daily meal preparers need between 500 and 600 watts. This power level handles hot soups, frozen fruit, and thick sauces. It’s strong enough for daily meals but not so powerful that it becomes heavy or expensive.
Professional chefs often use 700 to 1,000 watts because they blend larger volumes for hours. They need the extra torque to keep moving through dense mixtures. For a family of four, 500 watts is usually sufficient. If you live alone and make single servings, 300 to 400 watts saves space and money.
The misconception is that wattage equals speed. It does not. Speed comes from the blade shape and rotation rate. Wattage equals torque, which is the ability to push through resistance. Think of it like a car engine.
A small engine can go fast on a flat road. But if you hit a steep hill, you need more power to keep moving. Food is the hill. Soft bananas are flat roads. Frozen berries or nut butters are steep hills. If your motor lacks torque, it stops. This stalls the blades and burns out the circuit.
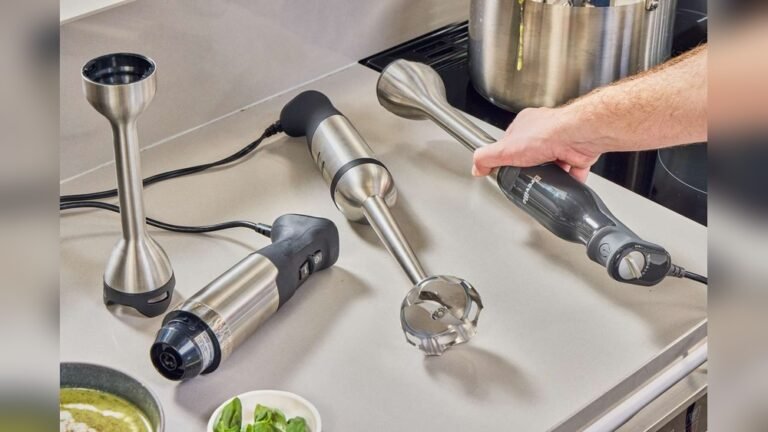
You must also consider the shaft length and material. Stainless steel shafts are more durable and easier to clean than plastic ones, though they may transfer more heat from hot liquids. A longer shaft lets you reach the bottom of deep pots. This matters for safety.
If the blades aren’t fully submerged, they can draw in air and cause hot liquid to splatter. A good motor paired with a poor shaft design will still fail. Look for a unit where the wattage matches the intended use. Don’t buy a 1,000-watt beast for simple milkshakes. It will be heavy, loud, and hard to clean. Match the tool to the task.
Steps To Choose The Right Blender
Choosing the right model requires checking more than just the box label. Follow these steps to find a unit that lasts.
List your top three tasks. Write down what you blend most. Is it hot soup? Baby food? Crushed ice? If you blend hot liquids daily, you need a motor with good ventilation. Hot steam can damage weak seals. If you crush ice, you need high torque. Ice resists blades strongly. For soft fruits, low power is fine. This list decides your baseline wattage.
Check the amp rating if watts are missing. Some brands hide wattage. Look for amps instead. Multiply amps by volts (usually 120 in the US) to get watts. A 5-amp motor is roughly 600 watts. If the label says nothing, avoid it. Transparent specs suggest a confident manufacturer. Hidden specs often mean weak internals.
Test the weight in your hand. Pick up the display model. Hold it for thirty seconds. A 700-watt motor adds weight. If your wrist hurts, it’s too heavy for regular use. Heavy blenders cause fatigue. You’ll stop using it. Lighter models under 2 pounds are easier for quick tasks. Ensure the grip feels secure when wet.
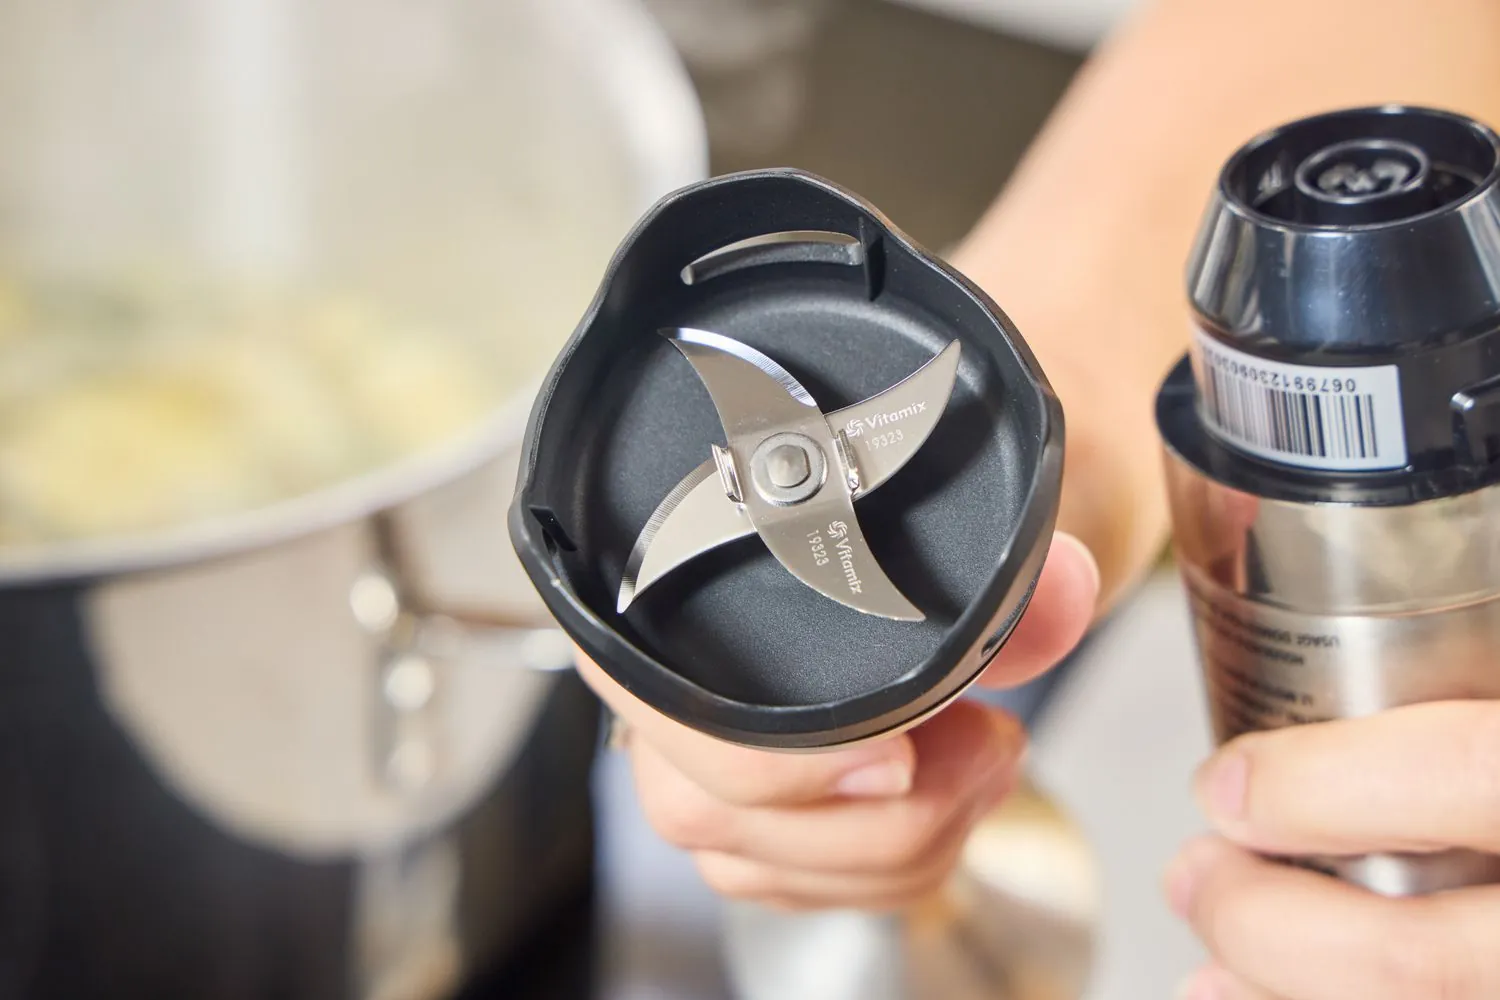
Inspect the blade guard. Look at the metal cage around the blades. It should have wide openings. Narrow slots trap food. Wide slots let liquid flow through. This flow cools the motor. If the guard is solid metal with tiny holes, the motor will overheat. Good design allows circulation. Bad design blocks it.
Verify the warranty length. A one-year warranty is standard. Two years suggests better durability. Five years means the company trusts its motor. Short warranties often cover only the cord, not the motor. Read the fine print. If the motor burns out in month thirteen, you want coverage. This protects your investment.
Avoid variable speed dials if you want simplicity. Some blenders have ten speed settings. Most people use only two: low and high. Extra dials add cost and break points. A single pulse button and a high/low switch are often more reliable. Complex electronics fail faster in humid kitchens. Keep it simple.
The single judgement call that separates a good result from a bad one is recognizing when to stop pushing. If the motor slows down significantly, don’t force it. Pull the blender up slightly. Let the blades clear.
Pushing a stalled motor against dense food burns the windings instantly. Listen to the pitch. A steady hum is good. A grinding groan means stop. This instinct saves the appliance. If you feel resistance, change your angle or add liquid. Never fight the machine.
Key Numbers And Settings At A Glance
Different foods require different power levels to blend smoothly. Use this table to match your task to the right wattage range. These figures assume standard home use with a stainless steel shaft.
| Situation | What to use | How long | What to watch for |
|---|---|---|---|
| Soft fruits and yogurt | 300-400 watts | 10-20 seconds | Smooth texture; no chunks |
| Hot soups and sauces | 500-600 watts | 30-60 seconds | Steam venting; no splashing |
| Frozen fruit smoothies | 600-700 watts | 45-90 seconds | Motor strain; ice crushing sound |
| Nut butters and dough | 700+ watts | 2-5 minutes | Overheating smell; pause frequently |
| Large batch purees | 500-600 watts | 1-2 minutes | Even consistency; move blender around |
| Crushing ice cubes | 700+ watts | 10-15 seconds | Blade jamming; use pulse mode |
This table helps you decide quickly. If you mostly make baby food, a 300-watt unit is light and safe. It won’t crush ice, but it doesn’t need to. For weekly soup making, 500 watts is the sweet spot. It handles cooked vegetables easily. If you try to make almond butter with a 400-watt blender, the motor will smoke. Nut butters create high friction. They need sustained torque. Don’t attempt this with low-power units.
Note that time limits matter. Even a 1,000-watt motor can’t run forever. Most home units have a duty cycle. This means they need rest. If the table says “pause frequently,” it means thirty seconds on, thirty seconds off. Ignoring this causes permanent damage. The numbers above are guidelines for typical residential models. Commercial units run longer but cost five times more. Stick to the ranges that fit your budget and frequency of use.
Details That Improve Blending
Experienced users know that technique matters more than raw power. They prepare ingredients to help the motor. Cut vegetables into uniform one-inch cubes before blending. Large chunks jam the blades. Uniform pieces flow evenly. This reduces strain on the motor. Don’t dump a whole onion into the pot. Chop it first. This simple step lets a 500-watt blender perform like a 700-watt one.
Order of operations is critical. Add liquids first. Then add soft solids. Put hard or frozen items on top. This creates a vortex. The liquid pulls the solids down into the blades. If you put ice at the bottom, it gets stuck. The blades spin empty above it. The motor races but does no work. Always start with a base of broth, milk, or water. This lubricates the blades.
Check the mixture halfway through. Tilt the blender slightly. Move it in a circular motion. This ensures all parts get blended. Don’t just hold it in the center. The center blends fast. The edges stay chunky. Moving the head around creates an even texture. This prevents you from over-blending the center while waiting for the edges to catch up. It saves time and protects the motor from uneven load.
Leave air pockets alone until the end. When blending hot soup, foam forms on top. Don’t plunge the blades into the foam. Air offers little resistance, causing the blades to spin freely without blending the food effectively. Blend the liquid part first. Then gently mix the foam at the end. Or skim it off. Blending air creates noise and vibration. It doesn’t improve texture. Keep the blades submerged in liquid or solid food, never in empty space.
Another detail is temperature control. Hot liquids expand. If you fill a container to the brim, it spills. Leave two inches of space at the top. This prevents burns. Also, hot steam rises into the motor housing. Wipe the shaft dry after each use. Moisture inside the handle corrodes the electrical contacts. This causes short circuits. Dry storage extends life. These small habits keep a mid-range blender running for years. They compensate for lower wattage by reducing unnecessary stress.
Common Problems And Quick Fixes
Even with the right wattage, issues happen. This table matches common symptoms to their causes and fixes.
| What you notice | What it usually means | What to do first |
|---|---|---|
| Motor smells burning | Overheating or food jam | Unplug immediately; let cool 30 mins |
| Blades spin but no blend | Air pocket or wrong depth | Submerge blades deeper; add liquid |
| Loud grinding noise | Debris in blade guard | Unplug; remove guard; clean debris |
| Unit shuts off mid-use | Thermal safety trigger | Wait 15 minutes; check ventilation |
| Leaking from shaft | Worn seal or crack | Stop using; replace shaft assembly |
If the motor smells burning, don’t ignore it. This is the scent of insulation melting. Continuing to use it creates a fire risk. Unplug it. Let it cool completely. Check if food was stuck. If the smell persists after cooling, the motor is damaged. Replace the unit. Don’t try to repair internal wiring yourself.
A loud grinding noise often means a piece of bone or pit is stuck. Immersion blenders aren’t designed for bones. If you hear metal-on-metal sounds, stop. Unplug the device. Inspect the blade guard. Remove any foreign objects. If the blades are bent, don’t straighten them. Bent blades cause imbalance. This vibrates the motor apart. Replace the attachment.
Leaking is a serious issue. If liquid drips from where the shaft meets the handle, the seal is broken. Water inside the motor causes electrocution risks. Stop using it immediately. Don’t plug it in. Contact the manufacturer for a replacement shaft. Don’t tape it. Tape doesn’t stop water under pressure. Safety comes first.
Safety Rules And Limits
Safety standards for kitchen appliances are strict. In the United States, Underwriters Laboratories (UL) sets the rules. They require double insulation for handheld devices. This means two layers of protection between the electricity and your hand. Check for the UL mark on the plug or body. If it’s missing, the unit may not meet basic safety codes. This is risky in a wet kitchen environment.
The National Electrical Code doesn’t specify wattage limits for blenders. However, most household circuits handle standard amperage. A high-wattage blender draws significant current. This maxes out a standard circuit. If you run a toaster and a blender on the same line, the breaker trips. Keep high-wattage appliances on separate circuits. This prevents power outages during cooking.
Don’t immerse the motor handle in water. Only the shaft and blade guard are washable. The handle contains the motor and electronics. Submerging it voids the warranty and creates shock hazards. Wipe it with a damp cloth. This rule applies regardless of wattage. High power doesn’t mean waterproof.
If the cord is frayed, discard the unit. Don’t tape it. Frayed wires expose live copper. In a kitchen with water and metal sinks, this is deadly. Replace the entire blender. Repairing cords on handheld appliances isn’t recommended for consumers. The internal connections are complex. A professional repair costs more than a new unit.
Children shouldn’t operate immersion blenders. The blades are exposed and sharp. Even when off, they can cut. Store them out of reach. Use the locking button if available. This prevents accidental startup. These rules protect you from injury and electrical faults. Follow them strictly.
Care And Storage Tips
Proper care extends the life of your blender. After each use, unplug it. Detach the shaft from the motor handle. Wash the shaft and blade guard in warm soapy water. Use a brush to remove food from the guard slots. Dry thoroughly. Water spots corrode stainless steel. Corrosion weakens the blades.
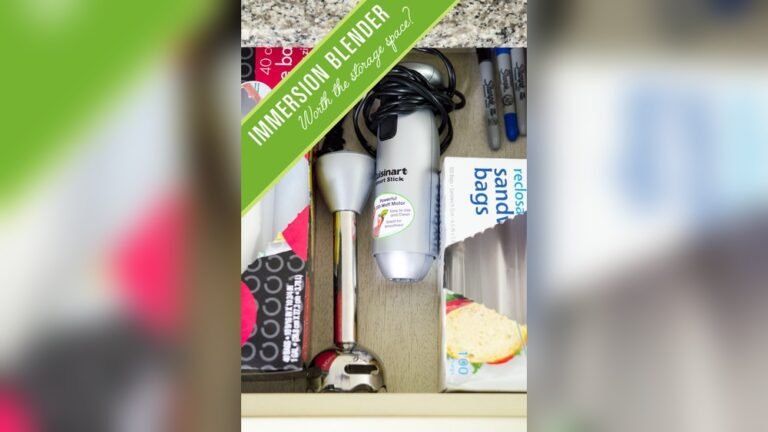
Store the unit upright or hanging. Don’t coil the cord tightly around the motor. This stresses the internal wires. Hang it on a hook or place it in a drawer with the cord loose. Tight coils cause breaks over time. Keep the motor handle in a dry place. Humidity damages electronic components.
Check the blades monthly. Look for nicks or dullness. Dull blades require more power. This strains the motor. If blades are dull, replace the attachment. Don’t sharpen them yourself. Immersion blender blades are specialized. Improper sharpening unbalances them. Buy official replacements.
Lubricate the connection point if it sticks. Some models have a rotating lock. If it becomes hard to twist, apply a drop of food-grade silicone lubricant. Don’t use oil. Oil attracts dust and goes rancid. Silicone stays clean. This keeps the attachment mechanism smooth.
Record the purchase date. Set a reminder for one year later. Check the warranty status. Register the product if required. This ensures you get support if needed. Proper maintenance keeps a 500-watt blender running as well as a new one. Neglect turns a powerful motor into a paperweight.
When To Avoid This Tool
Immersion blenders are versatile, but they aren’t universal. Don’t use them for dry ingredients. Grinding coffee beans or spices requires a dedicated grinder. The open blade design of an immersion blender spreads powder everywhere. It doesn’t contain the dust. You’ll make a mess and inhale fine particles. Use a sealed container blender for dry goods.
Don’t use them for heavy doughs. Bread dough is thick and elastic. It wraps around the shaft. This stalls the motor instantly. Even a 1,000-watt unit can’t knead bread. Use a stand mixer or your hands. Attempting this damages the gears. The torque required is too high for a handheld device.
Avoid using them in narrow containers unless the shaft fits. If the blades touch the sides, they scratch the container. Glass jars may shatter. Plastic containers may melt from friction. Ensure there’s at least one inch of space around the blade guard. If the container is too narrow, transfer the food to a wider bowl. Safety and equipment preservation matter more than convenience.
For large volumes over two gallons, use a countertop blender. Immersion blenders take time to move through large batches. You must stir and reposition constantly. A countertop blender processes it all at once. It’s faster and more consistent for big jobs. Save the immersion blender for soups, sauces, and small batches. Know its limits. Using the right tool saves time and prevents breakage.
Frequently Asked Questions
How many watts is good for an immersion blender?
500 to 600 watts is ideal for most home users. This range balances power and weight. It handles soups, smoothies, and sauces easily. Lower wattages struggle with ice. Higher wattages add unnecessary cost and weight. Choose based on your typical tasks. If you blend daily, lean toward 600. For occasional use, 400 is sufficient.
Can I crush ice with a 300-watt blender?
No, 300 watts is too weak for ice. Ice requires high torque to fracture. A 300-watt motor will stall or burn out. You need at least 600 watts for reliable ice crushing. Even then, use the pulse function. Continuous running heats the motor. Pulse gives it time to cool between bursts. Protect your device.
Is it safe to blend hot soup directly in the pot?
Yes, if you use caution. Keep the blades fully submerged. This prevents hot splashes. Tilt the pot slightly if needed. Don’t blend near the edge. Steam can enter the motor housing. Wipe the shaft dry after use. Always unplug before cleaning. Follow safety guidelines to avoid burns.
Why does my blender stop after a minute?
It likely triggered the thermal safety switch. Motors overheat during heavy use. The switch cuts power to prevent fire. Wait fifteen minutes for it to cool. Reset by unplugging and replugging. Reduce batch size next time. Don’t force the motor. Let it rest. This protects the internal components.
What happens if I use it in dry ingredients?
The powder will fly everywhere. Immersion blenders lack a sealed container. You’ll create a cloud of flour or spice. It’s messy and wasteful. It also clogs the motor vents. Dust inside the motor causes overheating. Use a countertop blender for dry items. Keep your kitchen clean and safe.
How long does an immersion blender last?
With proper care, these devices typically last for several years. High-quality models last longer. Frequent heavy use shortens lifespan. Cleaning and storage matter. Don’t drop it. Don’t submerge the handle. Replace worn blades. Follow the manufacturer’s instructions. Your habits determine the longevity. Treat it well, and it serves you longer.
Conclusion
Pick a model that feels comfortable in your hand, since you’ll use it often. Check the warranty too, because reliable support matters more than extra speed settings. You’re ready to blend with confidence, so go ahead and try that new soup recipe tonight. It’s going to taste amazing.