How To Make A Milkshake With An Immersion Blender: Easy Steps
Few drinks bring as much joy as a cold, creamy milkshake. Whether you crave classic vanilla, rich chocolate, or fruity strawberry, making a milkshake at home is simple. But there’s a twist: you don’t need a big countertop blender. An immersion blender—also called a stick blender—can create perfect milkshakes with less mess and more control. Many people overlook this handy tool, but it’s powerful, fast, and easy to clean. In this article, you’ll learn how to make a milkshake with an immersion blender, discover smart tips, avoid common mistakes, and find out how to customize your shake for any taste. You’ll also see clear comparisons and answers to the most common questions, so you can enjoy delicious milkshakes anytime, even as a beginner.
Why Choose An Immersion Blender For Milkshakes?
Most people think of traditional blenders for milkshakes, but an immersion blender offers unique advantages. It is compact, easy to clean, and lets you blend right in your glass or pitcher. You avoid pouring ingredients back and forth, which often creates spills and wastes time. If you want one drink, or just a small batch, an immersion blender is perfect.
Here are some key benefits:
- Less Cleanup: Only a single blending shaft to wash, instead of a bulky pitcher.
- More Control: Blend directly in your serving glass or jug.
- Space-Saving: Fits in small kitchens and drawers.
- Quick Blending: Powerful enough for ice cream and fruit.
According to a 2022 survey by Kitchen Appliance Review, 38% of US households own an immersion blender, and 60% say they use it mainly for drinks and soups. For milkshakes, this tool is often underutilized.
Essential Ingredients For A Classic Milkshake
You don’t need many ingredients to create a great milkshake. The base recipe is simple and flexible. You can start with three main ingredients:
- Ice cream – Choose your favorite flavor (vanilla, chocolate, strawberry, etc.)
- Milk – Whole milk gives a creamy texture, but you can use alternatives.
- Sweetener (optional) – Sugar, honey, or syrup, depending on your taste.
Here’s a typical ratio for a single serving:
- 2 cups ice cream (about 4 scoops)
- 1/2 cup milk
- 1–2 tablespoons sweetener (optional)
If you want to add extra flavor, you can use:
- Fruit (fresh or frozen)
- Chocolate syrup
- Peanut butter
- Cookies
- Spices (cinnamon, nutmeg)
Ingredient Comparison Table
To help you choose the right ingredients, see this simple comparison:
| Ingredient | Creaminess | Sugar Level | Flavor Boost |
|---|---|---|---|
| Whole Milk | High | Medium | Classic |
| Almond Milk | Low | Low | Nutty |
| Ice Cream (Vanilla) | Very High | High | Sweet & Smooth |
| Frozen Fruit | Medium | Low | Fruity |
| Chocolate Syrup | Medium | High | Rich |
Pro Tip: For a thick milkshake, use less milk or add more ice cream. For a thinner shake, add extra milk.
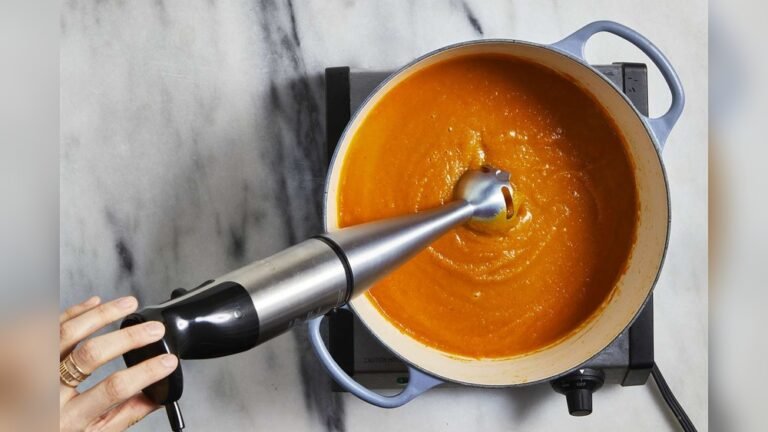
Step-by-step Guide: Making A Milkshake With An Immersion Blender
Follow these steps to make a classic milkshake. You can adjust the recipe for more servings or different flavors.
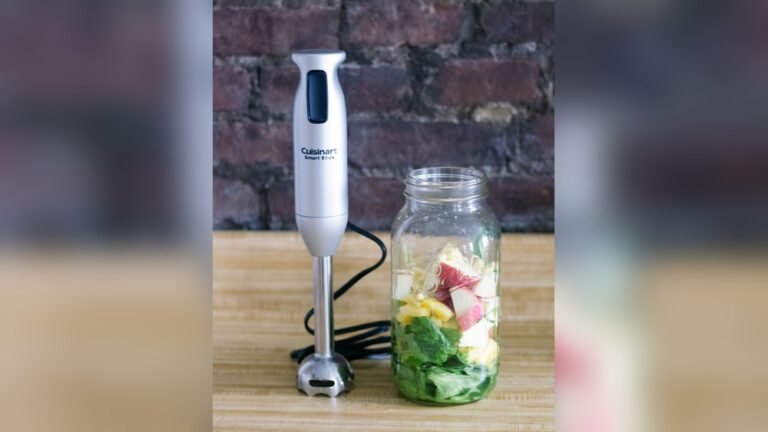
Step 1: Gather Your Tools And Ingredients
You need:
- Immersion blender
- Tall glass or pitcher (wide enough for blending)
- Measuring cups
- Ice cream
- Milk
- Optional add-ins (fruit, syrup, etc.)
Step 2: Soften The Ice Cream
Ice cream straight from the freezer can be too hard for blending. Let it sit at room temperature for 5–10 minutes. This helps the immersion blender mix everything smoothly and prevents motor strain.
Non-obvious Insight: If you skip this step, your milkshake may have lumps or overheat the blender.
Step 3: Add Ingredients To The Glass
Place the ice cream and milk in your glass. Add sweetener and extra flavors if desired. Fill the glass no more than halfway to prevent splashes.
Example: For a chocolate shake, add 2 tablespoons of chocolate syrup.
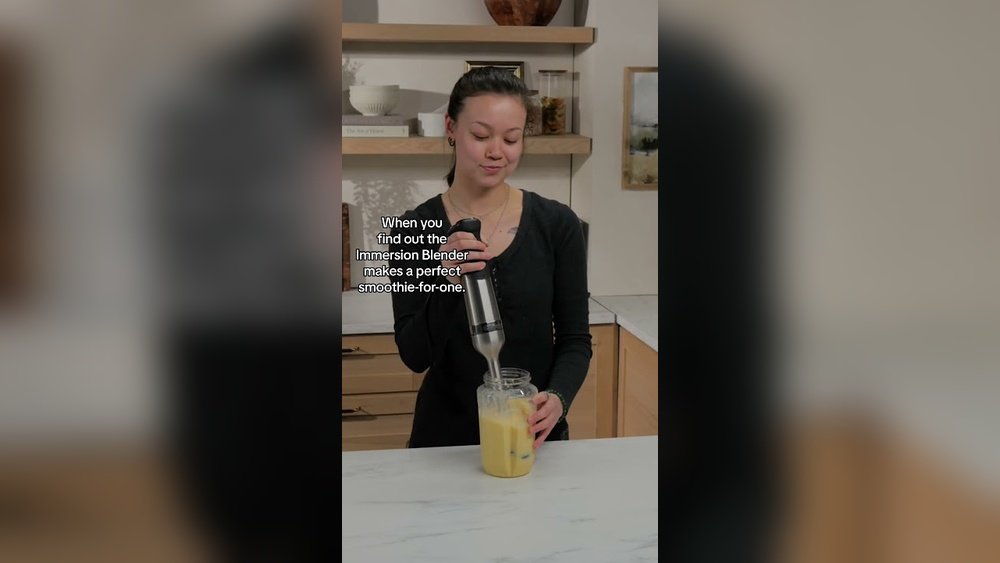
Step 4: Start Blending
Insert the immersion blender into the glass, making sure the blades are fully covered. Hold the glass steady and blend on low speed at first. Move the blender up and down gently to help mix everything.
Blend for about 30–60 seconds, until smooth. Pause and check consistency. If needed, add more milk for a thinner shake or more ice cream for thickness, then blend again.
Step 5: Taste And Adjust
Taste your milkshake. If it needs more sweetness or flavor, add a bit more syrup or fruit and blend again. For extra creaminess, add whipped cream or a scoop of ice cream.
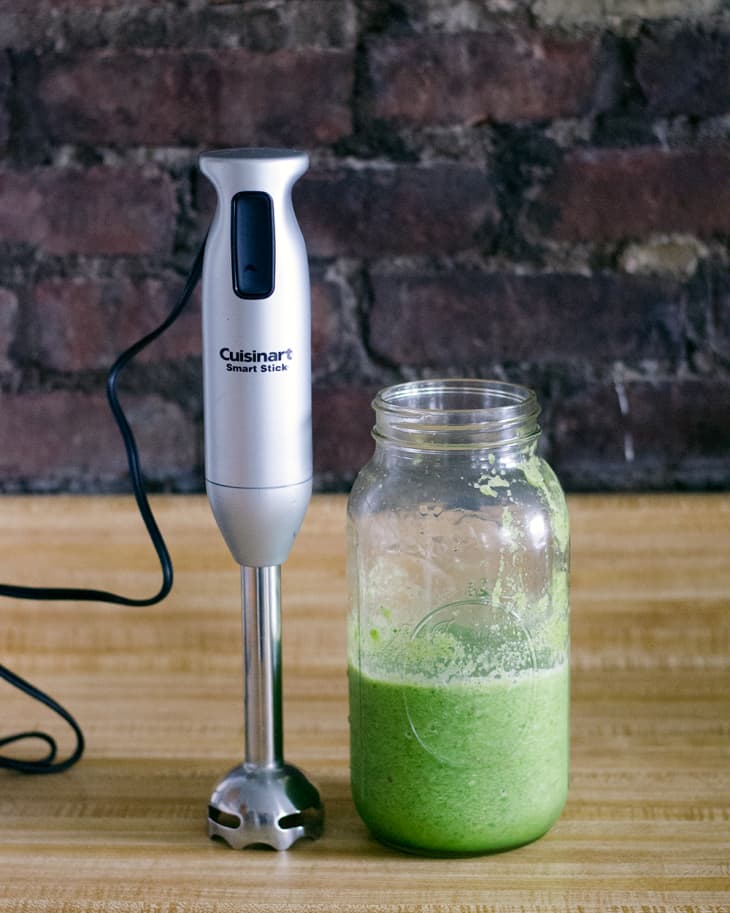
Step 6: Serve Immediately
Pour the milkshake into a clean glass if desired. Top with whipped cream, sprinkles, or fruit. Enjoy right away for best texture.
Milkshake Customization Table
Want to make your shake unique? Use this table for quick ideas:
| Flavor | Add-ins | Recommended Topping |
|---|---|---|
| Chocolate | Chocolate syrup, cocoa powder | Whipped cream, chocolate chips |
| Strawberry | Fresh strawberries, strawberry syrup | Fresh berry, mint leaf |
| Cookie | Crushed cookies, vanilla ice cream | Cookie crumble, caramel drizzle |
| Peanut Butter | Peanut butter, banana | Sliced banana, peanuts |
| Mint | Mint extract, chocolate ice cream | Mint leaf, chocolate shavings |
Choosing The Right Immersion Blender
Not all immersion blenders are equal. Some are stronger, quieter, or easier to use. If you want smooth milkshakes, pick a model with these features:
- Power: At least 200 watts for blending ice cream.
- Blade Design: Wide, strong blades mix thick ingredients better.
- Speed Settings: Multiple speeds help control texture.
- Comfort: Ergonomic handle, easy button access.
Most immersion blenders cost between $20–$100. According to Consumer Reports, models in the $40–$60 range offer best performance for milkshakes.
Comparison Table: Immersion Blender Features
| Model | Power (Watts) | Speed Settings | Price Range |
|---|---|---|---|
| Basic Hand Blender | 150 | 1 | $20–$30 |
| Mid-Range Blender | 250 | 2–3 | $40–$60 |
| Premium Blender | 400 | 5 | $80–$100 |
Non-obvious Insight: For thick shakes, a mid-range or premium model is safer. Cheap models may struggle and overheat.

Credit: www.youtube.com
Practical Tips For Best Milkshakes
Making milkshakes with an immersion blender is simple, but a few tricks can improve your results:
- Use a deep, narrow container for blending. This reduces splashing and gives a smoother texture.
- Pulse blending helps mix thick ice cream without overwhelming the motor.
- If blending large fruit pieces, pre-cut them to avoid jamming the blades.
- Chill the glass before serving. This keeps your milkshake cold longer.
- For vegan shakes, use plant-based ice cream and milk. Almond or oat milk works well.
Advanced Tip: For extra froth, blend a small amount of milk first, then add the ice cream and finish blending.
Common Mistakes And How To Avoid Them
Even with an immersion blender, mistakes happen. Here are frequent errors and how to fix them:
- Blending in a shallow bowl: Causes splashes. Use a tall glass.
- Using too much milk: Makes the shake watery. Start with less milk and add more if needed.
- Overfilling the glass: Spills are messy. Fill only halfway.
- Not softening ice cream: Hard ice cream may jam the blades.
- Ignoring speed settings: High speed can make shakes too thin or create bubbles.
Example: If your milkshake separates, it’s often because the milk and ice cream weren’t blended long enough. Re-blend for a smoother mix.
How To Make Dairy-free Milkshakes
Milkshakes can be enjoyed by everyone, including those who avoid dairy. Use these substitutions:
- Plant-based ice cream: Coconut, almond, or soy-based.
- Plant milk: Oat, almond, soy, or cashew milk.
- Natural sweeteners: Agave, maple syrup, or honey (if not strictly vegan).
Recipe Example: Vegan Chocolate Milkshake
- 2 cups coconut ice cream
- 1/2 cup almond milk
- 2 tablespoons vegan chocolate syrup
Blend as usual for a creamy, dairy-free treat.
Milkshake Flavor Variations
You can create endless flavors with a few simple changes. Try these ideas:
- Berry Blast: Use mixed berries and vanilla ice cream.
- Banana Nut: Blend banana, peanut butter, and chocolate ice cream.
- Mocha Madness: Add instant coffee and chocolate syrup.
- Tropical Twist: Pineapple, mango, and coconut ice cream.
- Cinnamon Roll: Vanilla ice cream with cinnamon and caramel sauce.
Non-obvious Insight: Add a pinch of salt to balance sweetness and boost flavor.
.jpg)
Credit: www.gourmia.com
Nutrition Facts: Milkshake Basics
Milkshakes are tasty but also high in calories. A classic vanilla shake (2 cups ice cream + 1/2 cup whole milk) contains about:
- Calories: 350–450
- Fat: 15–20g
- Sugar: 40–60g
If you use low-fat milk or plant-based ingredients, the numbers change. For example, almond milk lowers fat and calories, but some plant ice creams may have more sugar.
Health Tip: For a lighter shake, use frozen yogurt or sorbet instead of ice cream.
Cleaning Your Immersion Blender After Milkshakes
Cleaning is fast and easy with an immersion blender. Here’s how:
- Unplug the blender before cleaning.
- Remove the blending shaft from the motor.
- Rinse the shaft immediately after use. Dried milk or ice cream can be tough to remove.
- Wash with warm, soapy water. Use a brush for tough spots.
- Dry thoroughly before storing.
Non-obvious Insight: Don’t submerge the motor part—only the shaft is safe for washing.
Milkshake Serving And Presentation
A great milkshake isn’t just about taste—it’s also about presentation. Here are ways to make your drink special:
- Use tall, clear glasses to show off colors and layers.
- Add whipped cream, sprinkles, or fruit as toppings.
- For parties, serve mini milkshakes in small cups with colorful straws.
- Drizzle syrup inside the glass before pouring for a fancy look.
Example: Swirl strawberry syrup inside the glass, then pour the shake for a striped effect.
Troubleshooting: What To Do If Your Milkshake Isn’t Perfect
Sometimes your milkshake doesn’t turn out right. Here’s what to do:
- Too thin: Add more ice cream and blend again.
- Too thick: Add more milk, a little at a time.
- Not sweet enough: Add syrup or sugar, then blend.
- Lumpy: Blend longer or soften ice cream before blending.
If the blender overheats or jams, stop, unplug, and check for blockages. Let it cool before restarting.
Credit: www.thekitchn.com
Milkshake Fun Facts And History
Milkshakes have been popular in the US since the early 1900s. Originally, they were made with just milk, ice, and flavoring. The addition of ice cream made them richer and more appealing. Today, Americans consume over 1 billion milkshakes each year, according to the National Dairy Council.
Many restaurants now offer plant-based or low-calorie options. In 2019, vegan shakes accounted for 12% of all milkshake sales in major US cities.
For more history, see the Wikipedia Milkshake page.
How An Immersion Blender Compares To Other Tools
You might wonder how an immersion blender stacks up against traditional blenders or milkshake machines. Here’s a quick look:
| Tool | Ease of Use | Cleanup | Best For |
|---|---|---|---|
| Immersion Blender | Very Easy | Minimal | Small batches, quick shakes |
| Traditional Blender | Moderate | More parts | Large batches, thick shakes |
| Milkshake Machine | Easy | Minimal | Classic, frothy shakes |
Frequently Asked Questions
What Is The Best Container For Blending Milkshakes With An Immersion Blender?
A tall, narrow glass or pitcher is ideal. It keeps ingredients close to the blade, reduces splashing, and helps create a smoother texture.
Can I Use Frozen Fruit Instead Of Ice Cream For A Healthier Shake?
Yes, you can. Frozen fruit with milk or yogurt creates a fruit smoothie with less sugar and fat. The result is lighter and refreshing, but not as creamy as a classic milkshake.
How Do I Make A Milkshake Thicker With An Immersion Blender?
Use less milk and more ice cream. If you want extra thickness, add frozen fruit or yogurt. Blend until smooth, and check consistency before serving.
Is It Safe To Blend Hot Ingredients With An Immersion Blender?
Immersion blenders can handle warm but not boiling ingredients. For milkshakes, always use cold or room temperature items. Blending hot liquids may cause splashes and damage the motor.
Can I Make Milkshakes Ahead Of Time And Store Them?
Milkshakes are best served fresh. If you must store, keep them in the fridge for up to 24 hours. Stir or blend again before drinking, as separation may occur.
Every milkshake is a chance to experiment and enjoy. With an immersion blender, you have a powerful, flexible tool for quick, tasty drinks. Whether you make a classic vanilla shake or invent your own flavor, follow these steps and tips for perfect results.
The next time you want a creamy treat, reach for your immersion blender—you might be surprised how easy and satisfying it is.